How To Cut Tuna For Sushi
When it comes to sushi, one of the most popular and delicious choices of fish is tuna. Its tender, melt-in-your-mouth texture and delicate flavor make it the perfect ingredient for a sushi roll or sashimi platter. However, cutting tuna for sushi requires precision and skill to ensure optimal taste and presentation. In this article, we will guide you through the steps of cutting tuna for sushi like a true sushi master.
1. Start with Fresh Tuna:
The key to a great sushi dish is using fresh ingredients, and tuna is no exception. Look for high-quality sushi-grade tuna at your local fish market or grocery store. It should have a vibrant red color and a firm texture with no signs of discoloration or strong fishy smell.
2. Gather the Right Tools:
To properly cut tuna for sushi, you will need a few essential tools, including a sharp sushi knife, cutting board, and a damp cloth to wipe the knife between cuts. A sushi knife, also known as a sashimi knife, is thinner and longer than a regular kitchen knife, allowing for precise cuts.
3. Prepare the Tuna:
Before cutting, it’s important to remove any skin and bones from the tuna. Place the tuna on the cutting board and using a sharp knife, remove any skin by sliding the blade between the flesh and skin at a slight angle. For sashimi-style cuts, remove the bloodline by making a shallow incision and lifting it away.
4. Cut into Blocks:
Start by cutting the tuna into rectangular blocks. Hold the knife at a 45-degree angle and make a clean cut through the tuna, ensuring each block is of equal thickness. Remember, precision is key, so use a gentle sawing motion with the knife to achieve smooth, even cuts.
5. Slice into Sushi or Sashimi Pieces:
Once you have your blocks of tuna, it’s time to slice them into sushi or sashimi pieces. For sushi rolls, cut the tuna into long, thin slices, approximately 1/4 inch thick. If you’re making sashimi, cut thicker slices, around 1/2 inch thick. Take your time and use a swift, smooth slicing motion to maintain the integrity of the tuna’s texture and appearance.
6. Serve and Enjoy:
Now that you have perfectly cut tuna for sushi, it’s time to serve and enjoy! Arrange the slices on a platter for sashimi or use them as a filling for your favorite sushi rolls. Pair with soy sauce, wasabi, and pickled ginger for a complete sushi experience.
Final Thoughts:
Cutting tuna for sushi requires practice, patience, and the right technique. With the right tools and a little bit of skill, you can master the art of slicing tuna for sushi like a pro. Remember to always use fresh ingredients and take your time to ensure precise cuts. Now go ahead and impress your friends and family with your homemade sushi creations!
Disclaimer: When handling raw fish, it’s important to follow proper food safety guidelines and ensure that the tuna is properly stored and prepared to prevent any foodborne illnesses.
More Delicious Tuna Recipes to Try
Having mastered the art of cutting tuna for sushi, why not put your skills to the test with a variety of tantalizing recipes? From the simplicity of Classic Tuna Nigiri Sushi to the creative flair of Dragon Sushi Roll with Tuna Filling, there's a dish to challenge and excite every aspiring chef. For starters, Tuna Nigiri Sushi serves as an excellent foundation, focusing on the purity of the fish's flavor. Adventurous cooks should certainly try the Tuna and Mango Summer Sushi Rolls, which blend sweet and savory for a refreshing summer treat. Lastly, for those looking to impress at their next gathering, the visually stunning Rainbow Sushi Roll with Tuna Topping not only looks impressive but also delivers a symphony of flavors.
Was this page helpful?
Read Next: How To Cut Lamb Chops
Related Articles
How To Cut Chayote

How To Cut An Artichoke For Dip

How To Cut Sausage Diagonally
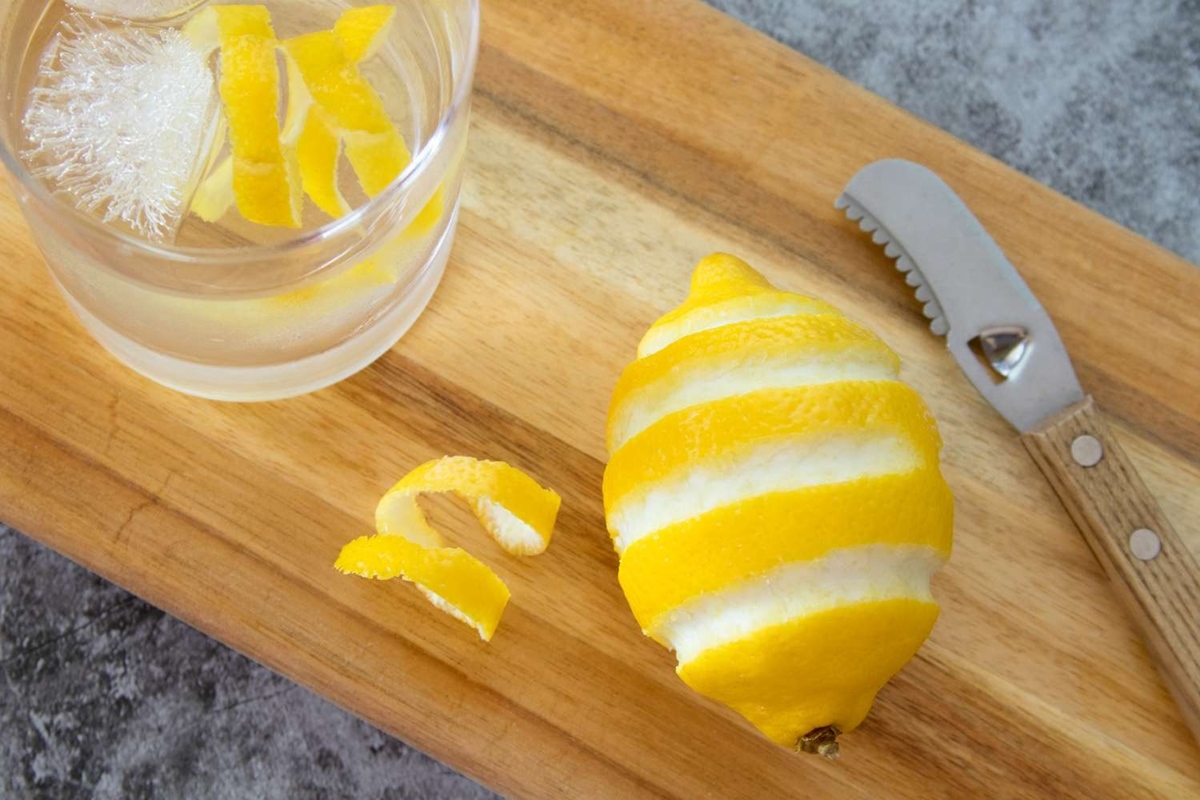
How To Cut A Lemon Twist
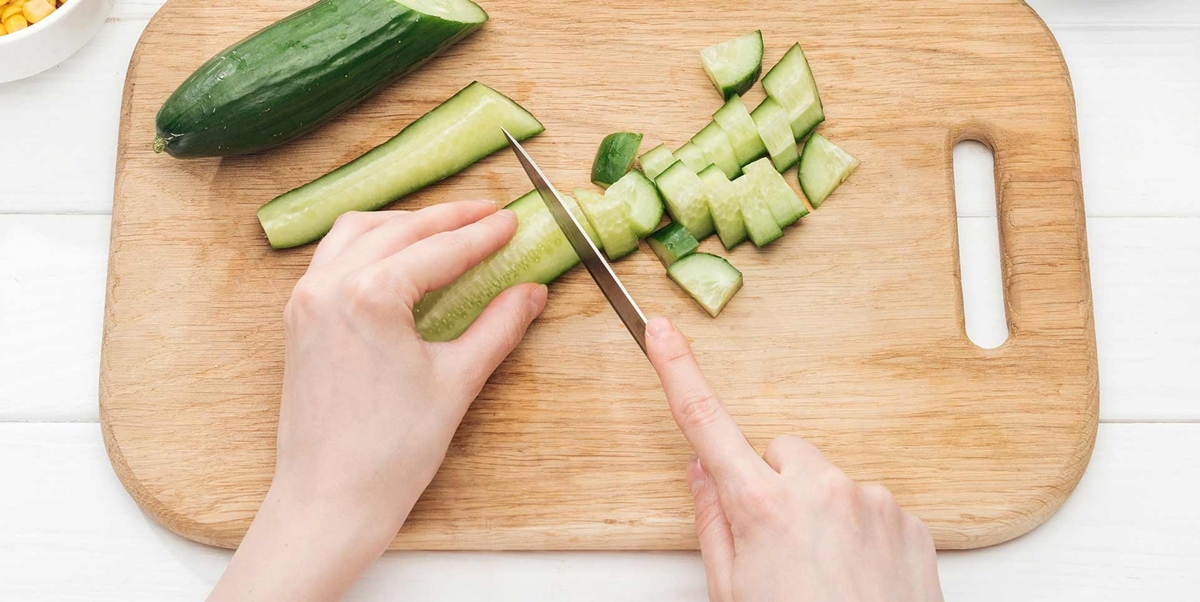
How To Cut Cucumber For Pasta Salad
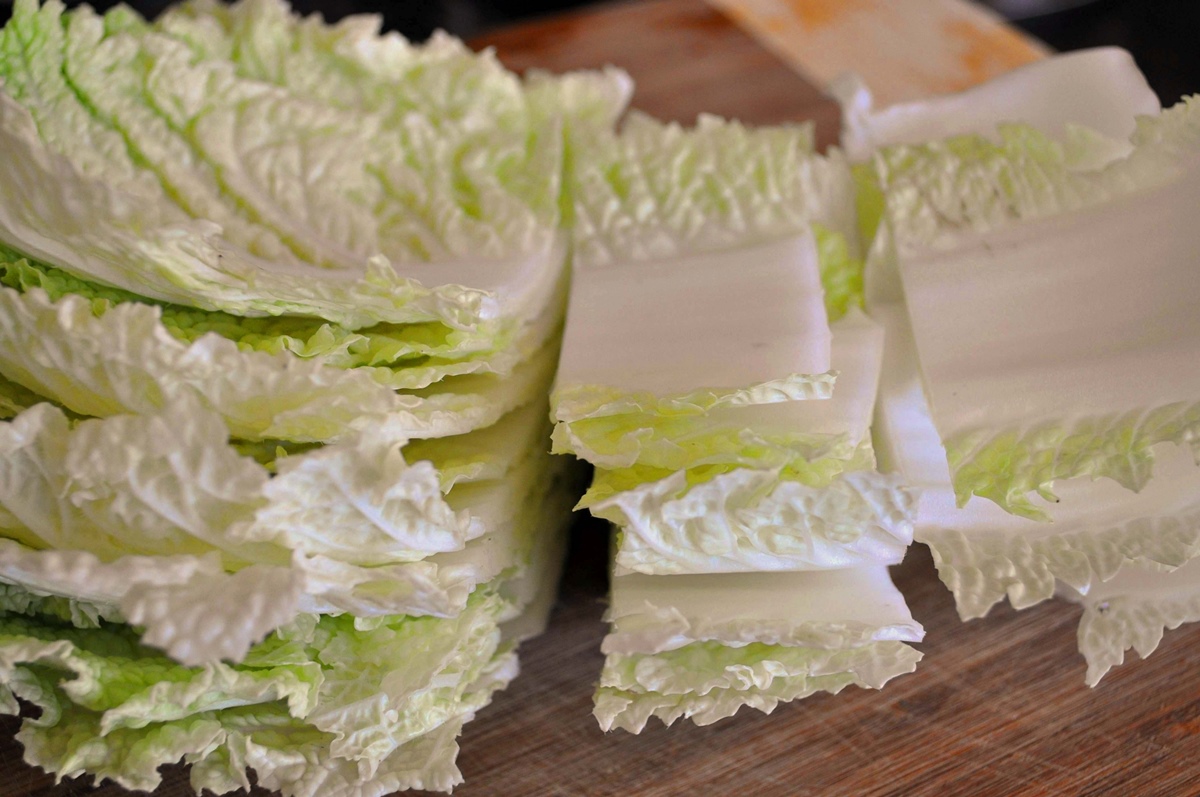
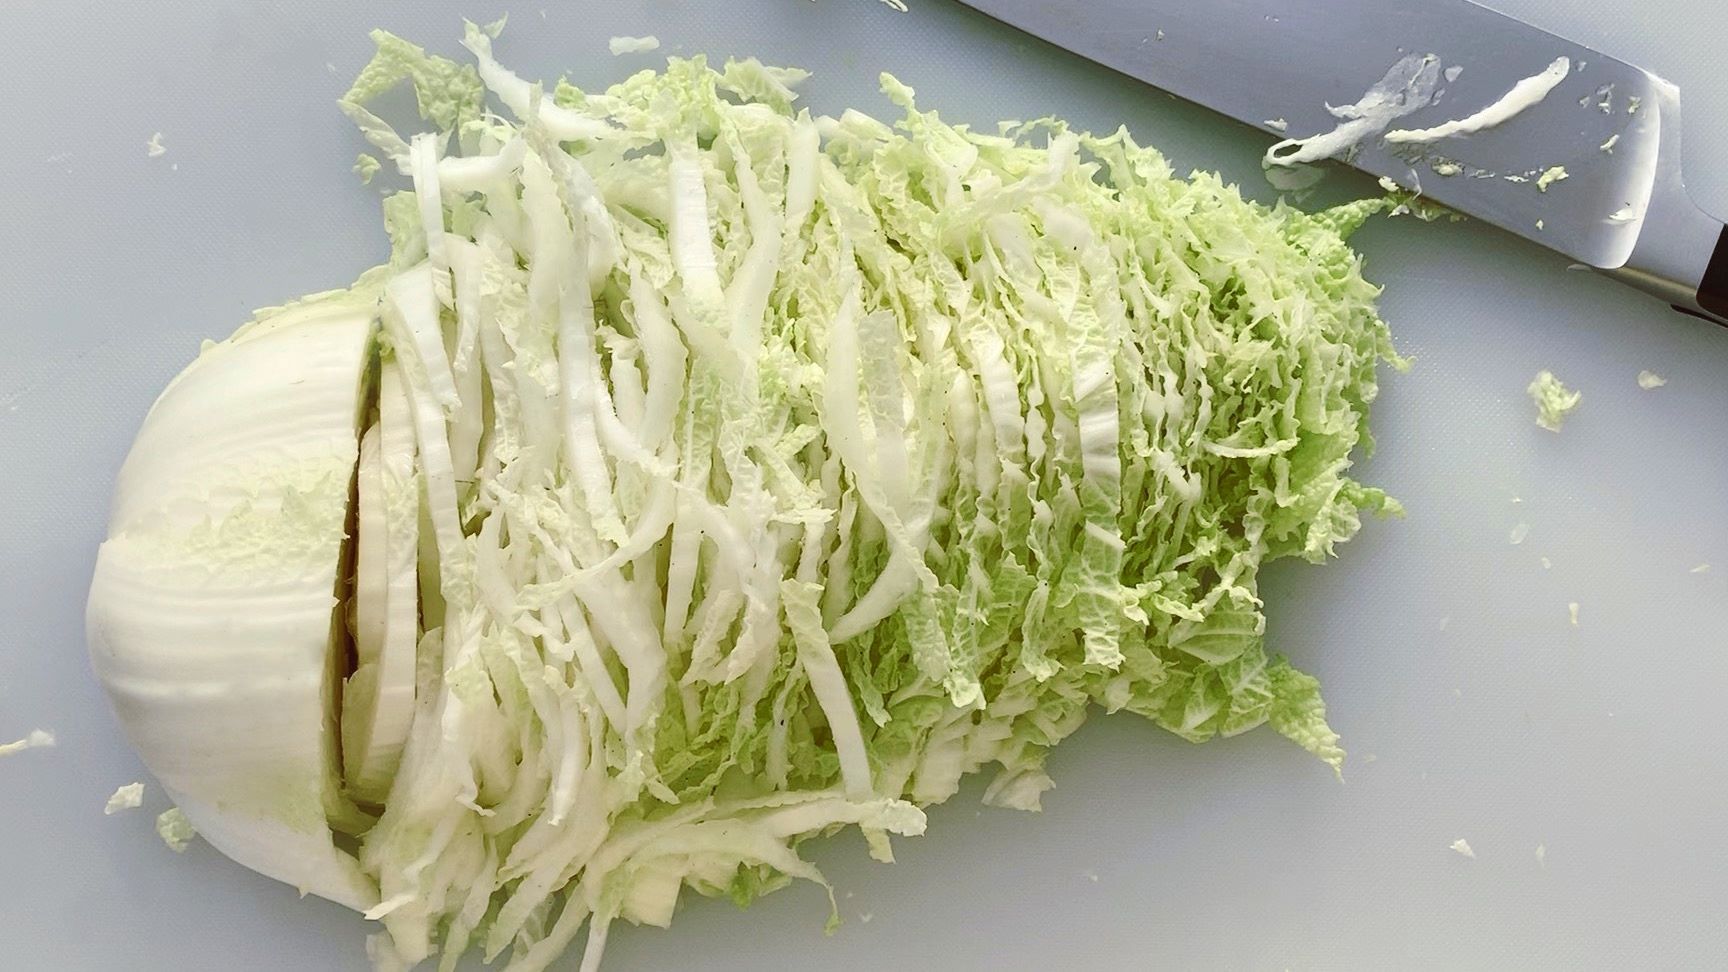
How To Cut Napa Cabbage For Hot Pot
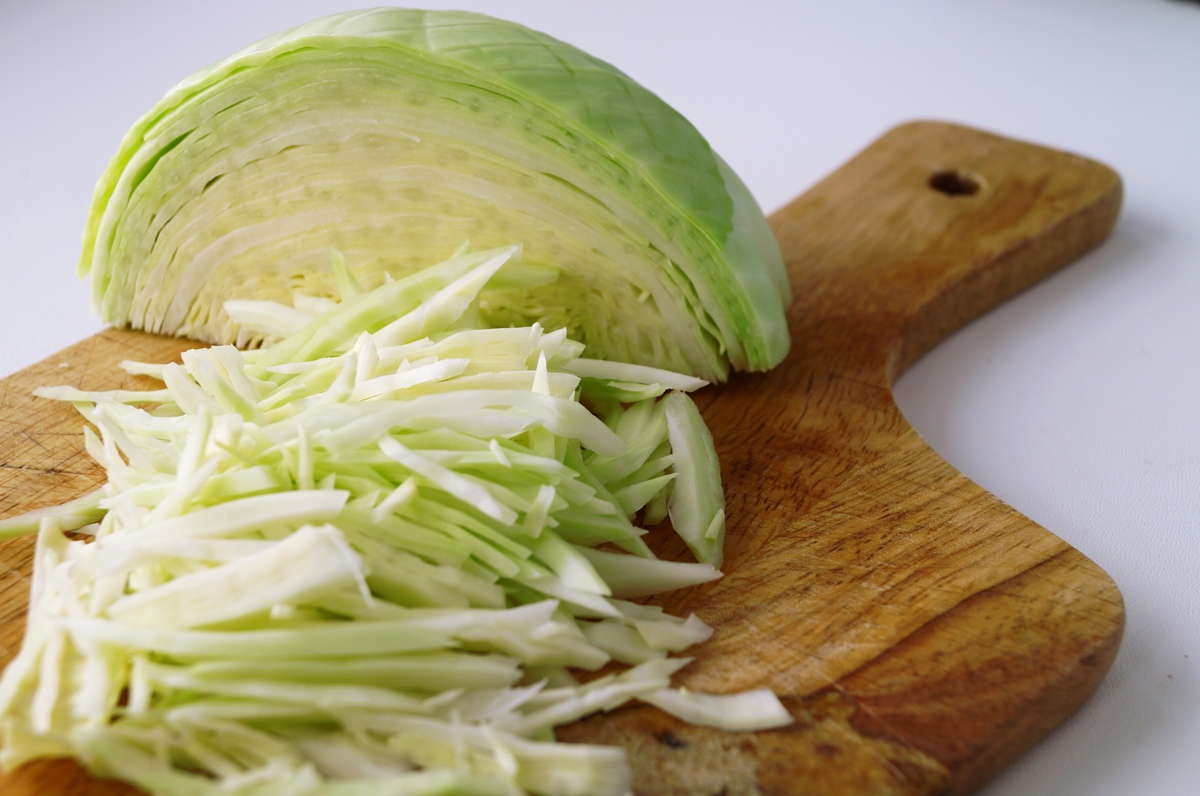
How To Cut And Clean Cabbage
How To Cut Cabbage For Sauerkraut
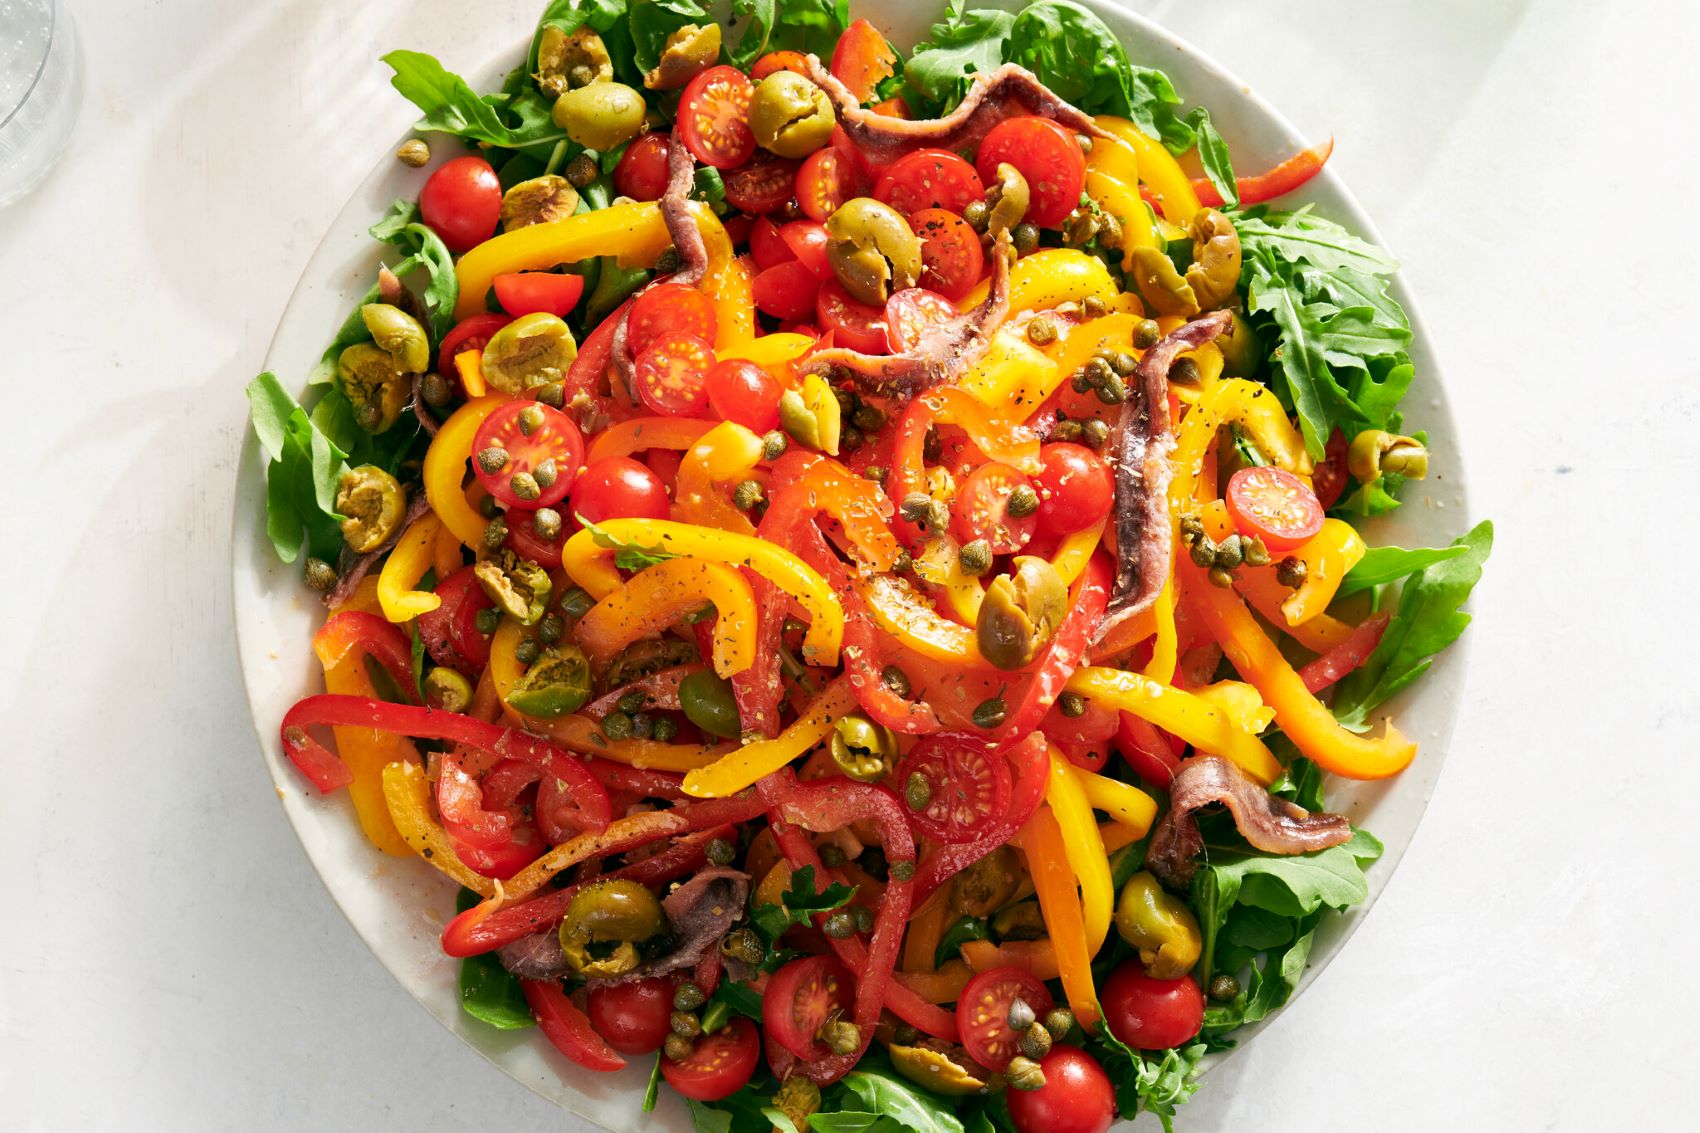
How To Cut Bell Peppers For Salad

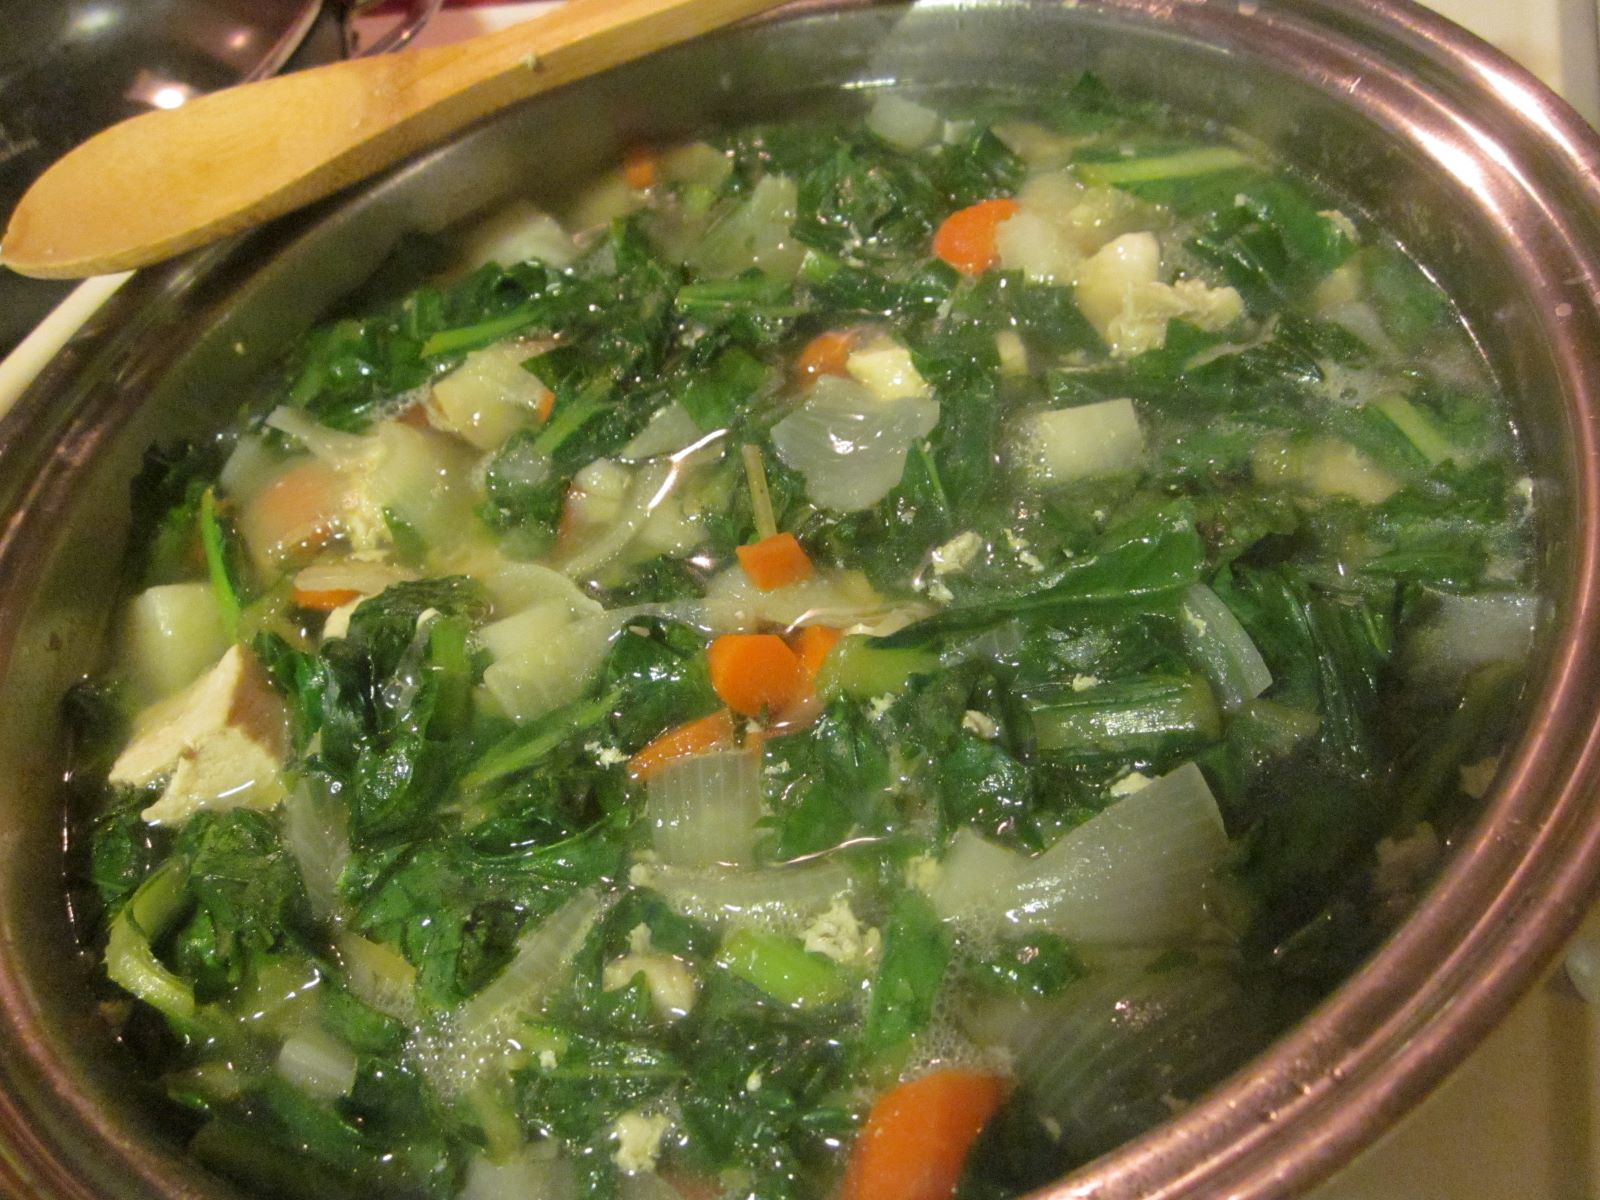
How To Cut Celery For Soup
How To Cut A Turnip For Soup
