How To Cut Pork Shoulder: A Guide for Food Enthusiasts
For food enthusiasts and home cooks, knowing how to properly cut a pork shoulder is a valuable skill. Whether you’re looking to prepare succulent pulled pork, hearty stew, or mouthwatering pork chops, understanding the different cuts of pork shoulder will greatly enhance your culinary expertise. In this guide, we’ll walk you through the step-by-step process of cutting pork shoulder like a pro.
What You’ll Need
Before diving into the art of cutting pork shoulder, gather the following tools:
- Sharp boning knife: Essential for precision cuts
- Cutting board: Provides a stable surface for slicing
- Butcher’s twine: Handy for tying up larger cuts of pork shoulder
- Container or platter: For storing and organizing the different cuts
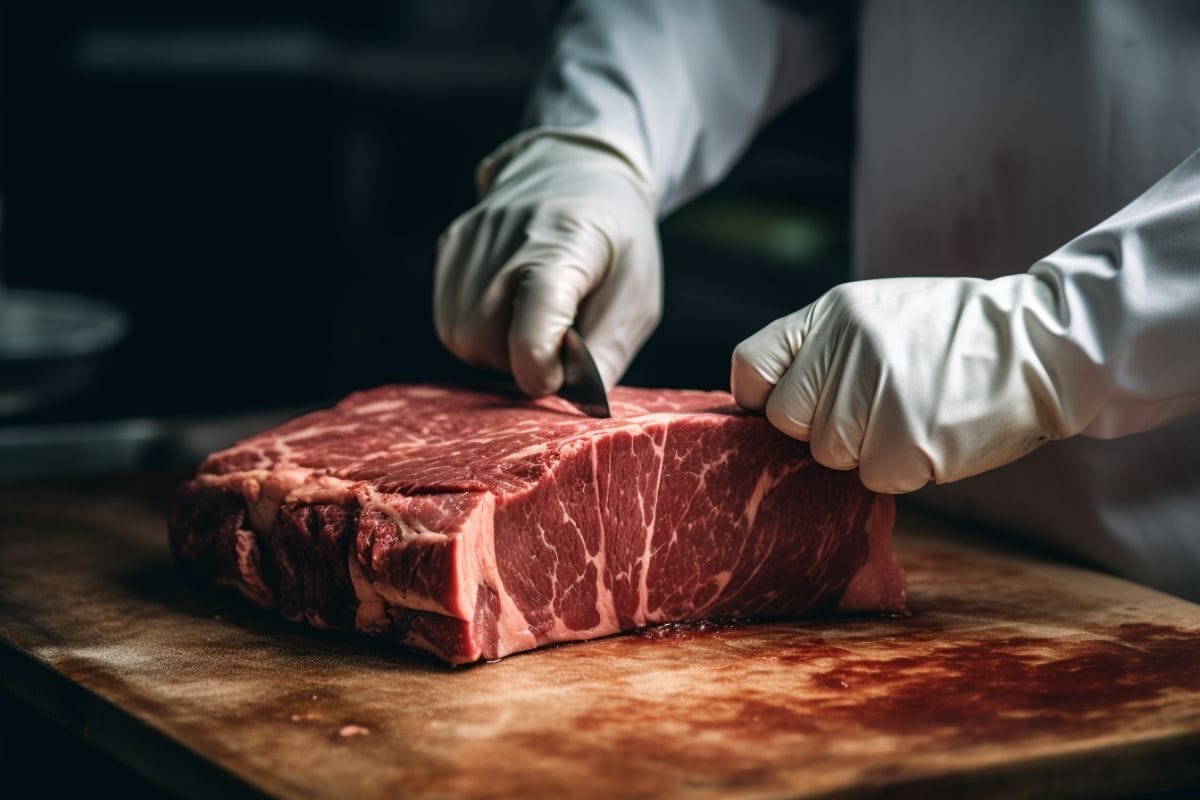
Step 1: Prepare the Pork Shoulder
Start by placing the pork shoulder on a clean cutting board. Pat it dry with paper towels to remove any excess moisture. This will make the meat easier to handle and assist in achieving cleaner, more defined cuts.
Step 2: Identify the Different Cuts
The pork shoulder is composed of several different cuts, each with its own distinct characteristics and culinary applications:
- Boston Butt: Located at the top portion of the pork shoulder, the Boston Butt is marbled with fat, making it ideal for slow cooking methods like smoking, braising, or roasting. It’s perfect for pulled pork.
- Picnic Shoulder: Positioned below the Boston Butt, the picnic shoulder has slightly more connective tissue and is great for roasting or making flavorful stews.
- Pork Steaks: Cut from the upper portion of the Boston Butt, pork steaks are thick, bone-in cuts that are ideal for grilling or frying.
- Pork Cubes: These smaller cuts are typically diced from the picnic shoulder and are perfect for kebabs, stir-fries, or stews.
- Pork Chops: Cut from the lower portion of the pork shoulder, pork chops are bone-in cuts that can be grilled, pan-fried, or oven-roasted. They are versatile and packed with flavor.
Step 3: Start Cutting
Now that you’re familiar with the various cuts, it’s time to start cutting the pork shoulder:
- Boston Butt: To separate the Boston Butt from the picnic shoulder, locate the natural seam between the two cuts and carefully cut through it. Trim any excess fat or connective tissue as desired.
- Picnic Shoulder: Trim any excess fat or skin from the picnic shoulder. To separate the boneless picnic roast, make a horizontal cut along the natural seam. Cut the roast into desired portions or slice thinly for stews.
- Pork Steaks: Use a sharp knife to cut pork steaks from the Boston Butt. Aim for cuts that are about 1 inch thick. Remember to trim excess fat or bone if desired.
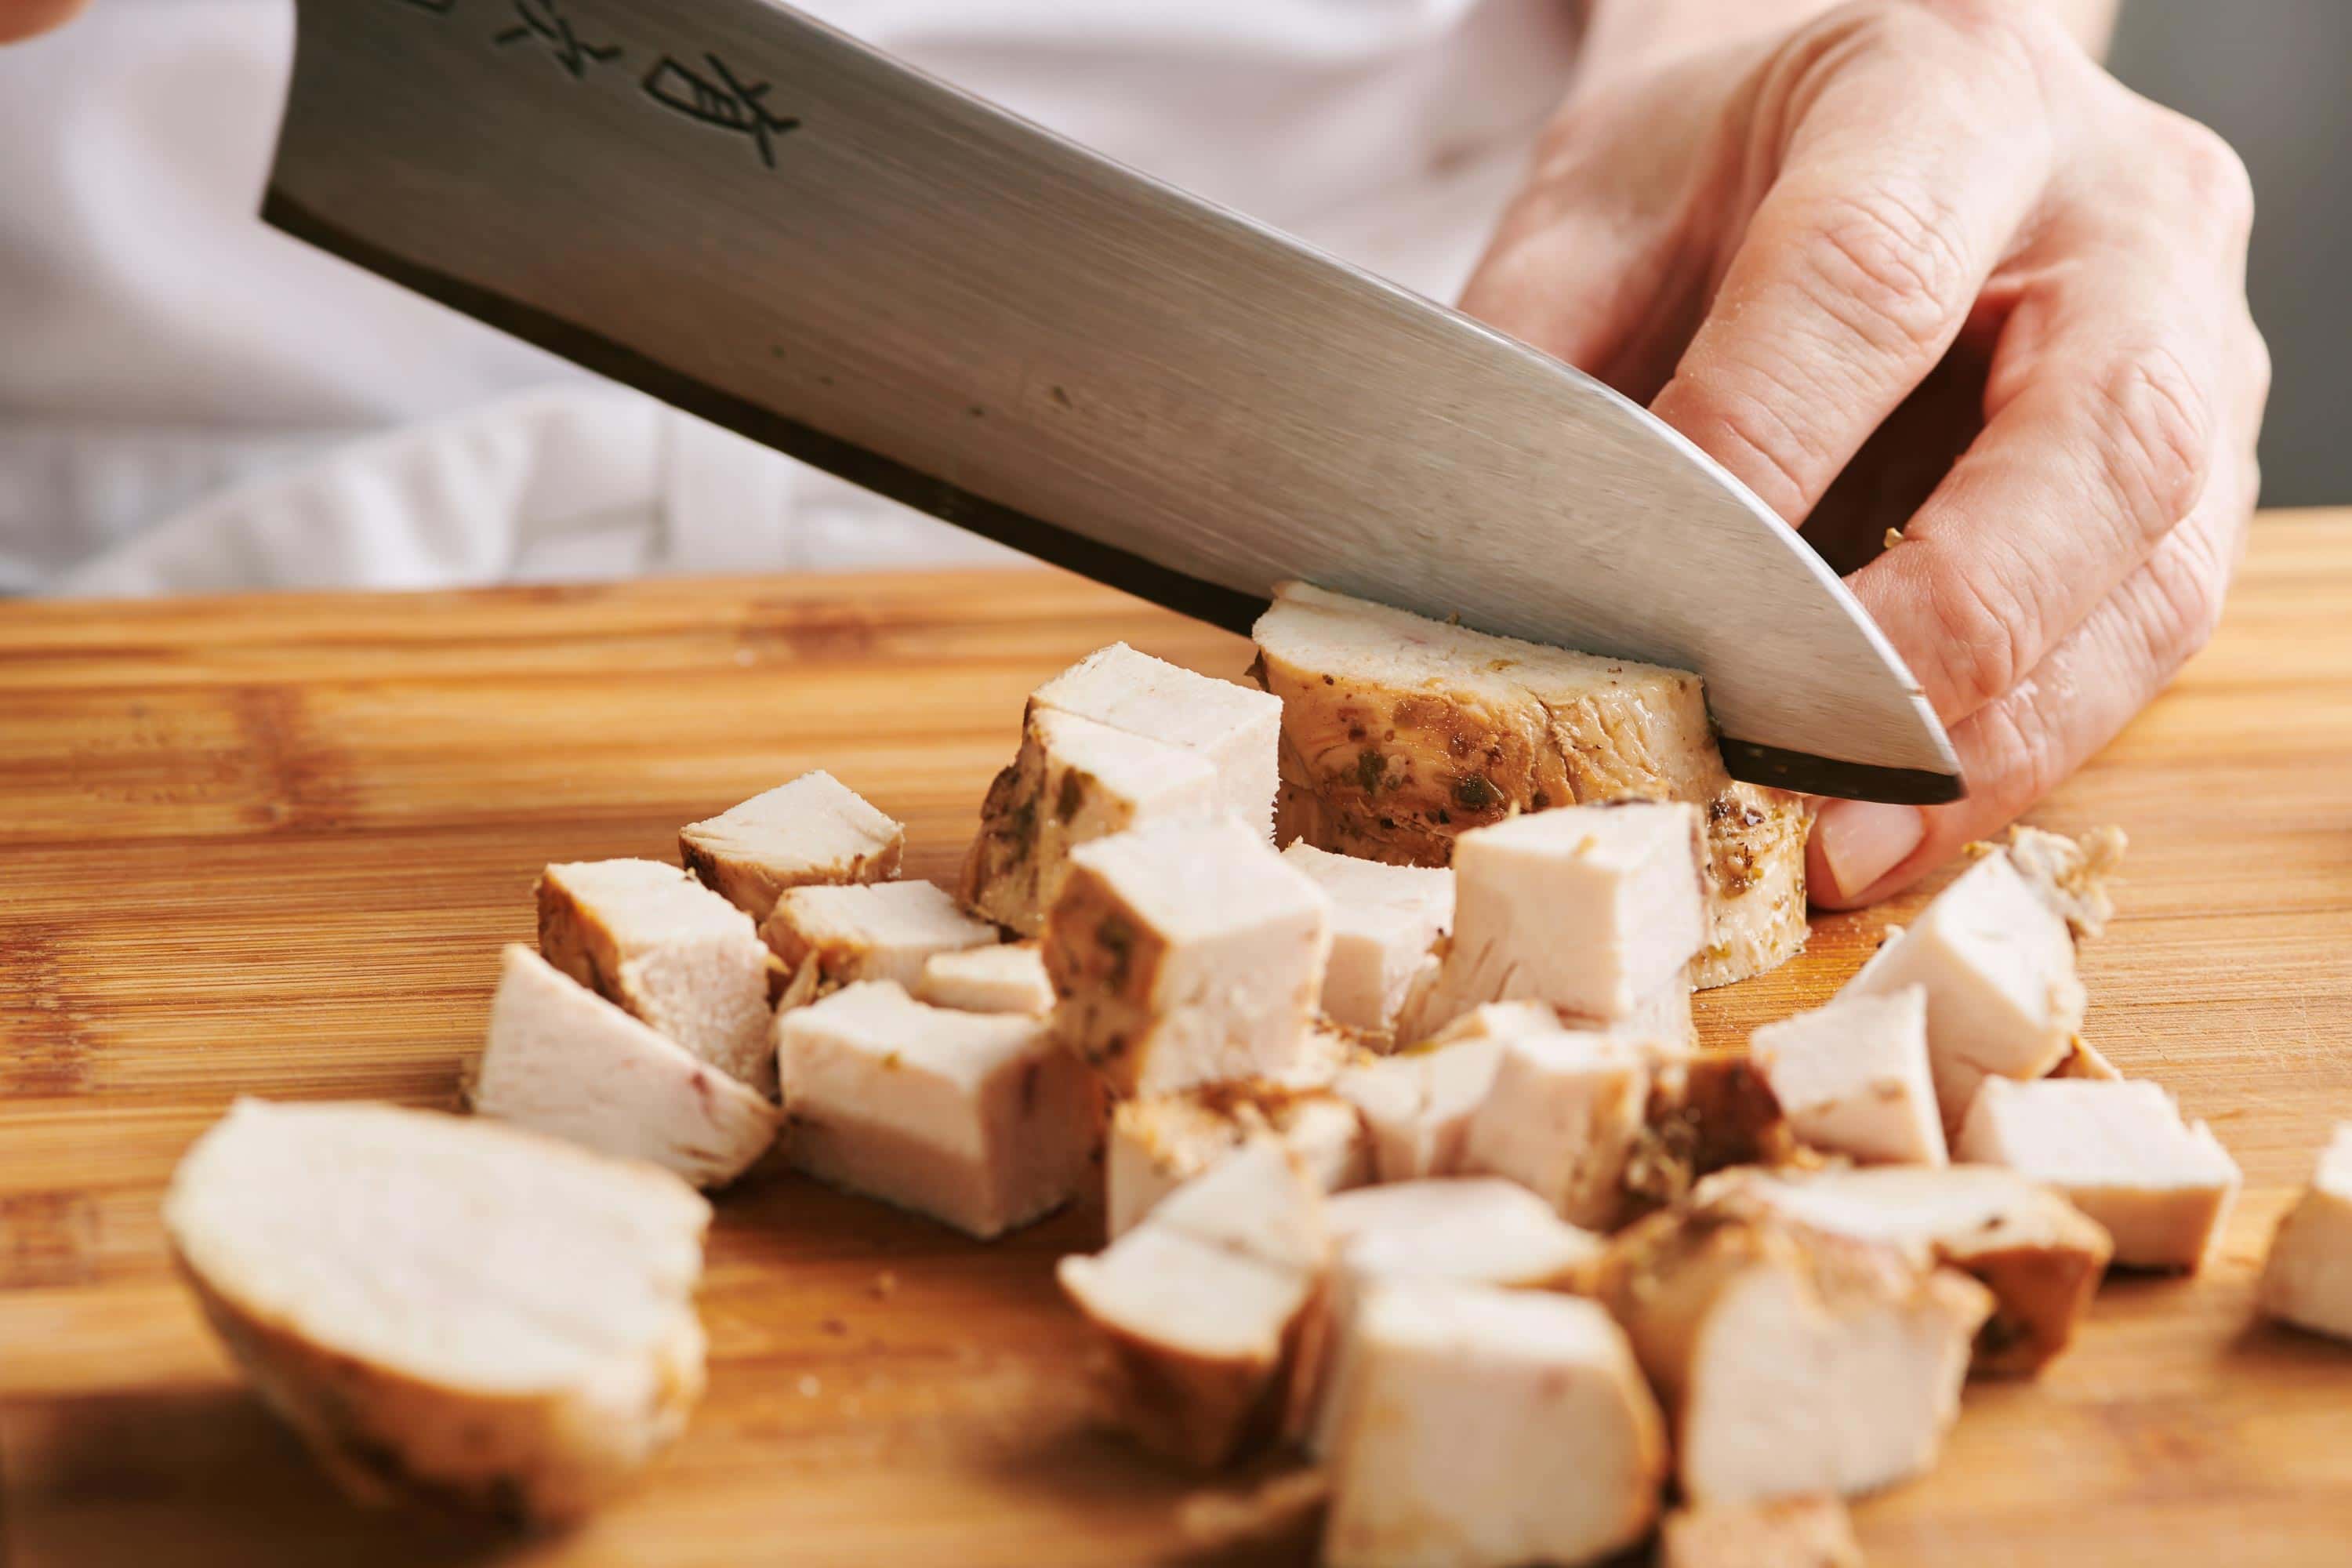
- Pork Cubes: Cut the picnic shoulder into small, uniform cubes for kebabs, stews, or stir-fries. Remove any excess fat or skin and dice the meat accordingly.
- Pork Chops: Slice the lower portion of the pork shoulder into bone-in pork chops. Aim for cuts that are about 1 inch thick. Trim excess fat or bone if desired.
Remember to keep your cuts clean and uniform for optimal cooking results. Once you’ve cut the pork shoulder into your desired portions, you’re ready to cook your favorite pork dishes!
By mastering the art of cutting pork shoulder, you can elevate your culinary skills and create a wide array of delicious pork-based dishes. Whether it’s tender pulled pork, flavorful stews, or juicy pork chops, knowing how to handle this versatile cut of meat will surely impress your family and friends.
So, grab your boning knife and cutting board, and let the pork shoulder cutting adventure begin!
More Delicious Pork Shoulder Recipes to Try
Having mastered the art of cutting pork shoulder, you're now perfectly equipped to tackle a variety of mouth-watering dishes that showcase your new skill. For a classic approach, try the Classic Pulled Pork Sandwiches, a staple that never disappoints with its tender, flavorful meat. If you're in the mood for something a bit different, the Smoky Pork Shoulder Tacos offer a delightful twist with their rich, smoky flavor. For those special dinner occasions, the Slow-Cooked Pork Shoulder Roast is a showstopper, promising to impress with its succulent, fall-off-the-bone meat. Each recipe provides a unique way to utilize pork shoulder, enhancing your culinary repertoire and providing delicious meals for any occasion.
Was this page helpful?
Read Next: How To Cut Pork Belly
Related Articles
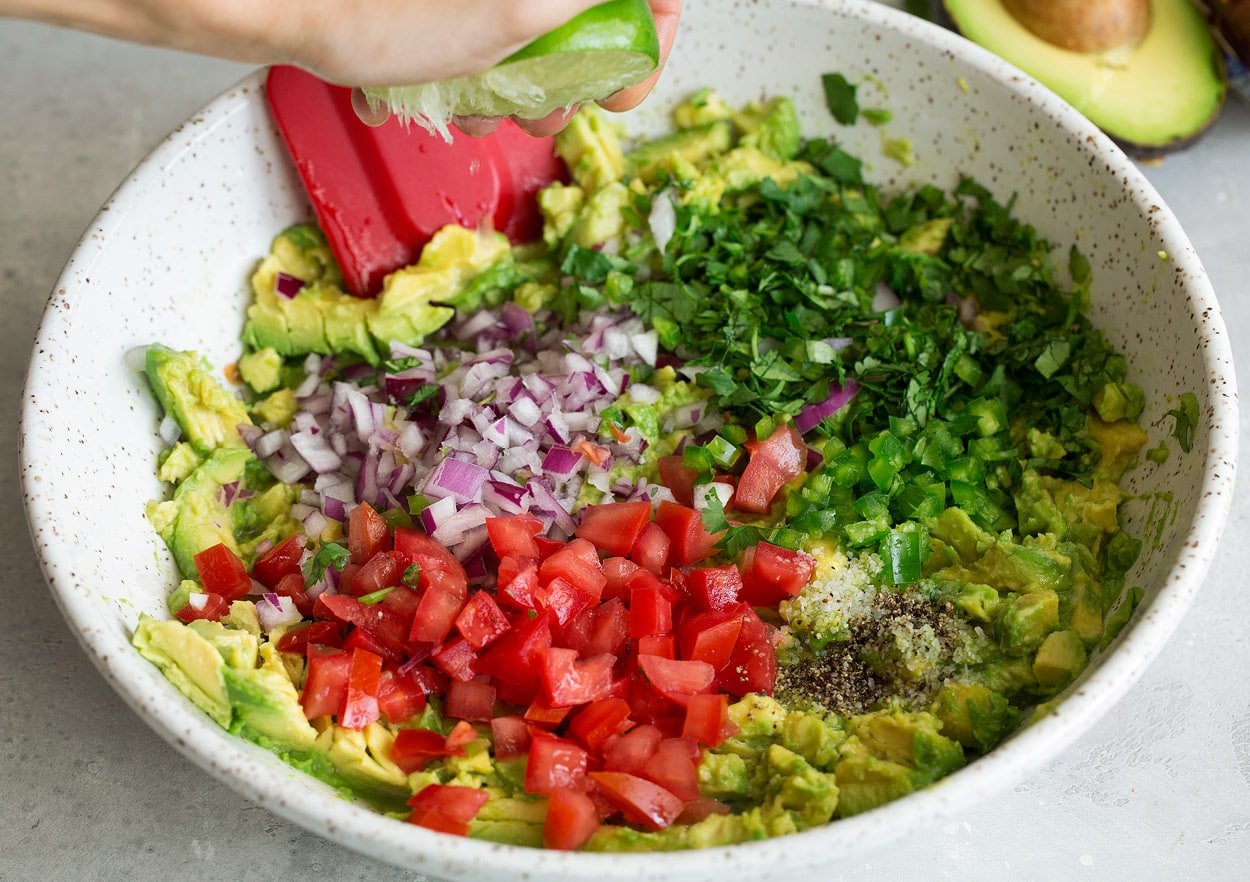
How To Cut Tomatoes For Guacamole
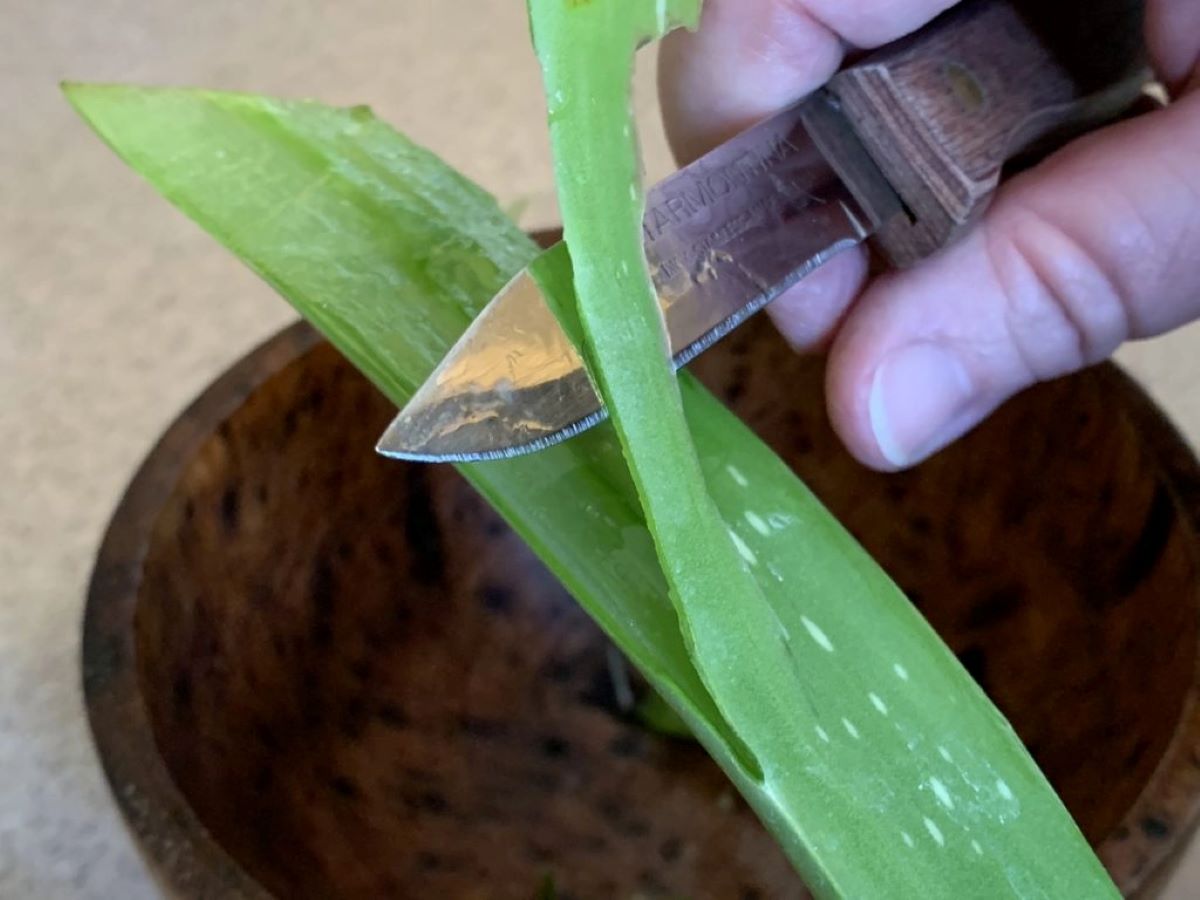
How To Cut My Aloe Vera Plant
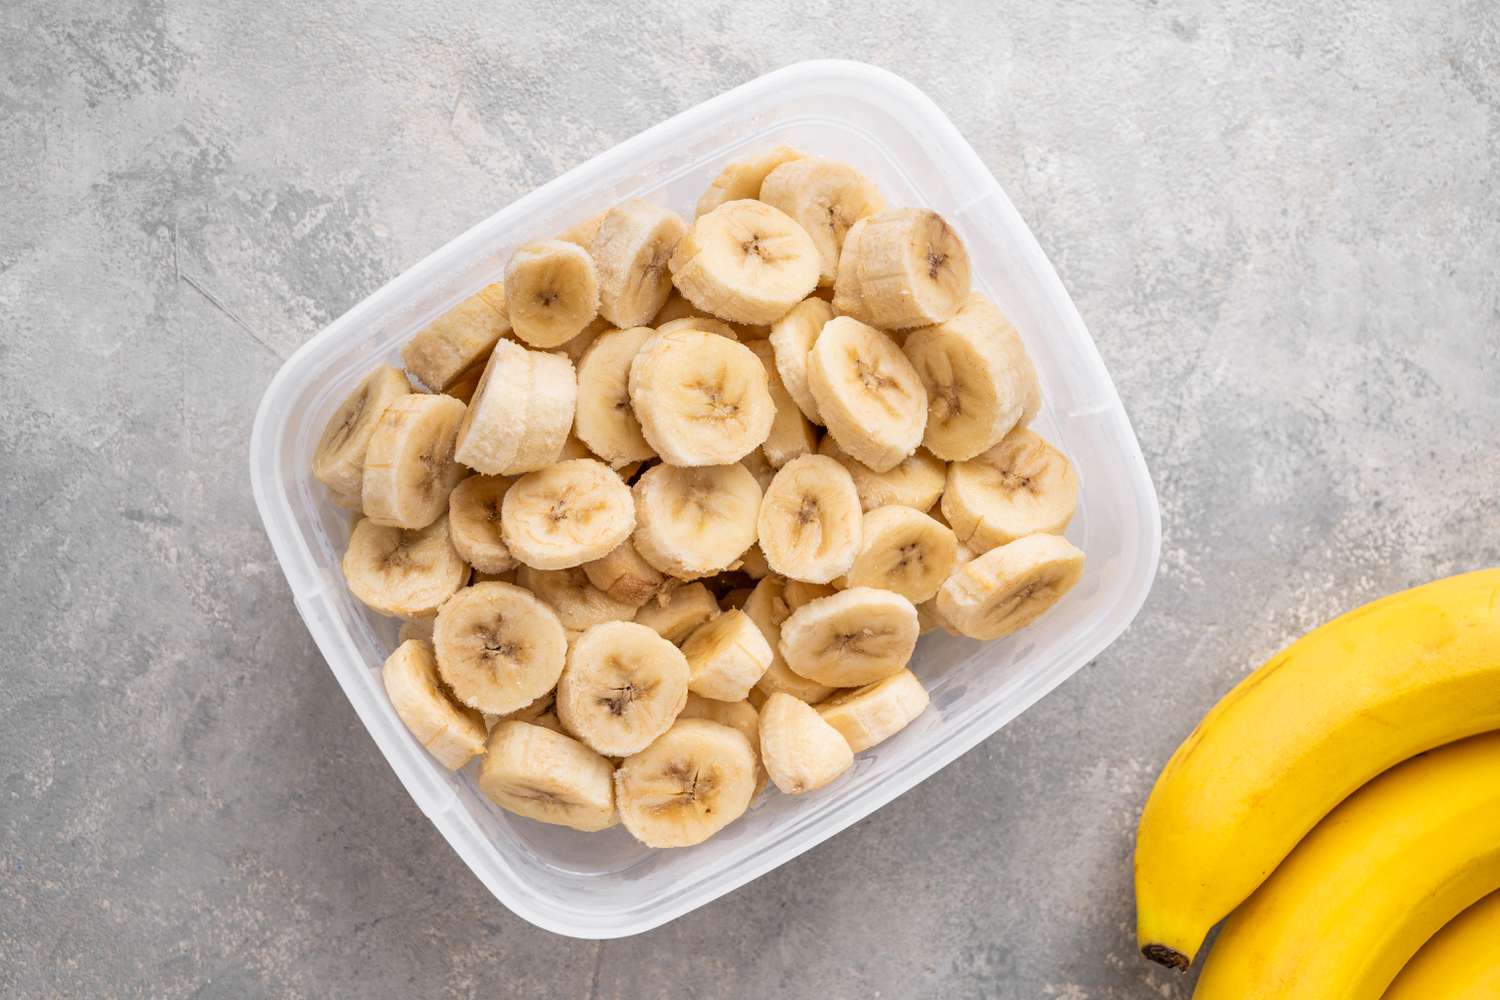
How To Cut A Frozen Banana
How To Cut Sweet Potato Wedges
How To Cut Cabbage For Soup
How To Cut Bell Peppers For Fajitas
How To Cut A Bell Pepper Into Strips
How To Cut A Beef Brisket
How To Cut A Brisket In Half
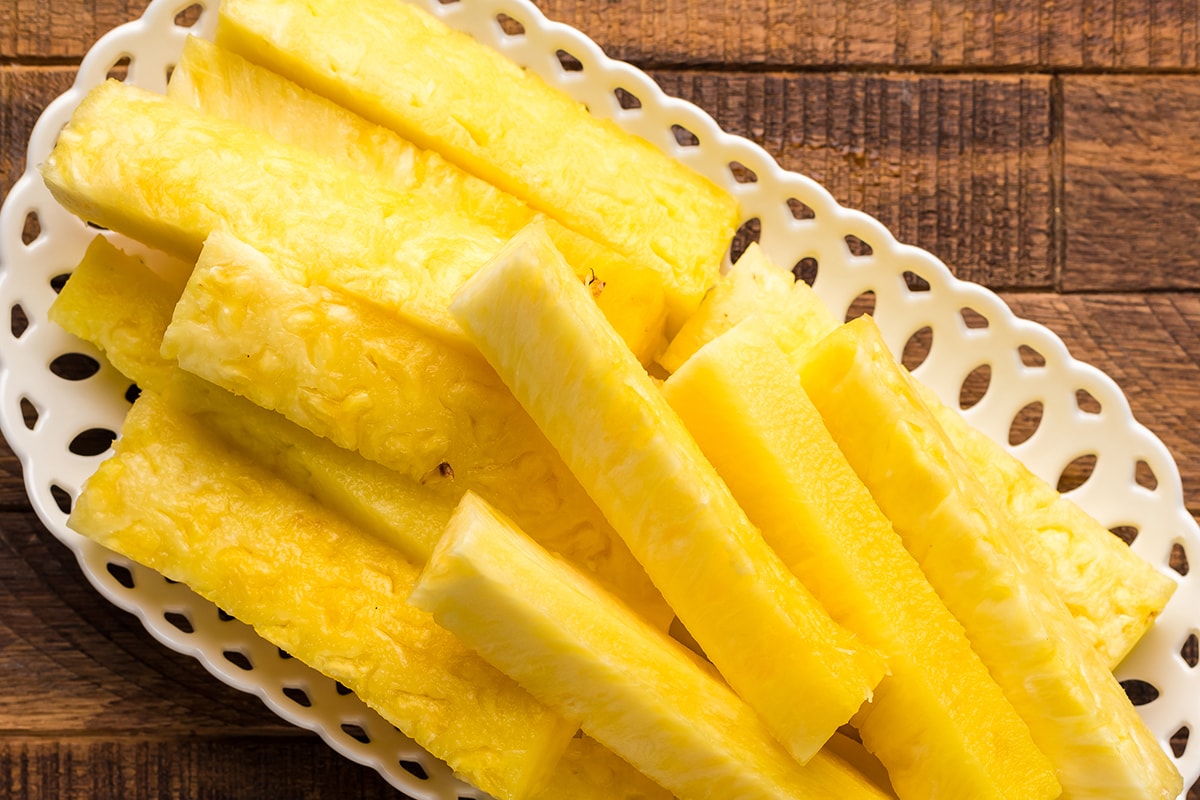
How To Cut Pineapple Spears
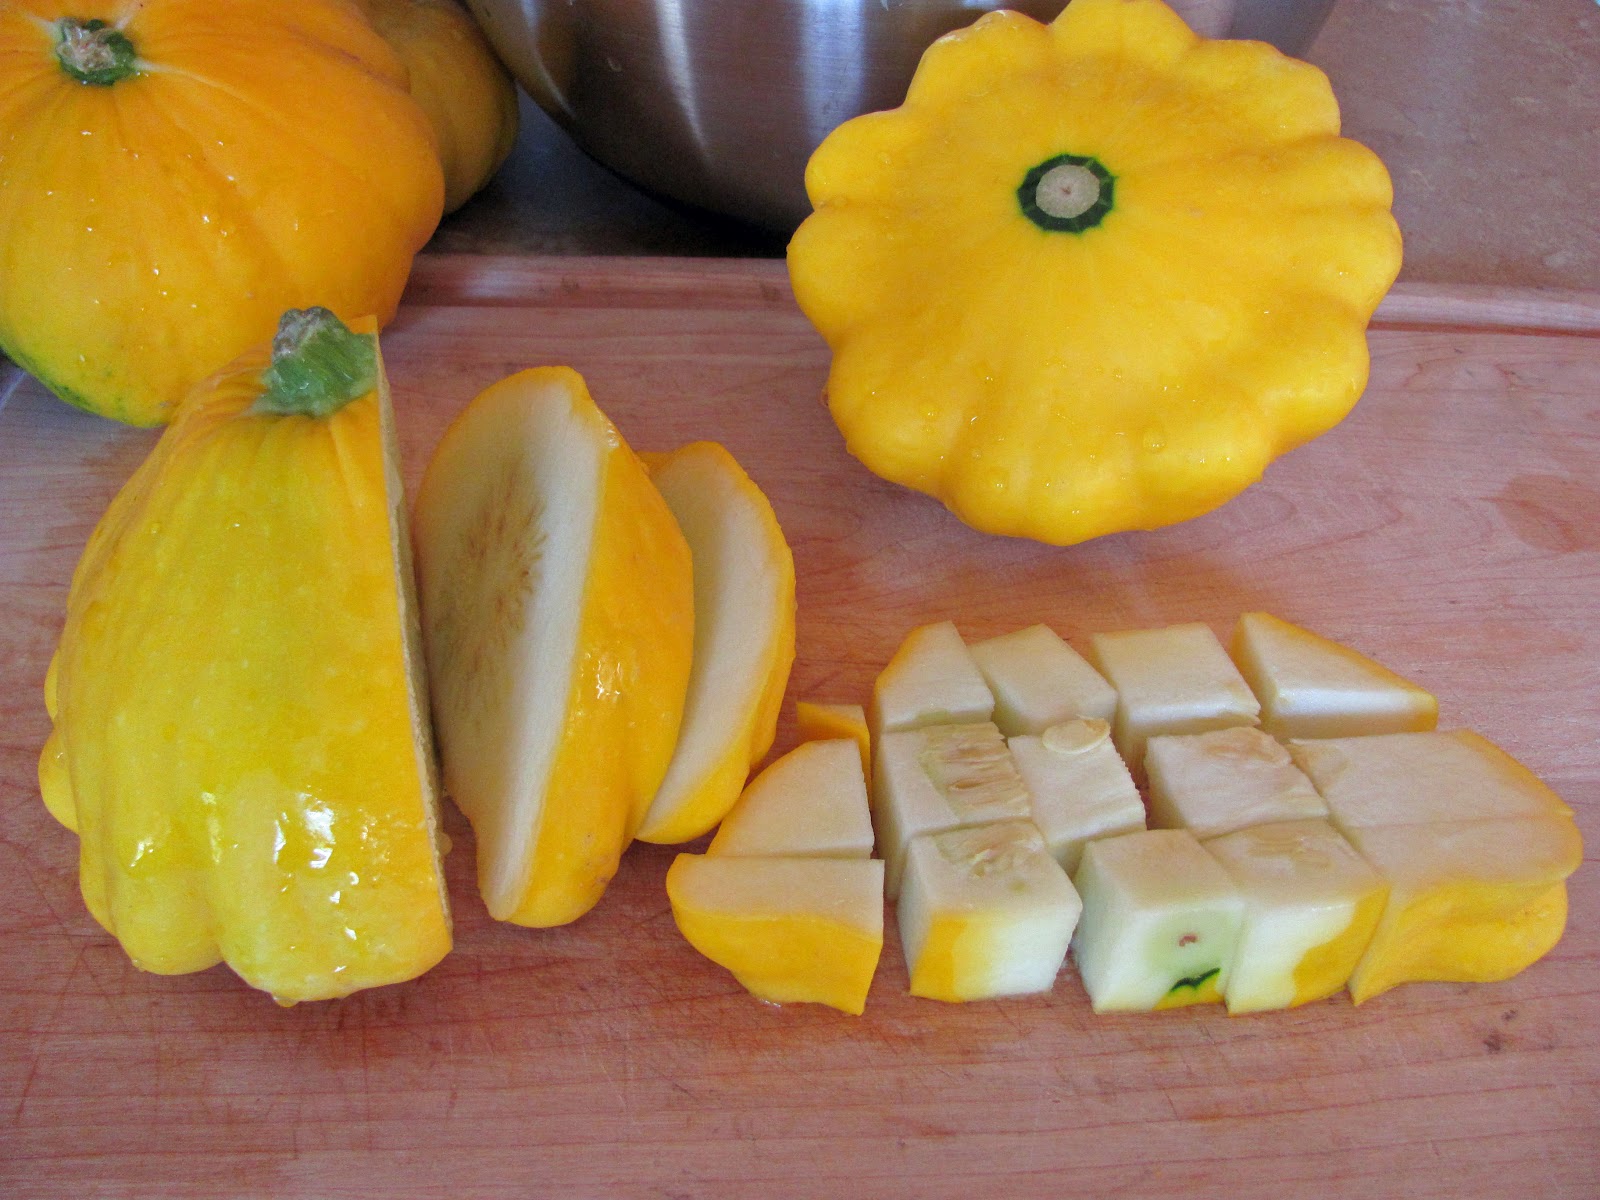
How To Cut Patty Pan Squash