Unlock the Secrets to Perfect Sushi Rice with Ninja Foodi
Are you a sushi lover looking to level up your at-home sushi game? Look no further than the versatile Ninja Foodi! With its incredible multi-functionality, the Ninja Foodi is not only capable of pressure cooking and air frying but can also create perfectly textured sushi rice. In this article, we will guide you through the steps to achieve sushi rice nirvana using your trusty Ninja Foodi.
What Makes Sushi Rice Special?
Sushi rice, also known as “shari,” is the foundation of every delectable sushi roll. It has a unique stickiness and slightly sweet flavor that complements the fresh ingredients packed inside. The secret to achieving the perfect sushi rice lies in its preparation. Properly cooked sushi rice should be firm yet tender, allowing it to hold its shape while melting in your mouth.
Step-by-Step Guide to Cooking Sushi Rice in Ninja Foodi
Follow these simple steps to create flawless sushi rice using your Ninja Foodi:
- Gather Your Ingredients:
- 2 cups sushi rice
- 2 cups water
- 2 tablespoons rice vinegar
- 2 tablespoons sugar
- 1 teaspoon salt
- Rinse and Soak the Rice:
- Drain the Rice:
- Add Water and Ensuring Proper Cooking:
- Natural Release and Seasoning:
- Season the Rice:
- Let it Rest:
Place the sushi rice in a colander and rinse under cold water until the water runs clear. Then, let the rice soak in fresh water for 30 minutes to remove excess starch.
After soaking, transfer the rice into the inner pot of your Ninja Foodi.
Add 2 cups of water to the pot and secure the pressure cooking lid on your Ninja Foodi. Select the “Pressure Cook” function and set the timer for 5 minutes.
Allow the pressure to release naturally for 10 minutes and then carefully release any remaining pressure. Remove the lid, fluff the rice gently with a fork, and let it cool slightly.
In a small bowl, combine rice vinegar, sugar, and salt. Heat the mixture in the microwave for about 30 seconds, stirring until the sugar and salt dissolve.
Pour the vinegar mixture over the cooked rice and gently fold it in using a wooden spatula. Be careful not to crush the rice grains.
Cover the rice with a clean kitchen towel and let it rest for another 10-15 minutes. This allows the flavors to meld together and the rice to achieve its desired stickiness.
Mastering Sushi Rice With Ninja Foodi
Now that you know the step-by-step process of cooking sushi rice in the Ninja Foodi, you can confidently create sushi rolls that rival those from your favorite sushi restaurant. Remember, practice makes perfect, so don’t be discouraged if your first attempt isn’t flawless. With time and experience, you’ll develop your own personal touch and style with sushi rice preparation.
So, why not gather your favorite sushi fillings, fire up your Ninja Foodi, and embark on a sushi-making adventure? Your taste buds will thank you!
For those eager to utilize the Ninja Foodi's capabilities, there are several sushi recipes they can dive into. Start with the Classic California Roll for a beginner-friendly option that highlights the perfect balance of flavors in sushi rice. Once comfortable, they can move on to the Spicy Tuna Roll, which adds a kick of heat to their sushi repertoire. For an impressive presentation, the Rainbow Roll showcases a colorful array of fish atop the sushi rice. If they prefer something warm and crunchy, the Shrimp Tempura Roll is a must-try, combining crispy shrimp with the soft, seasoned rice. Lastly, for a unique twist, the Sushi Burrito wraps sushi rice and fillings in a more substantial, handheld form. Each of these recipes provides a different experience and flavor profile, making them perfect for mastering the art of cooking sushi rice in the Ninja Foodi.
Was this page helpful?
Read Next: How To Cook Rotel On The Stove
Related Articles
How To Cook Pork Bone In Country Style Ribs In The Oven
How To Cook Hemp Hearts Like Oatmeal
How To Cook Early White Bush Scallop Squash
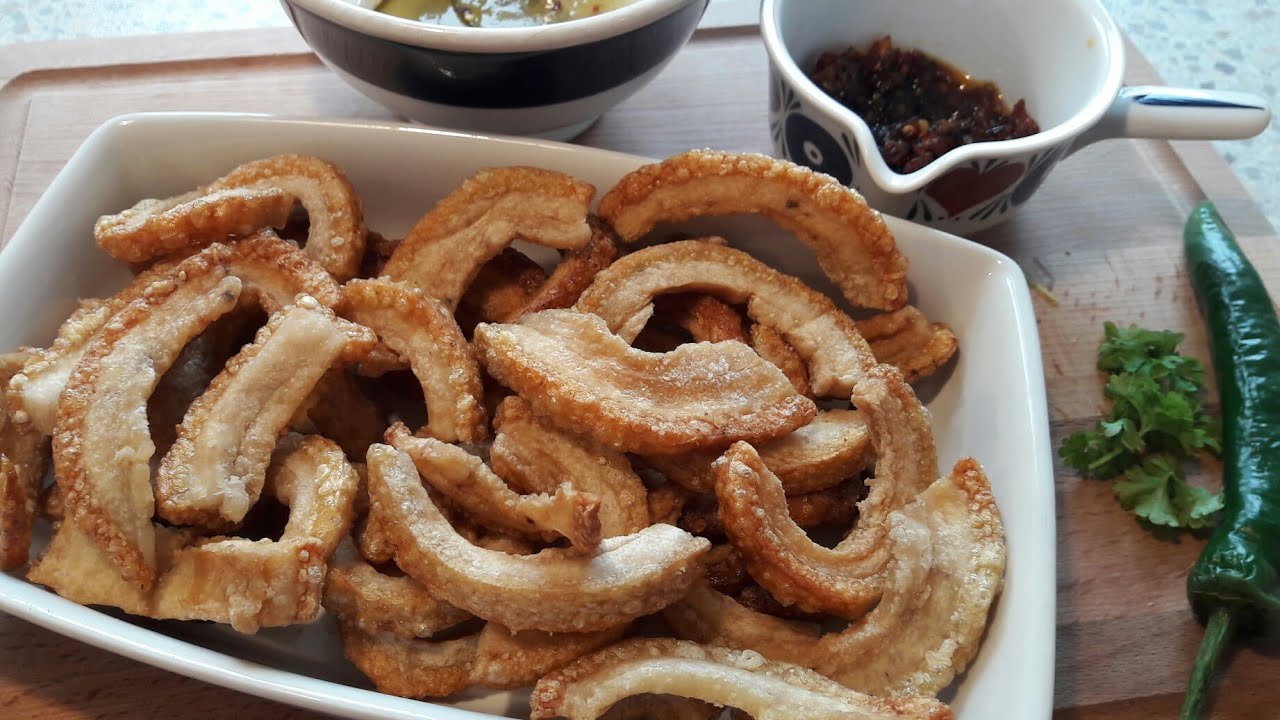
How To Cook Pork Skin Chicharon
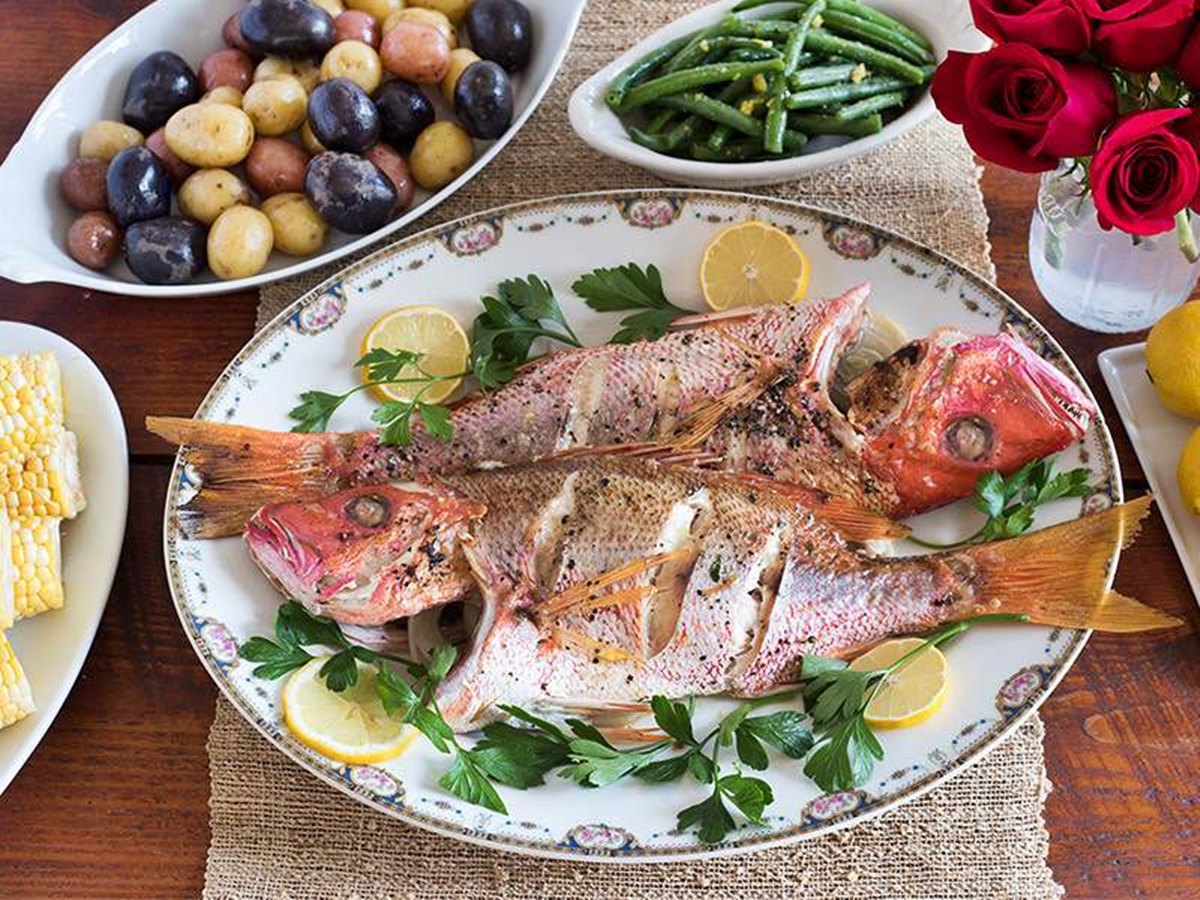
How To Cook Frozen Red Snapper
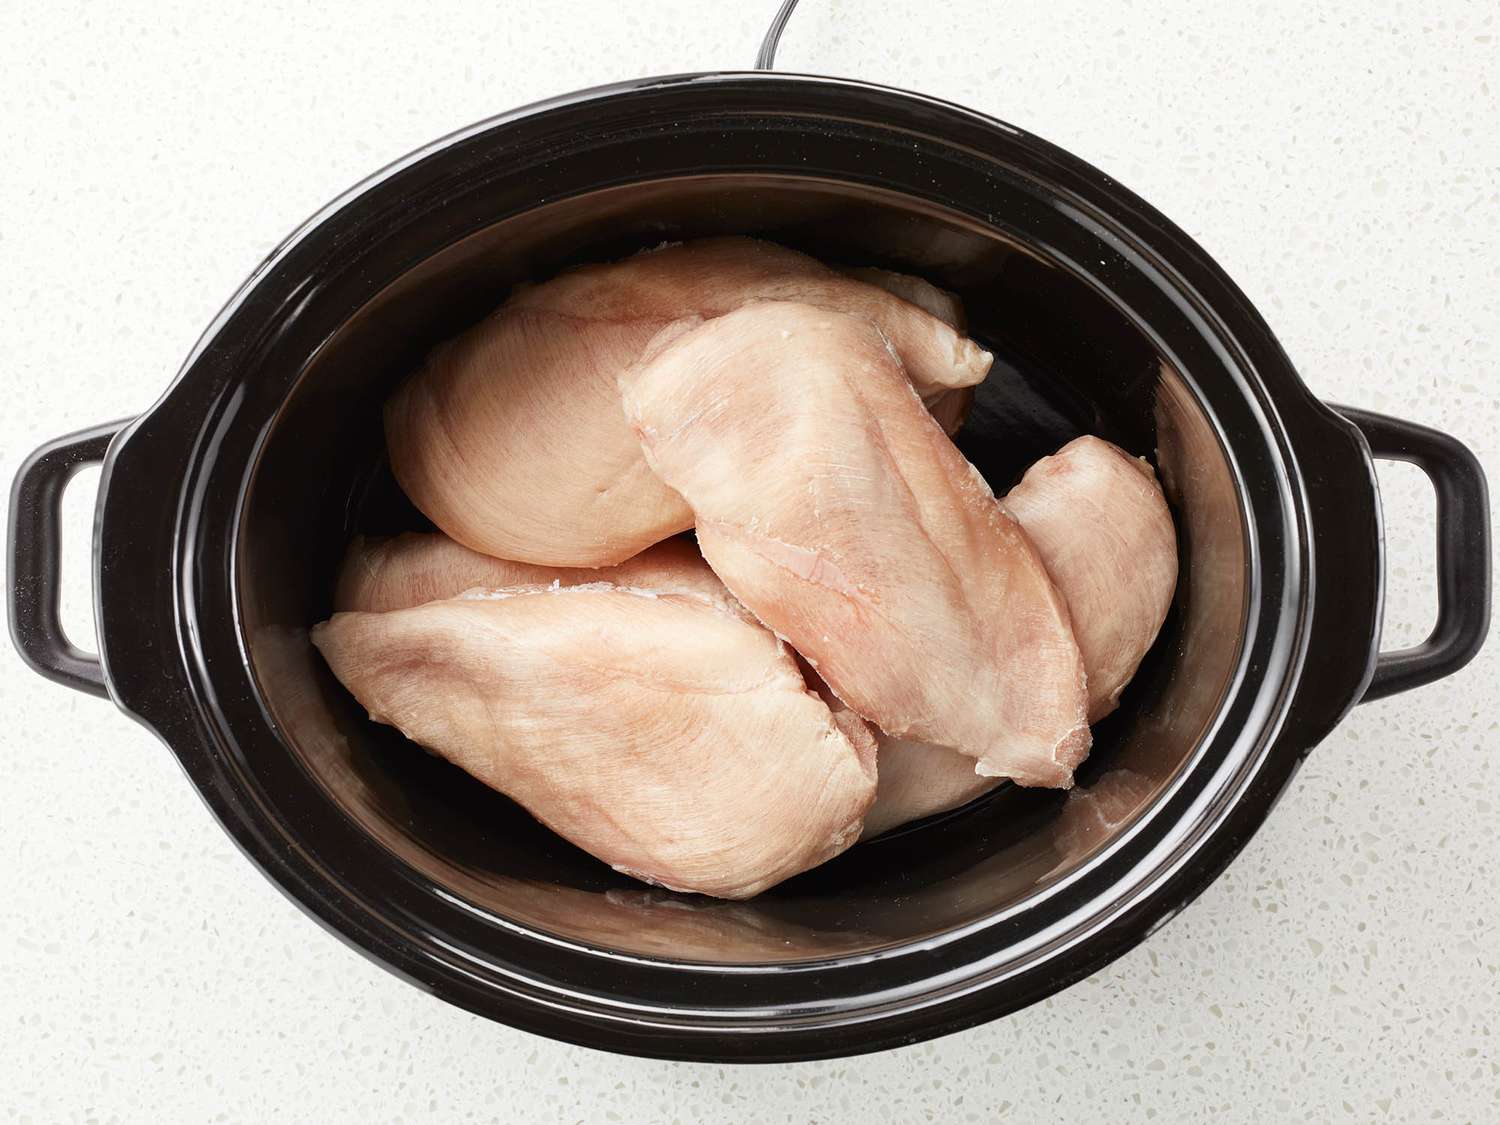
How To Cook Frozen Chicken In Slow Cooker
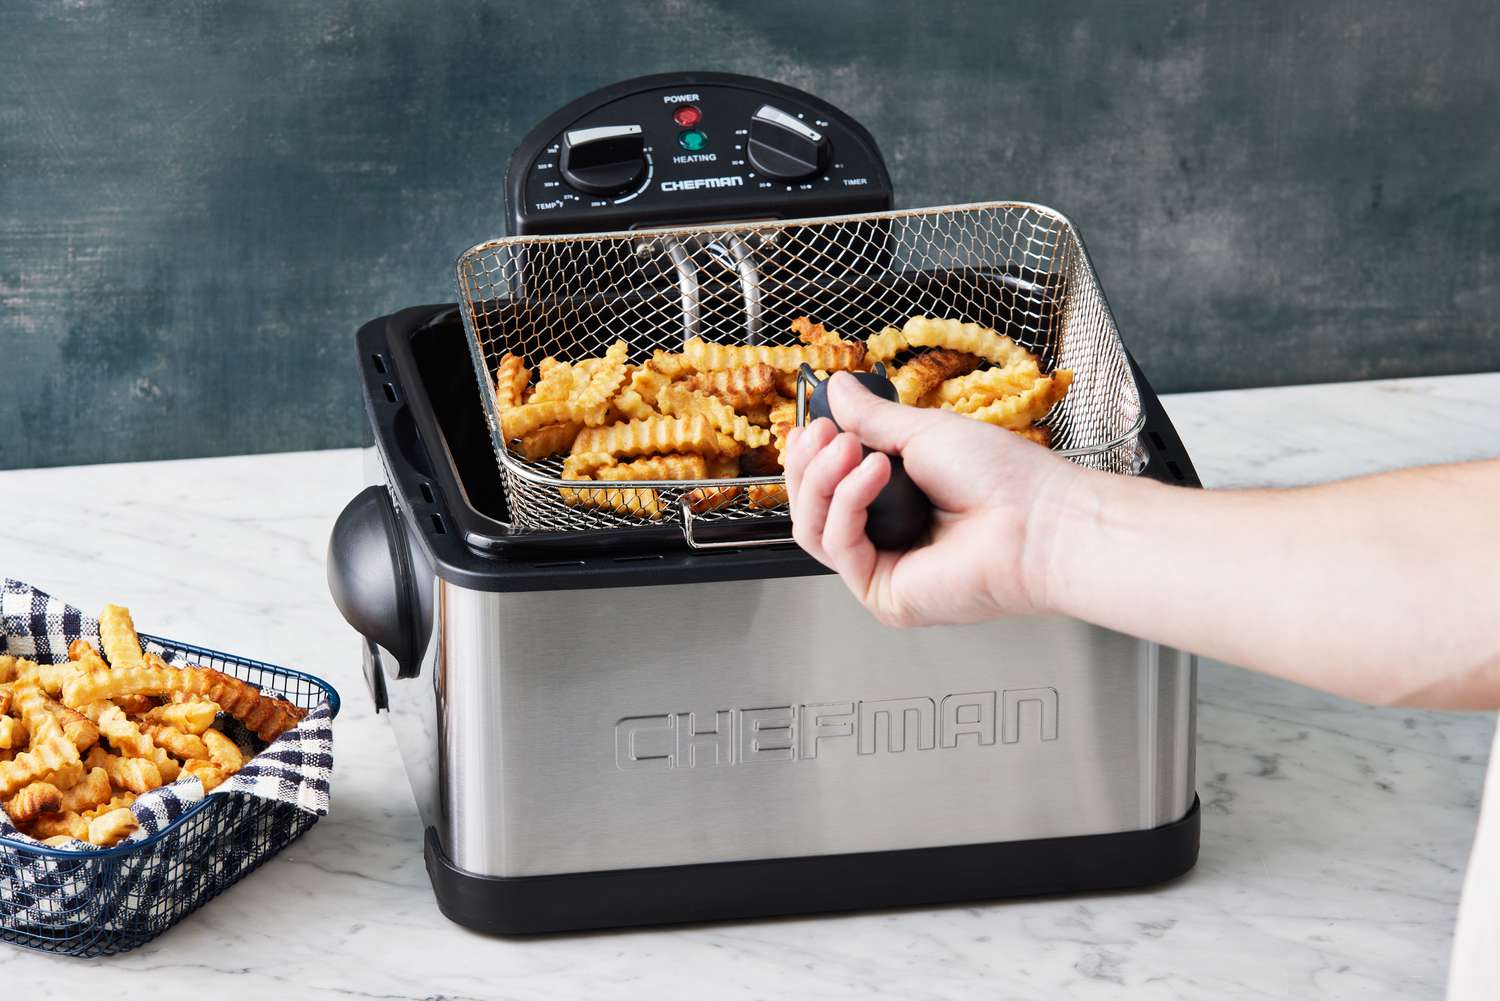
How To Cook French Fries In Deep Fryer
How To Cook Ramen Noodles In A Pan

How To Cook Sausage In Beer
How To Cook A Frozen Whole Lobster
How To Cook Tender Thin Pork Chops