Unlock the Secrets to Quick and Easy Pulled Pork in the Oven
Are you craving a mouthwatering pulled pork dish but don’t want to spend hours smoking it on a grill? Look no further! In this article, we will reveal the secrets to cooking delicious pulled pork in the oven quickly and easily. Get ready to impress your friends and family with your culinary skills!
Choose the Perfect Cut of Meat
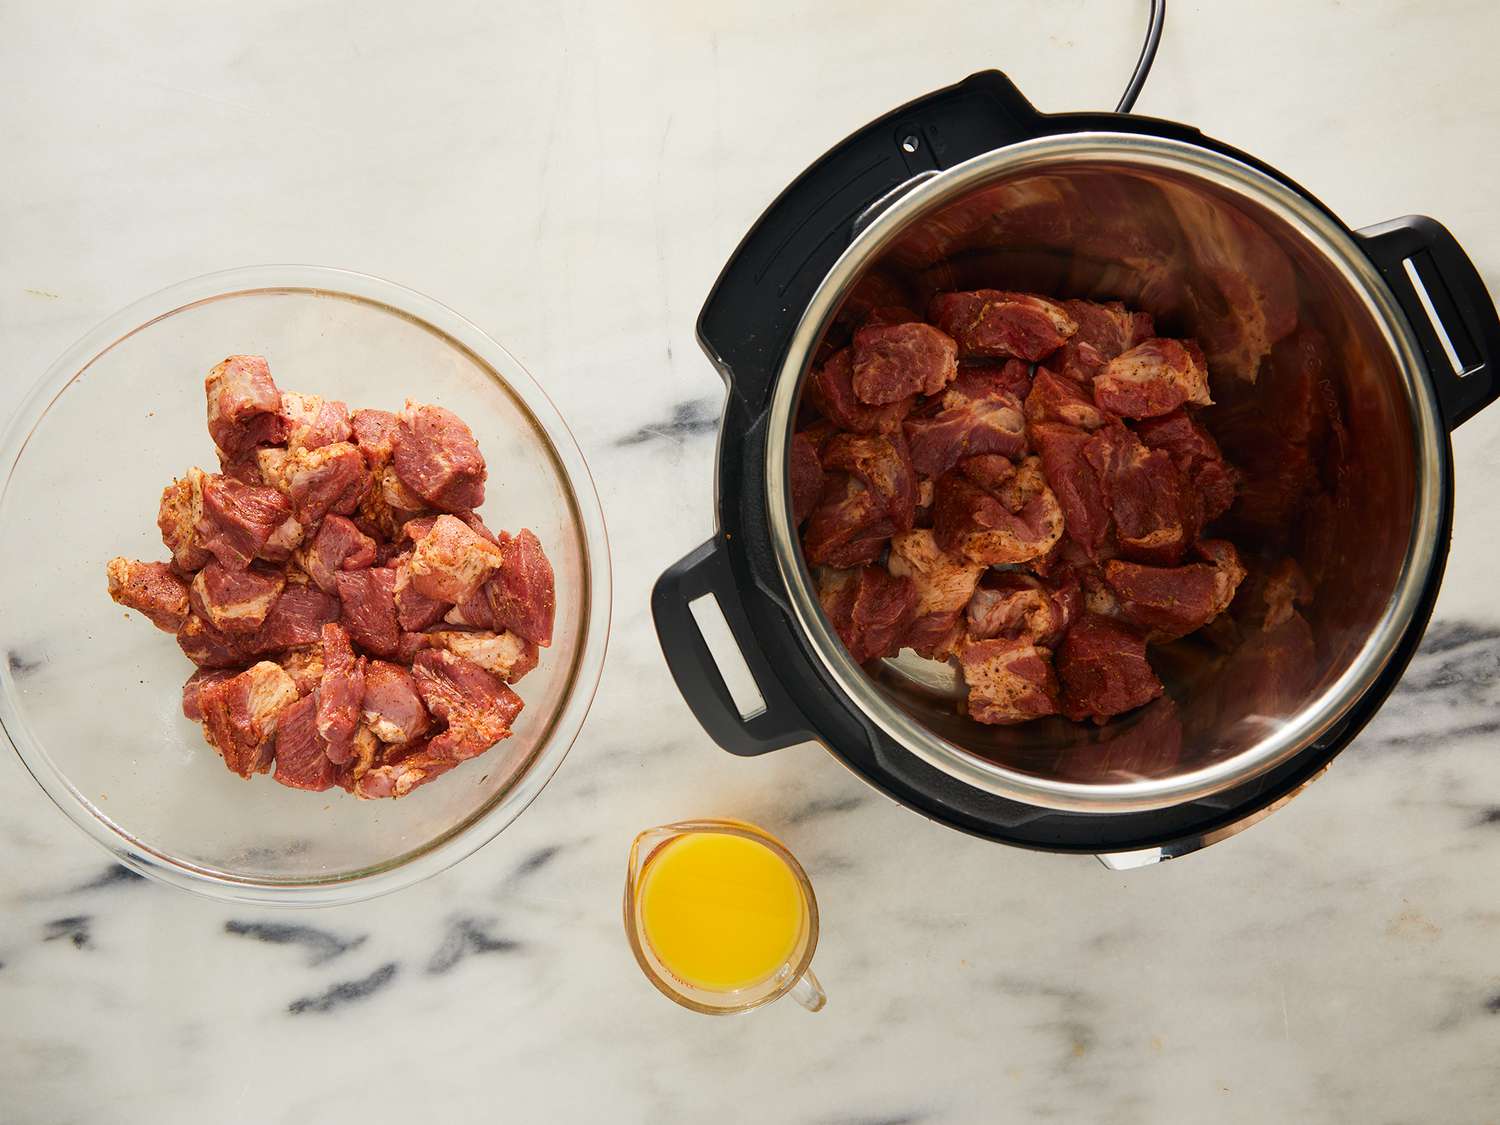
When it comes to making pulled pork, the cut of meat is crucial. Opt for a pork shoulder or pork butt, as they are flavorful and well-suited for slow cooking. These cuts have enough fat marbling to keep the meat tender and juicy throughout the cooking process.
Treat It with a Marinade or Dry Rub
To add extra flavor to your pulled pork, consider marinating it or applying a dry rub. A marinade made from a blend of spices, herbs, and liquids such as vinegar or apple juice can infuse the meat with incredible flavors. Alternatively, a dry rub comprising a mix of herbs, spices, salt, and brown sugar can create a delicious crust on the outside of the pork.
Preheat the Oven and Set the Temperature
Before placing the pork in the oven, preheat it to around 325°F (163°C). This temperature ensures slow and even cooking, allowing the flavors to develop and the meat to become tender. Place the pork on a roasting rack in a deep baking dish or roasting pan.
Cook Low and Slow
For the best results, slow cook the pork for several hours. Plan on approximately 1.5 to 2 hours of cooking time per pound of meat. Cooking slowly at a moderate temperature will break down the connective tissues and result in tender, pull-apart meat. It’s worth the wait!
Keep It Moist
During the cooking process, it’s crucial to keep your pulled pork moist to prevent it from drying out. You can do this by covering the roasting pan with aluminum foil, sealing in the steam and juices. This technique will produce succulent and flavorful meat that falls apart effortlessly.
Test the Readiness
To check if your pulled pork is ready, use a meat thermometer to ensure it reaches an internal temperature of 195°F (90°C). At this point, the collagen in the meat will have broken down, making it tender and easily shreddable. If it’s not quite there yet, continue cooking for a bit longer.
Let It Rest and Shred
Once the pork reaches the desired temperature, remove it from the oven and let it rest for at least 15 minutes. This resting period allows the juices to redistribute, resulting in a more flavorful outcome. After resting, go ahead and shred the pork using two forks or your hands. The meat should effortlessly fall apart, perfectly tender and flavorful.
Add Your Favorite Sauce
Pulled pork is traditionally served with a tangy and smoky BBQ sauce. Whether you prefer a sweet or spicy sauce, drizzle it over your shredded pork for an added burst of flavor. Mix it in or serve it on the side, allowing everyone to customize their own plate.
Enjoy the Fruits of Your Labor
Now that you’ve mastered the art of cooking pulled pork in the oven quickly, it’s time to gather your loved ones and savor this delectable dish. Serve it on a bun, in tacos, or alongside your favorite sides. The possibilities are endless!
With these easy steps, you can enjoy tender, flavorful pulled pork straight from your oven. So why wait? Put your apron on, gather your ingredients, and prepare to impress with your perfectly cooked pulled pork!
For anyone looking to master the art of quick oven-pulled pork, there are several delightful recipes to explore. Try the Pulled Pork Sliders with Coleslaw for a satisfying bite that combines tender meat with a crunchy, tangy topping. Pulled Pork Mac and Cheese offers a comforting twist on a classic dish, blending creamy cheese with savory pork. Pulled Pork Quesadillas are perfect for those who enjoy a bit of spice and melted cheese enveloping the meat. For a hearty meal, Pulled Pork Shepherd's Pie layers the pork with mashed potatoes and vegetables for a filling dish. Lastly, Pulled Pork Tacos with Fresh Salsa provide a vibrant, flavorful option that's sure to please anyone looking for a quick, delicious dinner.
Was this page helpful?
Read Next: How To Cook Bones For Dogs
