7 Simple Steps to Grill Pre Cooked Ribs Like a Pro
Grilling pre cooked ribs on the grill is a fantastic way to enjoy delicious, tender, and flavorful ribs in no time. Whether you’re looking to impress your friends at a backyard barbecue or simply satisfy your craving for juicy ribs, this guide will teach you how to grill pre cooked ribs like a pro. So, fire up the grill and let’s get started!
Step 1: Preheat the Grill
Before you begin grilling, make sure to preheat your grill to medium-high heat. This will ensure that your ribs cook evenly and develop that mouthwatering charred exterior.
Step 2: Prepare the Ribs
While the grill is heating up, take a moment to prepare your pre cooked ribs. Start by removing the ribs from the packaging and placing them on a clean cutting board. Pat them dry with paper towels to remove any excess moisture.
- Optional: Apply a Dry Rub
If you want to enhance the flavor of your ribs, you can apply a dry rub at this stage. Whether it’s a store-bought spice blend or a homemade concoction, generously sprinkle the dry rub all over the ribs, making sure to coat both sides.
Step 3: Oil the Grill Grates
To prevent the ribs from sticking to the grill, lightly oil the grill grates. You can do this by soaking a paper towel in oil and using tongs to rub it over the grates.
Step 4: Place the Ribs on the Grill
Carefully place the pre cooked ribs on the preheated grill, bone side down. Close the lid and let them cook for about 5-7 minutes per side, or until they are heated through and have developed a beautiful grill mark.
Step 5: Baste with Barbecue Sauce
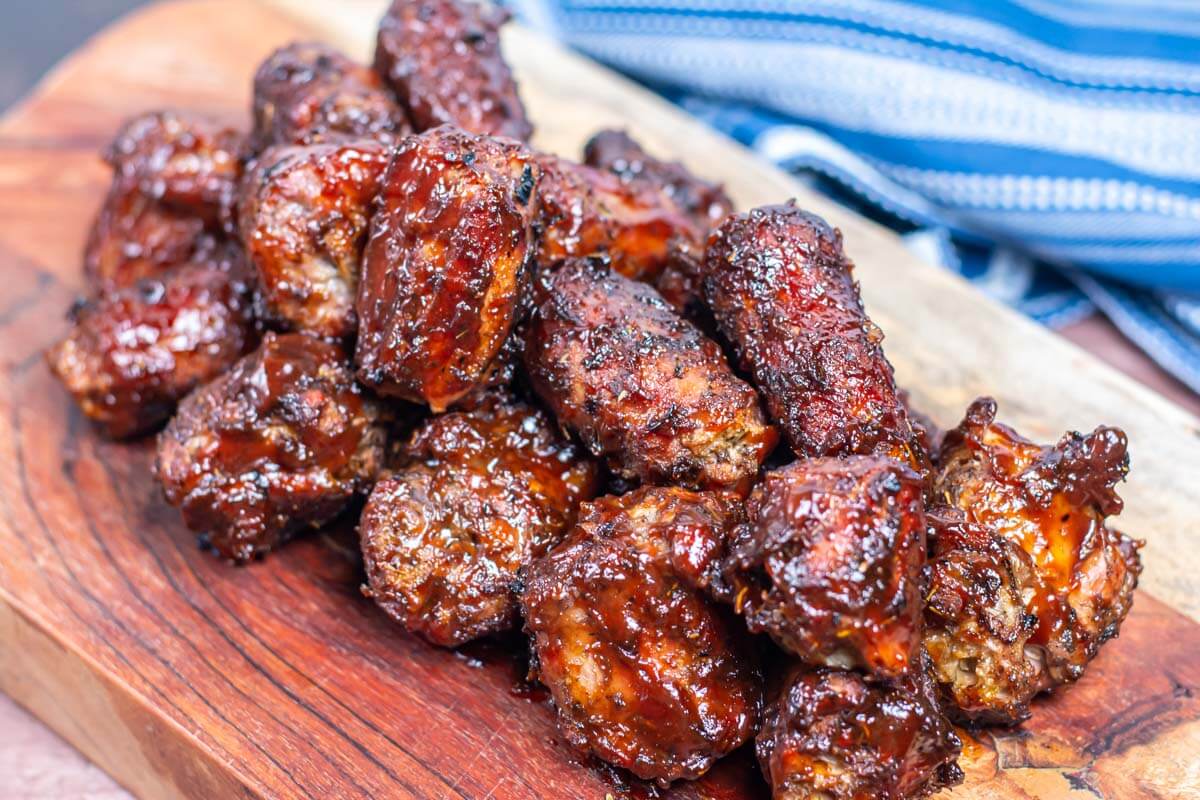
If you’re a fan of sticky and tangy barbecue sauce, now is the time to brush it onto your ribs. Flip the ribs and generously coat them with your favorite sauce using a basting brush. Be sure to cover both sides and allow the sauce to caramelize for a few minutes.
Step 6: Keep an Eye on the Ribs
While the ribs are grilling, it’s important to monitor them closely. Adjust the heat if necessary and rotate the ribs occasionally to ensure even cooking. Remember, the goal is to achieve that perfect balance of tender meat and smoky char.
Step 7: Remove and Rest
Once the ribs are fully heated and the barbecue sauce has caramelized to your liking, carefully remove them from the grill using tongs or a spatula. Transfer the ribs to a cutting board and allow them to rest for a few minutes. This resting period will help the juices redistribute and make the meat even more tender.
Now that you’ve mastered the art of grilling pre cooked ribs, it’s time to dig in and enjoy the fruits of your labor. Serve the ribs with your favorite sides, such as coleslaw or cornbread, and savor every delicious bite. So, gather your friends and family, fire up the grill, and get ready to indulge in a finger-licking feast!
Explore More Delicious Rib Recipes and Uses
After mastering the basics of grilling pre-cooked ribs with the help of our guide, why not challenge yourself with a variety of recipes that can further enhance your grilling repertoire? From the sweet and smoky Classic BBQ Grilled Pre-Cooked Ribs to the bold flavors of Spicy Chipotle Grilled Pre-Cooked Ribs, there's a recipe to suit every palate. We highly recommend trying the Honey-Glazed Grilled Pre-Cooked Ribs for a perfect blend of sweetness and richness, or the Garlic and Herb Grilled Pre-Cooked Ribs for a fragrant and savory option. Each recipe utilizes the skills covered in our guide and introduces unique twists that are sure to impress at your next barbecue.
Was this page helpful?
Read Next: How To Cook Turkey For Cats
