Delicious and Nutritious: Cooking Meat for Your Canine Companion
As pet owners, we strive to provide the best care for our furry friends, and that includes their diet. While a complete and balanced commercial dog food is essential for their well-being, incorporating cooked meat into their meals can offer a tasty and nutritious treat. Not only does it add variety to their diet, but it also allows you to control the quality of the ingredients. So, let’s dive into the world of cooking meat for your dogs!
Choosing the Right Meat
When it comes to cooking meat for dogs, it’s important to select high-quality, lean cuts. Avoid meats that are heavily processed or seasoned, as they may contain additives that are harmful to your pet. Opt for the following dog-friendly options:
- Chicken: Rich in lean protein and low in fat, chicken is a popular choice for homemade dog meals.
- Turkey: Another lean protein source, turkey is gentle on the stomach and a great alternative to chicken.
- Beef: Choose lean cuts such as sirloin or ground beef with low fat content to ensure your furry friend receives the necessary nutrients.
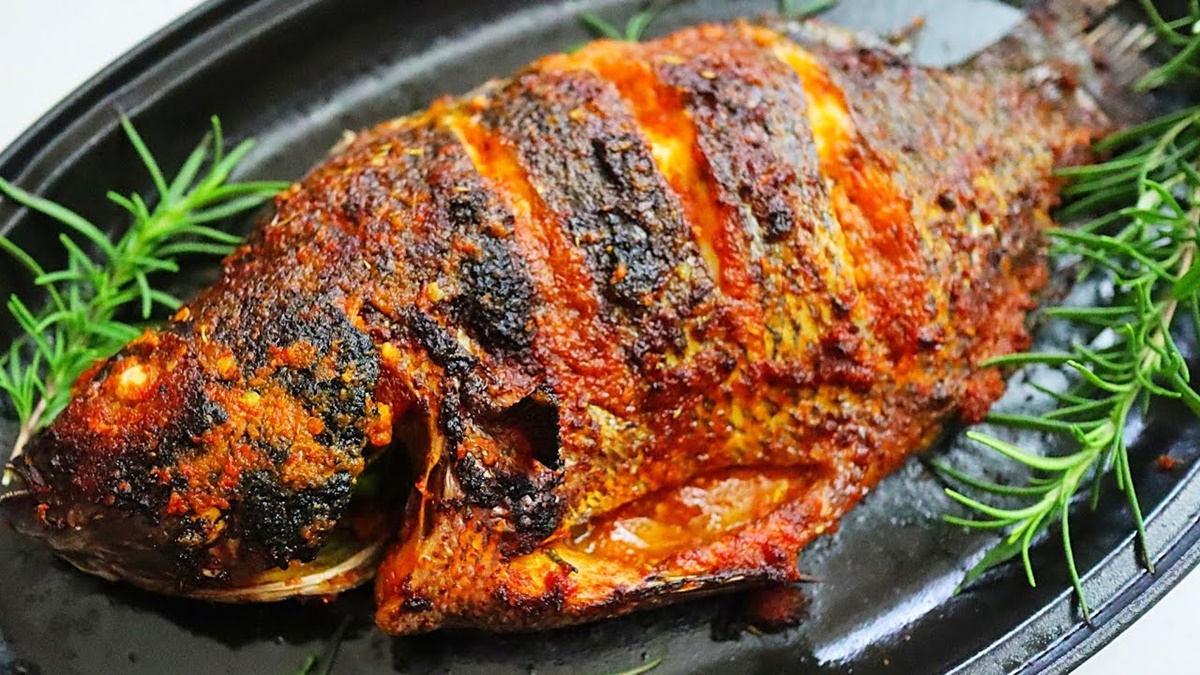
- Fish: Salmon and mackerel are excellent choices, as they are packed with omega-3 fatty acids that promote a healthy coat and skin.
Cooking Methods for Meat
When cooking meat for your dogs, there are a few different methods you can use. It’s important to note that the meat should always be fully cooked to avoid the risk of bacterial contamination. Here are three simple yet effective cooking techniques:
Boiling
Boiling is an easy and quick method to prepare meat for your canine companion. Simply place the meat in a pot with enough water to cover it, bring it to a boil, and let it simmer until fully cooked. Remember to remove any bones before serving, as they can pose a choking hazard.
Baking
Baking is a great option that retains the natural flavors and juices of the meat. Preheat your oven to the desired temperature, place the meat on a baking sheet, and cook until it reaches an internal temperature of 165°F (74°C). This method works well for larger cuts or when you want to achieve a crispy texture.
Grilling
If you’re in the mood for a BBQ, why not include some meat for your furry friend? Grilling is an excellent way to add a smoky flavor to the meat while reducing the fat content. Make sure to cook the meat thoroughly and remove any marinades or seasonings that may be harmful to your dog.
Serving Suggestions
Now that you have cooked the perfect meat for your dog, it’s time to serve it up! Here are a few suggestions on how to incorporate cooked meat into their meals:
- Mix it in with their regular dog food to add flavor and make mealtime more exciting.
- Use it as a high-value training treat to reward good behavior.
- Create homemade dog-friendly meat-based treats, such as jerky or meatballs.
- Combine it with vegetables and whole grains for a balanced homemade meal.
Remember, moderation is key when it comes to feeding cooked meat to your dog. It should not exceed more than 10% of their total daily caloric intake. It’s always best to consult with your veterinarian before making any changes to your dog’s diet.
Final Thoughts
Cooking meat for your dogs is a wonderful way to show them love and provide them with added nutrition. By selecting the right cuts of meat and using safe cooking methods, you can ensure your canine companion enjoys a delicious and healthy meal. So, fire up that stove or grill and get ready to see the joy in your furry friend’s eyes as you serve them their specially prepared meaty delight!
Was this page helpful?
Read Next: How To Cook Dry Split Peas
Related Articles
How To Cook Snow Crab Legs Clusters
How To Cook Pork Loin In Dutch Oven

How To Cook Shrimp Soup
How To Cook Pre Marinated Pork Tenderloin In Slow Cooker
How To Cook Tilapia In Ninja Foodi Grill
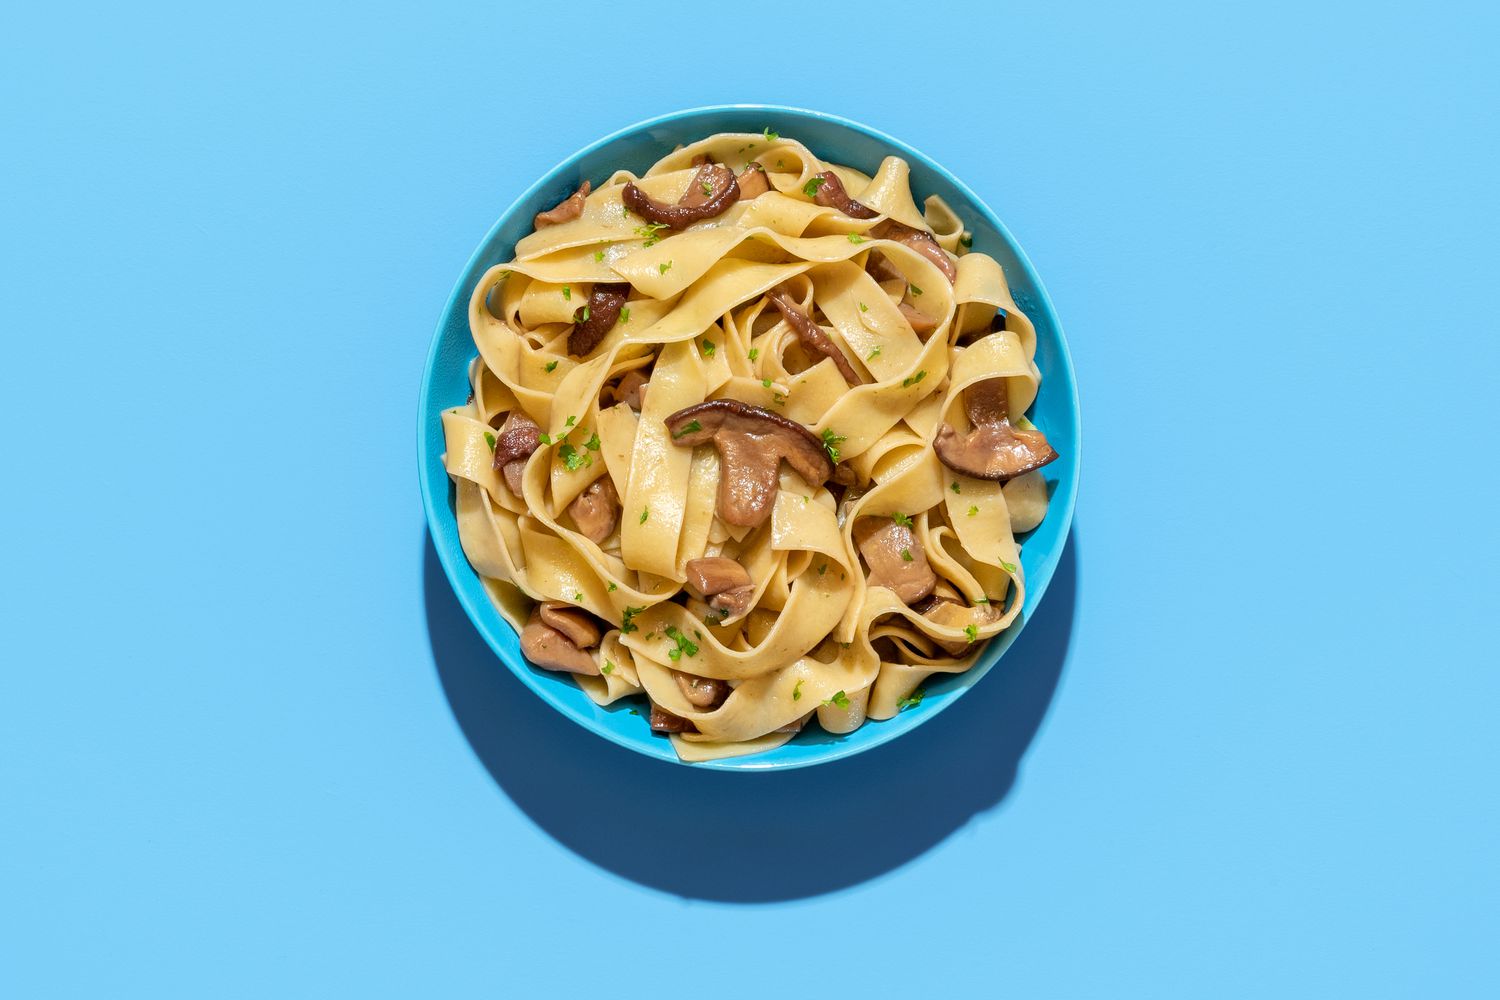
How To Cook Noodles In The Microwave
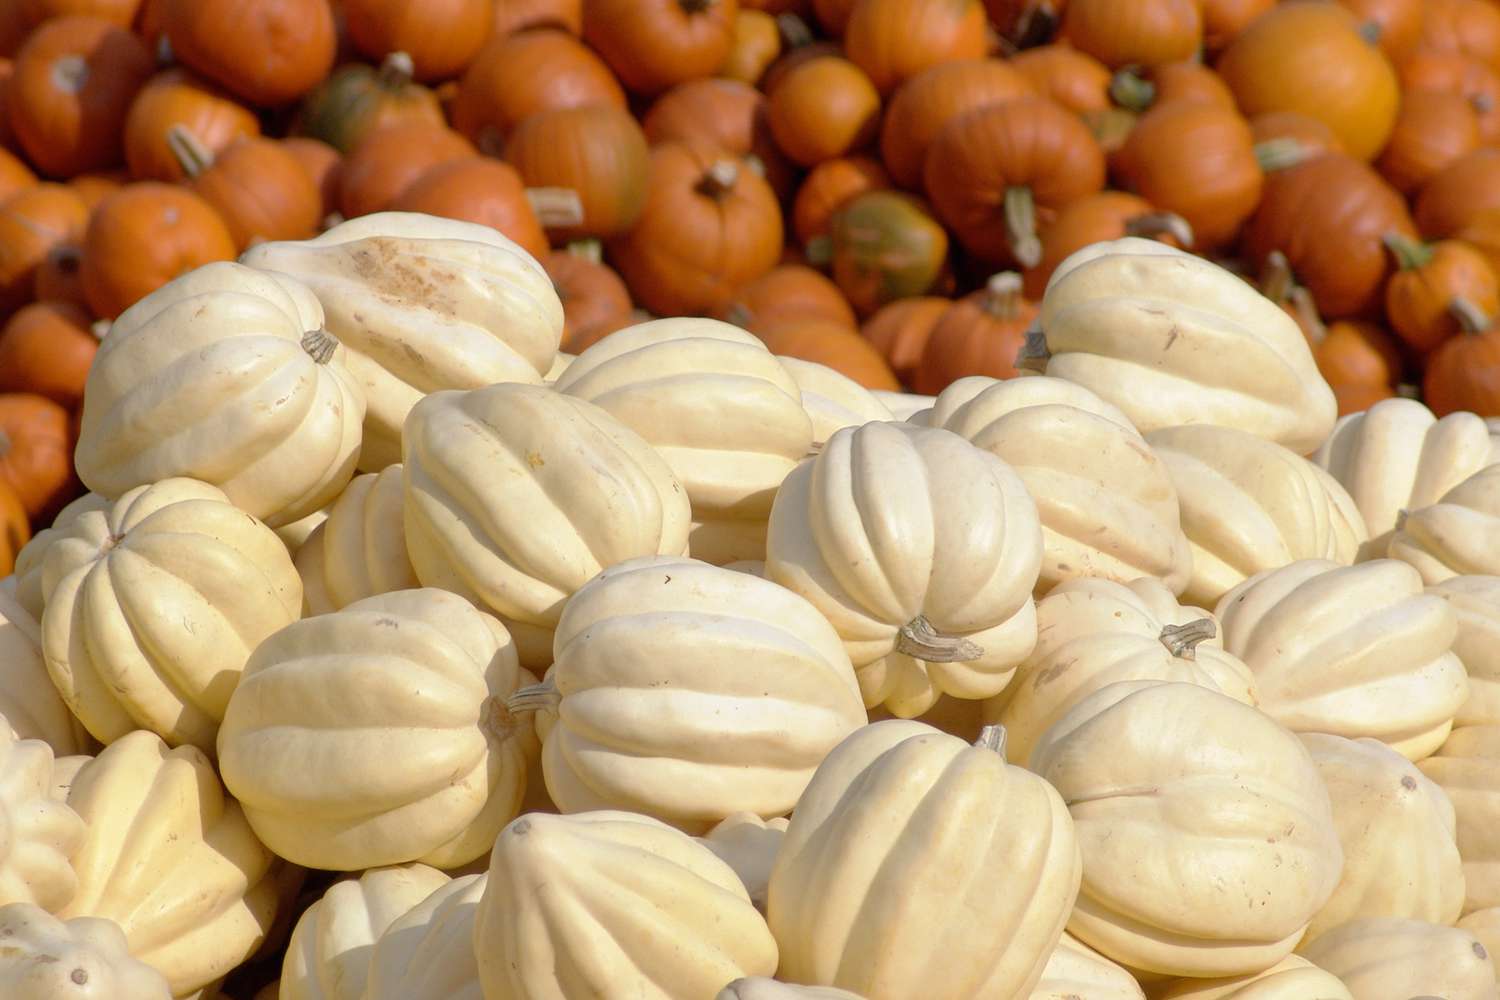
How To Cook White Squash
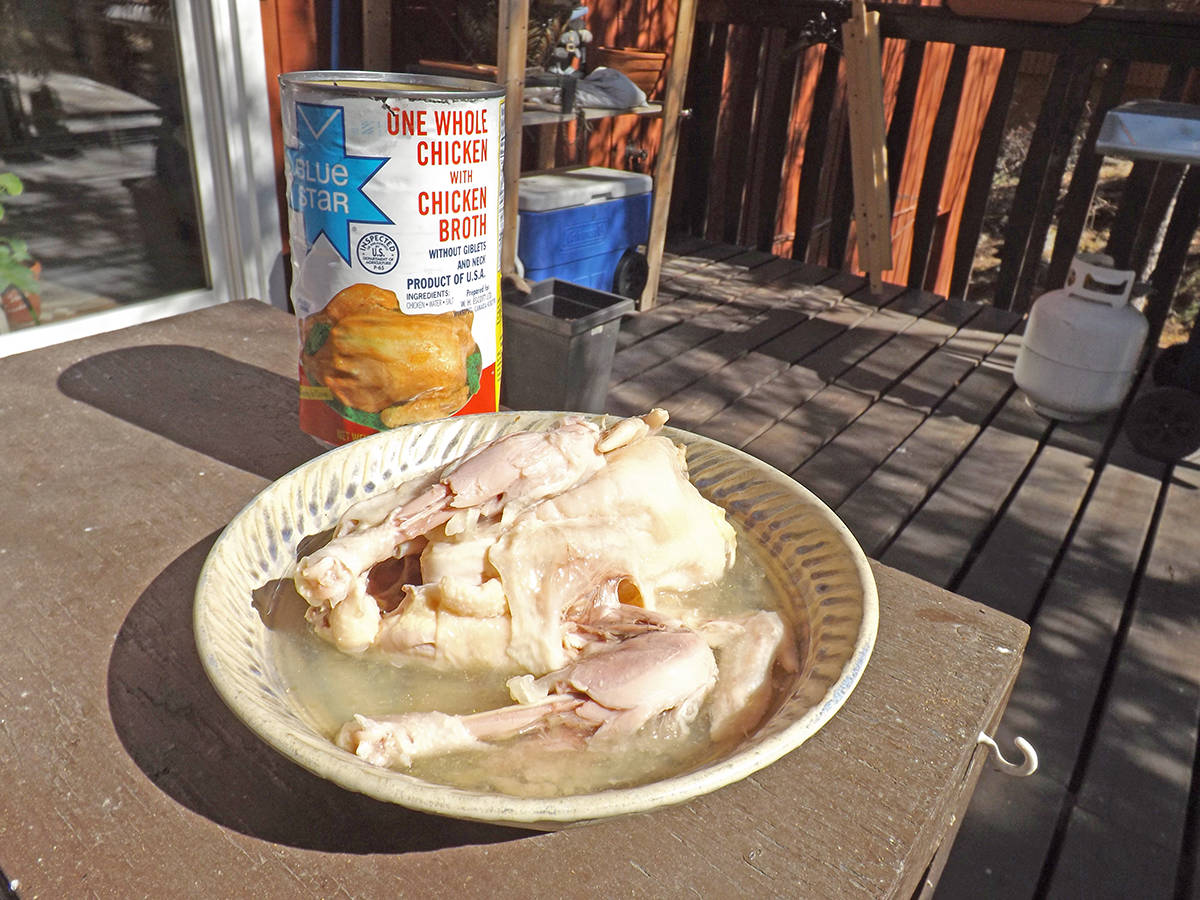
How To Cook Canned Chicken
How To Cook Canned Beets
How To Cook A Shank Ham

How To Cook Maifun Rice Sticks