Cooking Chicken Breast on a Pellet Grill: The Perfect Juicy and Flavorful Results
Are you ready to elevate your grilling game? Cooking chicken breast on a pellet grill is a fantastic way to achieve juicy and flavorful results that will leave everyone wanting more. Whether you’re a seasoned grill master or a beginner, this guide will walk you through the steps to create mouthwatering chicken breast every time.
Before we dive in, let’s talk about why a pellet grill is a great choice for cooking chicken breast. Pellet grills use wood pellets as a fuel source, imparting a delicious smoky flavor to your food. These grills also offer precise temperature control, allowing you to easily maintain a consistent heat throughout the cooking process.
Step 1: Choosing the Right Chicken Breast
The quality of your chicken breast makes a significant difference in the final result. Look for fresh, boneless, skinless chicken breasts that are uniform in size. This will ensure even cooking and prevent dryness. If possible, opt for organic or free-range chicken for the best flavor.
Step 2: Prepping the Chicken Breast
Before you start grilling, it’s important to properly prepare the chicken breast. Follow these steps:
- Trim any excess fat or connective tissue from the chicken breasts using a sharp knife.
- Season the chicken breasts generously with your favorite spices and herbs. A simple combination of salt, pepper, garlic powder, and dried herbs like thyme or rosemary works wonders.
- Let the seasoned chicken breasts sit at room temperature for about 15-20 minutes. This will help them cook evenly.
Step 3: Preheating and Setting Up the Pellet Grill
Preheat your pellet grill to a temperature of 375°F (190°C). This temperature provides a good balance between achieving a nicely browned exterior and ensuring the chicken breast remains juicy and tender.
While the grill is preheating, make sure you have enough wood pellets in the hopper to maintain a consistent heat throughout the cooking process. For a mild and versatile smoky flavor, hickory or applewood pellets are excellent choices.
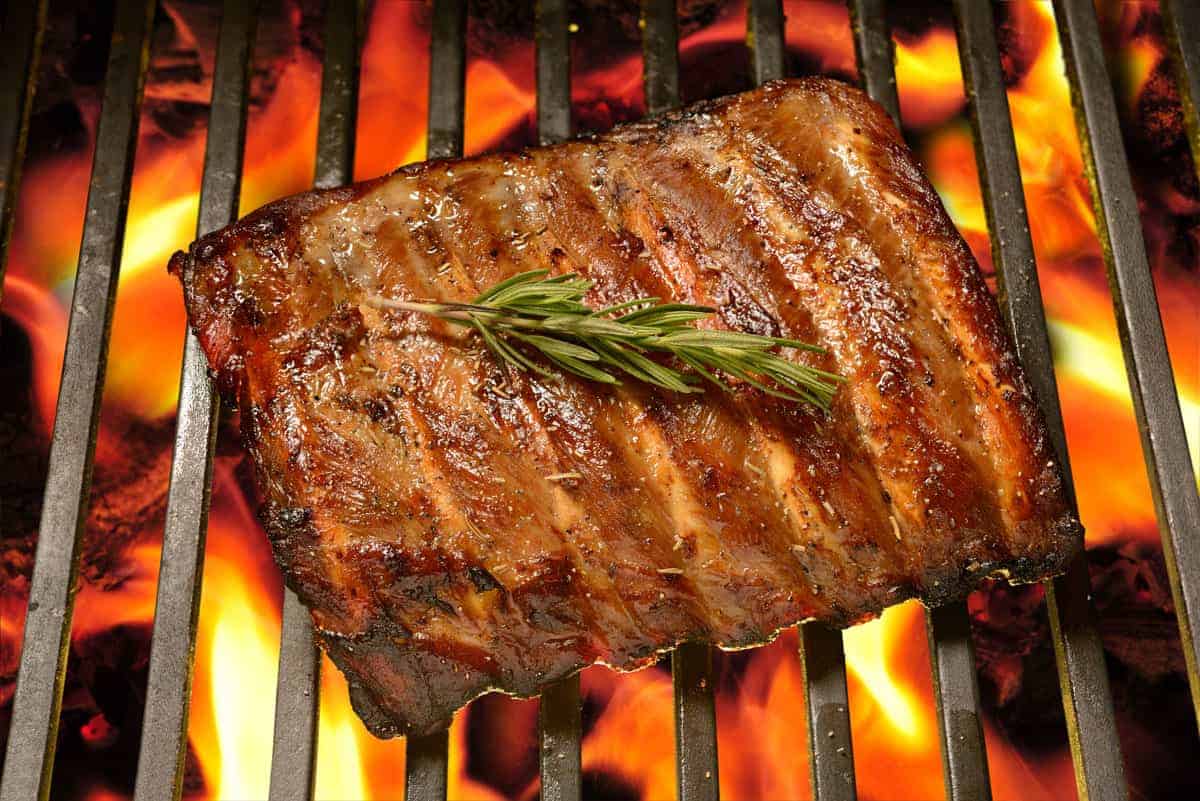
Step 4: Grilling the Chicken Breast
Now it’s time to grill the chicken breast to perfection:
- Place the seasoned chicken breasts directly on the grill grates, ensuring they are evenly spaced.
- Cook the chicken breasts for approximately 6-8 minutes per side, or until they reach an internal temperature of 165°F (74°C). Use a meat thermometer to accurately monitor the temperature.
- During cooking, resist the temptation to constantly flip the chicken breast. Flipping too often can cause the juices to escape, resulting in dry meat. Flip the chicken breasts only once, halfway through the cooking time.
Step 5: Resting and Serving
Once the chicken breasts are cooked to perfection and reached the desired internal temperature, remove them from the grill and let them rest for a few minutes. This allows the juices to redistribute throughout the meat, resulting in a juicy and delicious chicken breast.
Now, it’s time to serve and enjoy your deliciously grilled chicken breast! Slice it up for sandwiches, dice it for salads, or serve it alongside your favorite sides for a complete meal.
With this simple step-by-step guide, you’ll be able to achieve juicy and flavorful chicken breast on your pellet grill every time. So, fire up your grill, grab your favorite seasonings, and get ready to impress your family and friends with your newfound grilling skills!
Readers looking to perfect their pellet grill skills can try out several mouth-watering recipes. They might enjoy the Grilled Chicken Breast with Avocado Salsa for a fresh and vibrant dish, perfect for summer evenings. For those who love a bit of a kick, the Spicy Grilled Chicken Breast with Mango Salsa offers a delightful combination of heat and sweetness. Or, if you're in the mood for something comforting, the Smoky Chicken Alfredo Pasta brings a delightful smoky flavor that pairs perfectly with creamy pasta. Each of these recipes showcases different techniques and flavors that will help any cook become a grilling pro.
Was this page helpful?
Read Next: How To Cook Hot Dogs Without A Grill
Related Articles
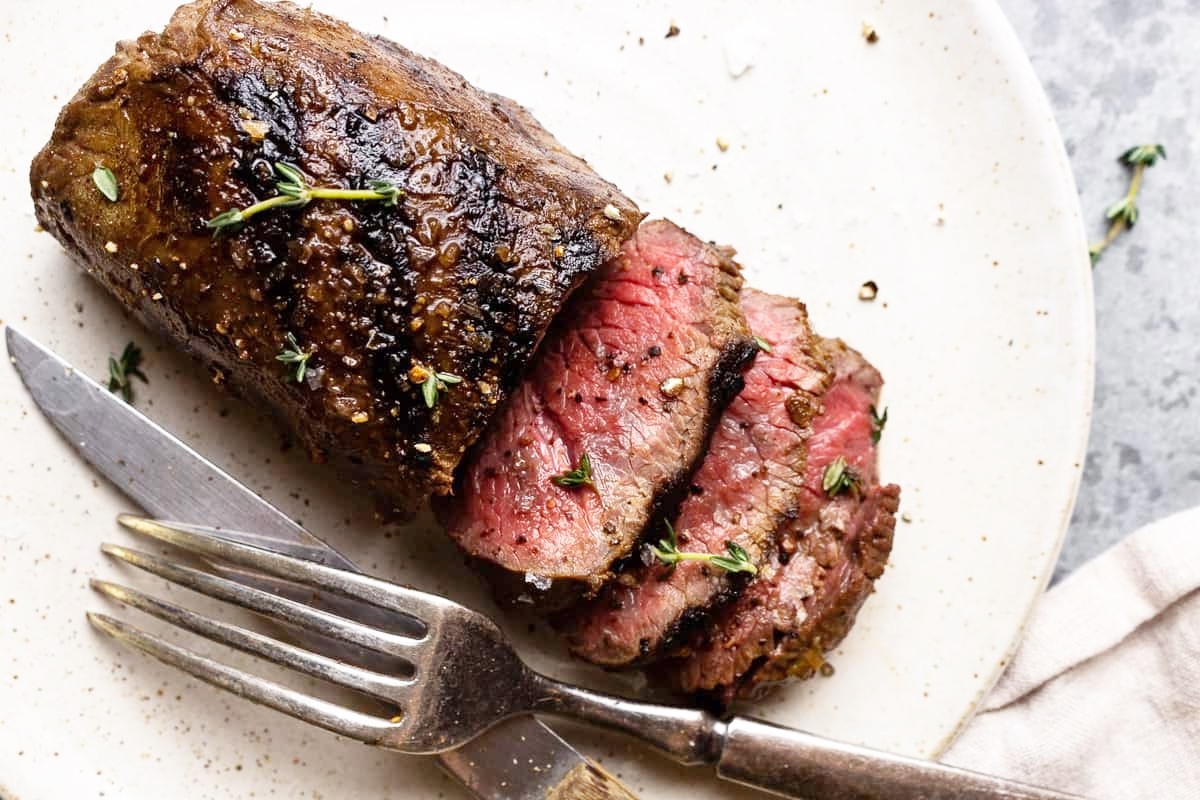
How To Cook Beef Tenderloin Tails In The Oven

How To Cook Raw Beef
How To Cook Chicken Breast With Bread Crumbs
How To Cook Beef Ribs On The Grill Fast
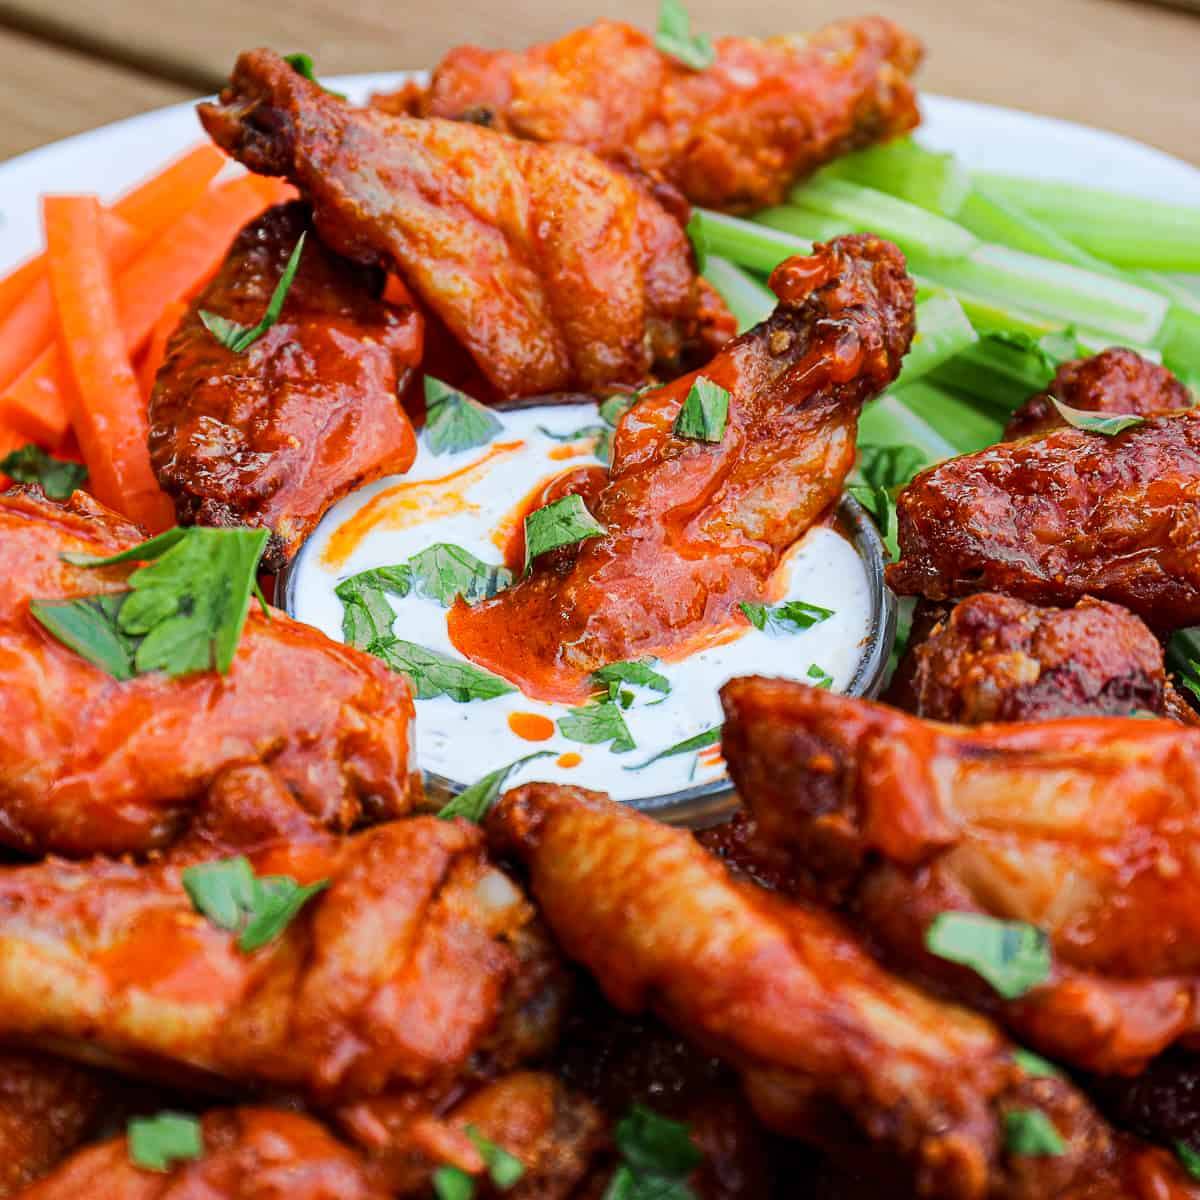
How To Cook Chicken Wings On A Pellet Grill
How To Cook Deer Steak On Grill
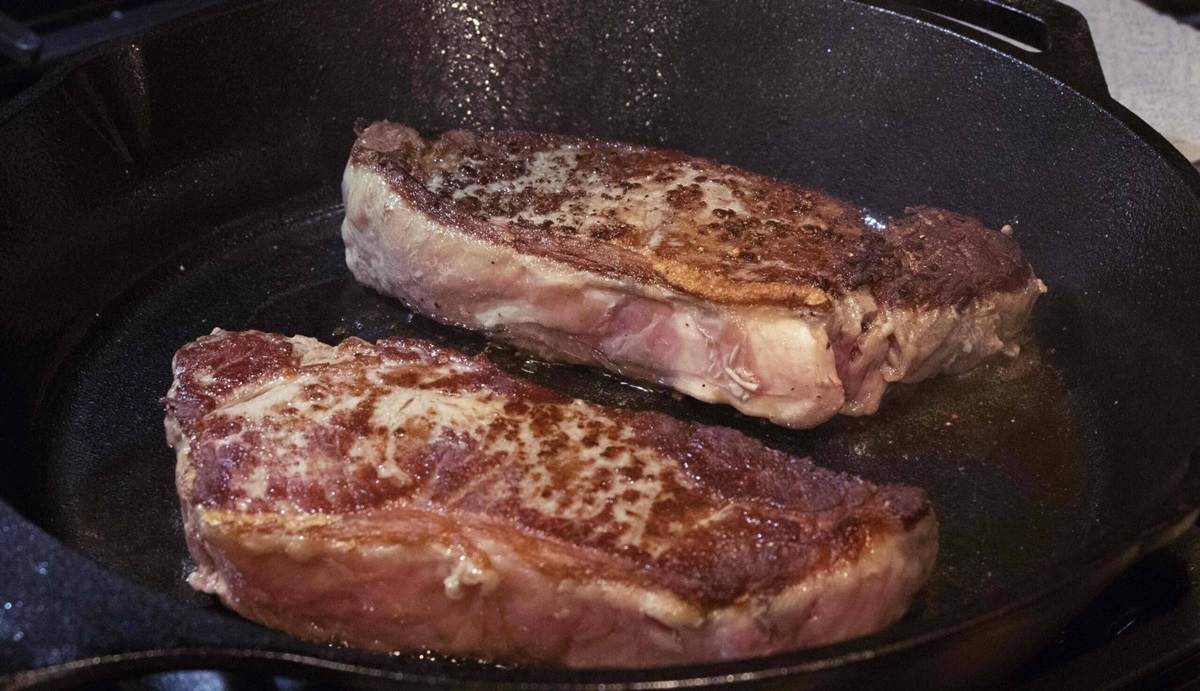
How To Cook A Frozen Steak In A Cast Iron Skillet
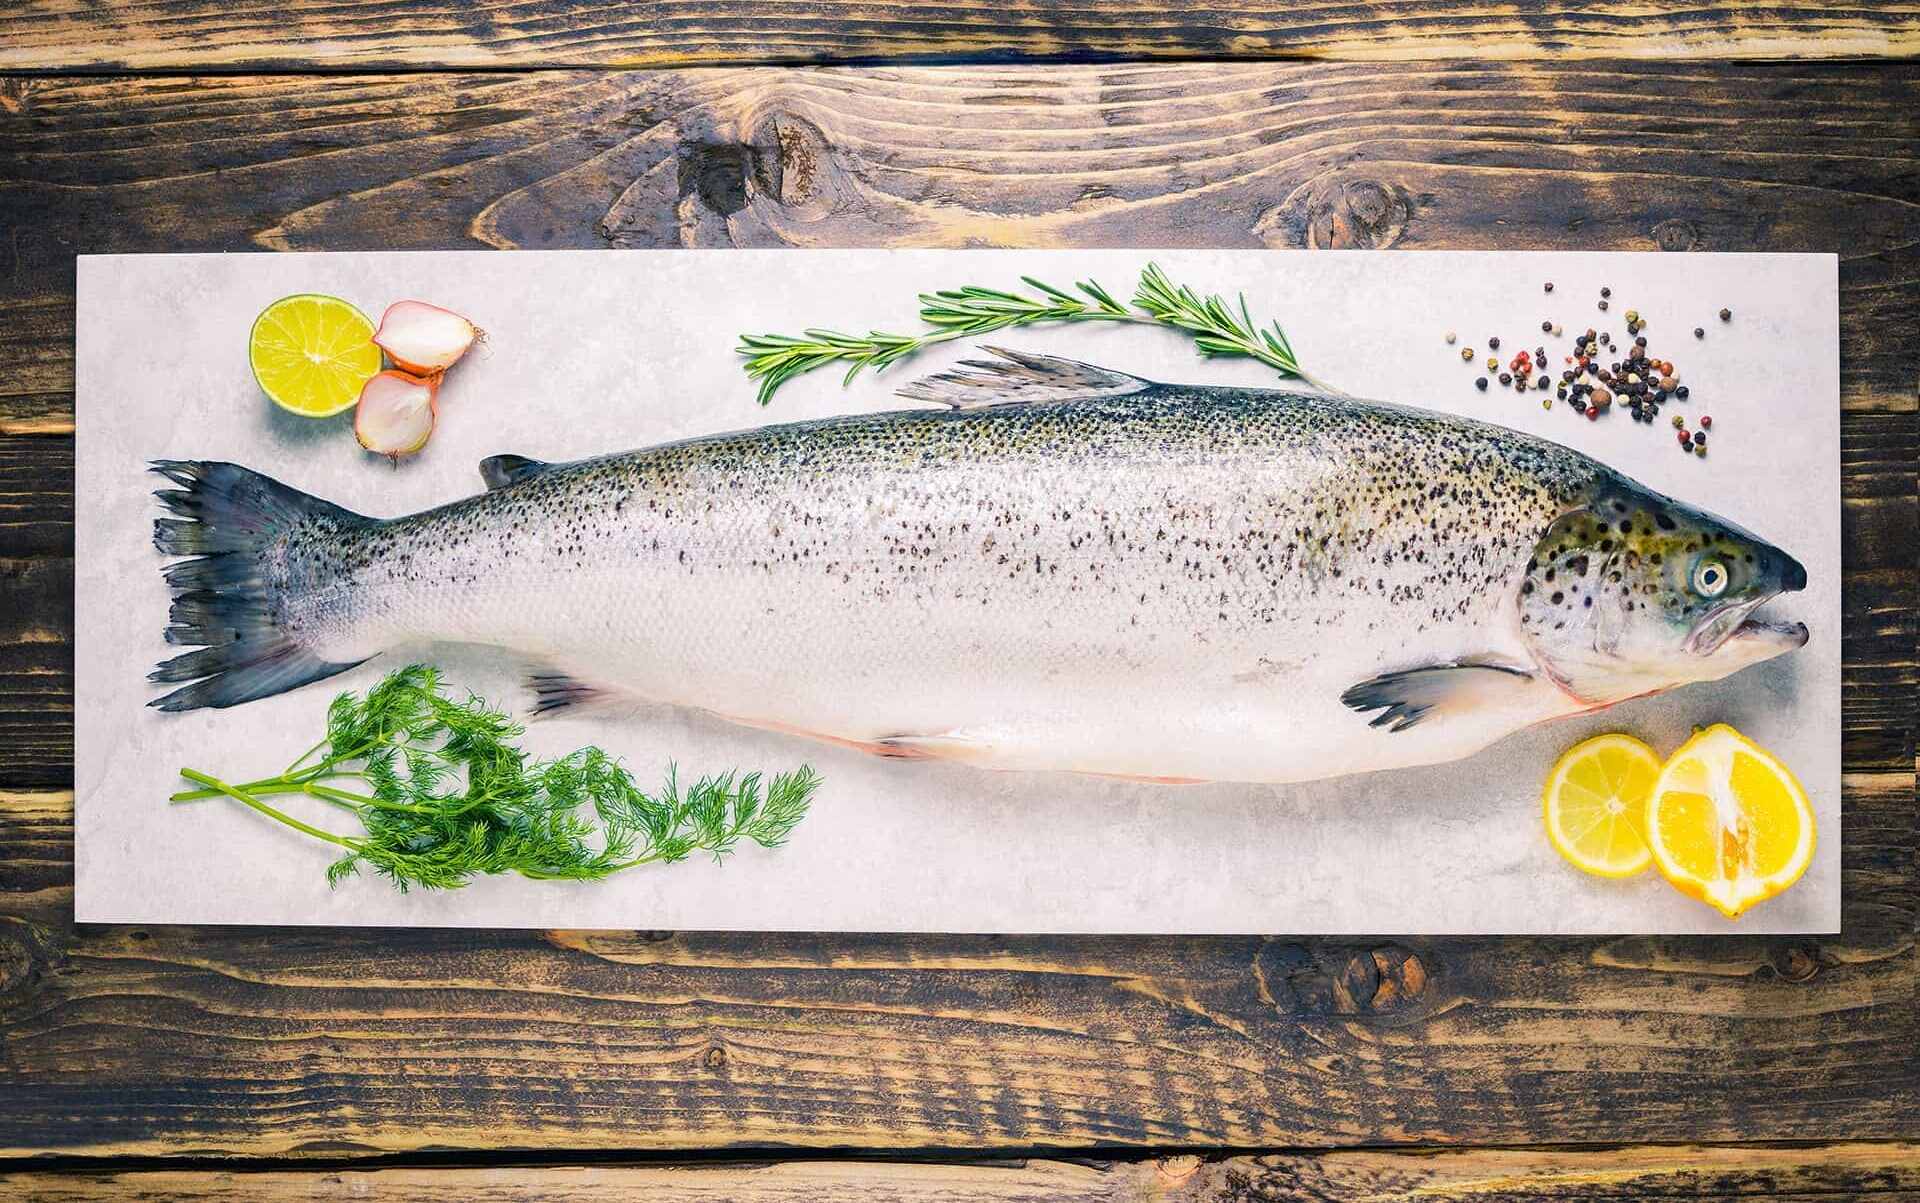
How To Cook Whole Salmon
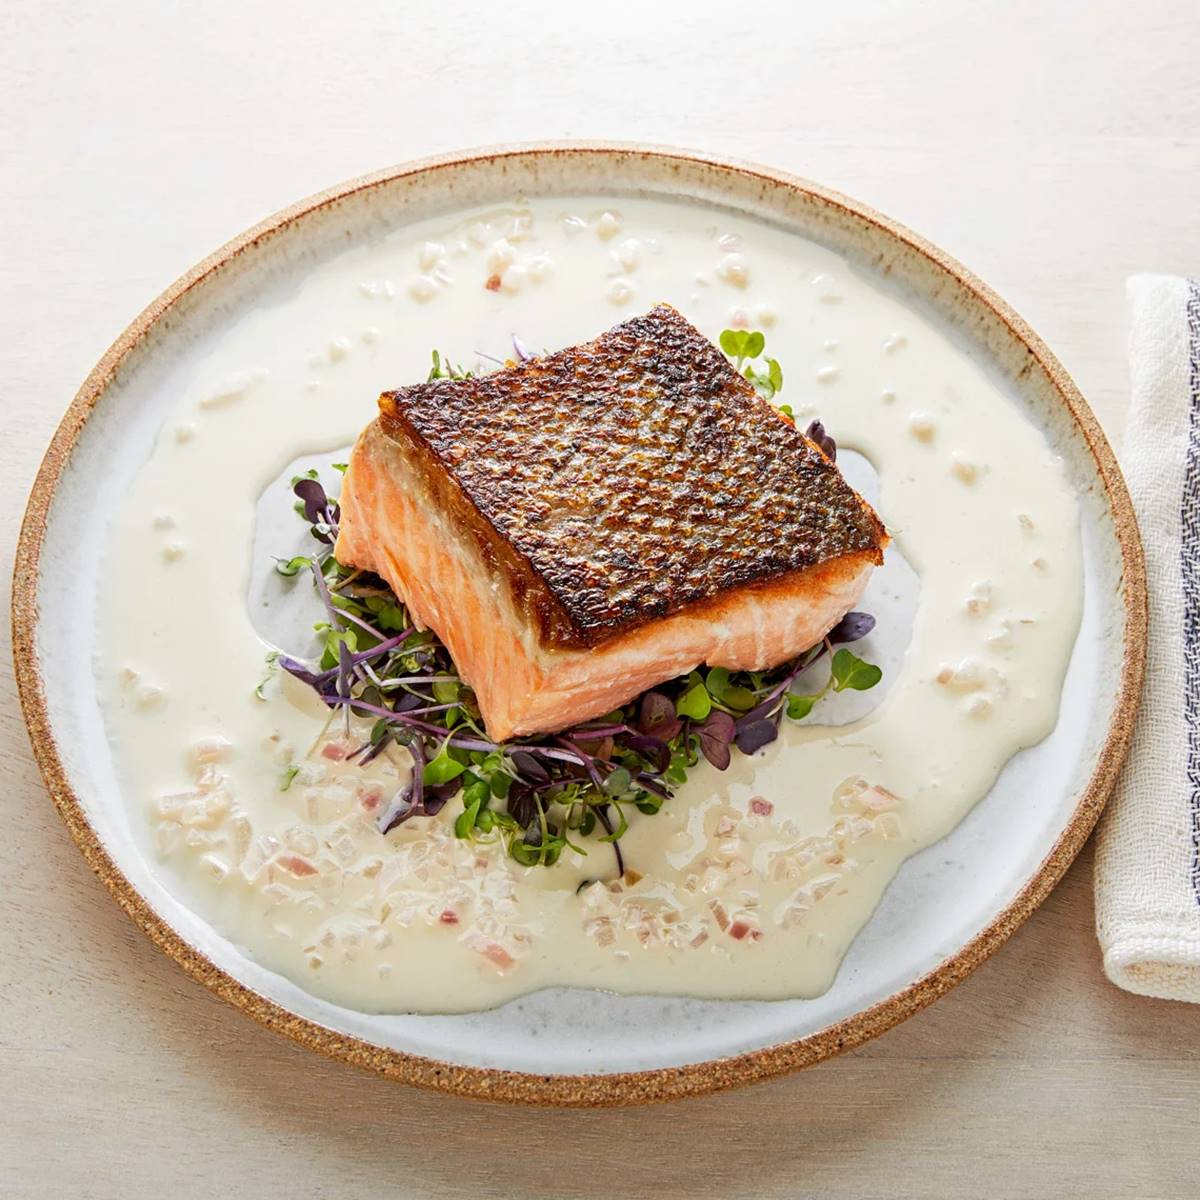
How To Cook Salmon With Crispy Skin
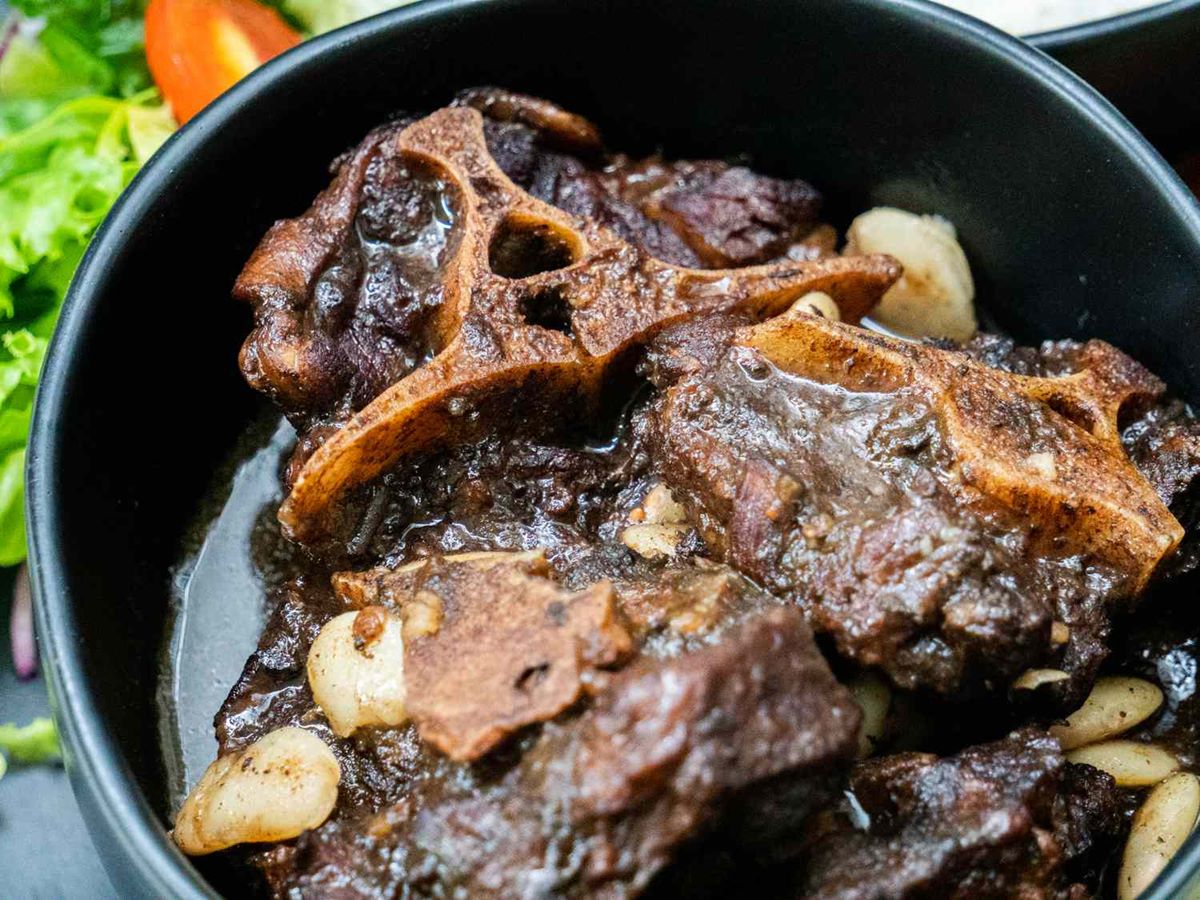
How To Cook Jamaican Oxtails
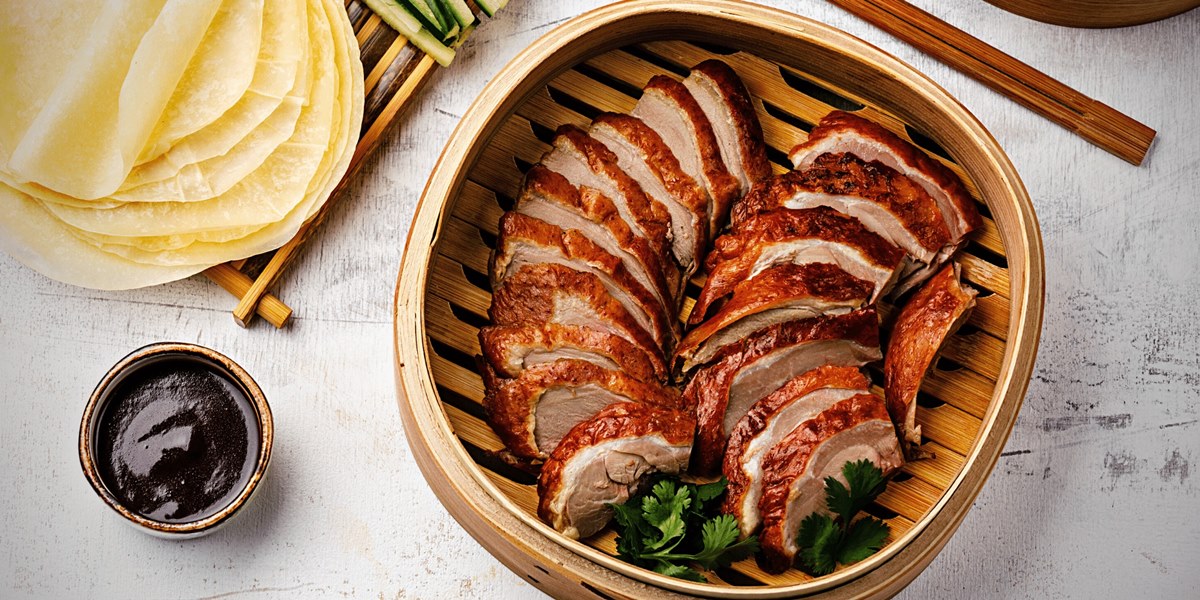
How To Cook Peking Duck