Unlocking the Deliciousness: A Guide to Cooking Boar’s Head Sweet Slice Ham
So, you’ve got a delicious Boar’s Head Sweet Slice Ham sitting in your fridge, just waiting to be cooked to perfection. Well, you’re in luck! In this culinary adventure, we will unwrap the secrets to cooking this delectable ham that will leave your taste buds singing with joy.
Prepare and Preheat
Before diving into the cooking process, it’s essential to prepare and preheat your oven. Let’s get started:
- Preheat your oven to 325°F (163°C).
- Take the Boar’s Head Sweet Slice Ham out of the packaging and place it on a roasting rack in a shallow baking pan. This allows for even cooking and prevents the ham from sitting in its juices.
- Score the surface of the ham in a crisscross pattern with a sharp knife. This step not only enhances the ham’s presentation but also helps the flavors penetrate the meat.
Baste and Flavor
Now that your ham is prepped and ready, it’s time to infuse it with tantalizing flavors:
- Mix together your choice of glaze or marinade. Whether you prefer a sticky honey glaze, a tangy mustard base, or a blend of aromatic spices, the choice is yours. Be creative!
- Using a basting brush, generously apply the glaze or marinade all over the surface of the ham. Make sure to coat every nook and cranny for a burst of flavor in every bite.
Cooking and Monitoring
With the prep work complete, it’s time to get that ham in the oven and start cooking it to perfection:
- Place the baking pan with the ham on the center rack in the preheated oven.
- Cook the ham for about 15-20 minutes per pound. For instance, if your ham weighs 5 pounds, the total cooking time will be approximately 75-100 minutes. Make sure to check the packaging for any specific cooking instructions provided by Boar’s Head.
- Every 20-30 minutes, open the oven and baste the ham with the drippings or additional glaze. This step adds moisture and intensifies the flavors.
Temperature Check and Resting
Don’t worry; we’re almost there! Let’s check the internal temperature of the ham for a juicy and perfectly cooked result:
- Using a meat thermometer, insert it into the thickest part of the ham (avoiding the bone).
- The ham is ready when the internal temperature reaches 140°F (60°C). This ensures both safety and optimal taste.
- Once the desired temperature is reached, remove the ham from the oven and tent it with aluminum foil. Allow it to rest for about 10-15 minutes. During this time, the juices redistribute, resulting in a moist and tender ham.
Slicing and Serving
Now comes the exciting part—slicing and presenting your masterpiece:
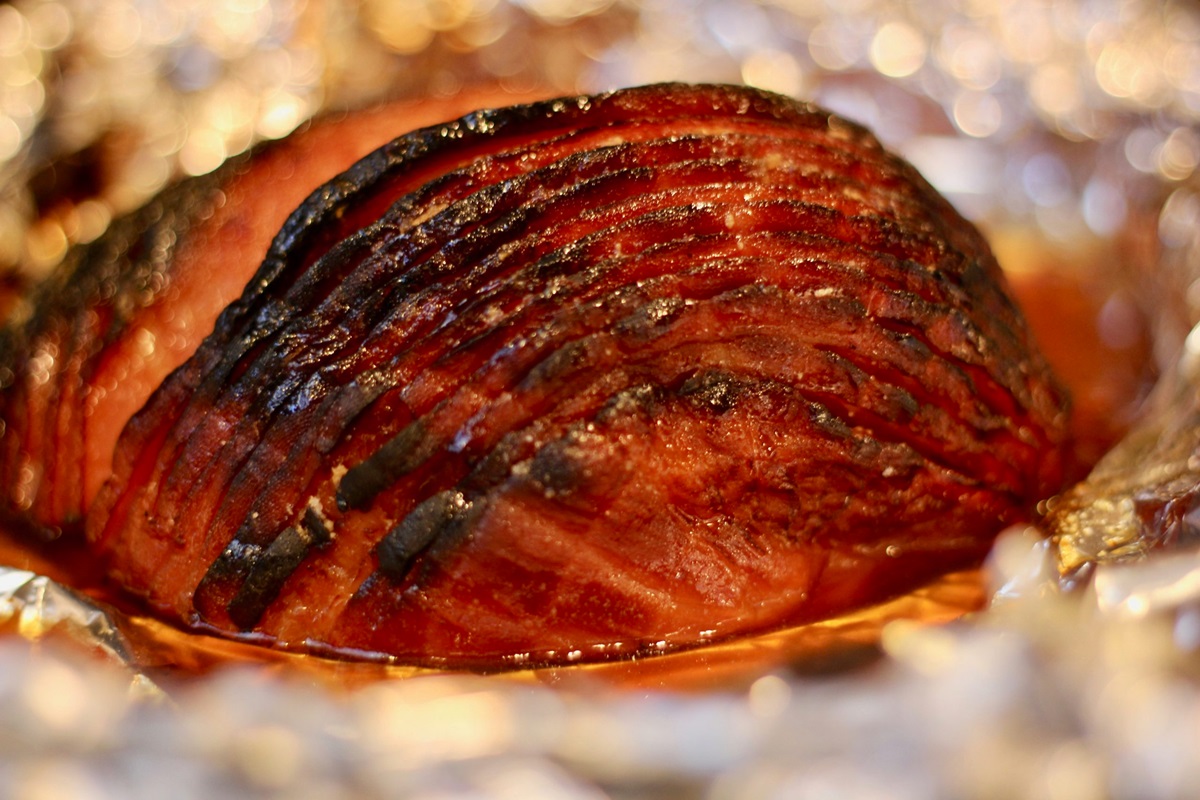
- Using a sharp knife, gently carve thin slices of the Boar’s Head Sweet Slice Ham. To enhance the presentation, you can fan out the slices on a platter or arrange them aesthetically on individual plates.
- Pair this succulent ham with your favorite sides, such as roasted vegetables, creamy mashed potatoes, or a fresh salad.
- Serve and enjoy the delightful flavors of your homemade Boar’s Head Sweet Slice Ham!
Remember, this guide provides a general cooking process. Always refer to the packaging and any specific instructions provided by Boar’s Head for the best cooking result. Now go forth, unleash your culinary prowess, and savor the mouthwatering experience of Boar’s Head Sweet Slice Ham!
More Delicious Recipes Featuring Boar’s Head Sweet Slice Ham
After mastering the preparation of Boar's Head Sweet Slice Ham, you have a plethora of delightful recipes at your fingertips to further refine your culinary skills. For a unique twist on traditional dishes, try the Ham Apple and Brie Panini Recipe or immerse yourself in the rich flavors of the Sweet Slice Ham with Honey Glaze and Roasted Pineapples Recipe. I highly recommend the Glazed Ham and Sweet Potato Casserole Recipe for a comforting family dinner, or the Baked Ham with Brown Sugar Mustard Glaze Recipe for a festive occasion. Each recipe utilizes the Sweet Slice Ham in inventive ways, inviting you to experiment and enjoy diverse flavors and textures in your cooking.
Was this page helpful?
Read Next: How To Cook Shrimp In A Cast Iron Skillet
