Get ready for some mouthwatering baby back ribs!
If you’re a fan of tender and juicy baby back ribs, but don’t have access to a traditional oven, worry not! We’re here to guide you through the process of cooking delicious baby back ribs without an oven. With a few simple steps and some handy tips, you’ll be serving up fall-off-the-bone ribs that will leave everyone craving for more.
Tools you’ll need
- A grill or barbecue
- An aluminum foil
- A baking tray or disposable aluminum pan
- Heat-resistant tongs
- A basting brush or marinade injector
Step 1: Prepare the ribs
Start by ensuring your baby back ribs are trimmed and cleaned properly. Remove the tough membrane from the bone side of the ribs using a butter knife or a paper towel for better tenderness. Now it’s time to season them! Create a flavorful dry rub using a combination of herbs, spices, salt, and pepper. Massage the rub into the meat, ensuring it is evenly coated.
Step 2: Prepare your grill
Preheat your grill to medium heat, around 300-325°F (150-165°C). If you’re using charcoal, light it up and let the coals turn gray before placing the ribs on the grill. For a gas grill, preheat it with the lid closed for a few minutes to ensure it’s hot enough for grilling.
Step 3: Indirect grilling
For this method, we’ll be using indirect grilling to slow cook the ribs to perfection. Create a two-zone fire on your grill by piling coals on one side or turning off one or more burners for a gas grill. Place a drip pan filled with water under the grate on the cooler side to keep the ribs moist throughout the cooking process.
Step 4: Cooking the ribs
Now it’s time to cook those ribs! Place the seasoned ribs bone-side down on the cooler side of the grill, directly above the drip pan. Close the lid and let them cook slowly for about 2 and a half to 3 hours until they are tender. Remember to resist the temptation of constant peeking, as this will let the heat and moisture escape, potentially increasing the cooking time.
Step 5: Basting and glazing
Halfway through the cooking process, it’s time to start basting your ribs. Prepare a mouthwatering sauce or glaze of your choice and brush it onto the ribs using a basting brush. Be generous with the amount, as it will add flavor and help with caramelization. Repeat this step every 15-20 minutes for the remaining cooking time, basting and glazing until the ribs are fully cooked.
Step 6: The finishing touch
Once your baby back ribs are tender and cooked to perfection, it’s time to take them off the grill. Use heat-resistant tongs to carefully remove the ribs from the grate and place them on a baking tray or disposable aluminum pan. For an extra burst of flavor, you can brush on a final layer of sauce and cover the ribs with aluminum foil. Let them rest for about 10 minutes before serving to allow the flavors to meld together.
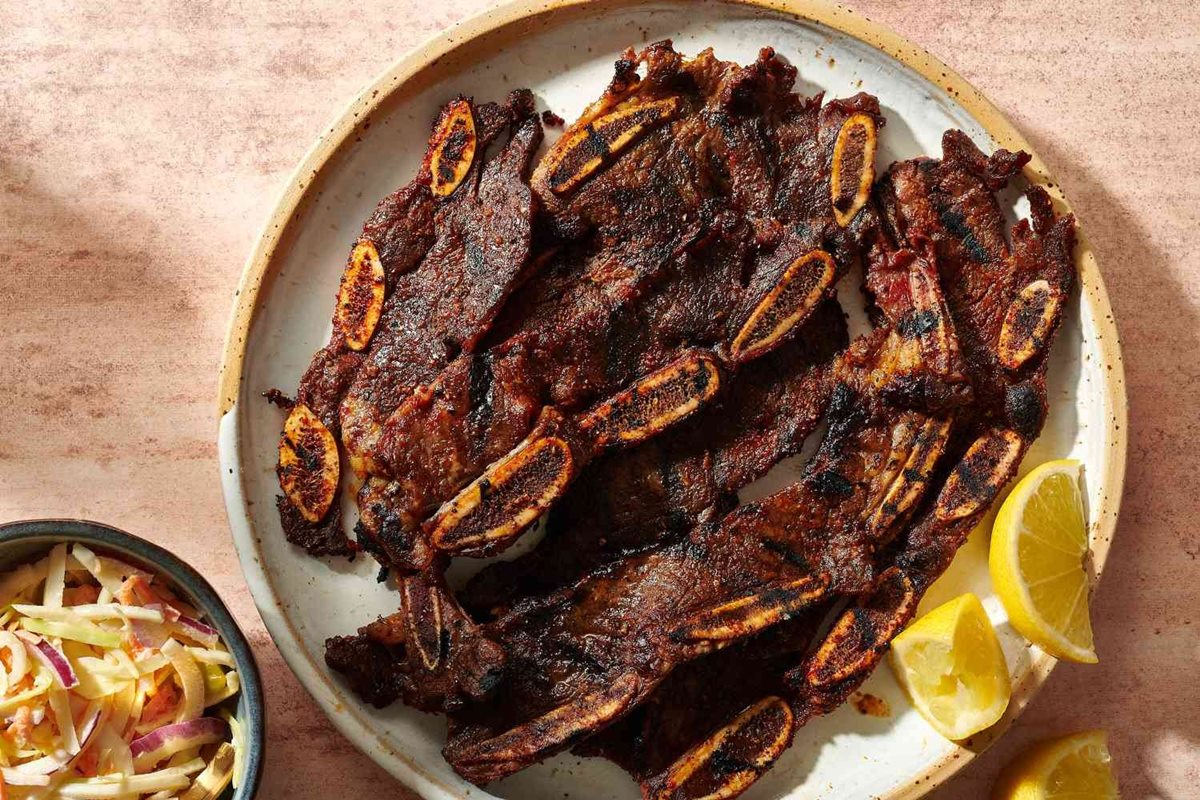
Get ready to impress your friends and family with your mouthwatering, oven-free baby back ribs! These fall-off-the-bone ribs are the perfect addition to any backyard barbecue or patio party. Remember to serve them up with some refreshing sides, like coleslaw, cornbread, or grilled vegetables for a complete and delicious meal. Enjoy!
For those looking to perfect their grill skills, there are several standout recipes to try from the guide. Start with the Sweet and Spicy Baby Back Ribs for a balanced kick of heat and sweetness that's hard to resist. If you're a fan of bold flavors, the Chipotle Lime Baby Back Ribs offer a zesty, smoky taste that's perfect for summer cookouts. For a touch of elegance, the Maple Bourbon Baby Back Ribs bring a sophisticated sweetness that pairs beautifully with a glass of bourbon. The Garlic and Herb Grilled Baby Back Ribs are a great choice for those who appreciate a more classic, savory profile. And don't miss out on the Jamaican Jerk Baby Back Ribs for a taste of the Caribbean with its spicy and aromatic blend. Each recipe provides a unique twist on baby back ribs, making them exciting options for any grill master.
Was this page helpful?
Read Next: How To Cook A Rump Roast In The Air Fryer
