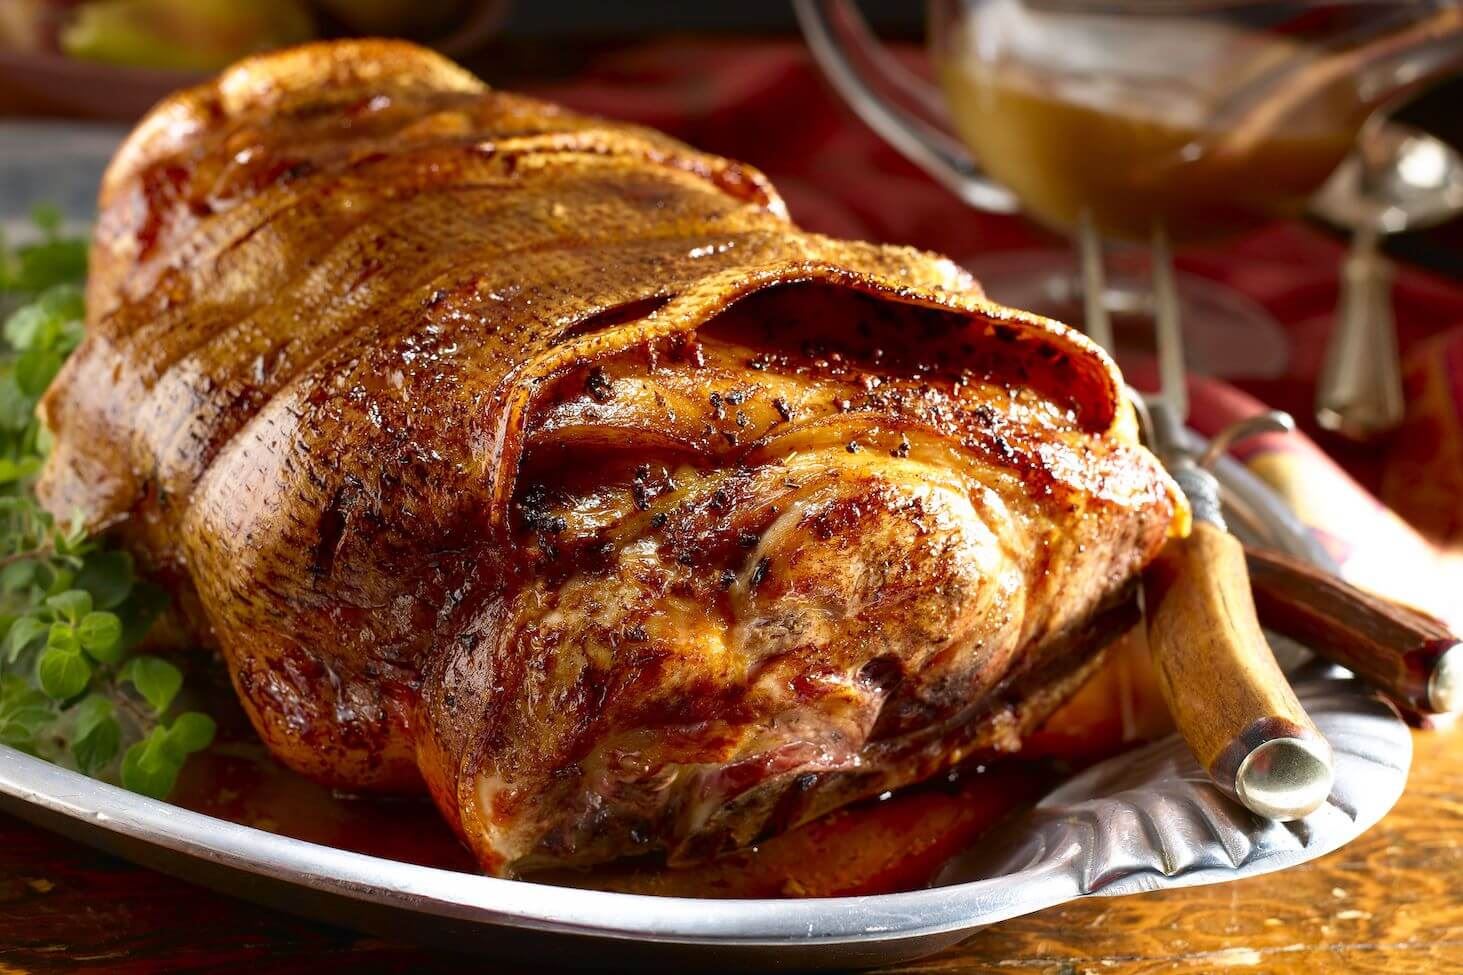
Master the Art of Cooking a Delicious Boneless Turkey Breast in an Electric Roaster
Are you looking for a hassle-free and convenient way to prepare a delectable boneless turkey breast? Look no further! With an electric roaster, you can achieve juicy, tender, and perfectly cooked turkey breast with minimal effort. In this guide, we will walk you through the step-by-step process of cooking a mouthwatering boneless turkey breast using an electric roaster.
What You’ll Need
- Boneless turkey breast
- Seasonings of your choice (such as salt, pepper, garlic powder, and herbs)
- Olive oil or melted butter
- Vegetables (optional)
- Electric roaster
- Meat thermometer
Step 1: Prepare the Turkey Breast
Start by patting the boneless turkey breast dry with paper towels. This helps to remove excess moisture, ensuring a crispy and golden skin. Place the turkey breast on a clean cutting board and season it generously with your preferred seasonings. Don’t be afraid to get creative here – experiment with different herbs and spices to enhance the flavor of the turkey.
Step 2: Preheat the Electric Roaster
Preheat your electric roaster according to the manufacturer’s instructions. This usually involves setting the desired cooking temperature, typically around 325°F (163°C). Preheating is essential to ensure even cooking and to achieve that perfect texture and taste.
Step 3: Prepare the Roasting Pan
While the electric roaster is preheating, you can prepare the roasting pan. Lightly coat the bottom of the pan with a small amount of olive oil or melted butter to prevent the turkey breast from sticking. If desired, you can also add some vegetables like onions, carrots, and celery to the pan to enhance the flavor of the turkey.
Step 4: Place the Turkey Breast in the Electric Roaster
Carefully transfer the seasoned boneless turkey breast to the heated electric roaster. Make sure it is positioned with the skin side facing up for that beautiful crispy skin. Cover the roaster and let the magic begin!
Step 5: Monitor the Cooking Time
It’s important to monitor the cooking time to ensure the turkey breast is cooked to perfection. As a rule of thumb, you should allow approximately 20 minutes of cooking time per pound of turkey. However, every electric roaster may vary slightly, so it’s best to rely on an internal meat thermometer to determine if the turkey breast is fully cooked.
Step 6: Check for Doneness
Using an instant-read meat thermometer, insert it into the thickest part of the turkey breast without touching the bone. The turkey is fully cooked when the internal temperature reaches 165°F (74°C). This ensures that the turkey is safe to eat and retains its juicy and tender qualities.
Step 7: Rest and Carve
Once the turkey breast reaches the desired temperature, carefully remove it from the electric roaster and let it rest for about 15 minutes. This resting period allows the juices to redistribute throughout the meat, resulting in a more flavorful and tender turkey. Use this time to carve the turkey breast into thin, succulent slices.
There you have it! With just a few simple steps, you can cook a scrumptious boneless turkey breast in an electric roaster. Whether it’s a special occasion or a delightful family meal, this hassle-free cooking method will leave a lasting impression on your taste buds. So, fire up your electric roaster, gather your favorite seasonings, and get ready to enjoy a mouthwatering turkey feast!
For those eager to master the art of cooking a boneless turkey breast in an electric roaster, there are a variety of delicious recipes to try. The Herb-Crusted Turkey Breast provides a fragrant and savory option, perfect for those who love the taste of fresh herbs. Another standout is the Garlic Butter Turkey Breast, which offers a rich, buttery flavor that pairs well with any side dish. For a zesty twist, the Lemon and Thyme Turkey Breast combines citrus and herbs to create a refreshing and aromatic dish. Those who enjoy a bit of spice might gravitate towards the Cajun-Spiced Turkey Breast, which brings a robust and fiery kick. Lastly, the Honey Glazed Turkey Breast offers a sweet and succulent alternative, ideal for special occasions. These recipes not only showcase the versatility of turkey breast but also provide an excellent opportunity to practice and perfect your cooking skills with an electric roaster.
Was this page helpful?
Read Next: How To Cook A 2 Pound Pork Roast
Related Articles

How To Cook Carolina White Rice

How To Cook Frozen Hash Browns In Oven

How To Cook Langostino Meat

How To Cook Longkou Vermicelli Bean Thread

How To Cook Beans And Potatoes

How To Cook Fresh Kielbasa On The Grill
How To Cook Cube Steaks So They Are Tender
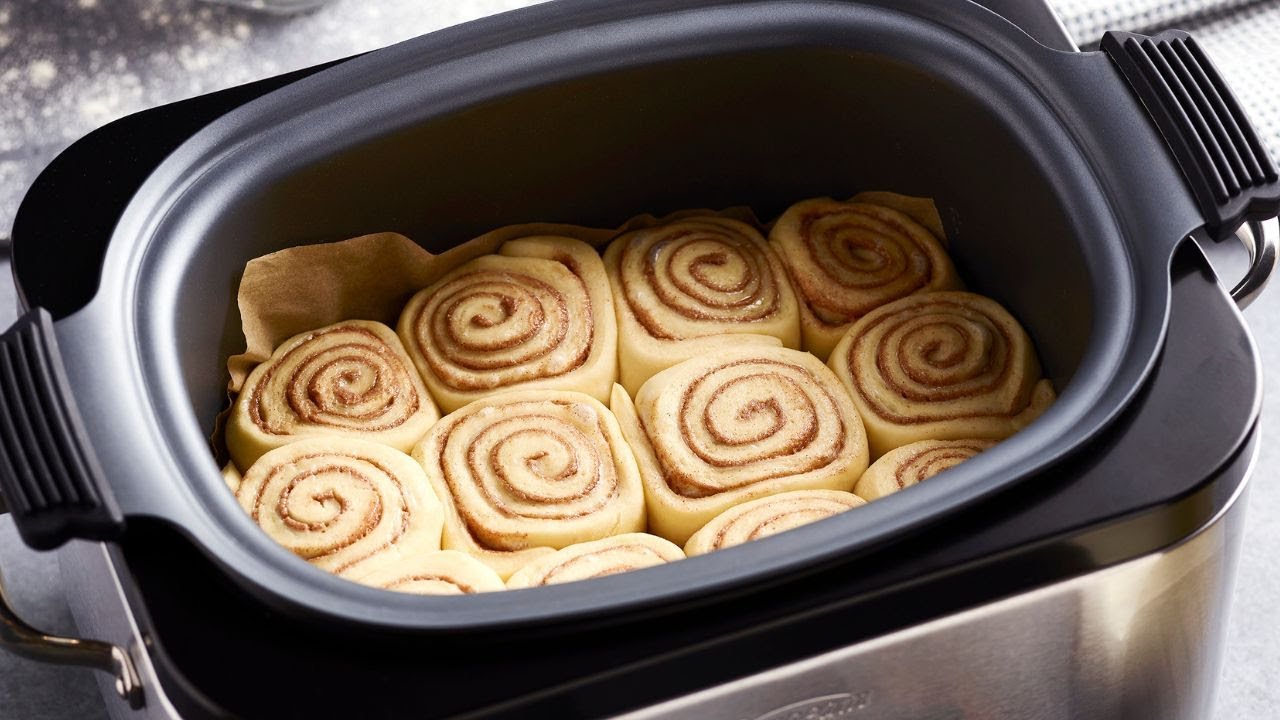
How To Cook Pillsbury Cinnamon Rolls In Crock Pot
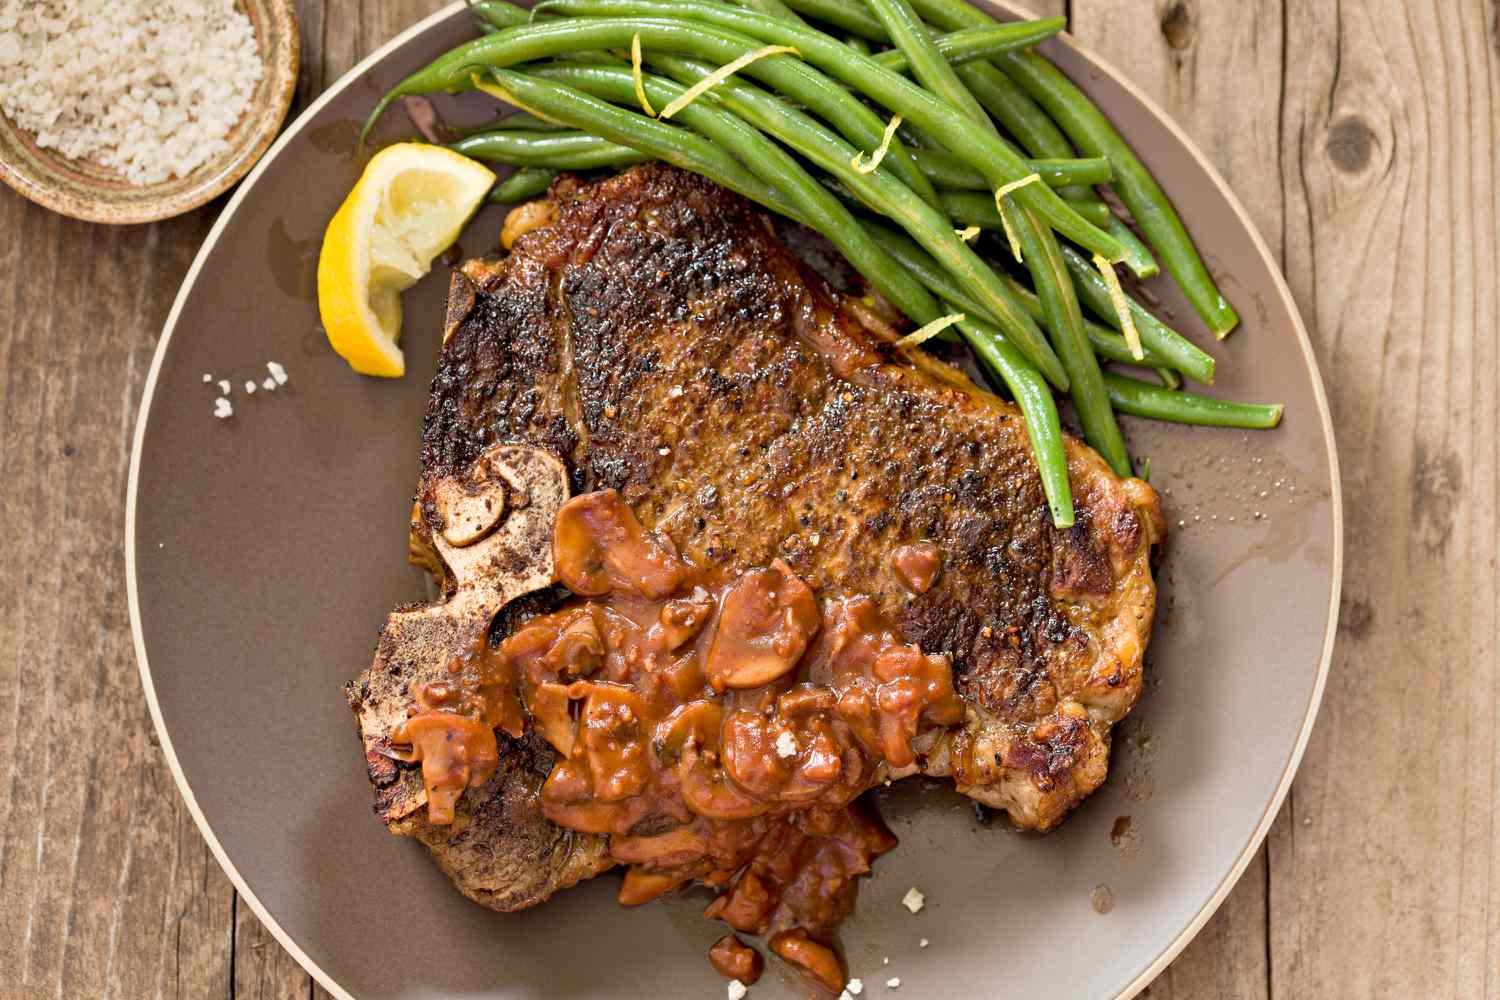
How To Cook T-Bone Steak In Cast Iron Skillet

How To Cook Jennie-O Turkey Tenderloin In The Oven
How To Cook A 10 Lb Pork Shoulder