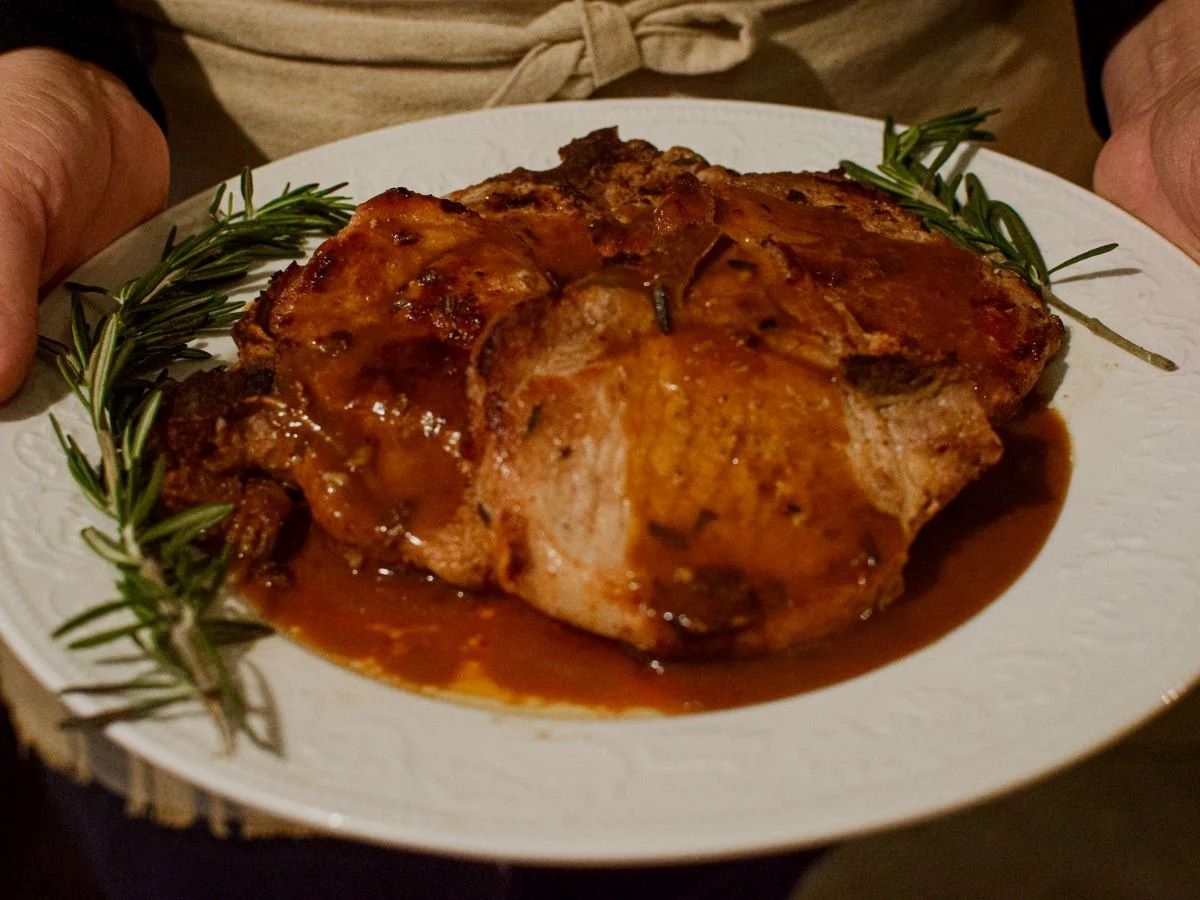
Carving a Bottom Round Rump Roast Like a Pro
Carving a bottom round rump roast can seem like a daunting task, but with the right technique, you can easily carve it like a pro. Whether you’re preparing a special dinner or simply looking to impress your guests, mastering the art of carving a bottom round rump roast is a valuable skill to have. Here’s a step-by-step guide to help you carve a bottom round rump roast with ease.
What You’ll Need
- Bottom round rump roast
- Carving knife
- Cutting board
- Meat fork
- Platter
Step 1: Let the Roast Rest
Before you start carving, it’s important to let the bottom round rump roast rest for about 10-15 minutes. This allows the juices to redistribute, ensuring a more flavorful and tender meat.
Step 2: Position the Roast
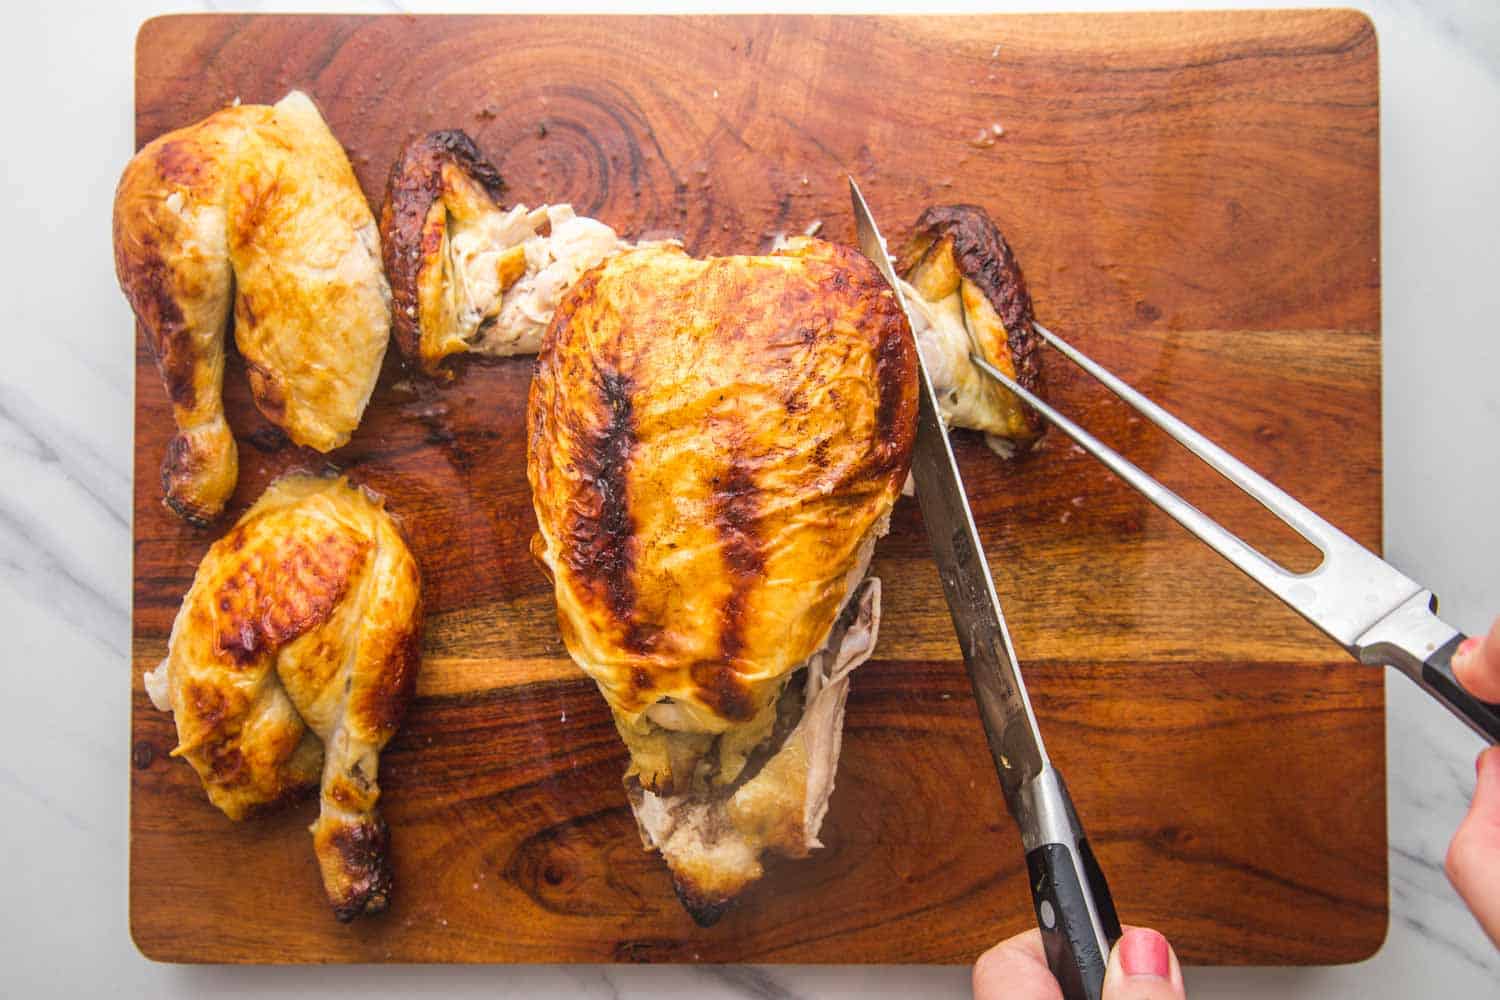
Place the bottom round rump roast on a stable cutting board, and use a meat fork to hold it in place. This will make it easier to carve the roast evenly and safely.
Step 3: Identify the Grain
Before making any cuts, take a moment to identify the direction of the grain. The grain refers to the natural lines in the meat, and it’s important to carve against the grain to ensure a tender texture.
Step 4: Carve Thin Slices
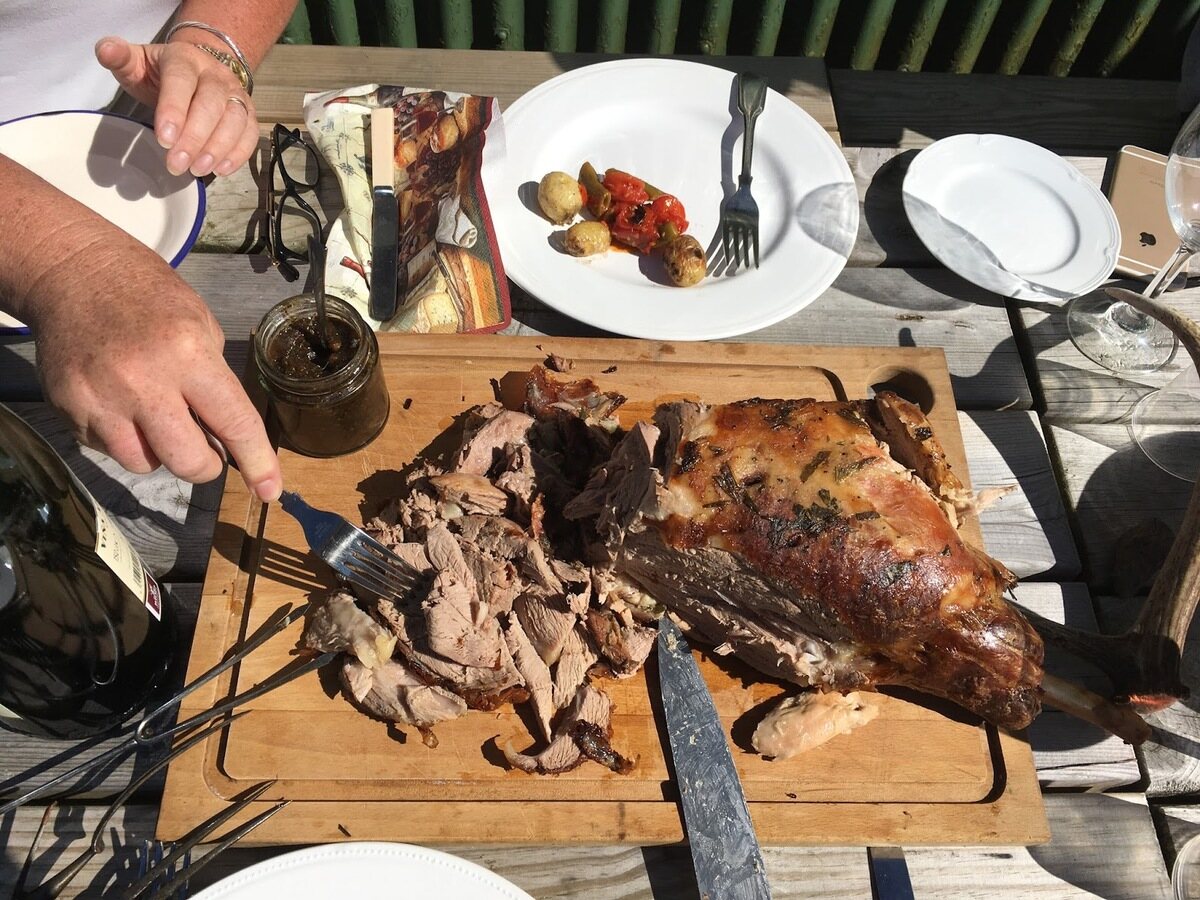
Using a sharp carving knife, begin slicing the bottom round rump roast against the grain. Aim to carve thin, even slices to enhance the tenderness of the meat. As you carve, use smooth and steady motions to create uniform slices.
Step 5: Arrange on a Platter
Once you’ve carved the desired amount of meat, carefully transfer the slices to a serving platter. Arrange the slices neatly to create an appealing presentation for your guests.
Step 6: Serve and Enjoy
Now that you’ve successfully carved the bottom round rump roast, it’s time to serve and enjoy the fruits of your labor. Whether you’re serving it with a side of roasted vegetables or incorporating it into a delicious sandwich, your perfectly carved roast is sure to be a hit.
Final Thoughts
Carving a bottom round rump roast doesn’t have to be intimidating. With the right tools and technique, you can confidently carve a roast that will impress your family and friends. Remember to let the roast rest, carve against the grain, and savor the delicious results of your efforts. Happy carving!
Was this page helpful?
Read Next: How To Carve A Dog Cake Beginner
