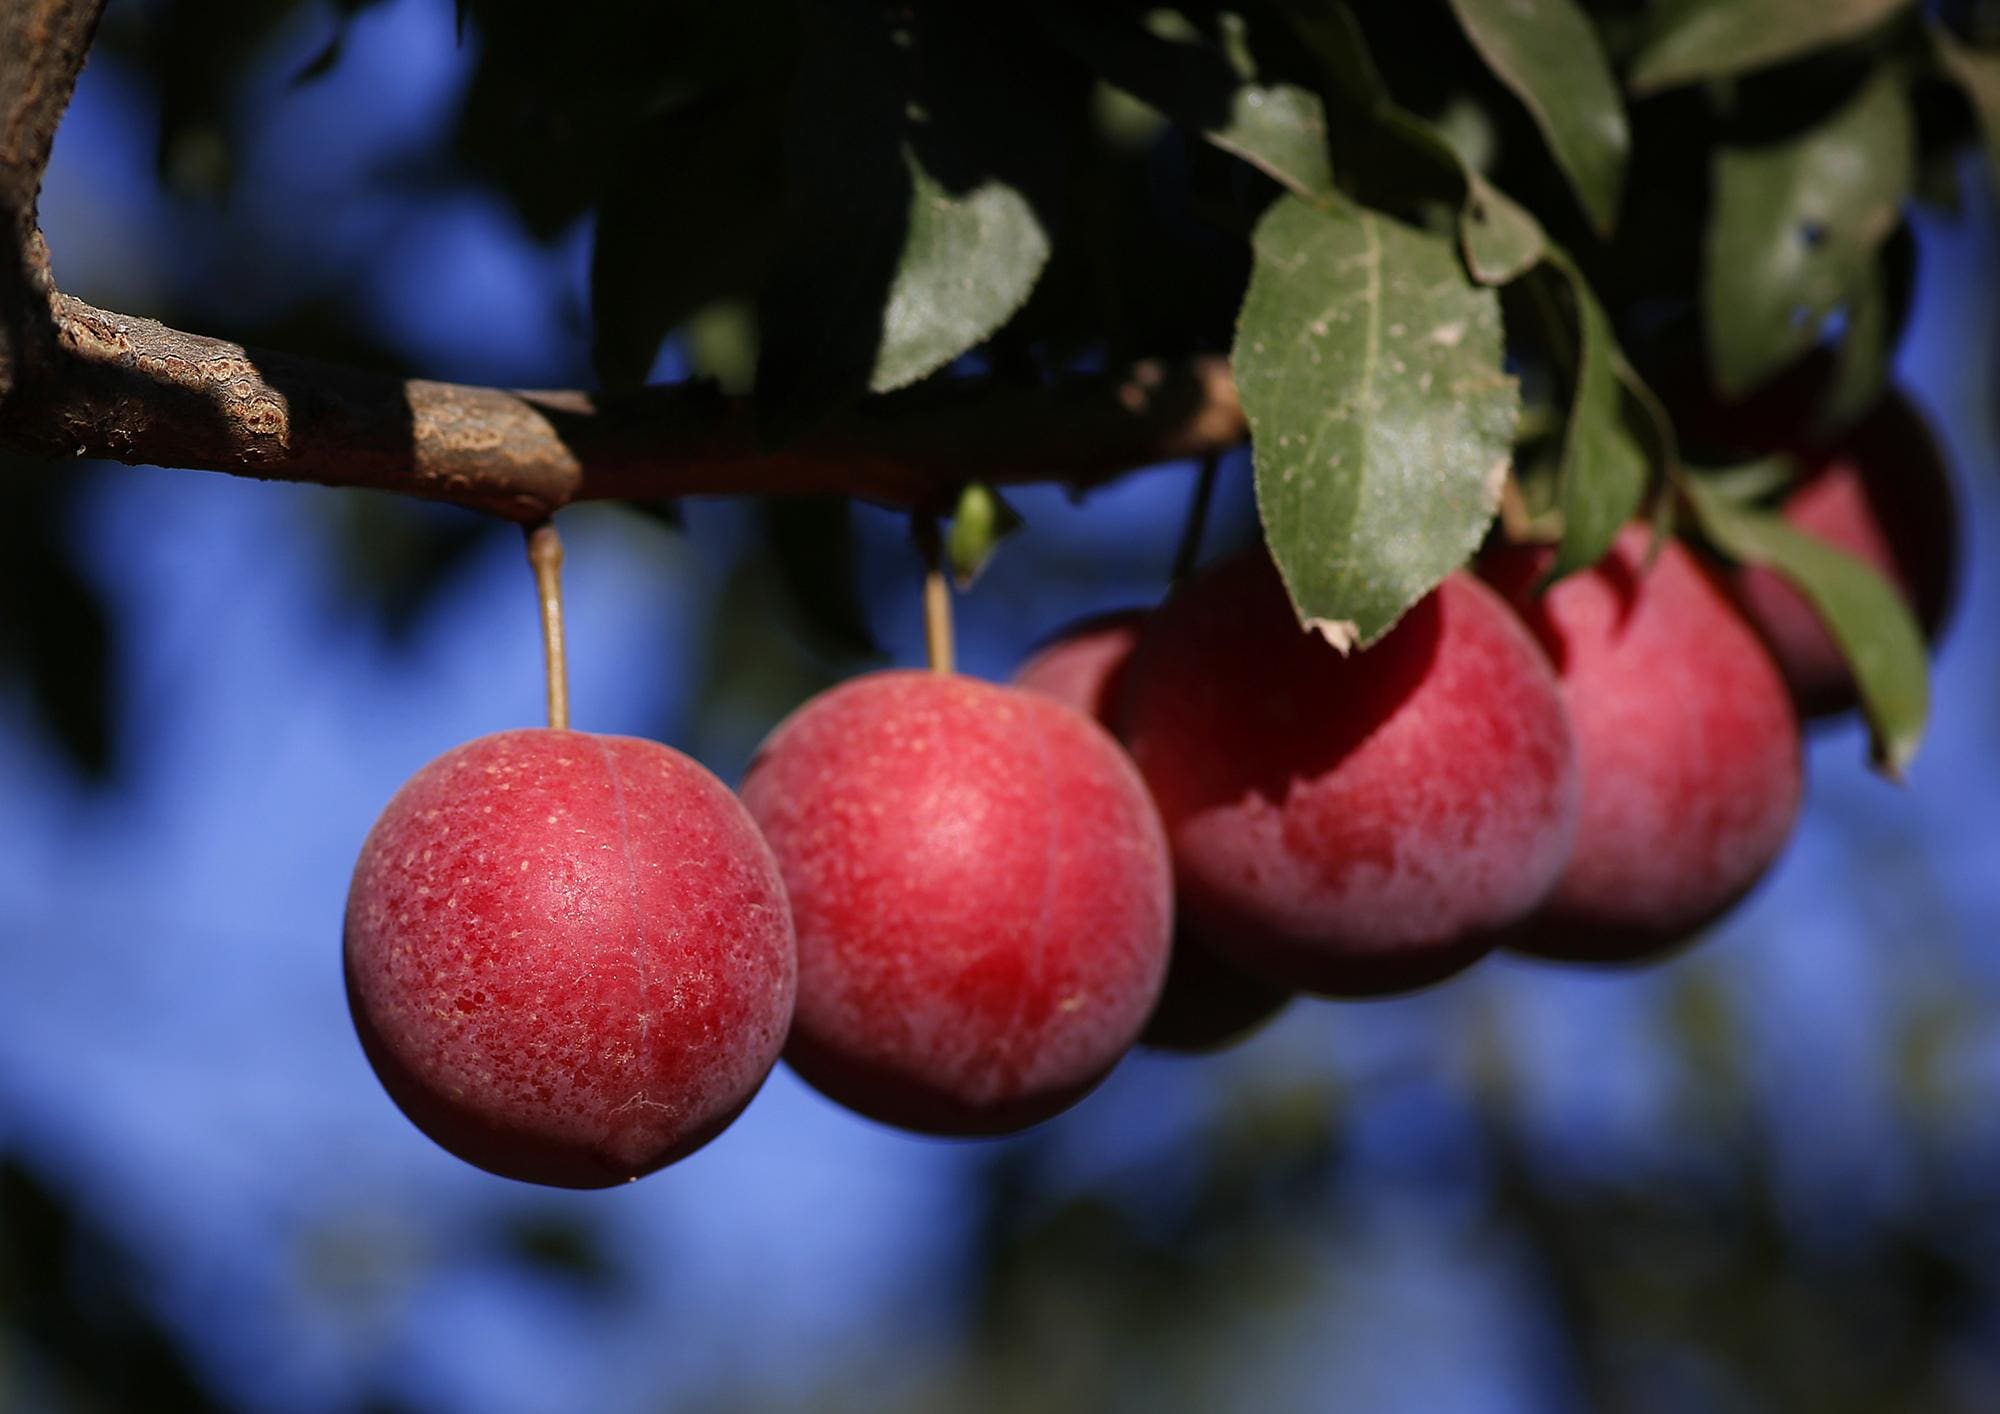
Plums are a delicious and juicy fruit that can be enjoyed in a variety of ways, from eating them fresh to using them in recipes for jams, pies, and more. However, before you can enjoy the sweet and tangy flesh of a plum, you need to pit it. Pitting a plum may seem like a daunting task, but with the right technique, it can be a simple and quick process. In this article, we will explore how to pit plums so that you can easily incorporate them into your favorite dishes or enjoy them as a healthy snack.
What You'll Need
Before you begin pitting plums, it's important to gather the necessary tools. Here's what you'll need:
- Fresh plums
- A sharp paring knife
- Cutting board
- Bowl for the pits
Step-by-Step Guide to Pitting Plums
Now that you have your tools ready, it's time to get started. Follow these simple steps to pit plums like a pro:
-
Wash the Plums: Before you begin, make sure to wash the plums thoroughly under running water to remove any dirt or residue.
-
Slice the Plum: Place the plum on the cutting board and use the sharp paring knife to make a vertical incision along the seam of the plum. Gently rotate the plum around the knife to separate it into two halves.
-
Remove the Pit: Once the plum is halved, you will see the pit nestled inside. To remove the pit, carefully use the tip of the knife to cut around the pit and loosen it from the flesh. Then, simply twist the plum halves in opposite directions to separate them, and the pit should easily come out.
-
Inspect for Remaining Pit: After removing the pit, inspect the plum to ensure that no small pieces of the pit are left behind. Use the knife to carefully remove any remaining pit fragments.
-
Repeat as Needed: Continue pitting the remaining plums using the same technique until you have pitted all the plums you need.
Tips for Pitting Plums
Pitting plums can be a bit messy, but with these tips, you can make the process easier and more efficient:
-
Choose Ripe Plums: Ripe plums are easier to pit, so look for fruits that are slightly soft to the touch and have a deep color.
-
Use a Pitter Tool: If you frequently work with plums, consider investing in a plum pitter tool, which can make the pitting process even quicker.
-
Be Gentle: When removing the pit, handle the plum with care to avoid squishing or damaging the flesh.
-
Save the Pits: If you're feeling creative, consider saving the pits to make homemade plum jam or infused vinegar.
Enjoy Your Pitted Plums
Now that you've successfully pitted your plums, you can enjoy them in a variety of ways. Add them to fruit salads, bake them into a delicious plum tart, or simply enjoy them on their own as a refreshing snack. Pitting plums may take a bit of practice, but with the right technique and a little patience, you'll be able to pit plums like a pro in no time.
Was this page helpful?
Read Next: How To Pit Roast A Lamb Underground


