How to Carve a Dog Cake for Beginners
Creating a dog-shaped cake can be a fun and rewarding experience, especially for beginners. With the right tools and techniques, you can bring your vision to life and impress your friends and family with your baking skills. Here’s a step-by-step guide on how to carve a dog cake for beginners:
Step 1: Bake the Cake
The first step in creating a dog cake is to bake the cake itself. You can use any flavor of cake that you prefer, but it’s best to use a dense cake that will hold its shape well when carved. Once the cake is baked and cooled, you can begin the carving process.
Step 2: Create a Template
Before you start carving the cake, it’s helpful to create a template of the dog shape you want to achieve. You can find dog-shaped templates online or draw your own on a piece of paper. This will serve as a guide as you carve the cake.
Step 3: Carve the Basic Shape
Using a serrated knife, carefully carve the basic shape of the dog out of the cake. Start with the main body and then move on to the head and limbs. Take your time and work slowly to ensure that you achieve the desired shape.
Step 4: Add Details
Once you have the basic shape carved out, you can start adding details to make the dog cake come to life. Use additional pieces of cake to create ears, a tail, and any other features you want to include. You can also use frosting to add texture and color to the cake.
Step 5: Frost the Cake
After you have carved and shaped the cake to your satisfaction, it’s time to frost it. Use a thin layer of frosting to create a crumb coat, and then add a final layer of frosting to achieve a smooth finish. You can use different colors of frosting to add fur and other details to the dog cake.
Step 6: Finishing Touches
Once the cake is frosted, you can add any finishing touches to complete the look. This could include using fondant or candy to create eyes, a nose, and other facial features. You can also use additional frosting to add any final details to the cake.
Tips for Success:
- Use a dense cake that will hold its shape well when carved.
- Work slowly and carefully when carving the cake to achieve the desired shape.
- Use a template to guide the carving process.
- Get creative with frosting and additional details to bring the dog cake to life.
With these steps and tips in mind, you can create a dog-shaped cake that will impress everyone at your next gathering. Have fun and enjoy the process of bringing your cake creation to life!
Was this page helpful?
Read Next: How To Carve A Mountain Out Of Cake
Related Articles
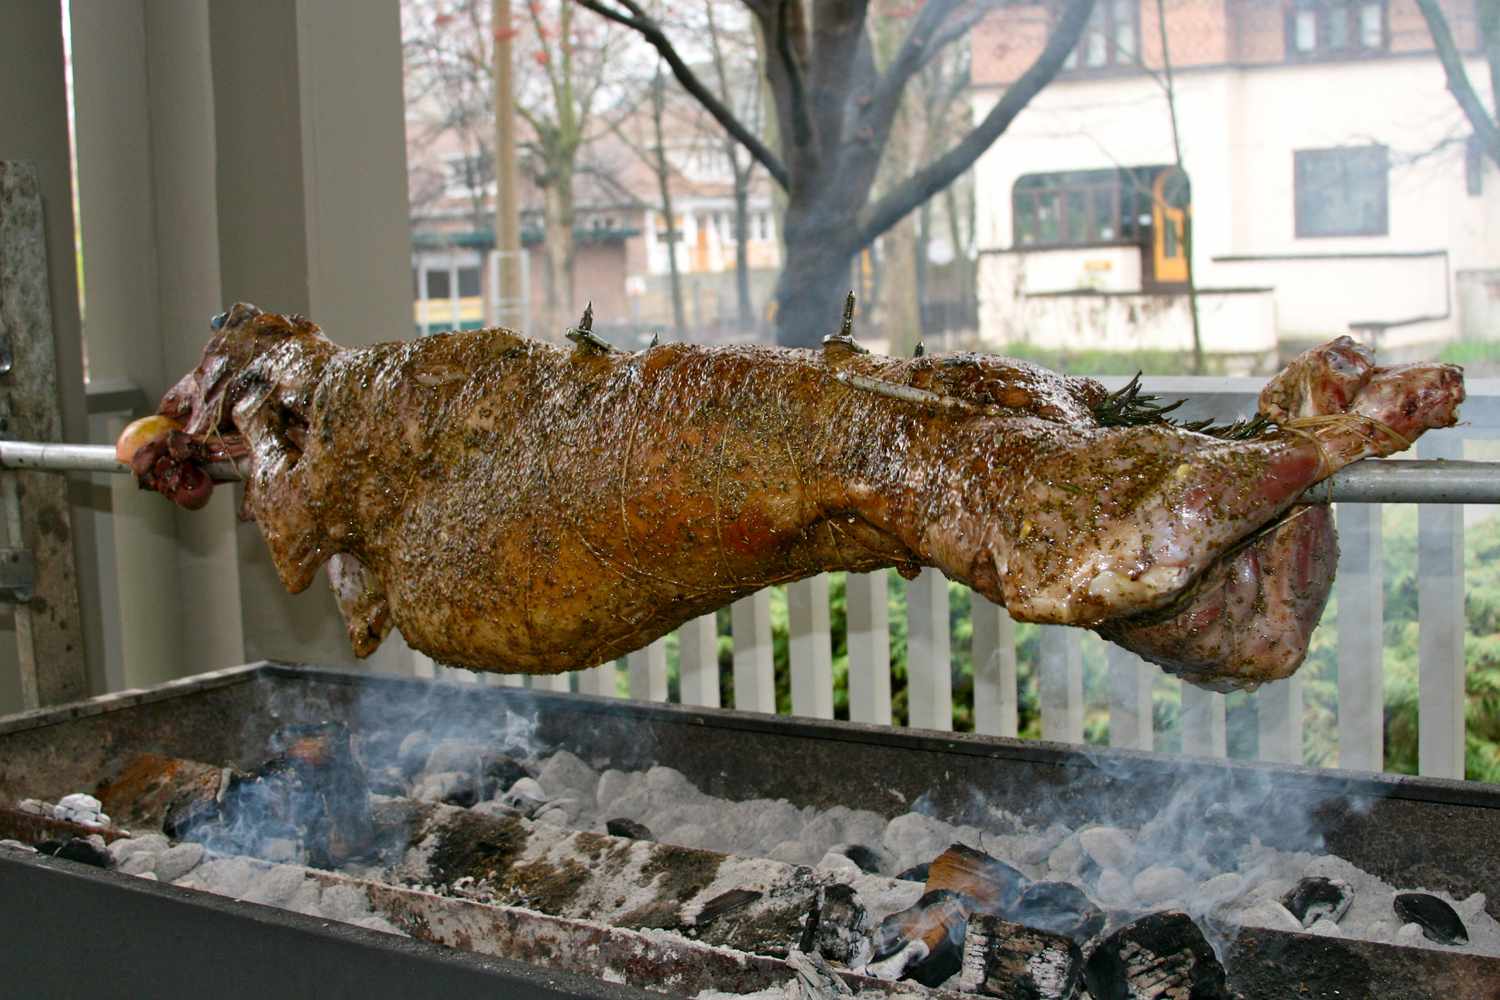
How To Carve A Whole Lamb On A Spit
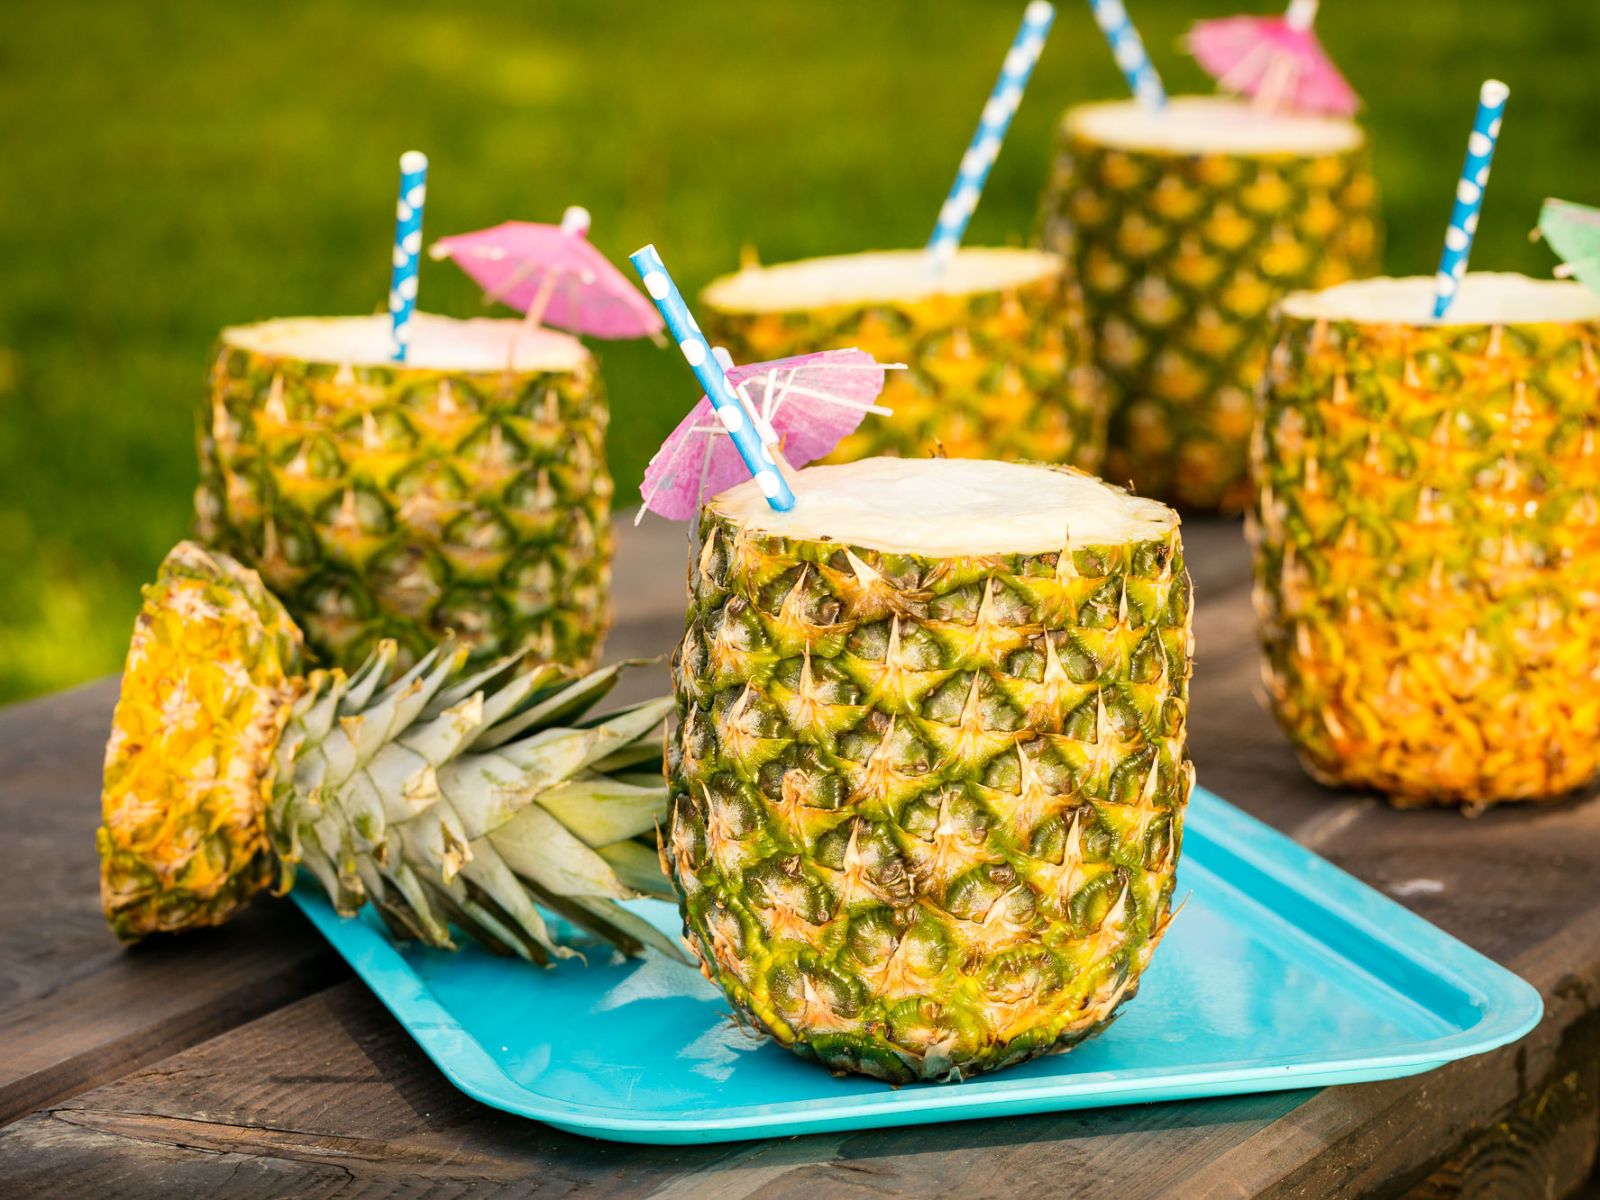
How To Carve A Pineapple Into A Cup Without A Corer
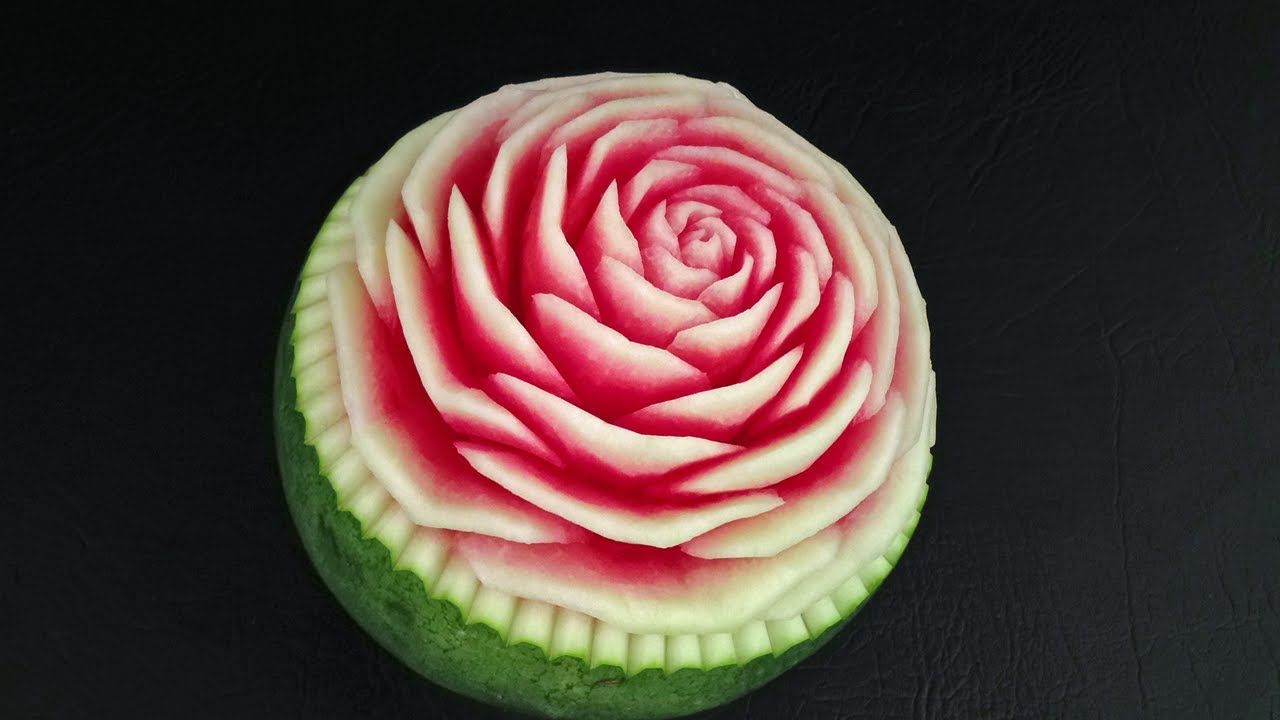
How To Carve A Flower Into A Watermelon
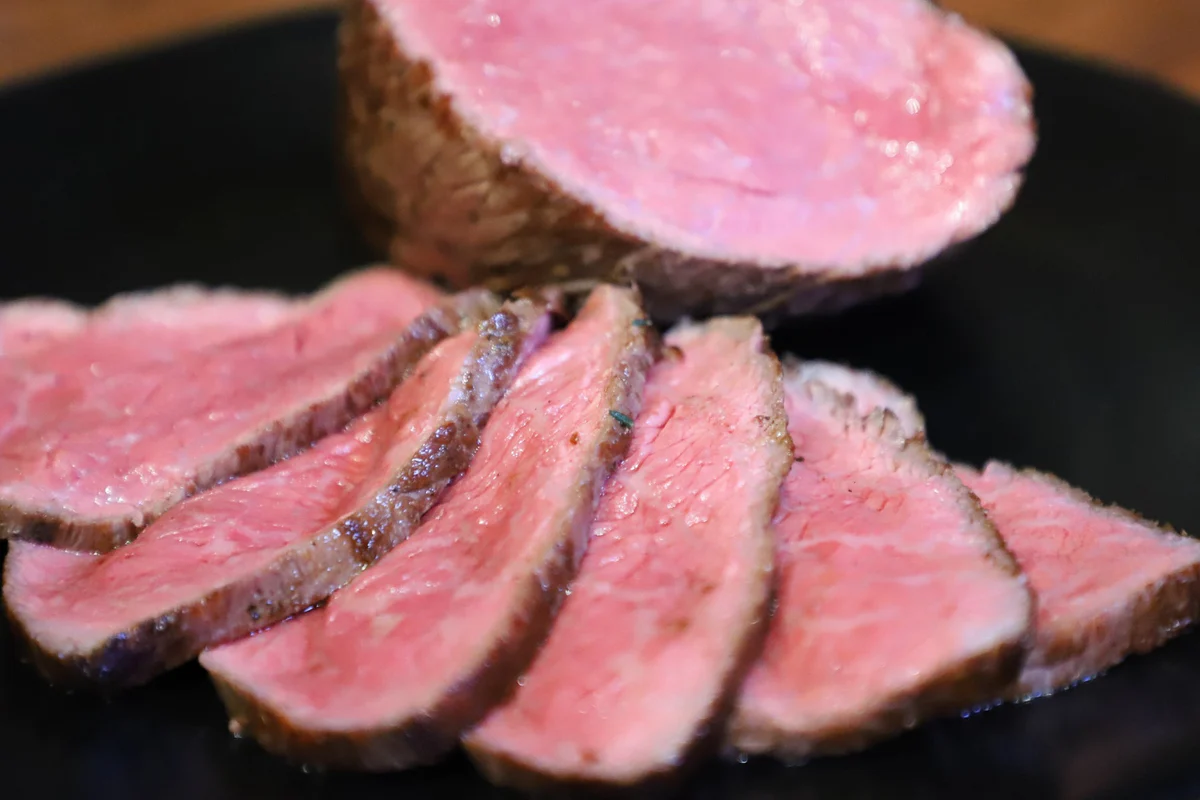
How To Carve A Bottom Round Rump Roast
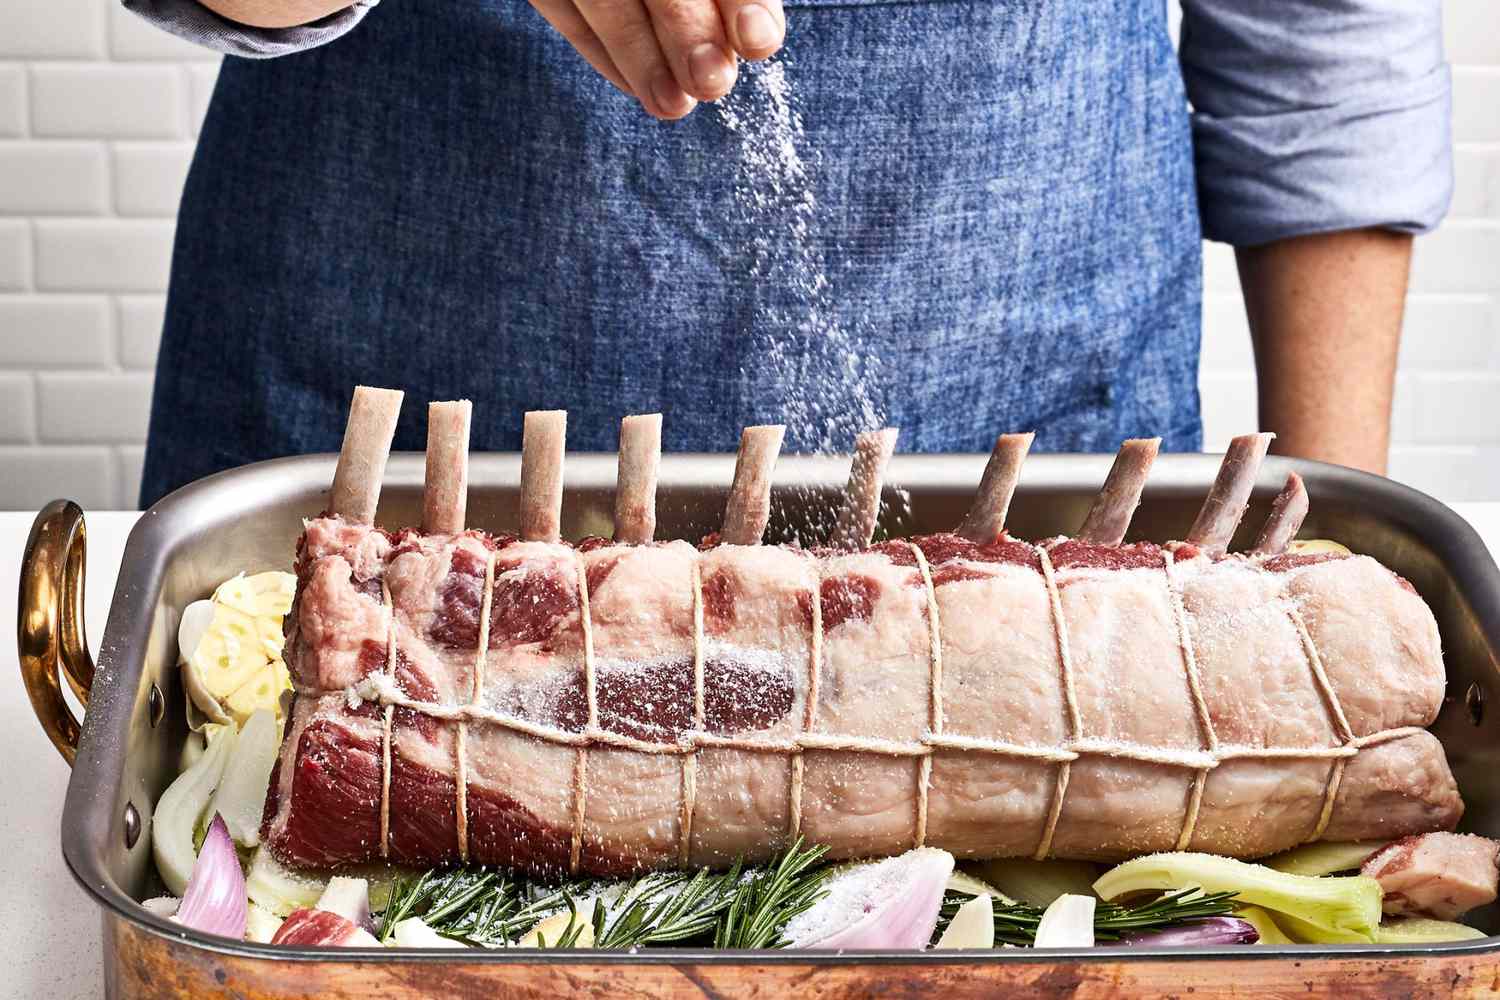
How To Carve Bone-In Pork Loin
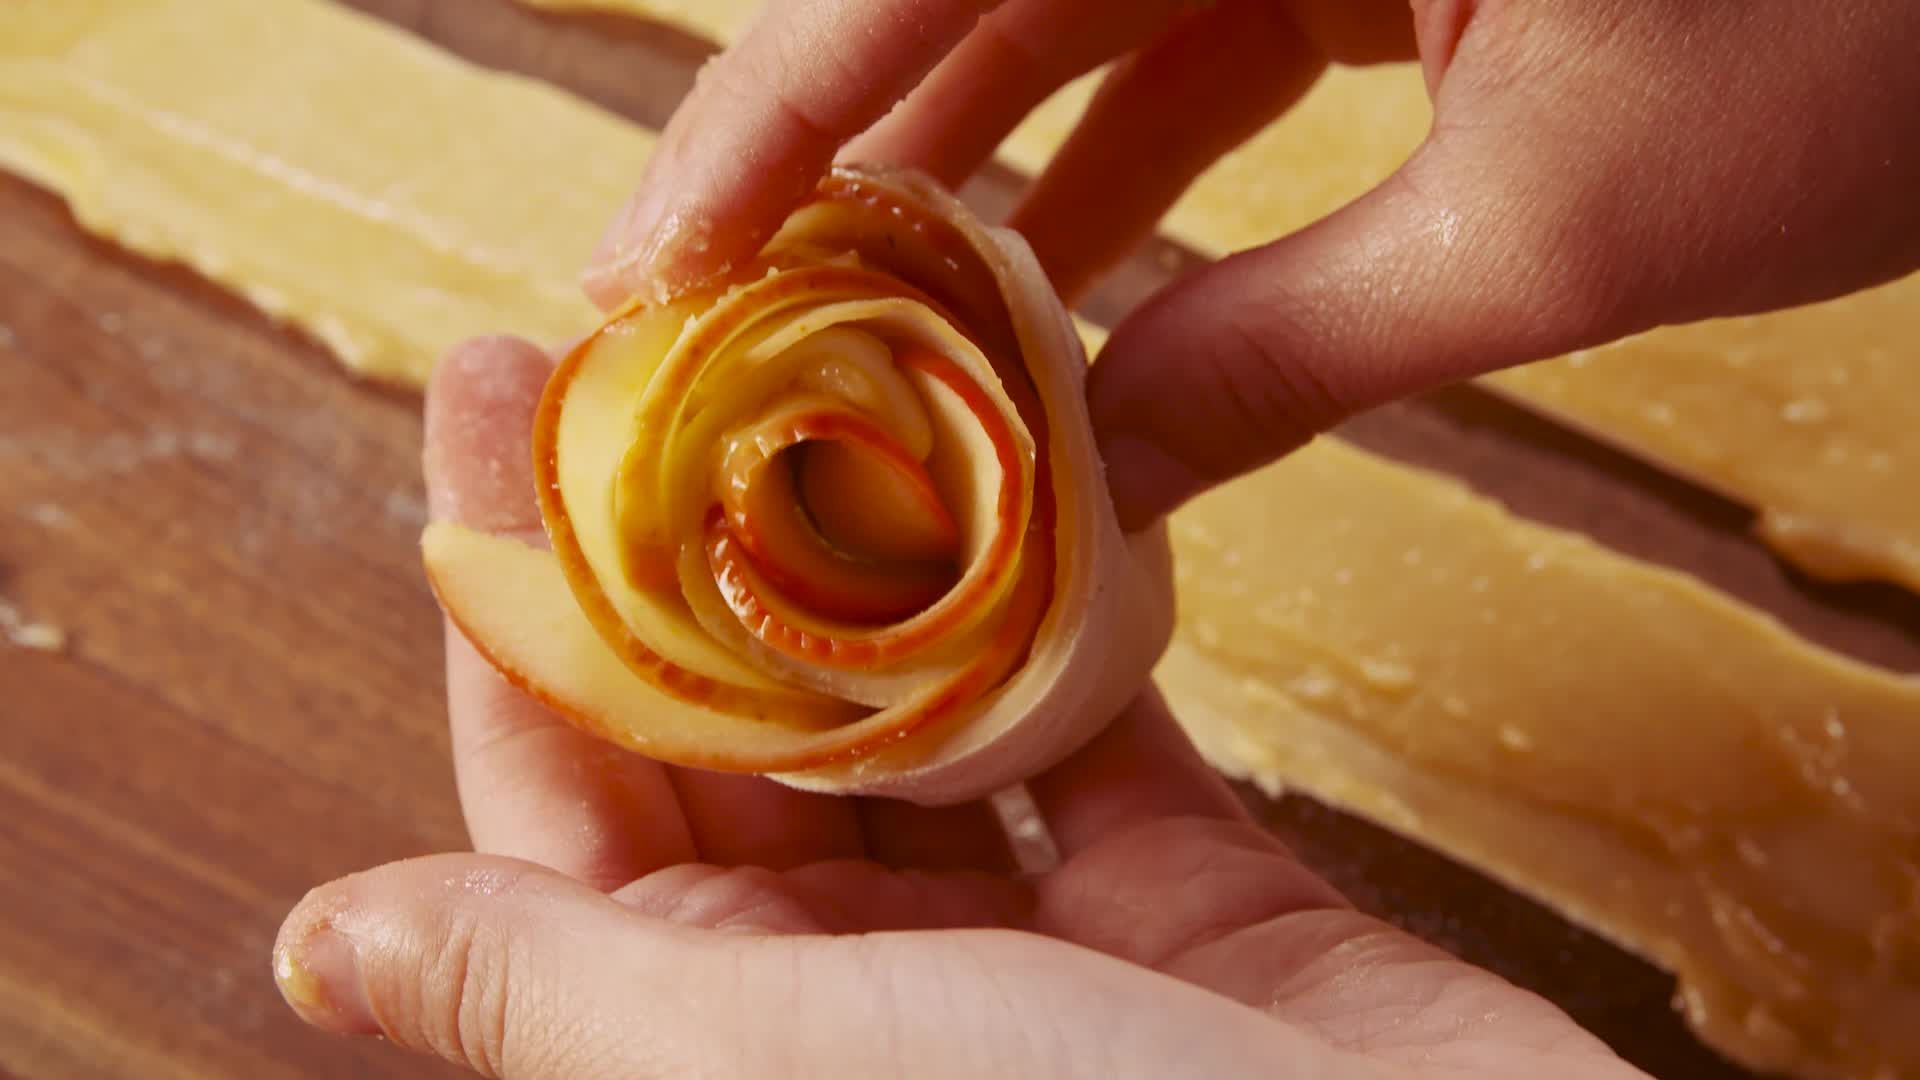
How To Carve Apple Roses
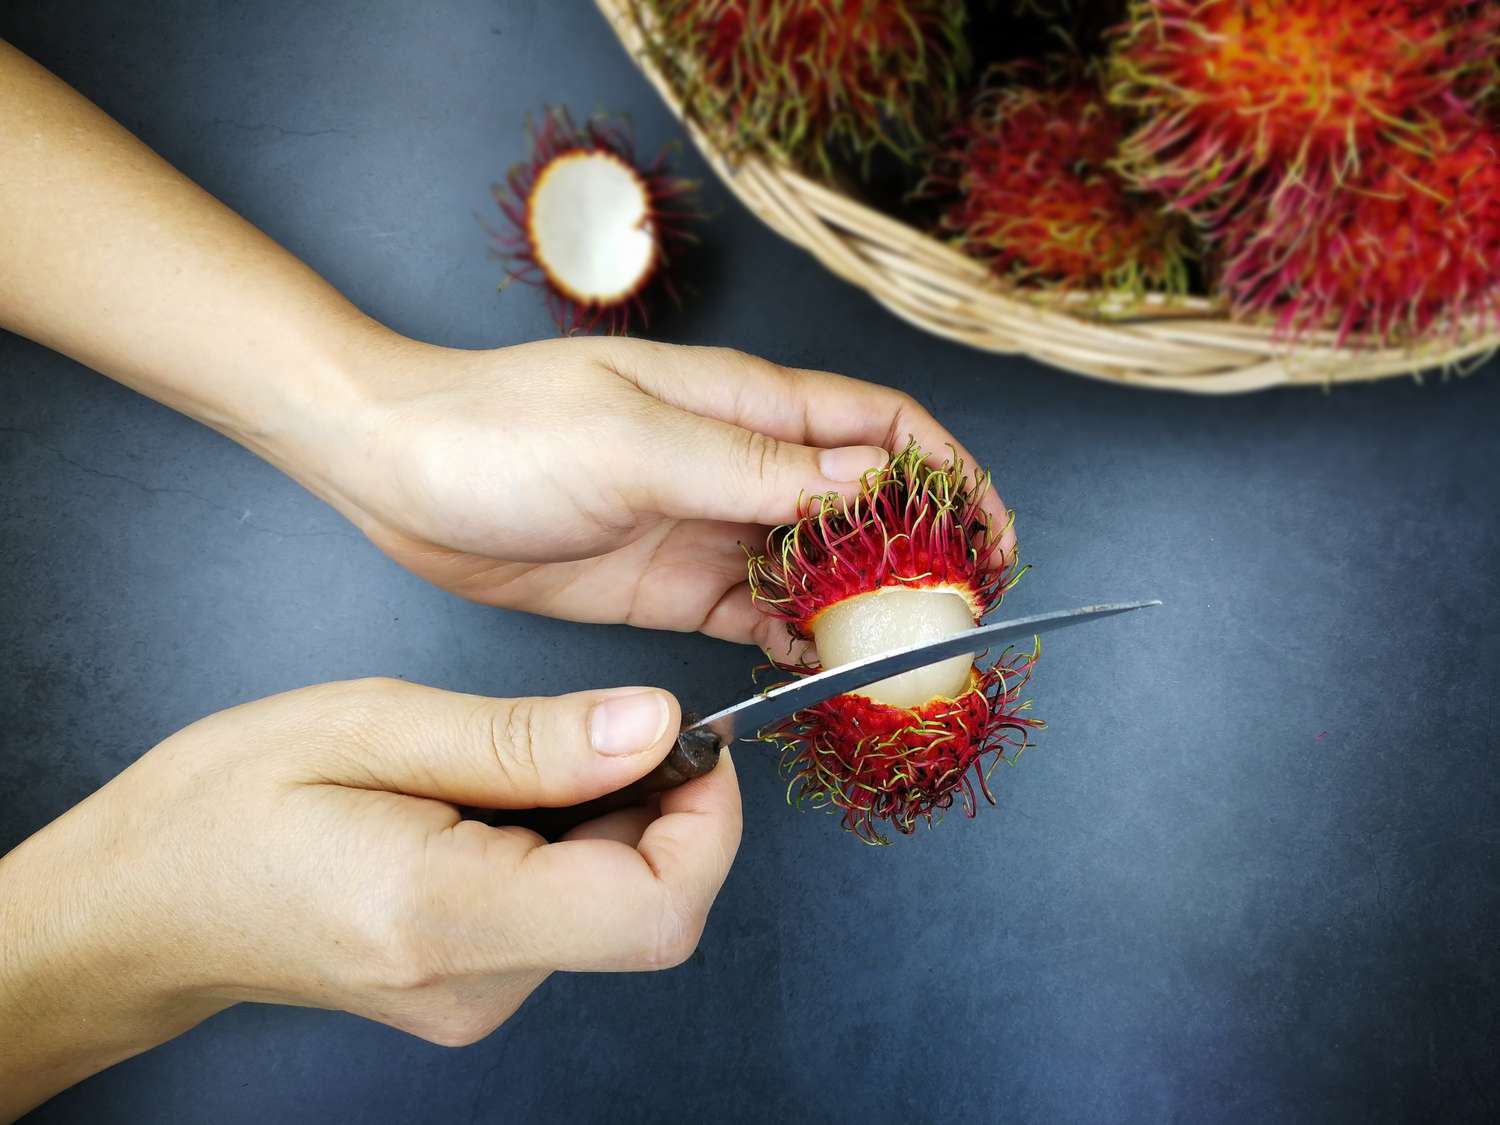
How To Pit A Rambutan
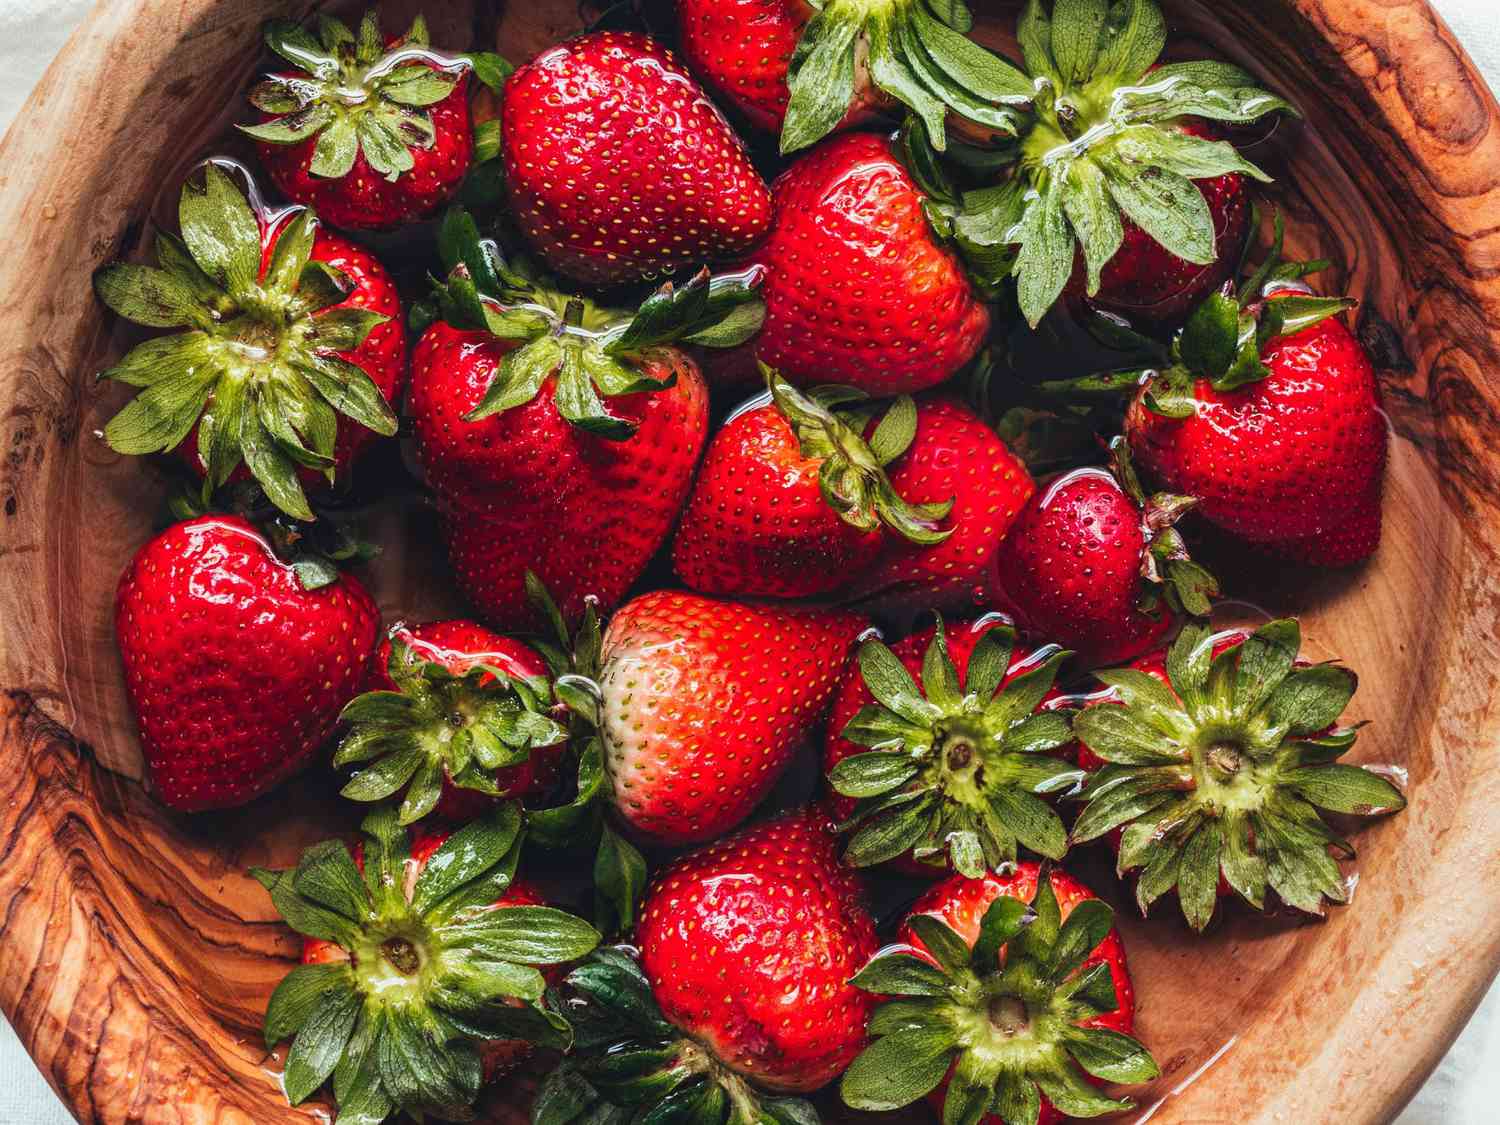
How To Pit A Strawberry
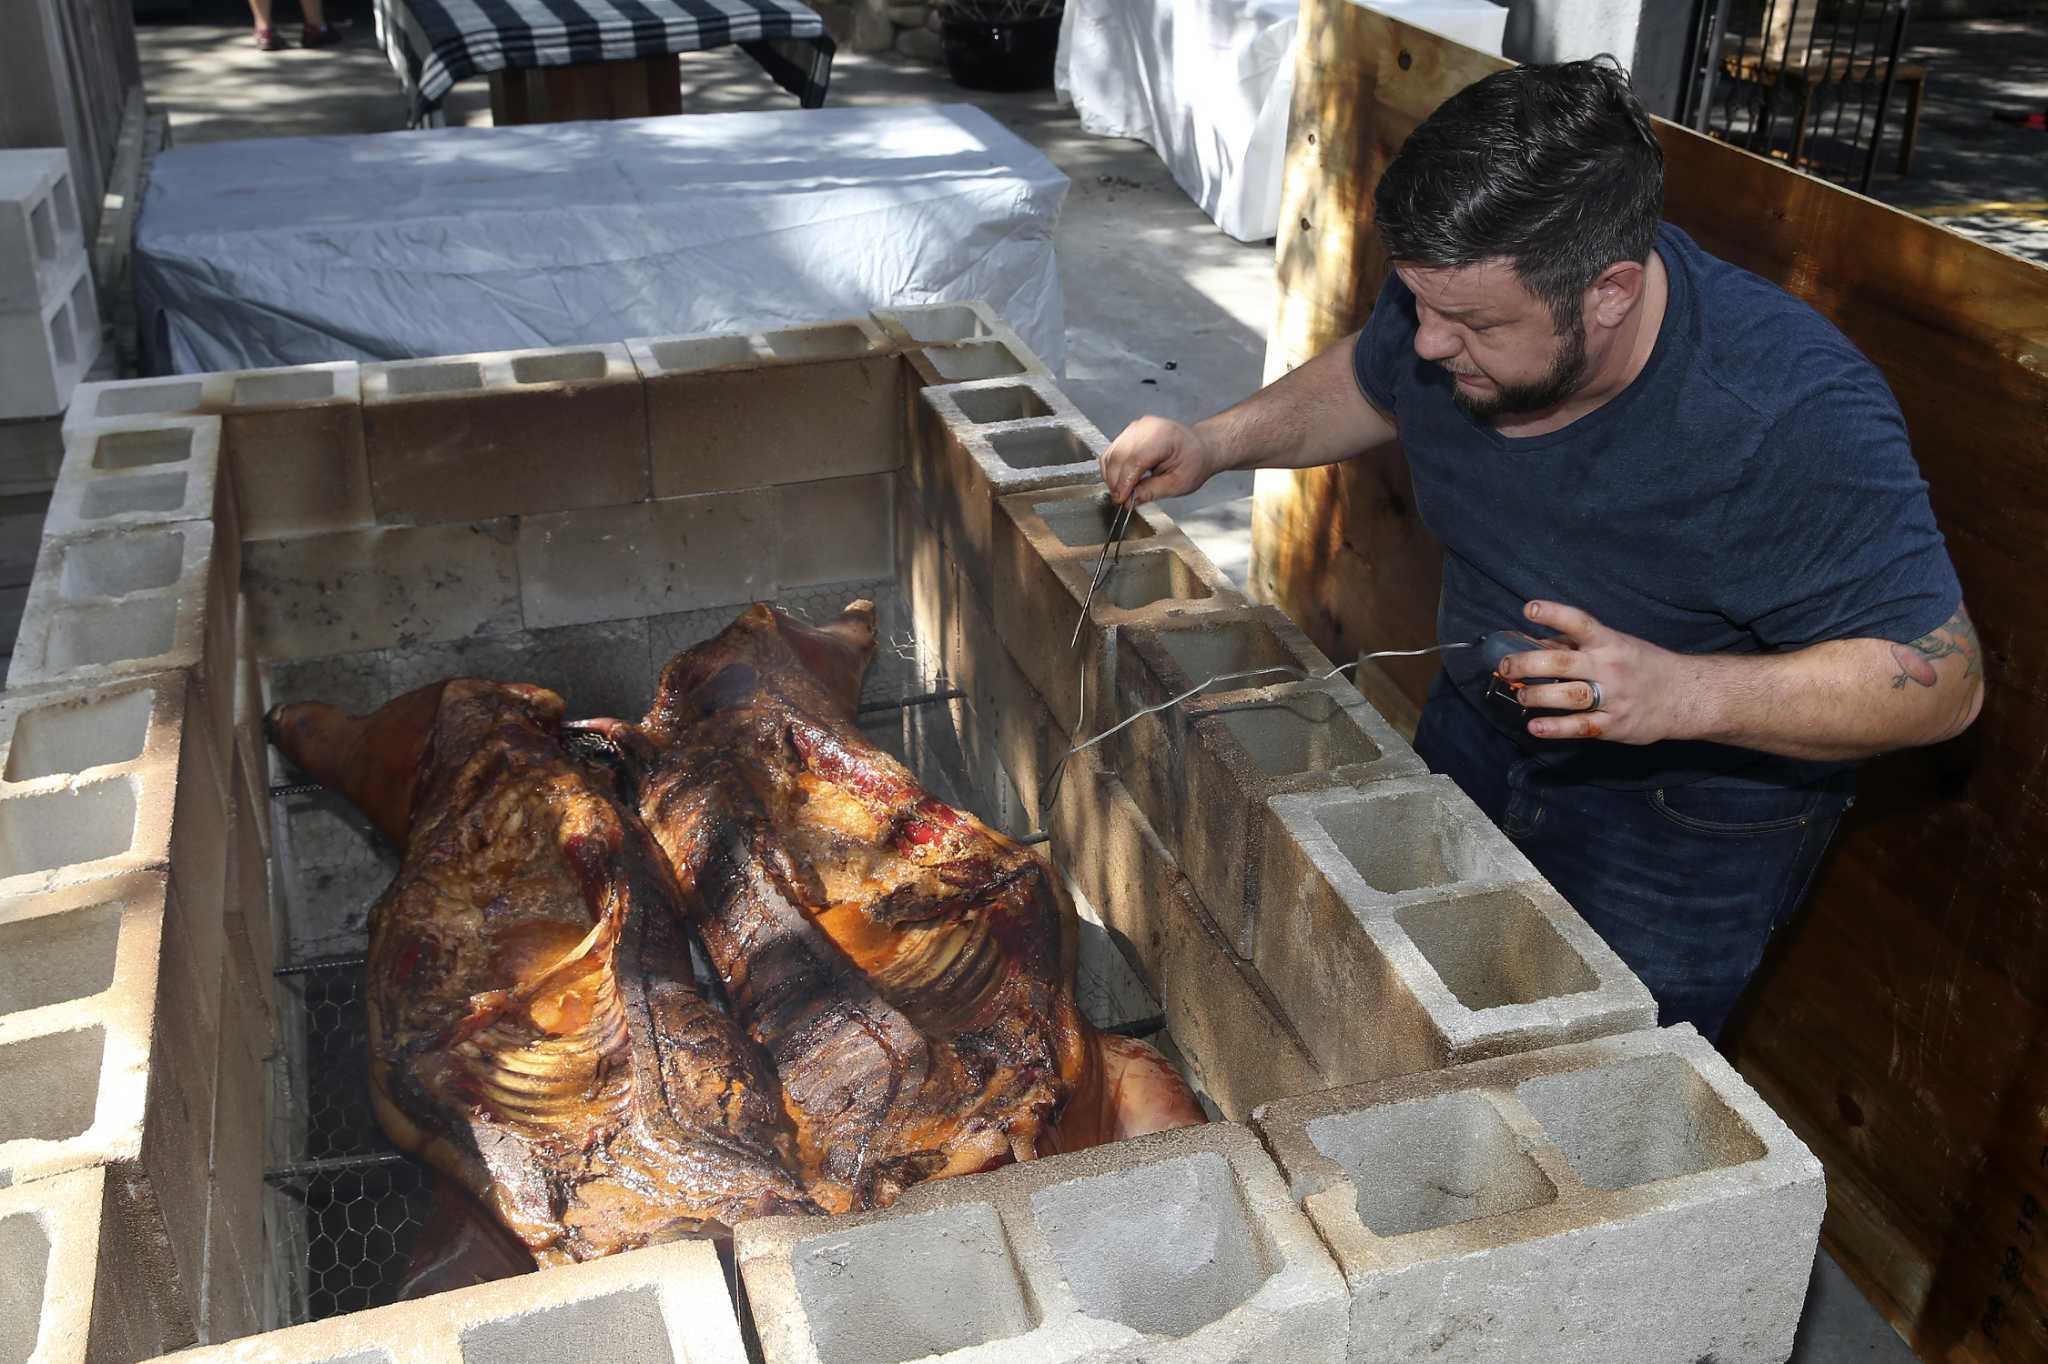
How To Pit Roast A Whole Pig
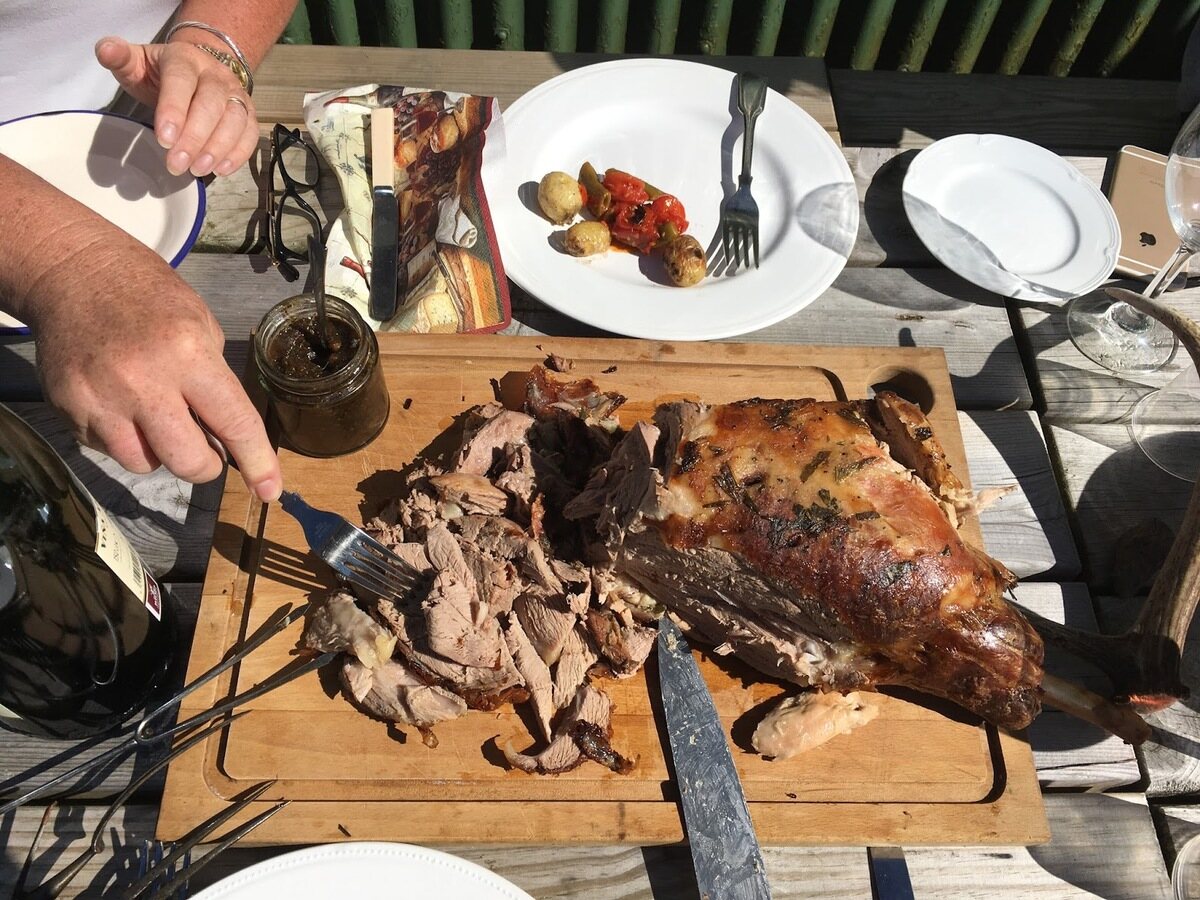
How To Pit Roast A Lamb Underground
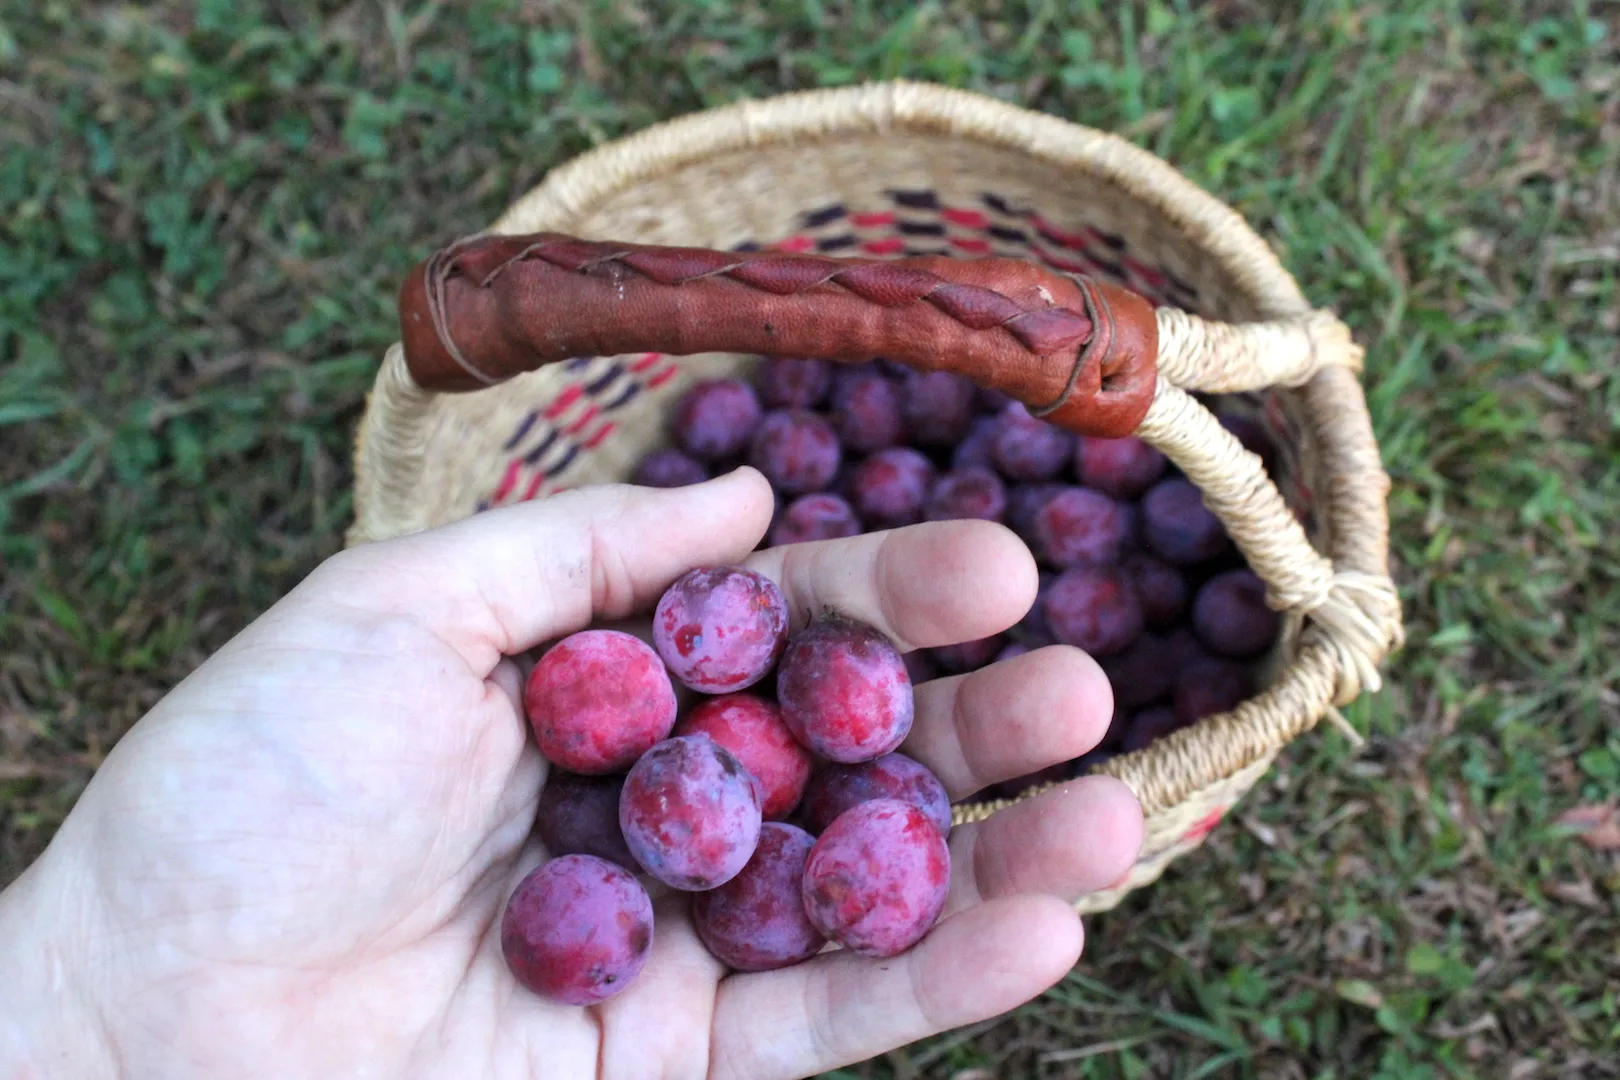
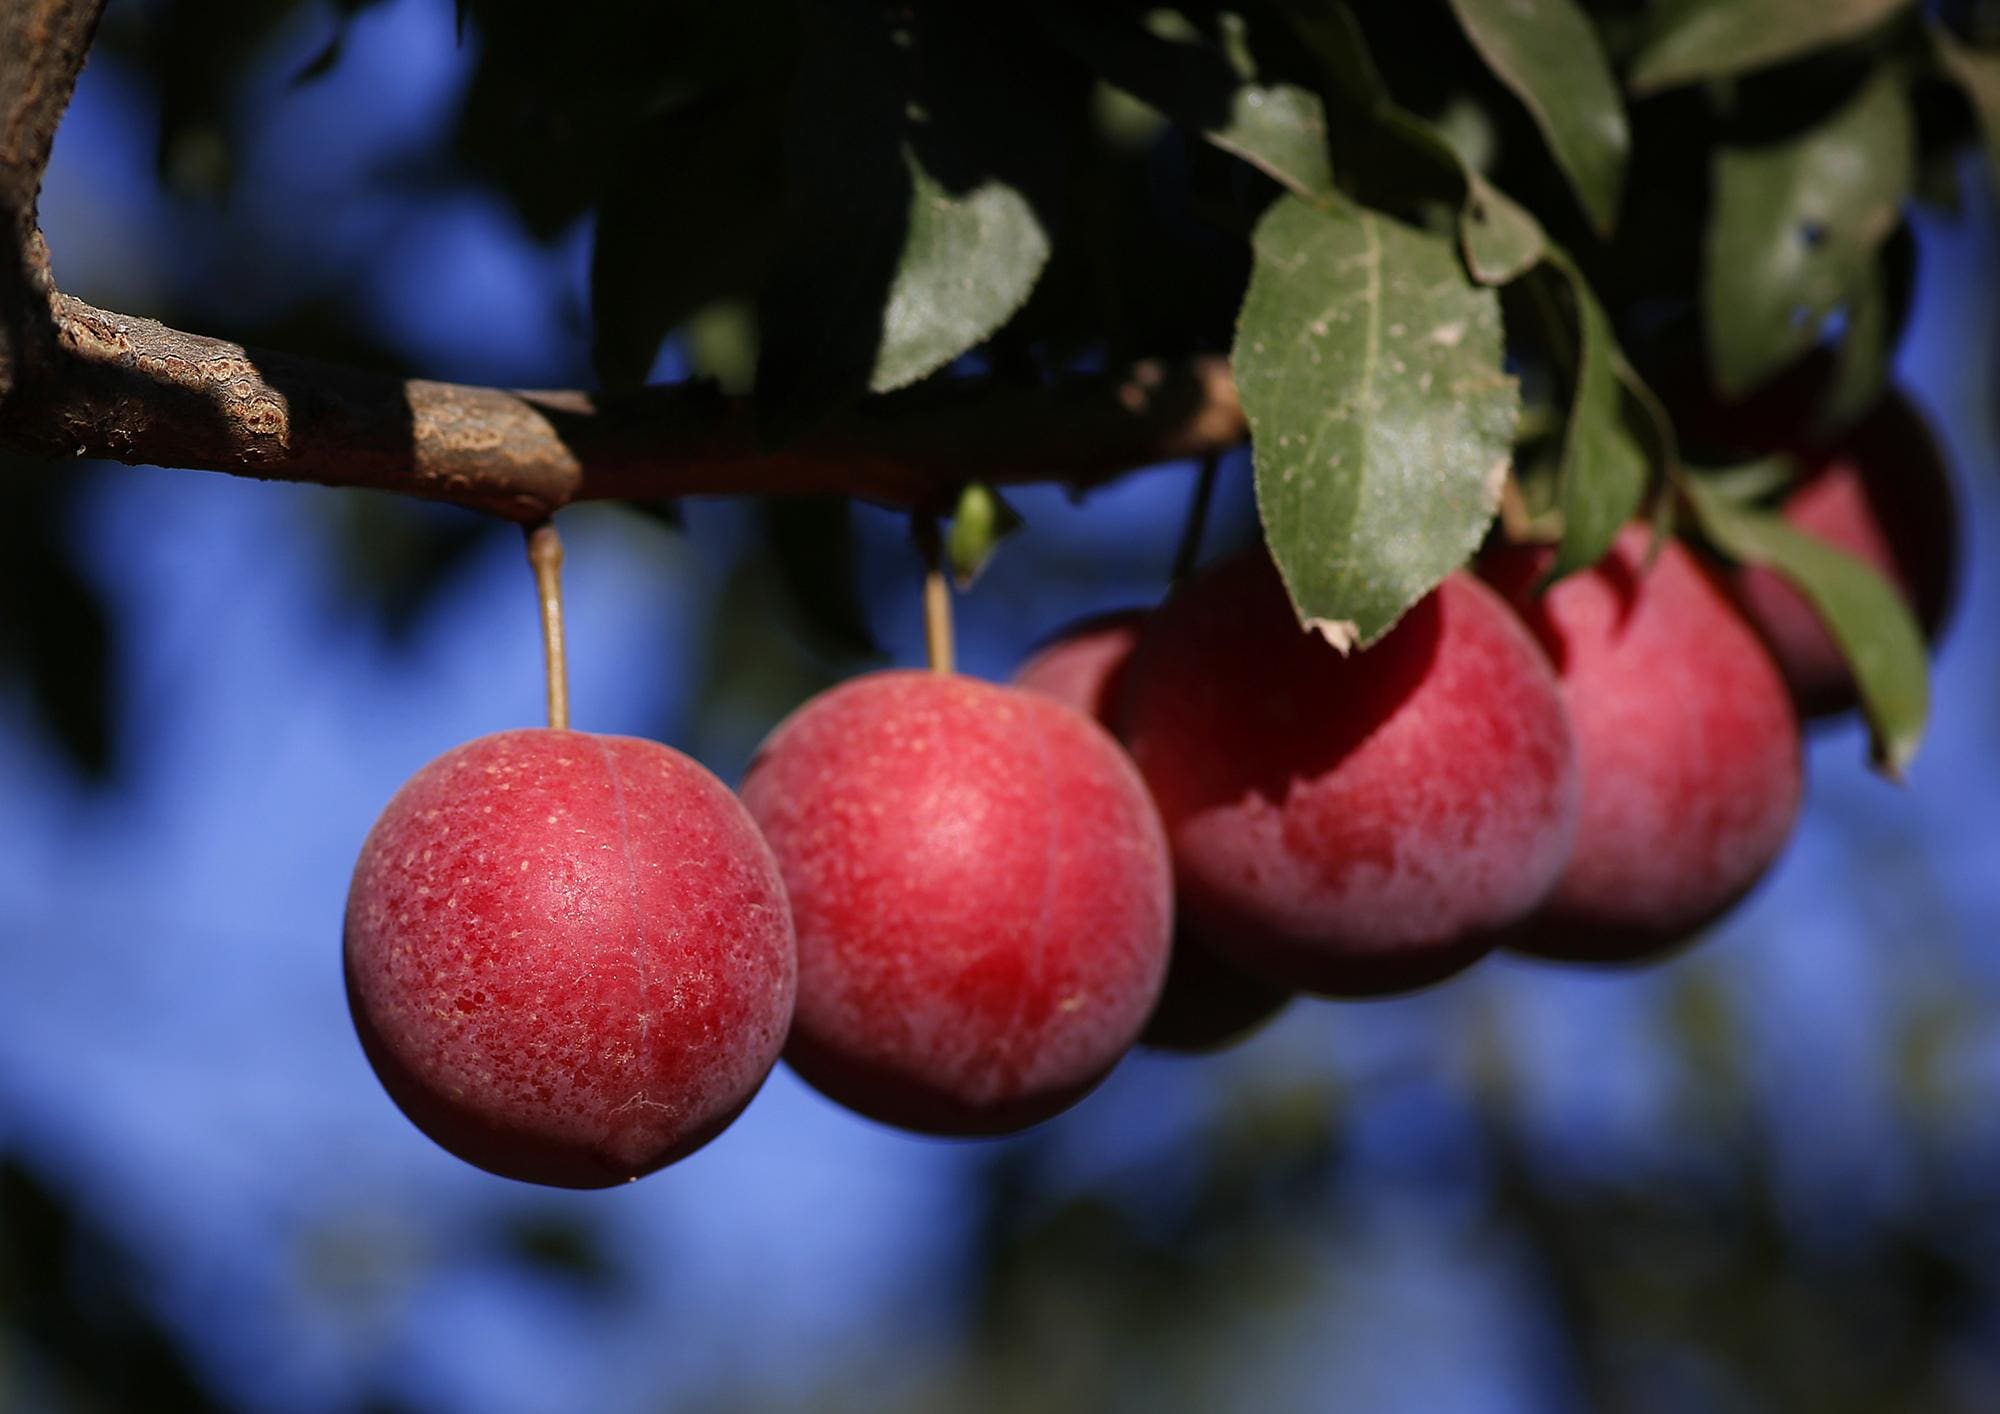
How To Pit Plums