Step-by-Step Guide: How to Carve a Spatchcocked Chicken
Carving a spatchcocked chicken may seem intimidating at first, but with the right technique, it can be a simple and rewarding process. Whether you’re preparing a delicious meal for your family or hosting a dinner party, knowing how to carve a spatchcocked chicken will impress your guests and make serving a breeze.
What You’ll Need
Before you begin carving your spatchcocked chicken, gather the following tools:
- Carving knife
- Cutting board
- Kitchen shears
- Serving platter
Step 1: Rest the Chicken
Once the spatchcocked chicken is cooked to perfection, remove it from the oven or grill and allow it to rest for 10-15 minutes. This resting period allows the juices to redistribute, resulting in a juicier and more flavorful bird.
Step 2: Remove the Backbone
Place the spatchcocked chicken breast-side up on the cutting board. Using kitchen shears, carefully cut along both sides of the backbone to remove it. This step is where the spatchcocking technique comes into play, as the backbone has already been removed prior to cooking, allowing the chicken to lay flat.
Step 3: Separate the Thighs and Breasts
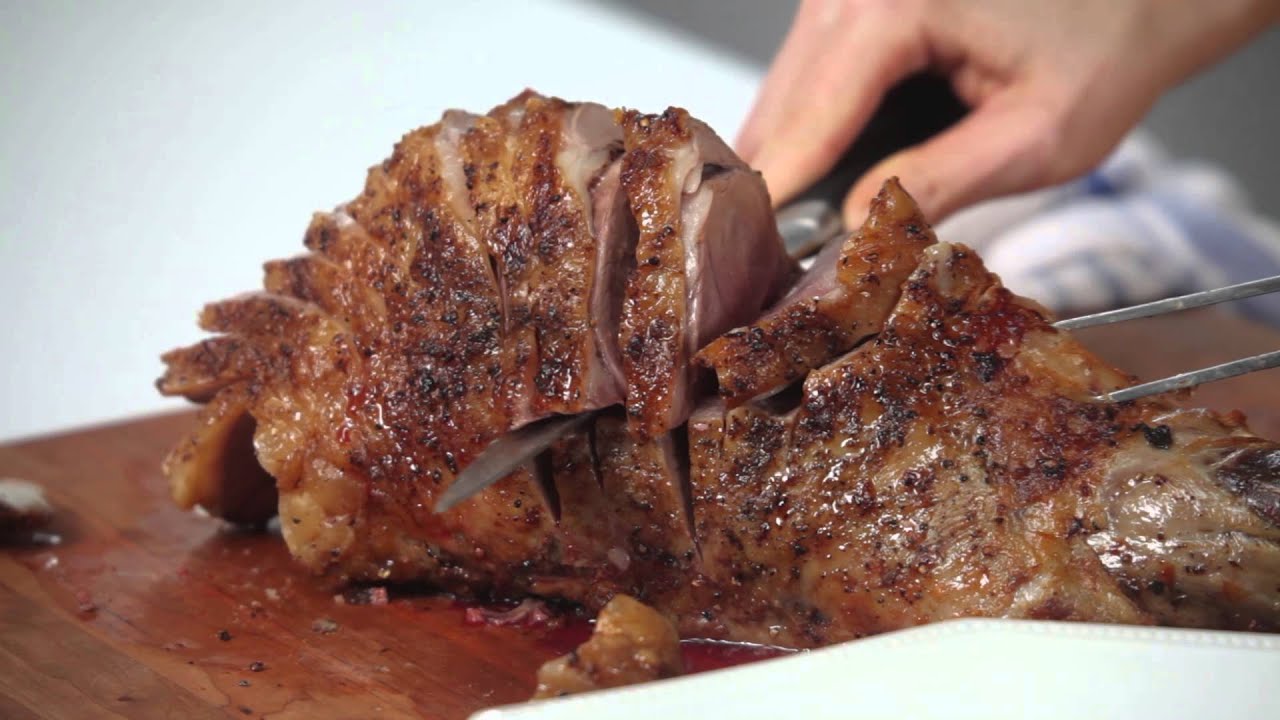
Next, locate the joint that connects the thigh to the body of the chicken. Using the carving knife, gently slice through the joint to separate the thigh from the body. Repeat this process on the other side. Then, carefully carve along the breastbone to remove the breasts from the chicken.
Step 4: Slice and Arrange
Once the thighs and breasts are removed, slice the meat against the grain to ensure tenderness. Arrange the carved pieces on a serving platter, and your spatchcocked chicken is ready to be enjoyed!
Tips for Success
Here are a few additional tips to keep in mind when carving a spatchcocked chicken:
- Use a sharp carving knife to make clean and precise cuts.
- Work slowly and carefully to avoid any accidents.
- Consider saving the backbone for making homemade chicken stock or broth.
- Practice makes perfect, so don’t be discouraged if it takes a few tries to master the art of carving a spatchcocked chicken.
Now that you’ve mastered the art of carving a spatchcocked chicken, you can confidently showcase your culinary skills and treat your guests to a delicious and beautifully presented meal. Whether it’s a special occasion or a casual dinner at home, knowing how to carve a spatchcocked chicken is a valuable skill that will elevate your cooking game.
Was this page helpful?
Read Next: How To Carve Watermelon Designs
Related Articles
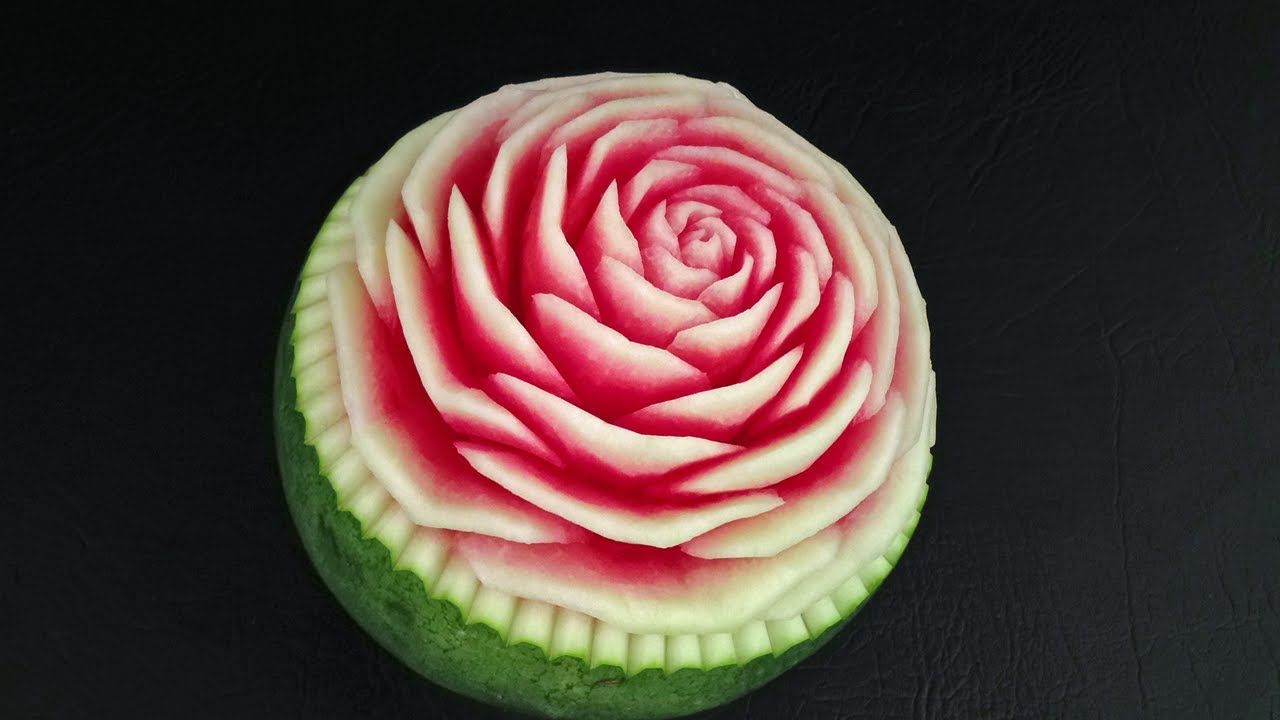
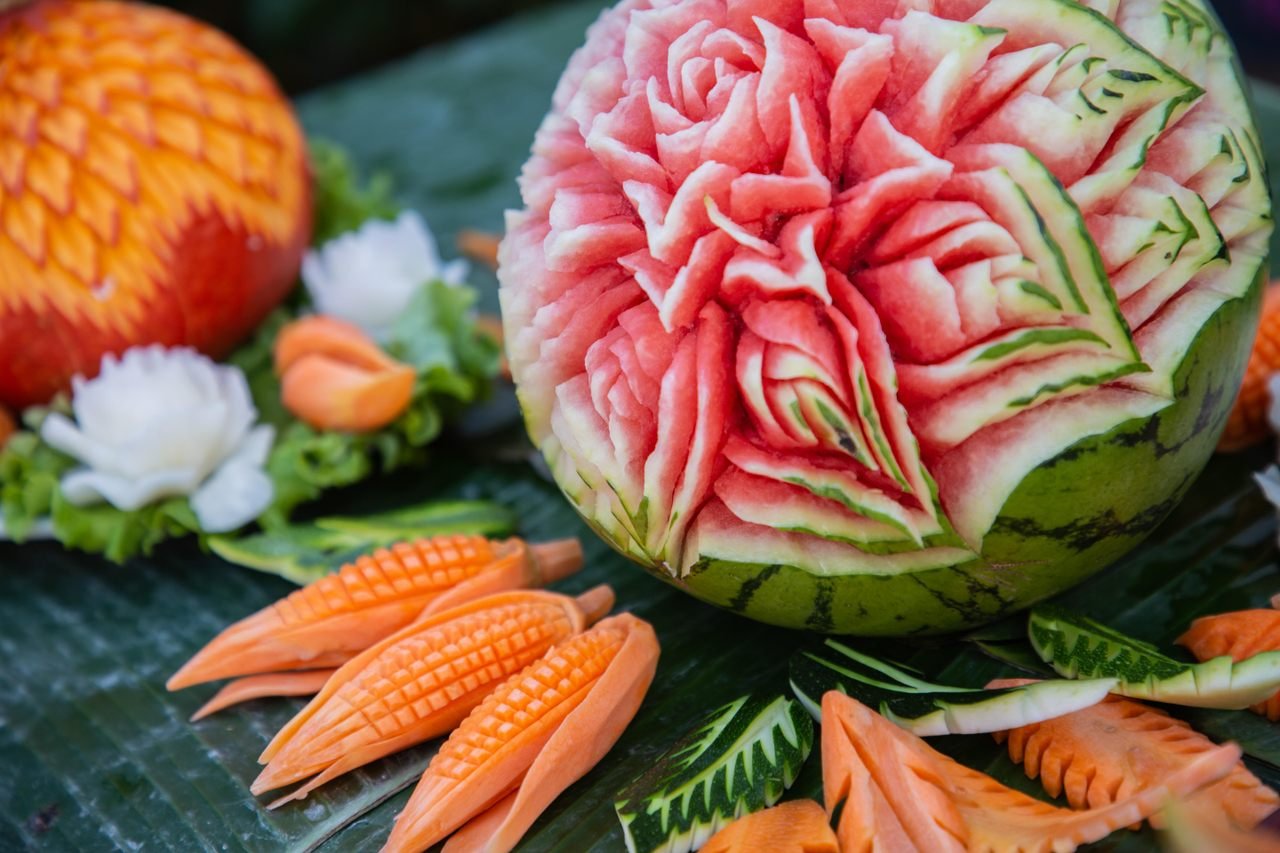
How To Carve A Flower Into A Watermelon
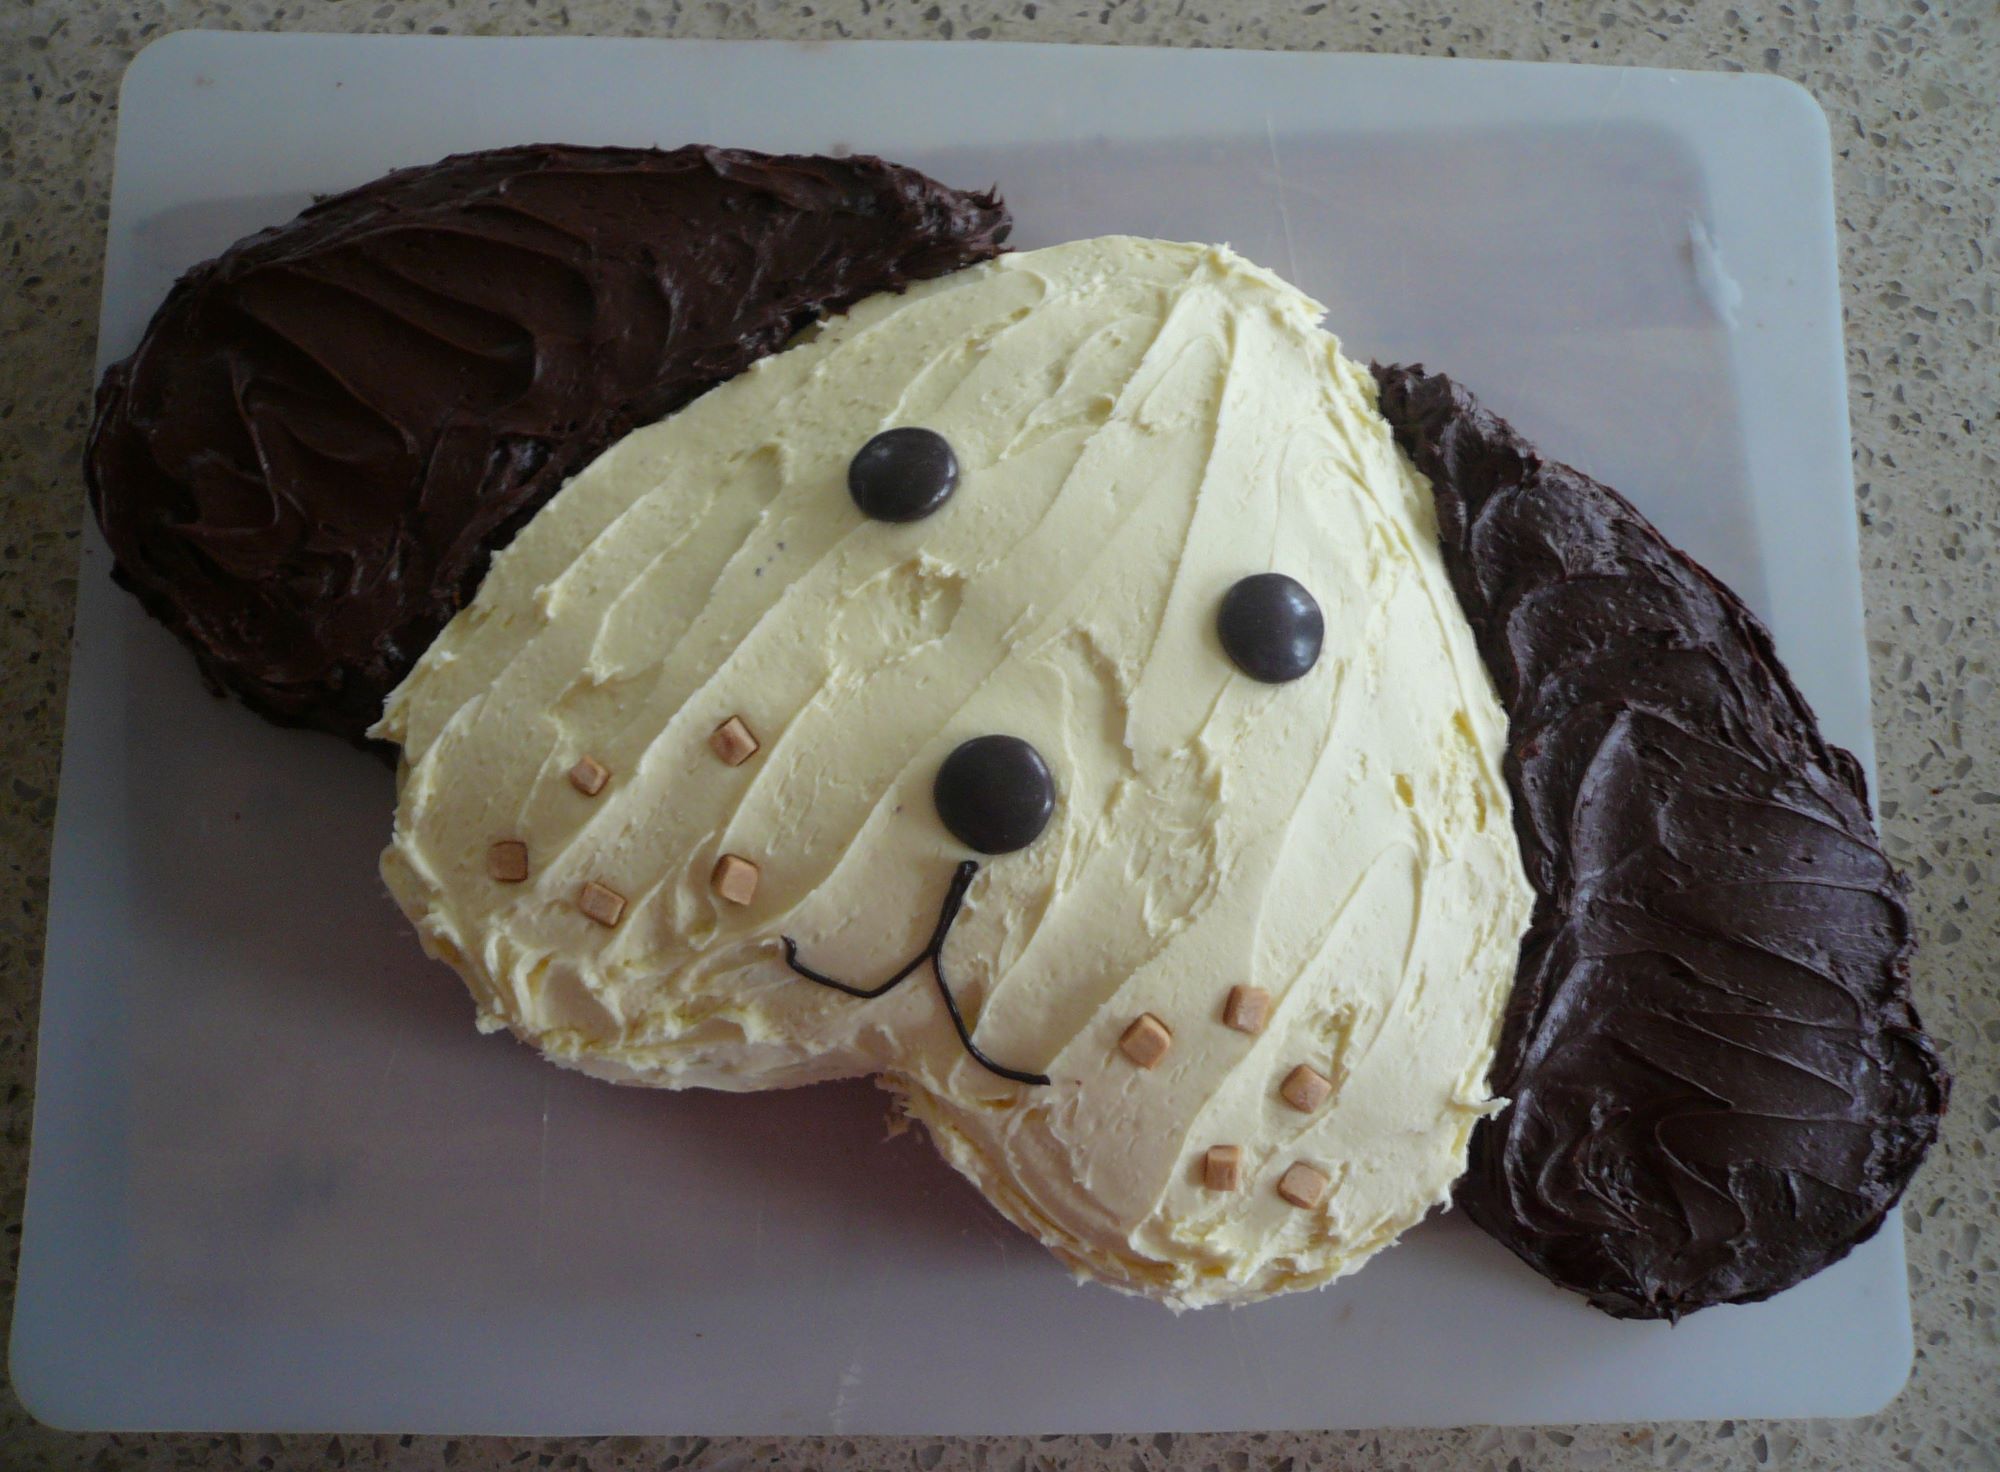
How To Carve A Dog Cake Beginner
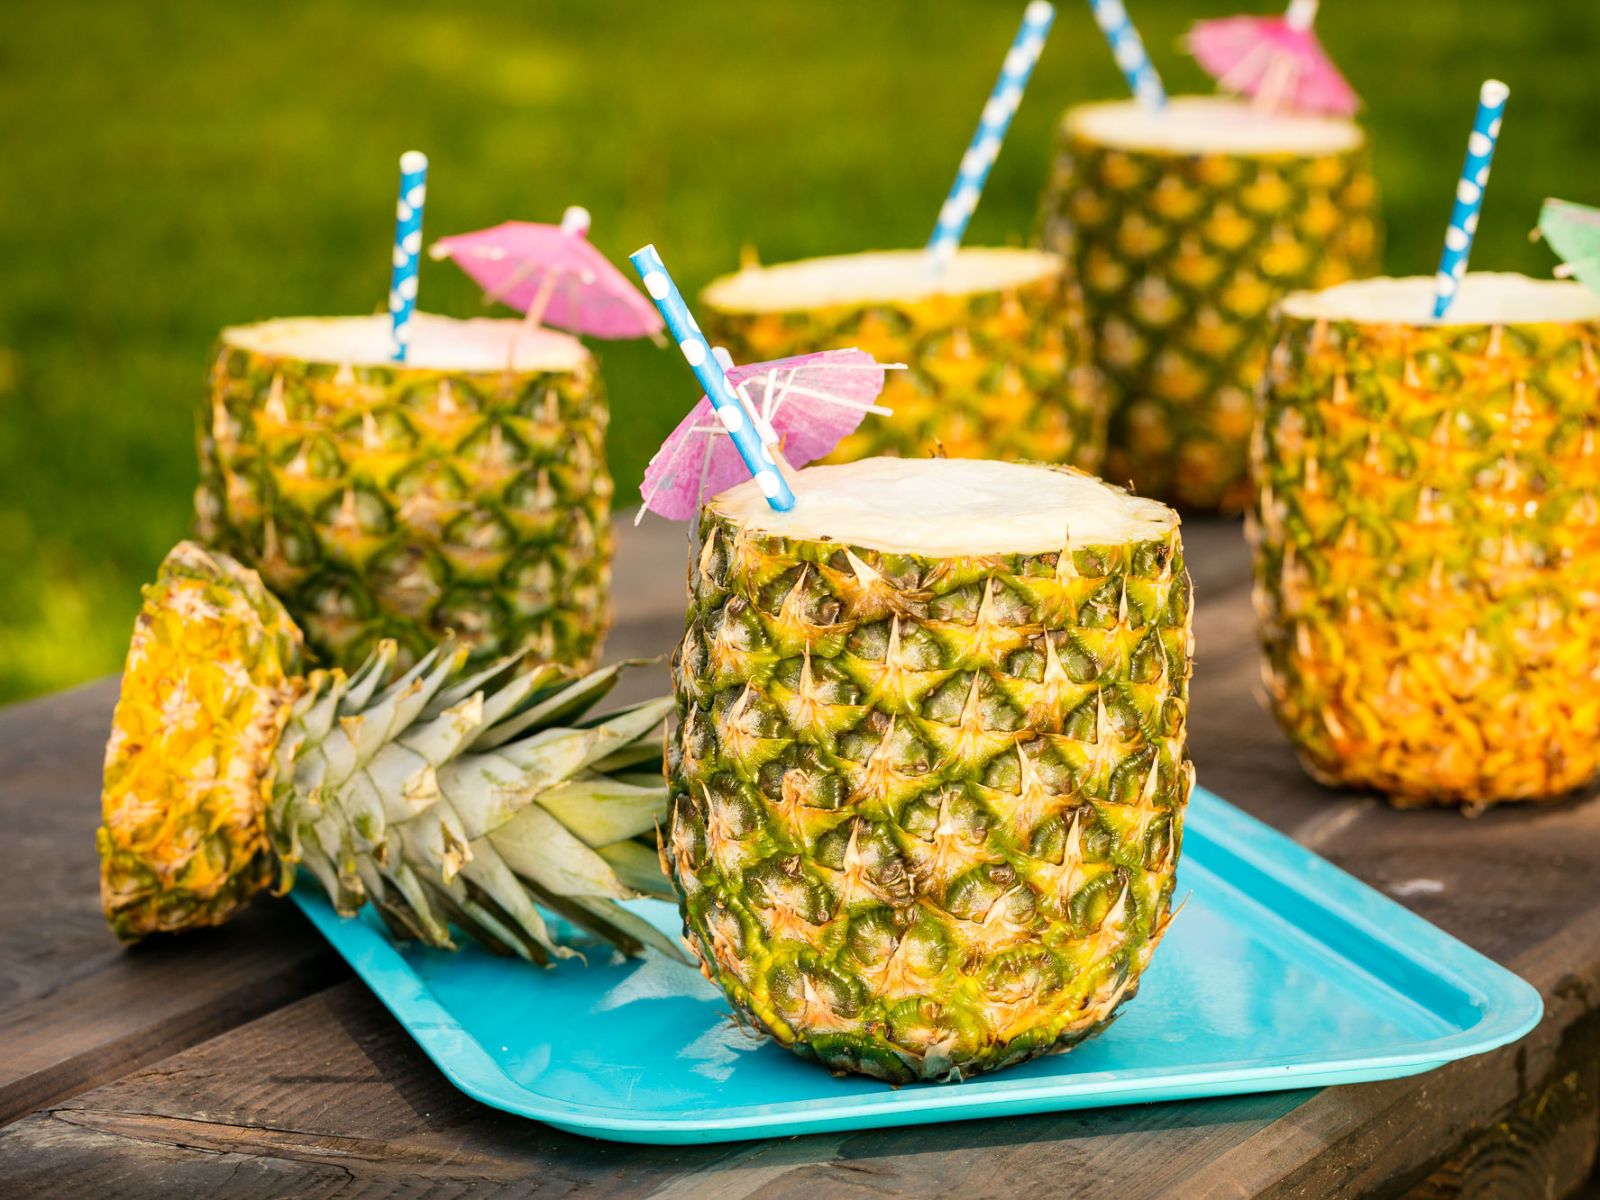
How To Carve A Pineapple Into A Cup Without A Corer
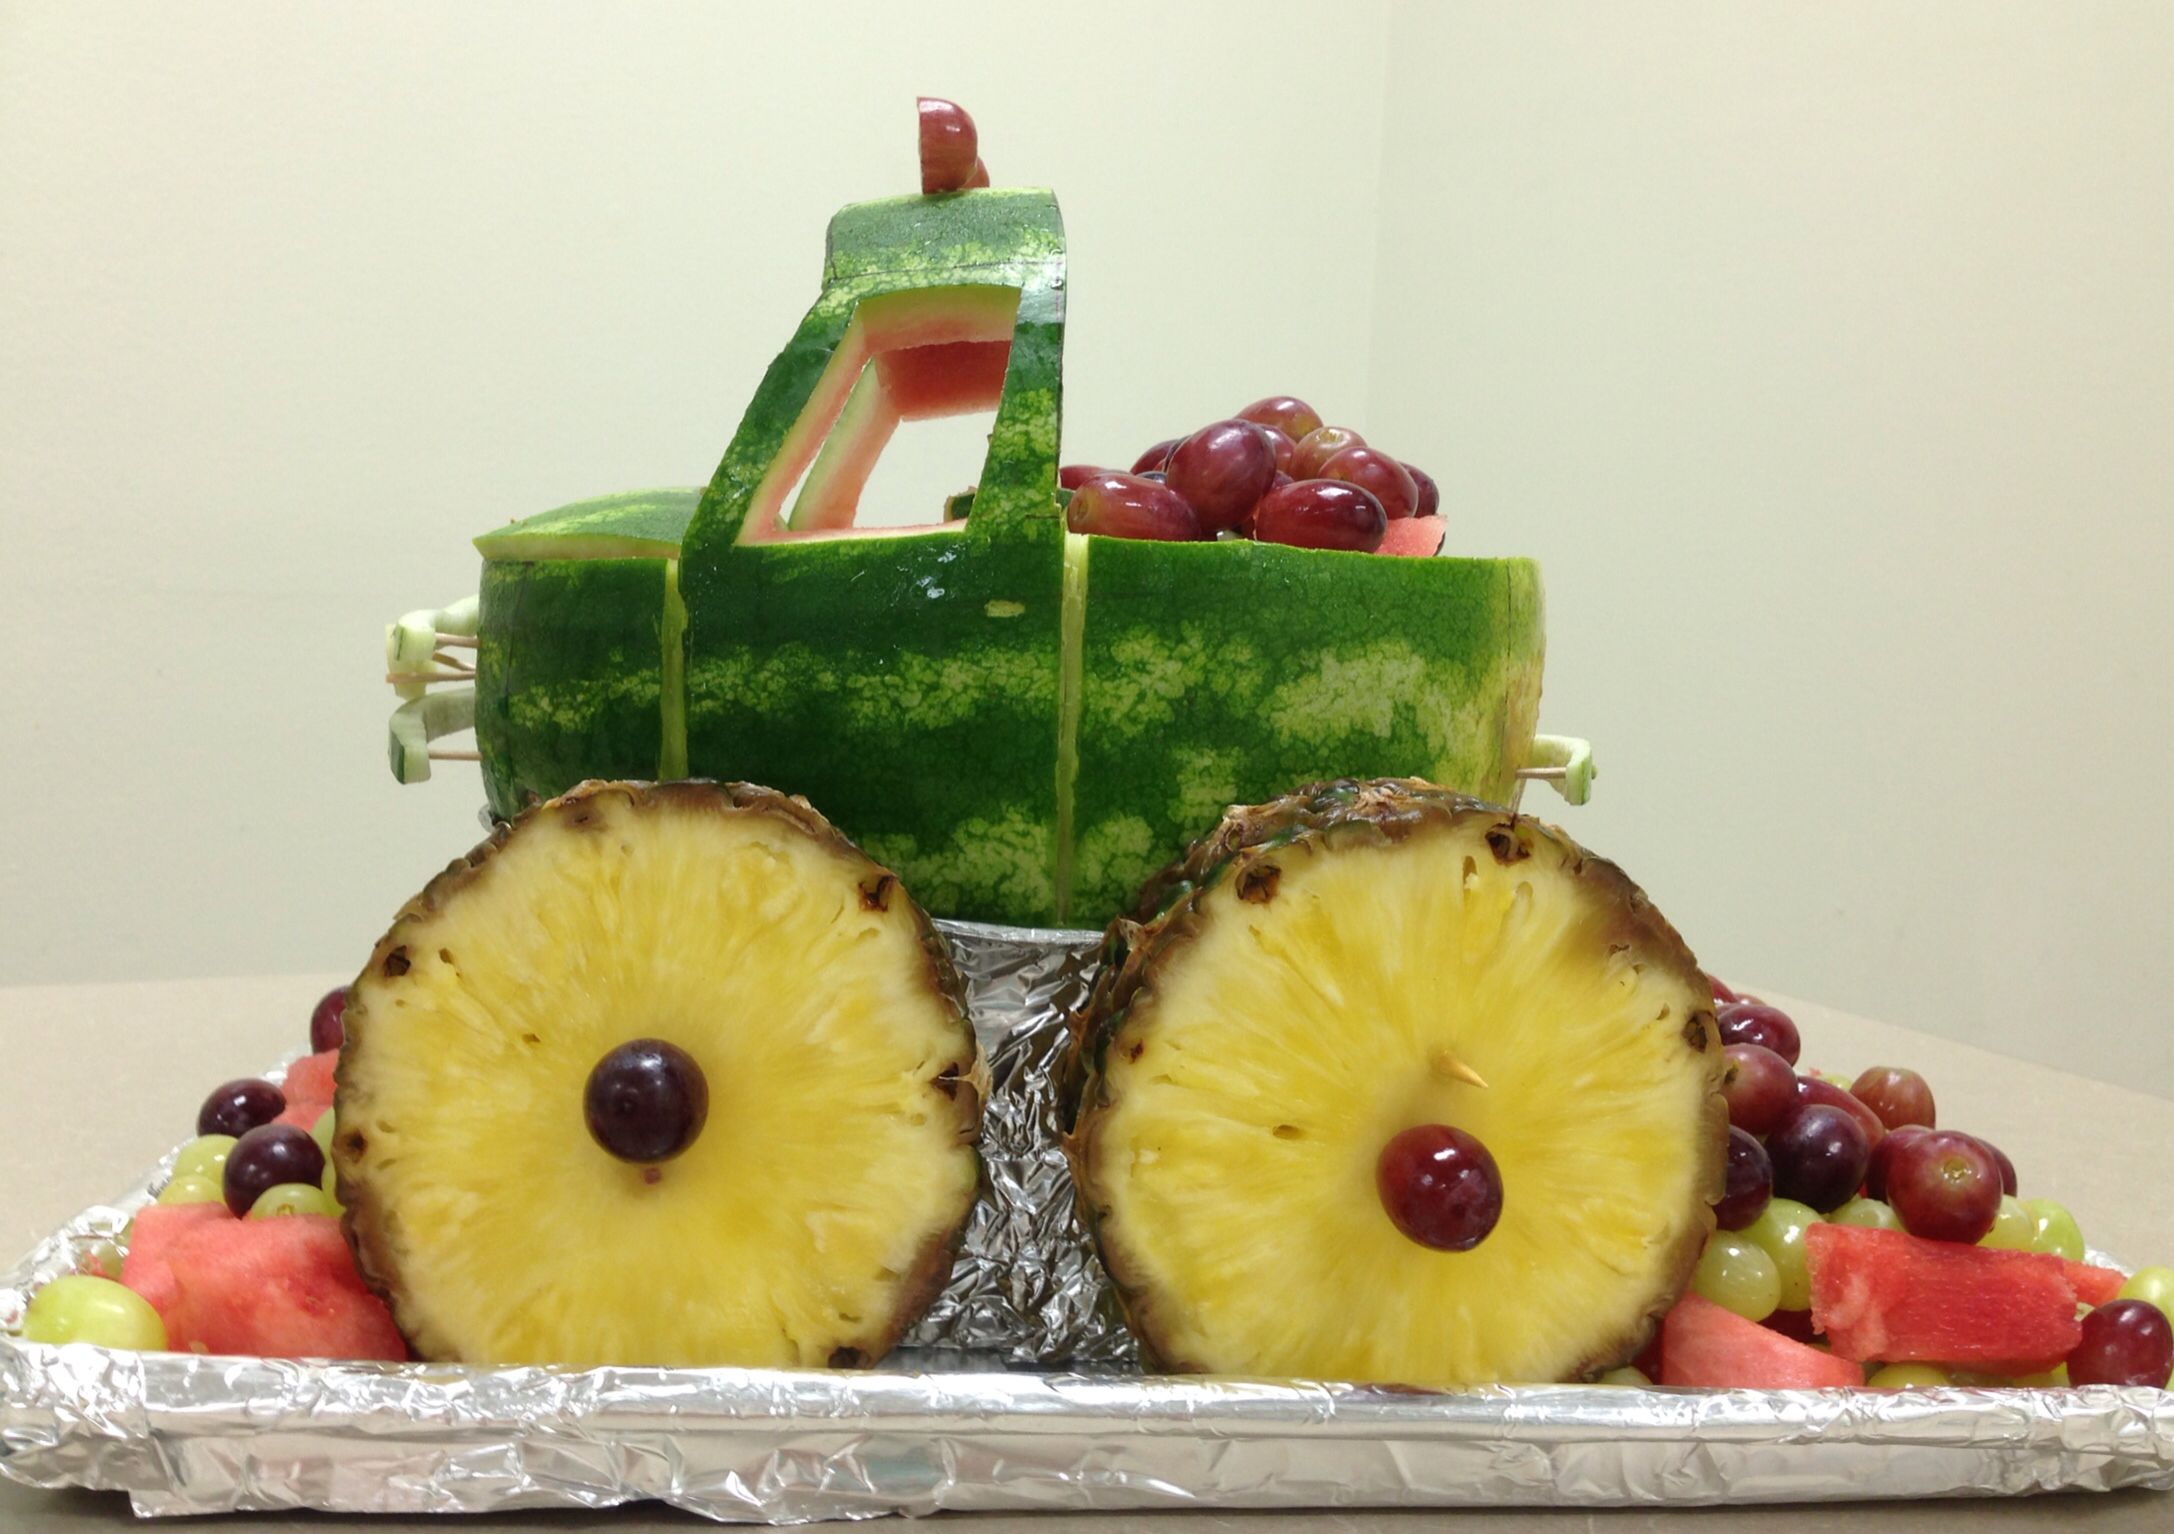
How To Carve A Monster Truck Out Of A Watermelon
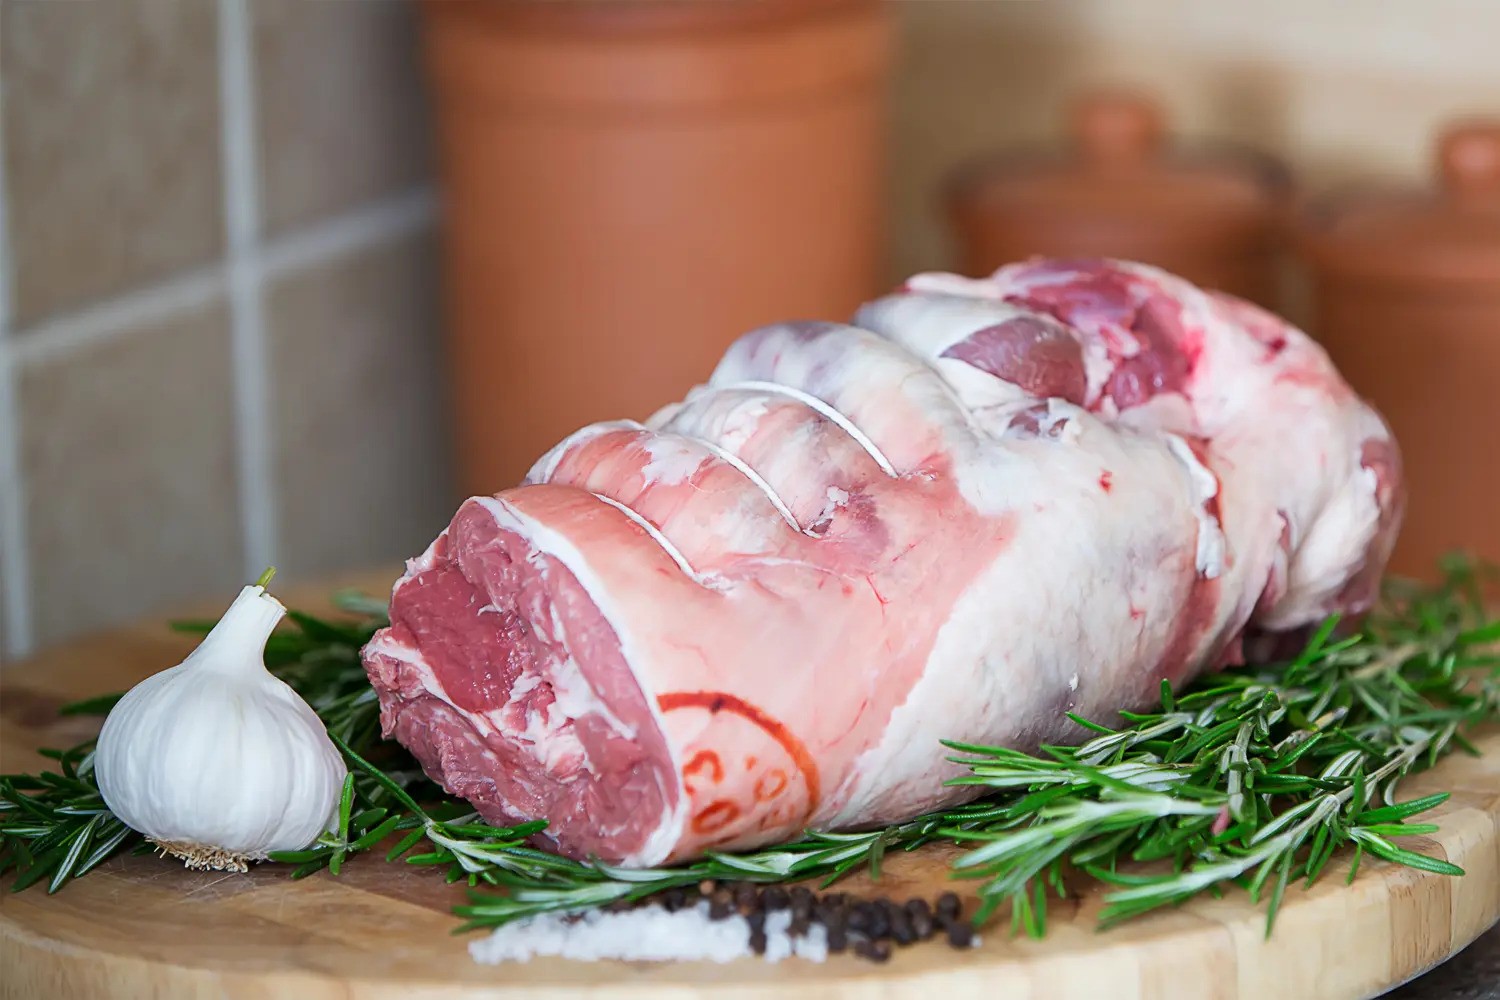
How To Carve Lamb Shoulder
How To Carve Fruits And Vegetables
How To Carve A Flower Into A Watermelon
How To Carve A Boneless Leg Of Lamb

How To Drink Woodford Reserve
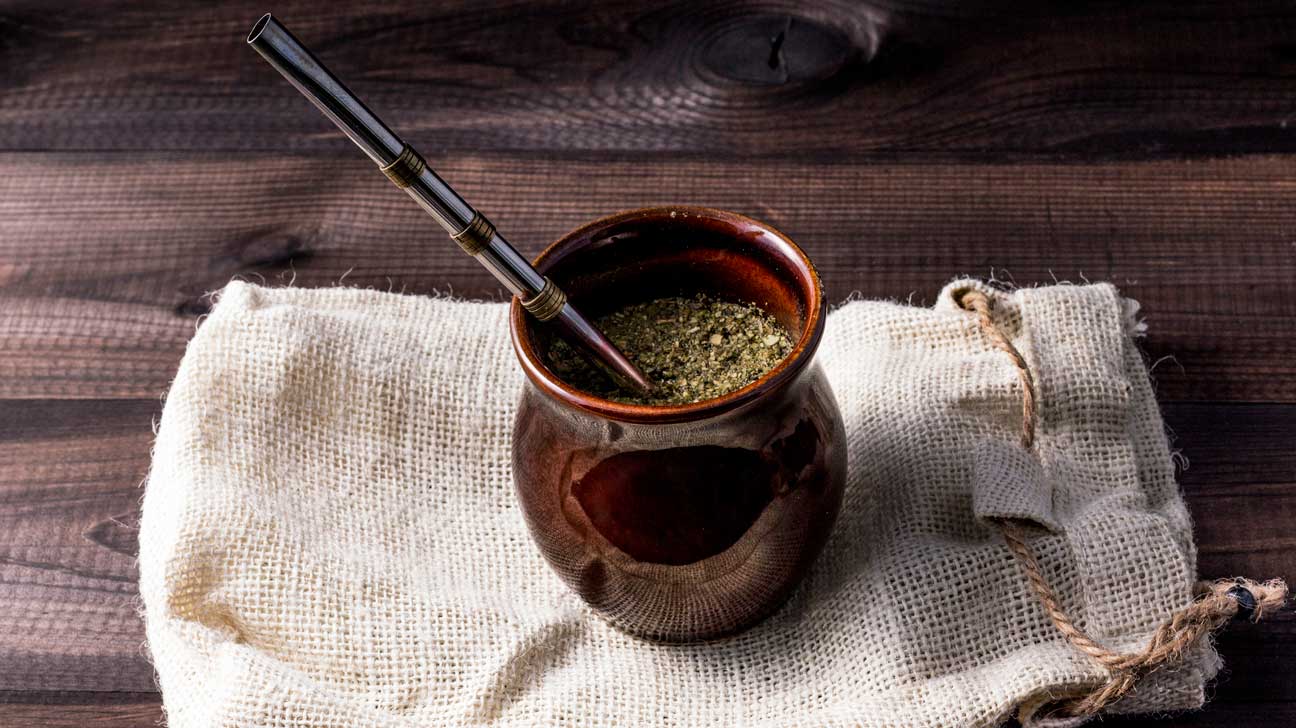
How To Drink Yerba Mate Without Bombilla
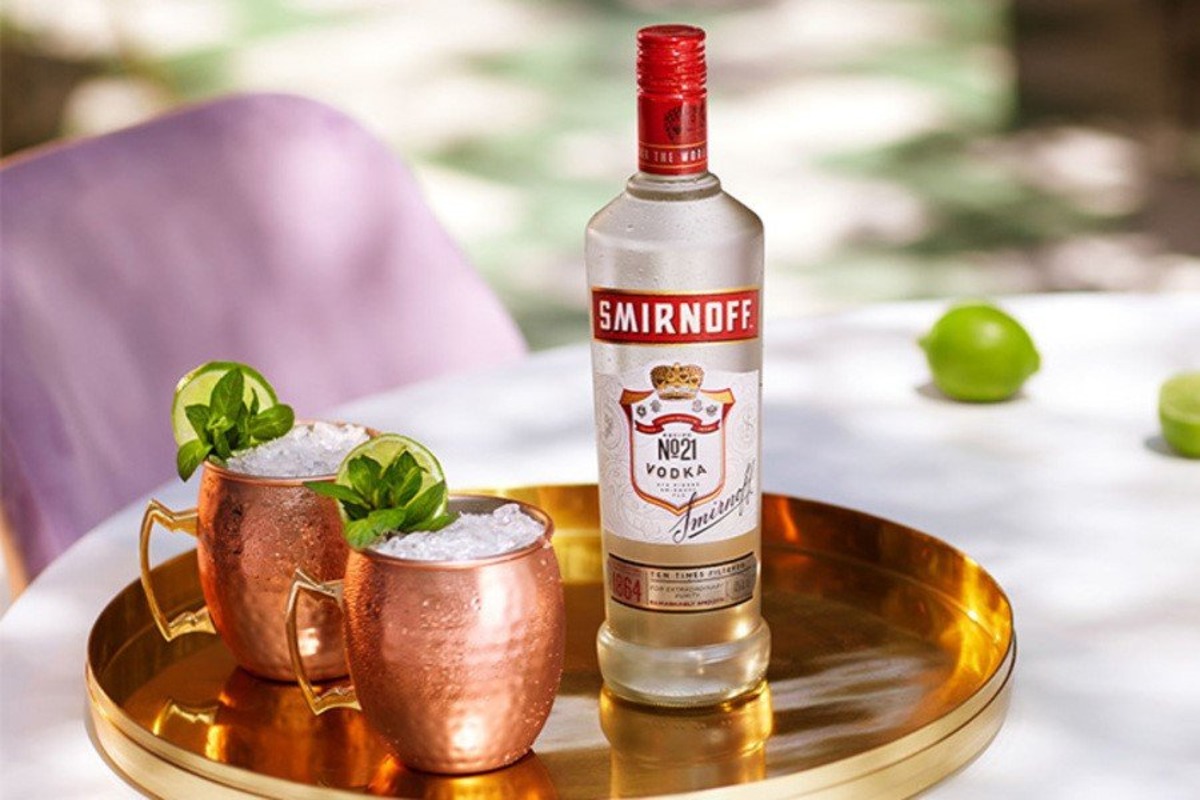
How To Drink Smirnoff Vodka