Get Ready to Bake Delicious Bread in Your Breadmaker
Are you ready to fill your home with the irresistible aroma of freshly baked bread? With a breadmaker, you can easily create delicious loaves of bread without the hassle of kneading and proofing. Whether you’re a beginner or an experienced baker, using a breadmaker can simplify the bread-baking process and produce consistent, mouthwatering results.
Choosing the Right Ingredients
Before you start baking, it’s important to gather the necessary ingredients. Here’s what you’ll need:
- Flour: Use high-quality bread flour for the best texture and rise.
- Yeast: Active dry yeast or instant yeast will help your bread rise and develop flavor.
- Liquid: Water or milk can be used to hydrate the dough.
- Sugar: A small amount of sugar feeds the yeast and adds a hint of sweetness to the bread.
- Salt: Enhances the flavor of the bread and controls the fermentation process.
- Fat: Butter, oil, or margarine adds richness and moisture to the bread.
- Optional Add-Ins: Get creative with add-ins like nuts, seeds, herbs, or dried fruits to customize your bread.
Following the Recipe
Most breadmakers come with a variety of pre-programmed settings for different types of bread. Once you’ve selected a recipe that suits your taste, simply add the ingredients to the bread pan in the order specified in the recipe. This typically means adding the liquids first, followed by the dry ingredients, and finally the yeast. It’s essential to follow the recipe closely to ensure the best results.
Understanding the Settings
While the basic process of making bread in a breadmaker is straightforward, it’s important to understand the different settings and their functions. Common settings include:
- Basic/White Bread: Ideal for classic white bread loaves.
- Whole Wheat: Specially designed for recipes using whole wheat flour.
- Sweet Bread: Perfect for breads with added sugar or sweeteners.
- Gluten-Free: Specifically for gluten-free bread recipes.
- Dough: Use this setting if you want to shape and bake the bread in a traditional oven.
Patience Is Key
Once you’ve loaded the ingredients and selected the appropriate settings, all that’s left to do is wait. The breadmaker will take care of the mixing, kneading, rising, and baking, leaving you free to attend to other tasks. The amount of time it takes to bake a loaf will vary depending on the specific recipe and the settings you’ve chosen, so be patient and trust the process.
Enjoying the Fruits of Your Labor
When the breadmaker has completed its cycle, carefully remove the hot loaf from the pan and place it on a wire rack to cool. It’s tempting to slice into the bread right away, but allowing it to cool completely will result in a better texture and easier slicing. Once it’s cooled, slice a piece, slather it with butter, and savor the satisfaction of enjoying a slice of homemade bread that you baked yourself.
With these tips in mind, you’re well on your way to becoming a bread-baking pro with your trusty breadmaker. Experiment with different recipes and ingredients to discover your favorite flavors and textures. Happy baking!
Was this page helpful?
Read Next: How To Bake Bread In A Slow Cooker
Related Articles
How To Bake A Double Recipe Of Brownie Mix
How To Bake A Perfect Chuck Roast
How To Bake A Small Beef Brisket

How To Bake Yellowtail Snapper
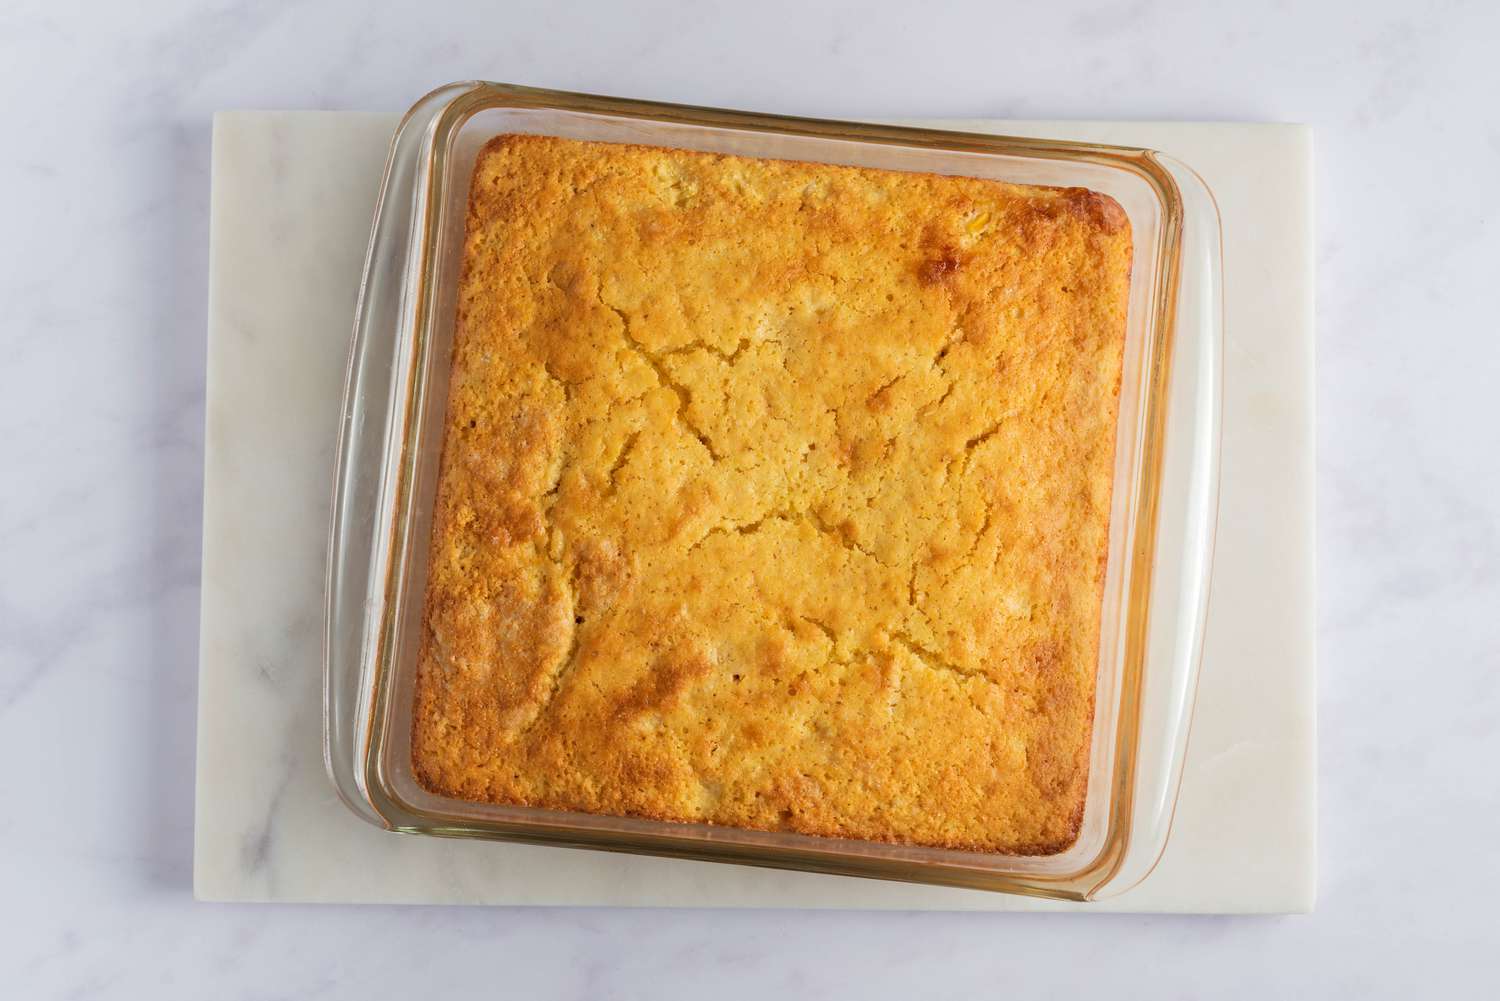
How To Bake Cornbread From Scratch

How To Bake Purple Sweet Potato
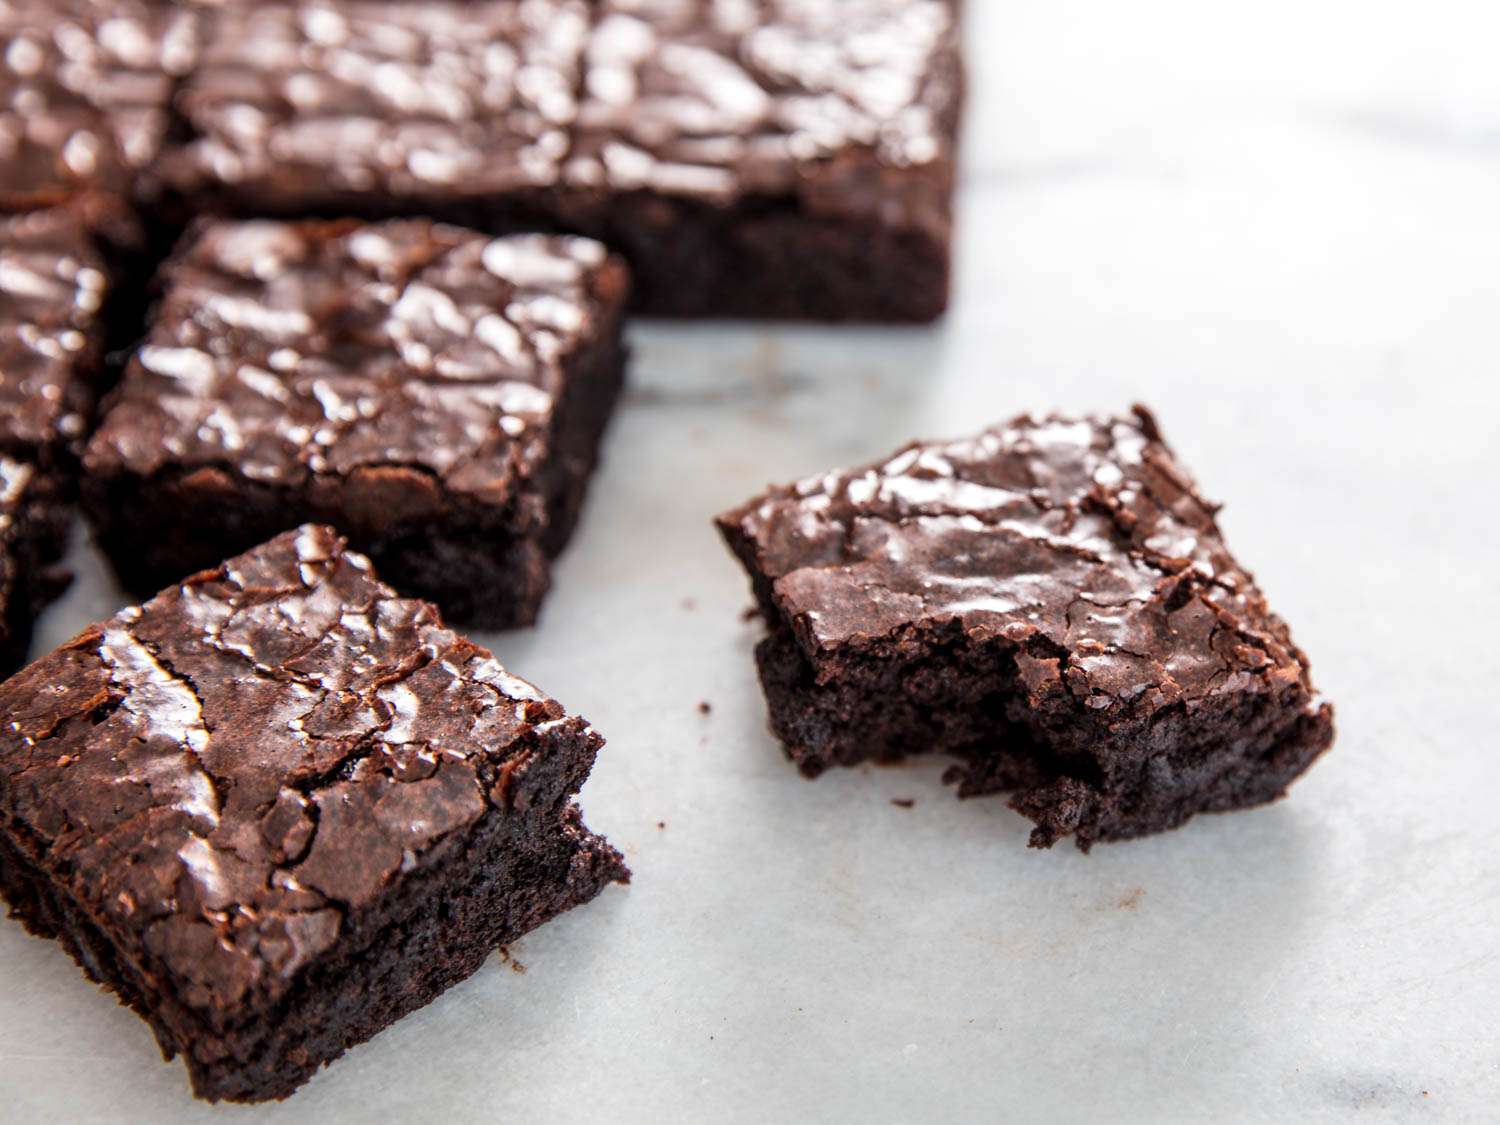
How To Bake Brownies In An Electric Skillet
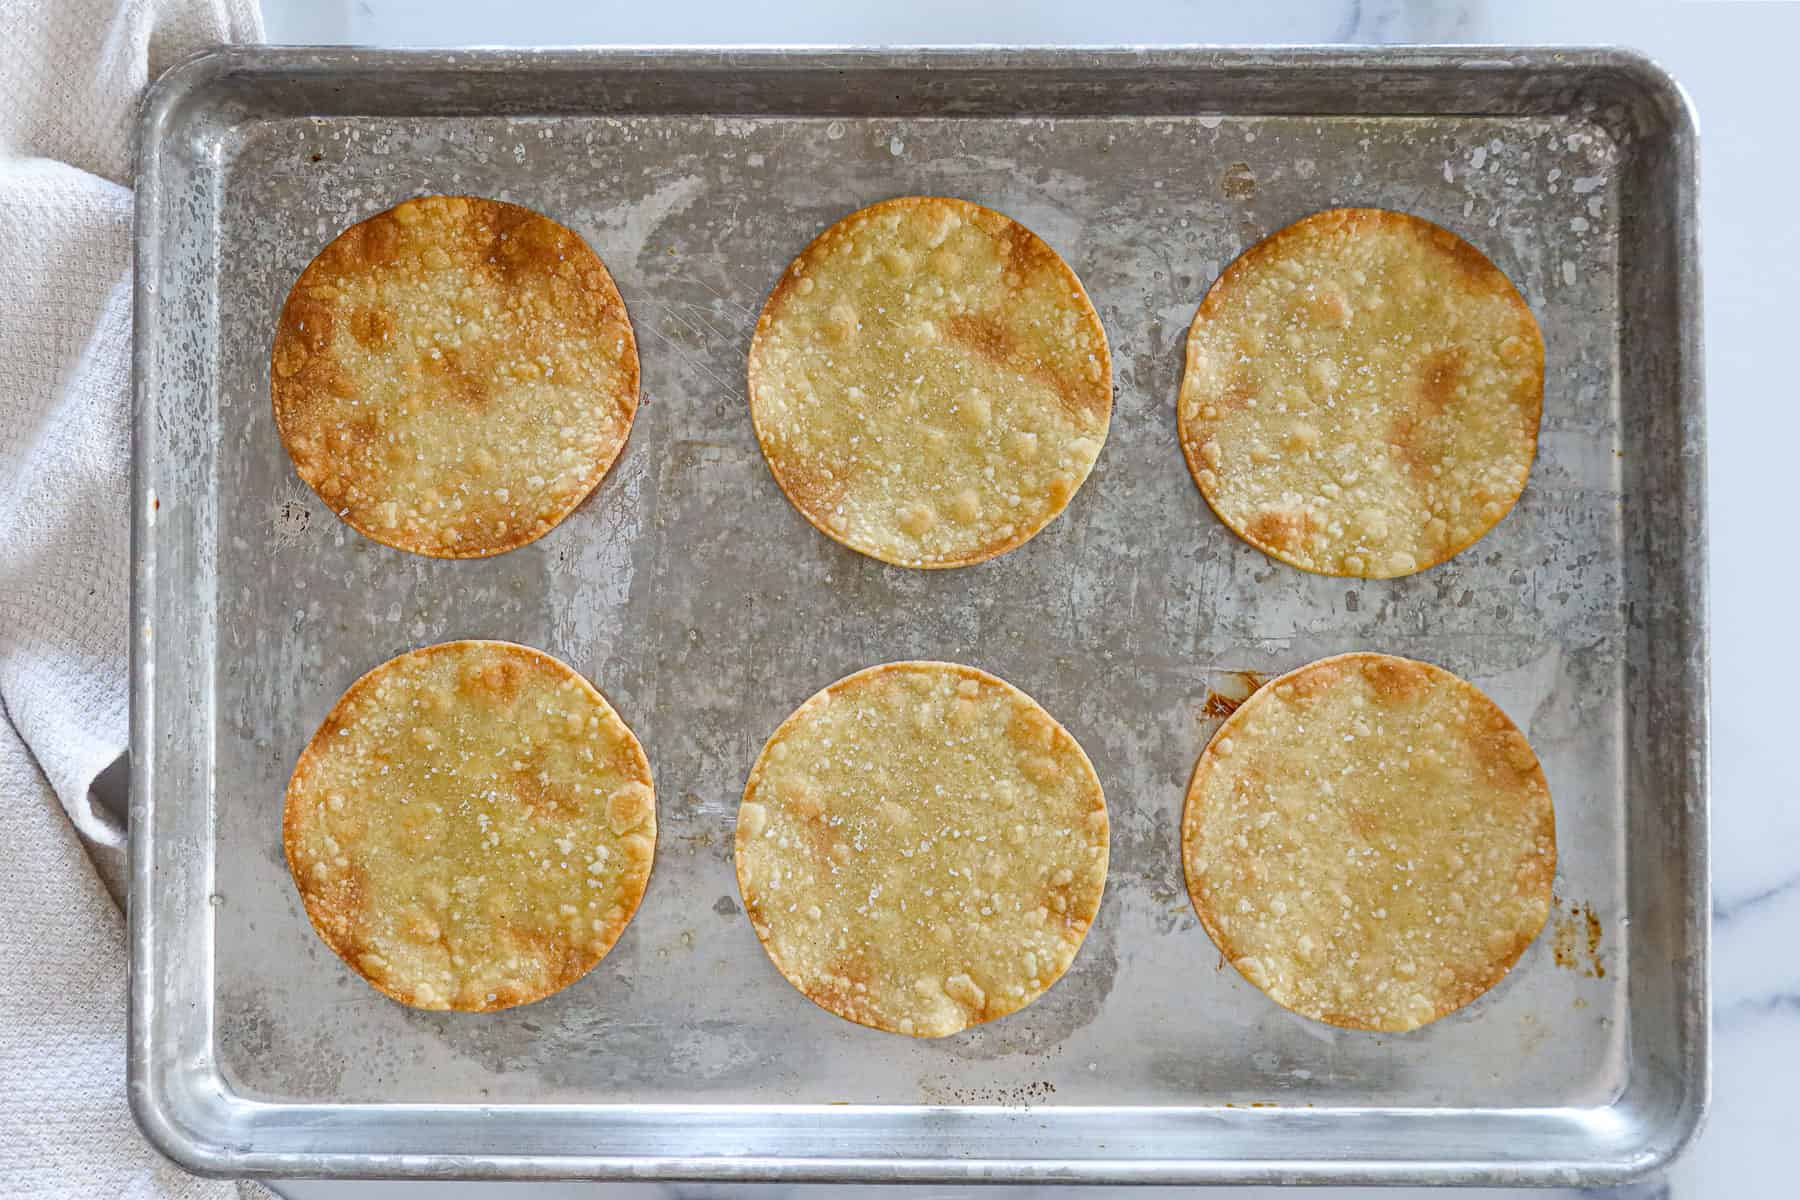
How To Bake Crispy Tostada Shells
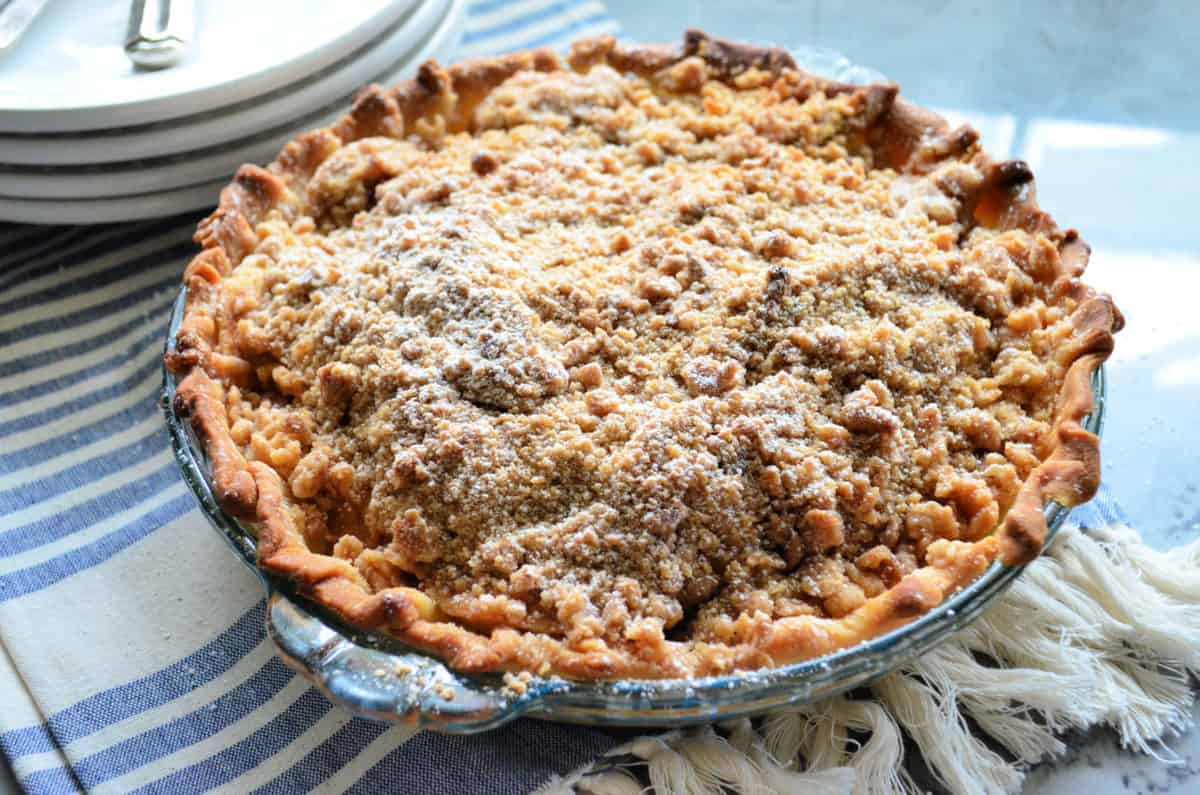
How To Bake A Fresh Apple Pie With Crumb Topping

How To Bake Yams To Be Crispy
How To Bake A One Pound Salmon Fillet