Welcome to the whimsical world of fondant sculpting! If you’ve ever marveled at the intricate, edible art gracing the tops of cakes and wondered, “How do they do that?” – you’re in the right place. This beginner’s guide will introduce you to the essential tools and basic techniques needed to start your journey into the art of cake decoration with fondant. Whether you’re planning a special cake for a birthday or just want to explore a new hobby, let’s dive into the sweet, pliable universe of fondant!
Getting Started: What is Fondant?
Before we begin, let’s talk about fondant itself. Fondant is a type of sugar dough that’s pliable, smooth, and perfect for creating sculptures and decorations for cakes. There are two main types:
- Rolled Fondant: This is what you’ll use for covering cakes and creating flat decorations.
- Modeling Fondant: Slightly firmer, this type is ideal for sculpting figures and 3D decorations.
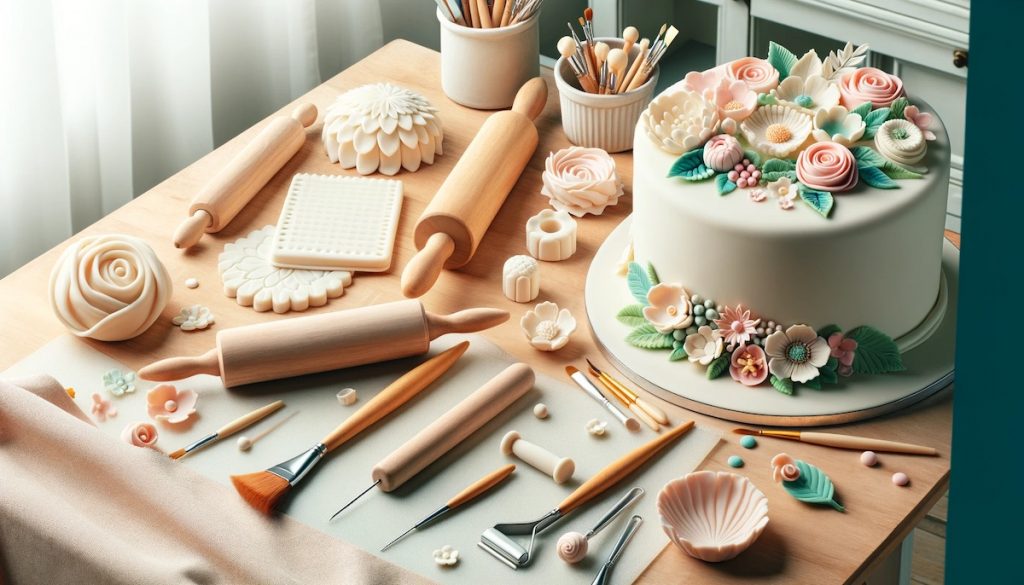
Essential Tools for Fondant Sculpting
To start your fondant journey, you’ll need a few key tools:
- Rolling Pin: For rolling out your fondant evenly.
- Fondant Smoother: Helps achieve a smooth, professional finish.
- Sculpting Tools: A set of sculpting tools for adding details.
- Pizza Cutter or Sharp Knife: For making clean cuts in fondant.
- Foam Pad: Useful for thinning and shaping petals and leaves.
- Small Brushes: For applying water or edible glue.
Basic Techniques
1. Kneading and Rolling Out Fondant
Knead your fondant until it’s pliable. Lightly dust your surface with powdered sugar or cornstarch, then use the rolling pin to roll out the fondant to the desired thickness.
2. Covering a Cake
Gently lift the rolled fondant over your cake and smooth it out with the fondant smoother, starting from the top and working your way down the sides.
3. Sculpting Basic Shapes
Start with simple shapes like balls, cones, and ropes. These basic forms are the building blocks for more complex sculptures.
4. Adding Texture and Details
Use your sculpting tools to add texture and details. Practice makes perfect, so don’t be afraid to experiment.
5. Attaching Fondant Pieces
To attach fondant pieces together, use a bit of water or edible glue. Brush it onto the fondant sparingly – a little goes a long way.
6. Coloring Fondant
You can buy pre-colored fondant or color it yourself using gel food coloring. Remember, the color deepens over time, so start with a small amount.
Tips for Success
- Practice Patience: Fondant sculpting is an art that requires patience. If a shape isn’t perfect on your first try, keep practicing.
- Keep Fondant Covered: Fondant dries out quickly. Keep unused portions covered or wrapped in plastic wrap.
- Work in a Comfortable Environment: Humidity and temperature can affect fondant, so work in a comfortable, dry environment.
- Experiment with Textures: Use everyday items like toothpicks, combs, and sponges to create unique textures.
Conclusion
Fondant sculpting opens up a world of creative possibilities in cake decorating. With these basic tools and techniques, you’re well on your way to transforming ordinary cakes into extraordinary works of art. Remember, every expert was once a beginner – so embrace the learning process and let your creativity flow!
Was this page helpful?
Related Articles

15 Ways To Take Your Morning Coffee To The Next Level

Licor 43: An Amazing Vanilla Liqueur You Should Definitely Try

Dealing with Picky Eaters: Strategies and Recipes for Expanding Young Palates

Creating a Whimsical Buttercream Flower Garden Cake: Step-by-Step Tutorial

How To Coddle An Egg In The Microwave
How To Coddle An Egg Without A Coddler
How To Infuse Fresh Lemongrass Into Coconut Oil
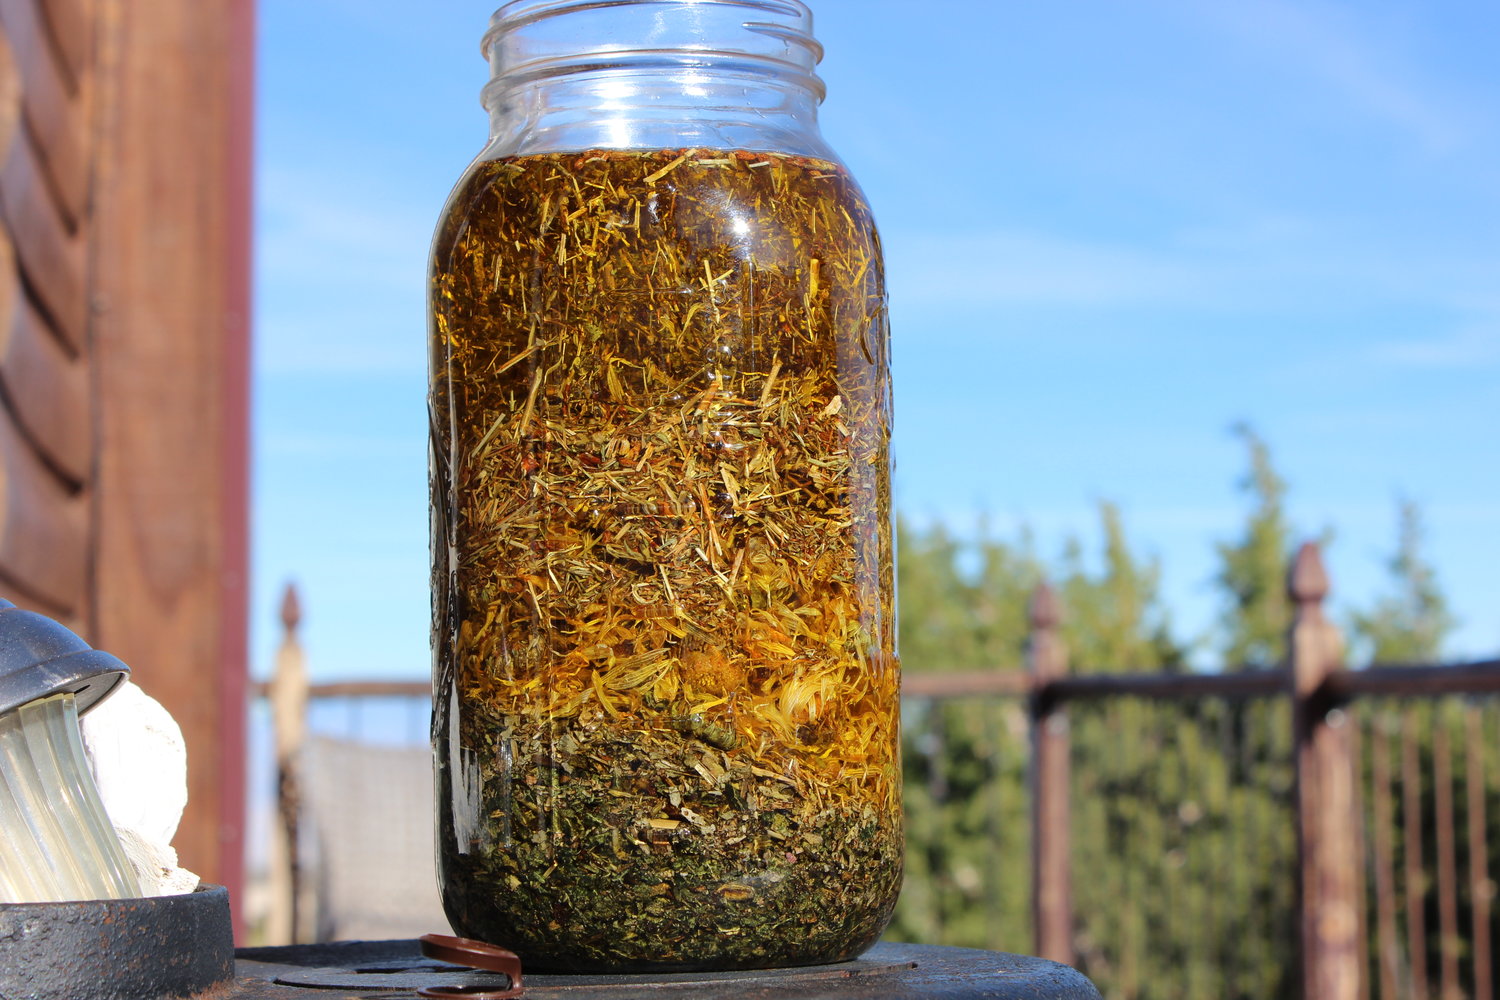
How To Infuse Herbs Into Oil Using A Crockpot
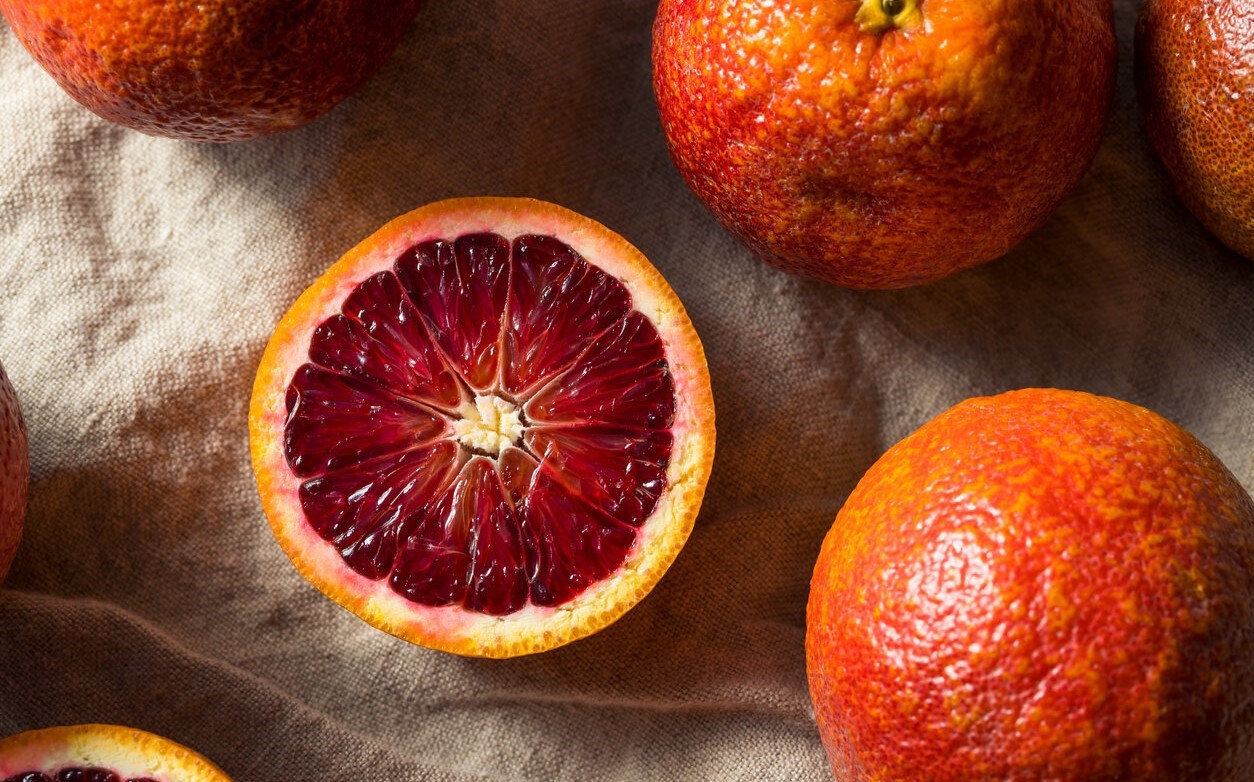
How To Infuse Olive Oil With Blood Orange
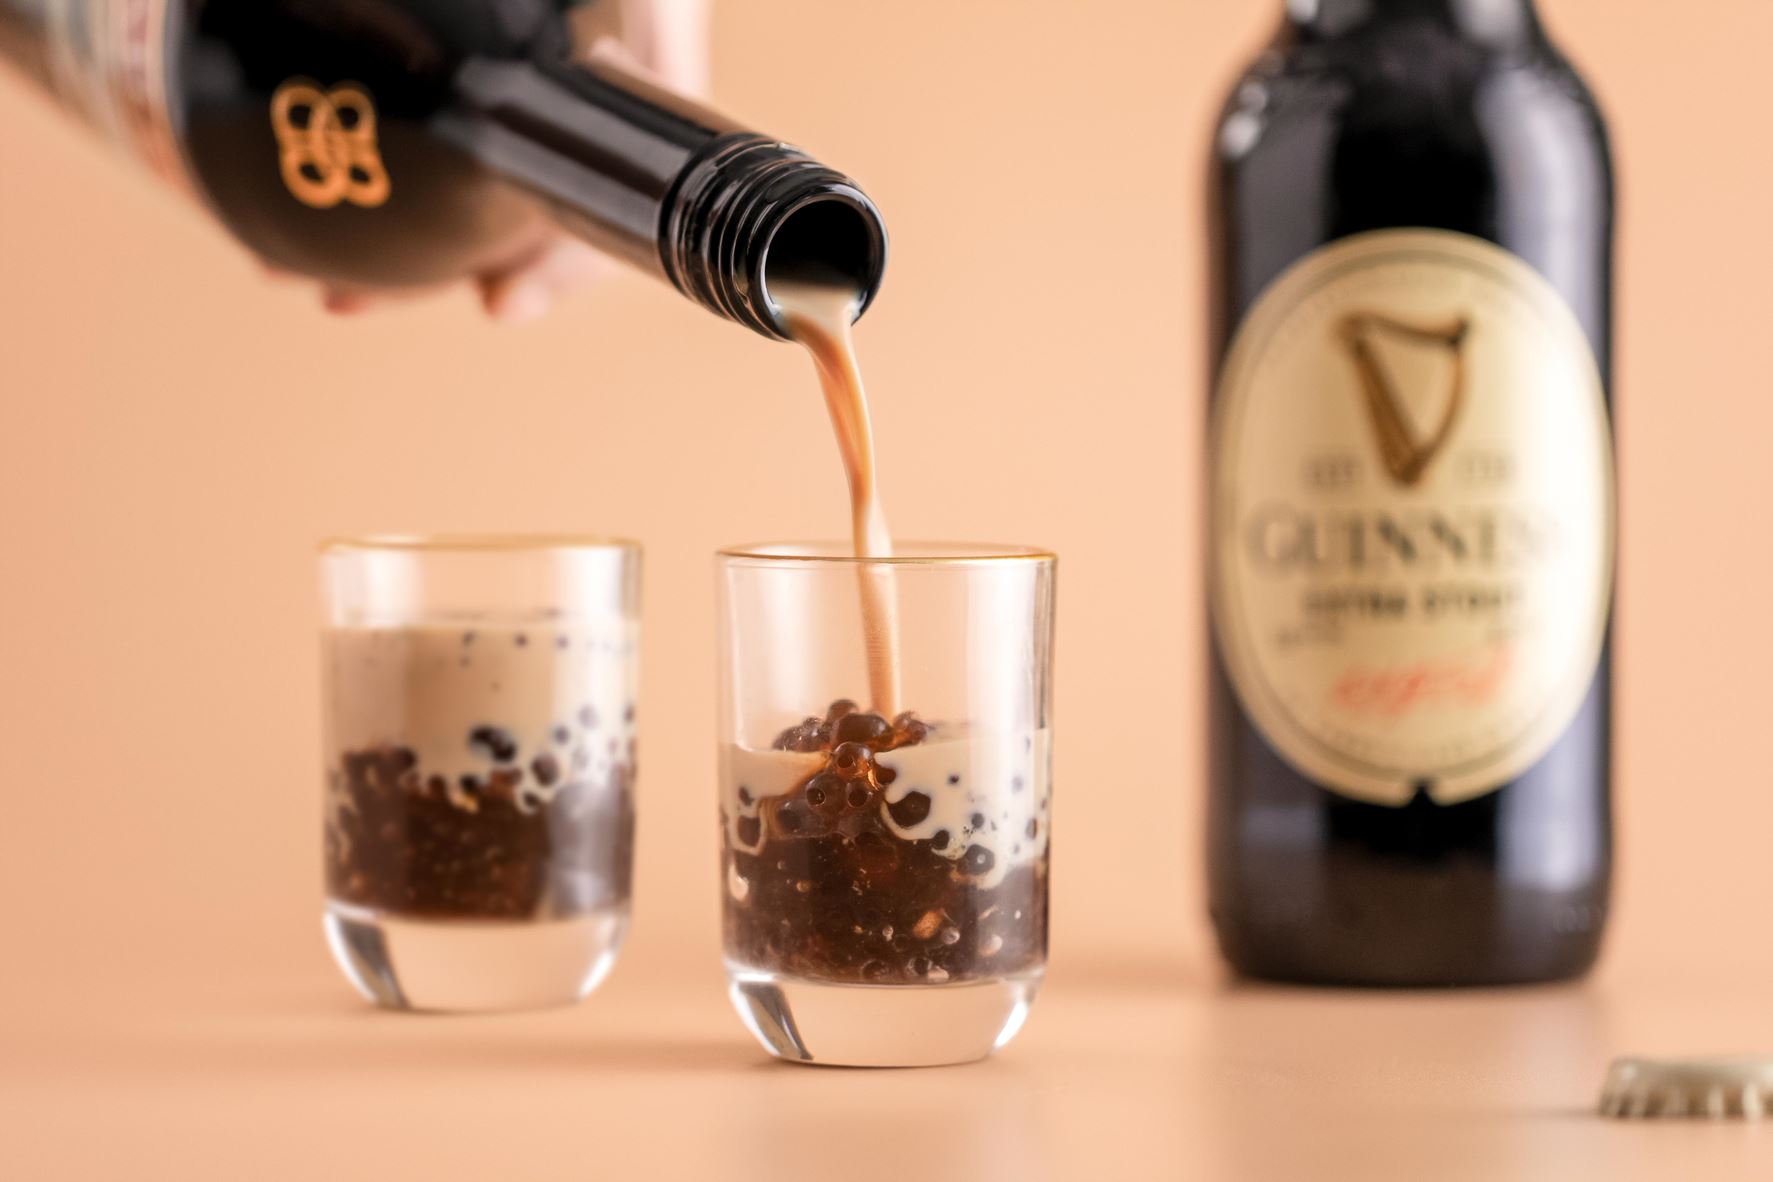
How To Infuse Liquor Into Tapioca Pearls
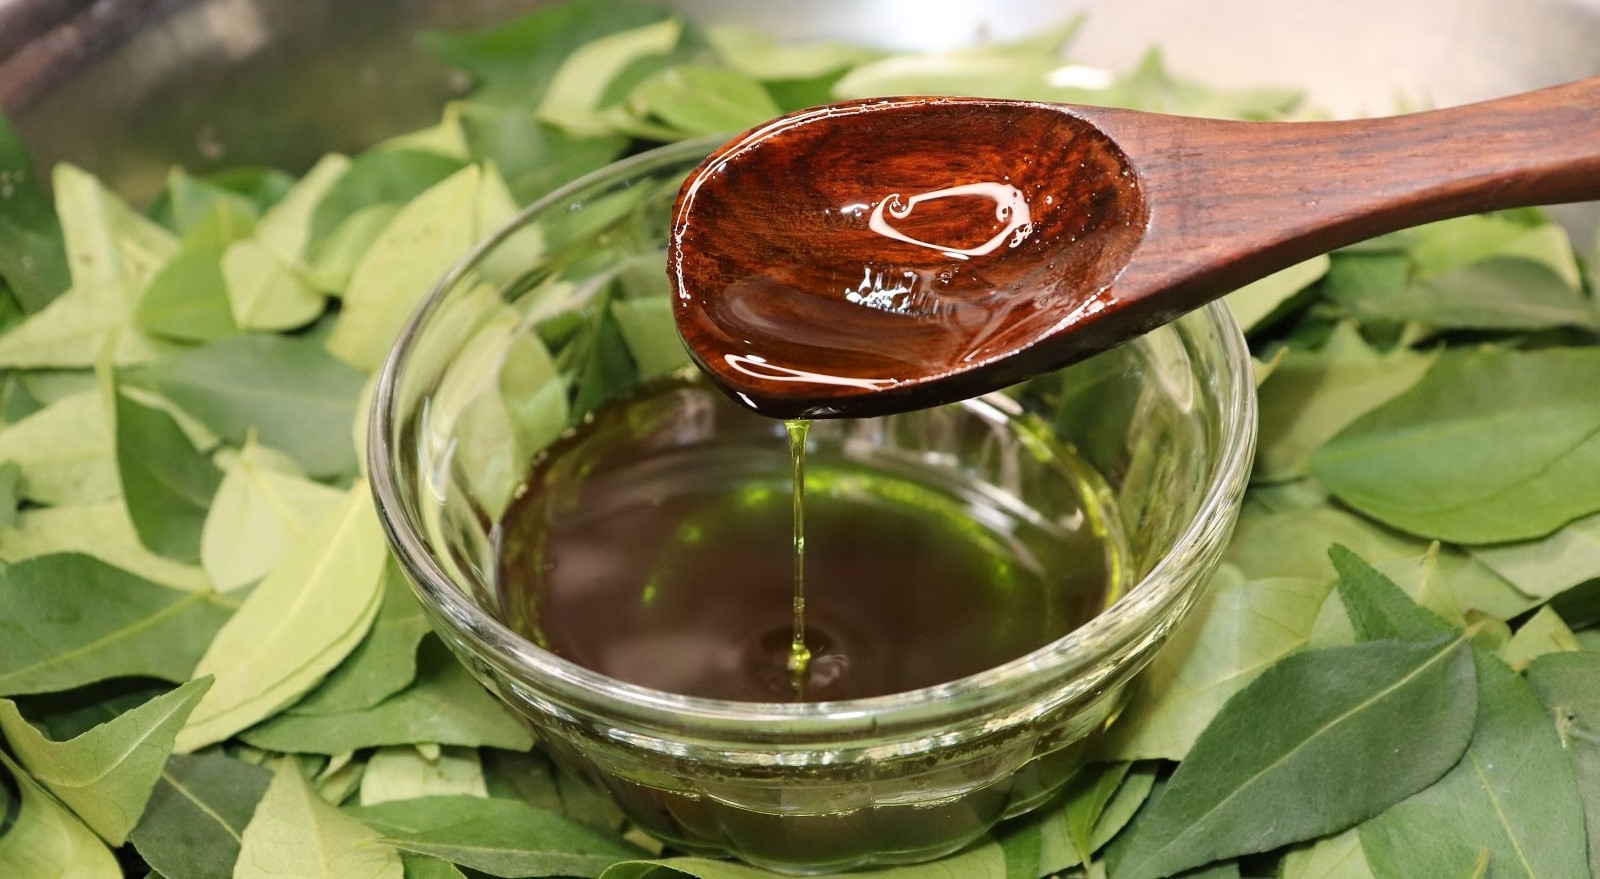
How To Infuse Curry Leaves Amla Fenugreek In Coconut Oil