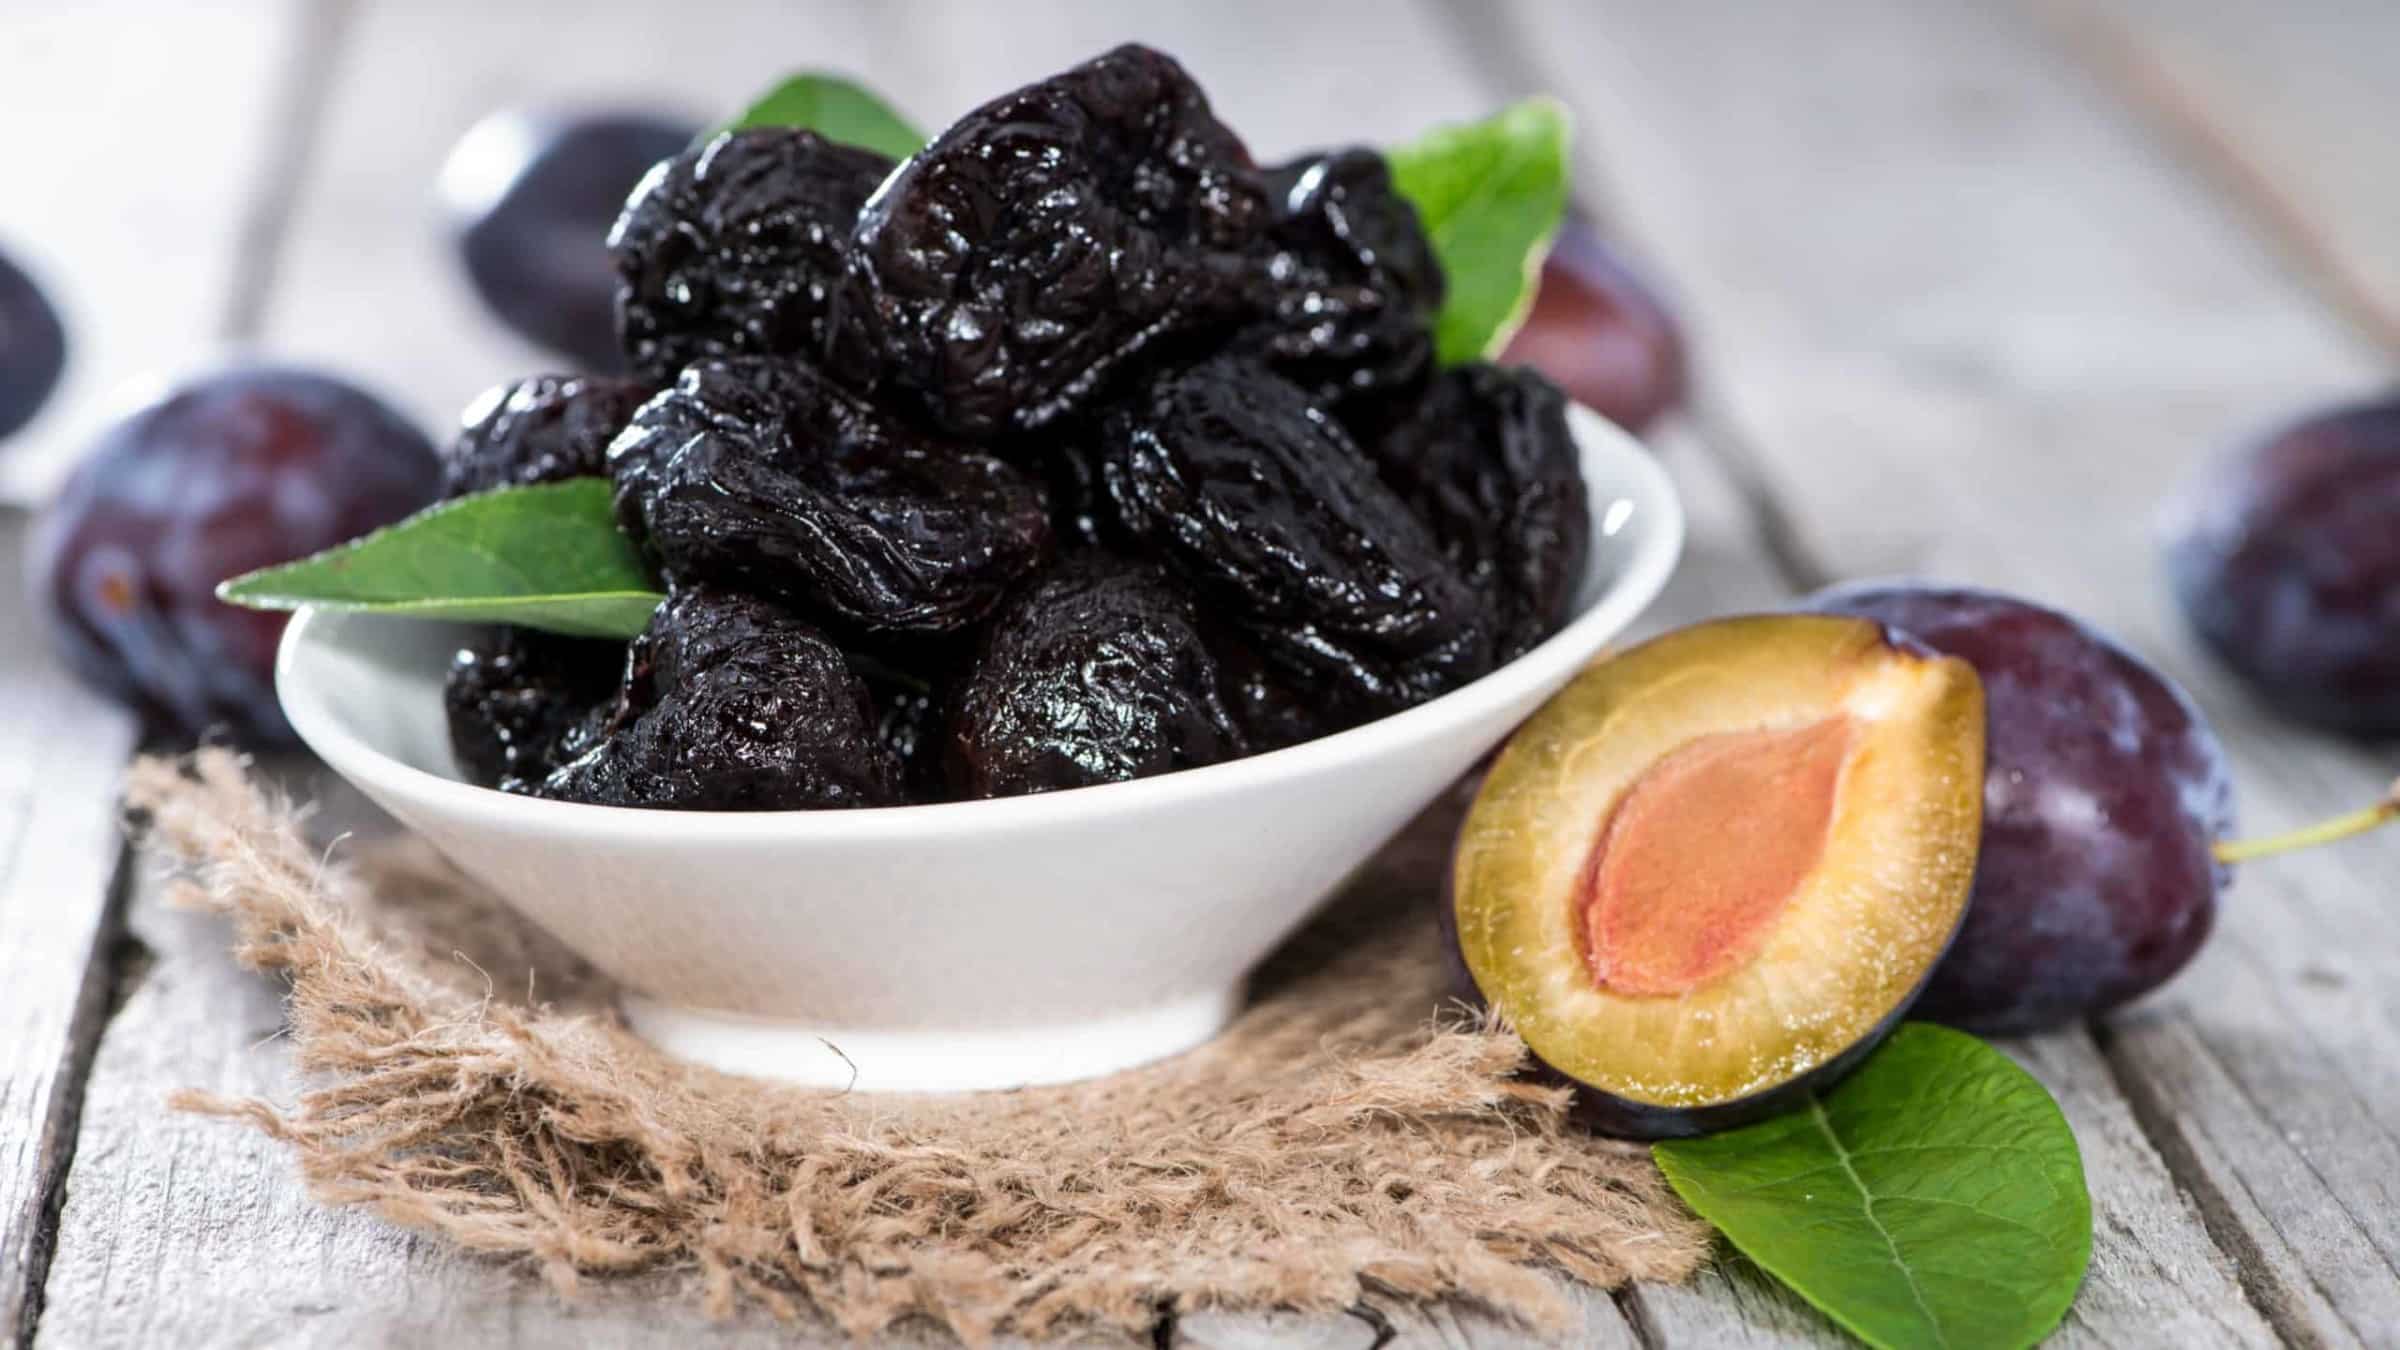
Stewing Prunes: A Delicious and Nutritious Treat
Stewing prunes is a simple and delightful way to enjoy this nutritious fruit. Whether you’re looking for a healthy snack or a versatile ingredient to add to your cooking, stewed prunes are a fantastic choice. In this guide, we’ll explore the benefits of prunes, the step-by-step process of stewing them, and some creative ways to enjoy your stewed prunes.
The Benefits of Prunes
Before we dive into the stewing process, let’s take a moment to appreciate the health benefits of prunes. Prunes, which are dried plums, are packed with essential nutrients. They are a rich source of fiber, potassium, and vitamins A and K. Additionally, prunes are known for their natural laxative effects, making them a great choice for digestive health.
Stewing Process
Stewing prunes is a straightforward process that requires minimal effort. Here’s a simple step-by-step guide to stewing prunes:
- Start by selecting high-quality prunes. Look for prunes that are plump, moist, and free from any signs of spoilage.
- Rinse the prunes under cold water to remove any dust or debris.
- Place the prunes in a saucepan and cover them with water. For added flavor, you may use fruit juice or herbal tea instead of water.
- Bring the water to a gentle boil, then reduce the heat and let the prunes simmer for about 20-30 minutes. Keep an eye on the prunes and stir them occasionally to prevent sticking.
- Once the prunes are soft and tender, remove them from the heat and let them cool for a few minutes.
- Your stewed prunes are now ready to be enjoyed!
Ways to Enjoy Stewed Prunes
Now that you have a batch of delicious stewed prunes, it’s time to get creative with how you enjoy them. Here are a few ideas to inspire you:
- Top your morning oatmeal or yogurt with a spoonful of stewed prunes for a sweet and nutritious kick.
- Add stewed prunes to your favorite baked goods, such as muffins, scones, or bread, for a moist and flavorful twist.
- Create a simple and elegant dessert by serving stewed prunes with a dollop of whipped cream or a scoop of vanilla ice cream.
- Incorporate stewed prunes into savory dishes, such as tagines or stews, to add a subtle sweetness and depth of flavor.
In Conclusion
Stewing prunes is a wonderful way to unlock the natural sweetness and nutritional benefits of this underrated fruit. Whether you enjoy them on their own or use them to enhance your culinary creations, stewed prunes are sure to become a staple in your kitchen. So, next time you’re looking for a healthy and delicious treat, consider stewing prunes and savoring the rich flavors and nutrients they have to offer.
Readers can dive into a range of delightful recipes that utilize the skill of stewing prunes from the article. For a hearty breakfast, try the Stewed Prune Oatmeal, which combines the rich, sweet flavors of prunes with the comforting taste of oatmeal. For a twist on a classic dessert, the Stewed Prune and Vanilla Ice Cream offers a unique combination of creamy and fruity. Those looking for a savory option can experiment with the Stewed Prune and Chicken Stew, where the sweetness of prunes perfectly complements the savory chicken. Finally, for a quick and elegant appetizer, Stewed Prune and Ricotta Toast makes for a delicious and sophisticated treat. These recipes not only highlight the versatility of stewed prunes but also offer a range of flavors and textures to explore.
Was this page helpful?
Abby Marcelino
Abby is a writer, editor, and a fan of ASMR mukbang and cooking videos. Her family has been in the food industry for years and she has been working for their business as a part-time quality assurance officer and content creator. She is addicted to all things dairy and carbs, most especially cheese and bread.
Related Articles

How To Stew Prunes In Microwave

How To Eat Prunes For Constipation
How To Eat Dry Prunes For Constipation

How To Stew Apricots
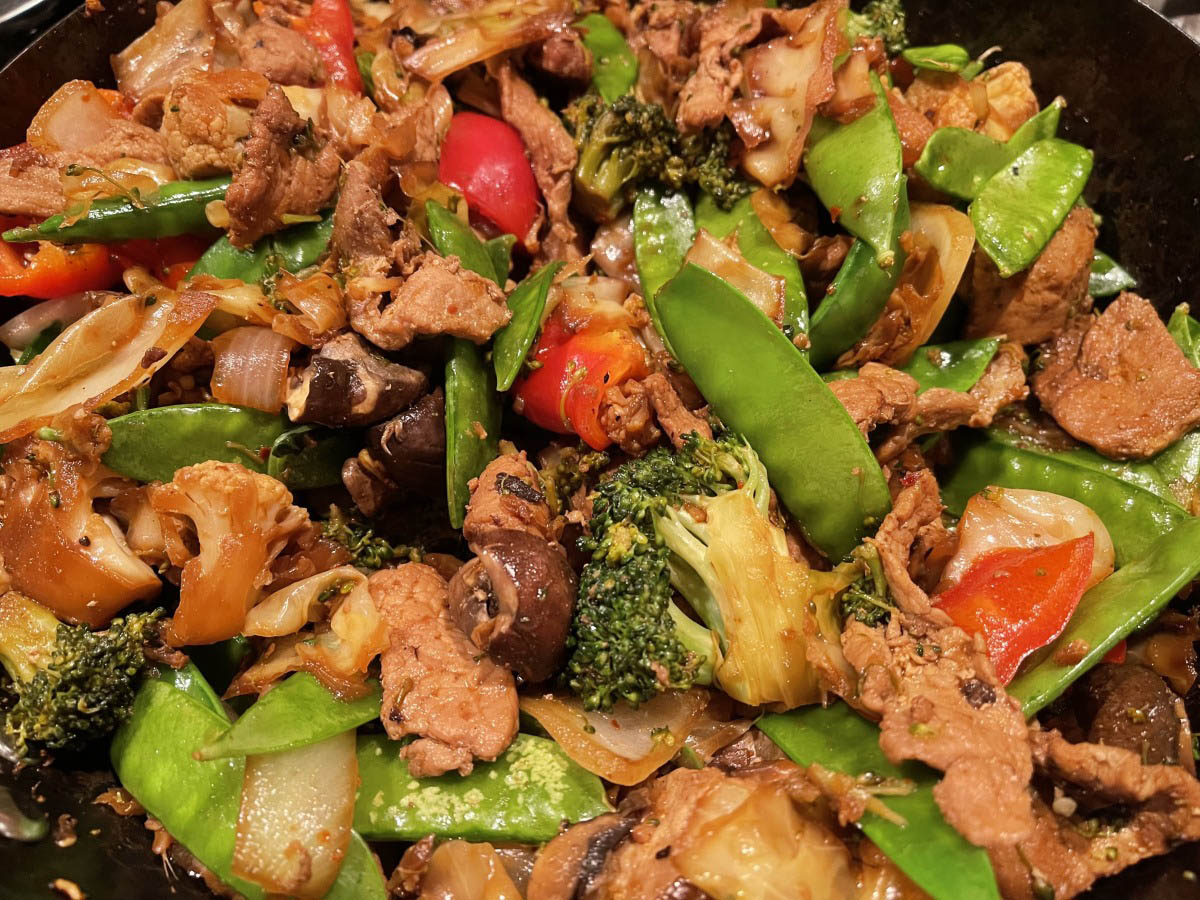
How To Stir Fry Pork Recipe

How To Stir Fry Ny Steak

How To Stir Fry Rice Noodles Without Sticking
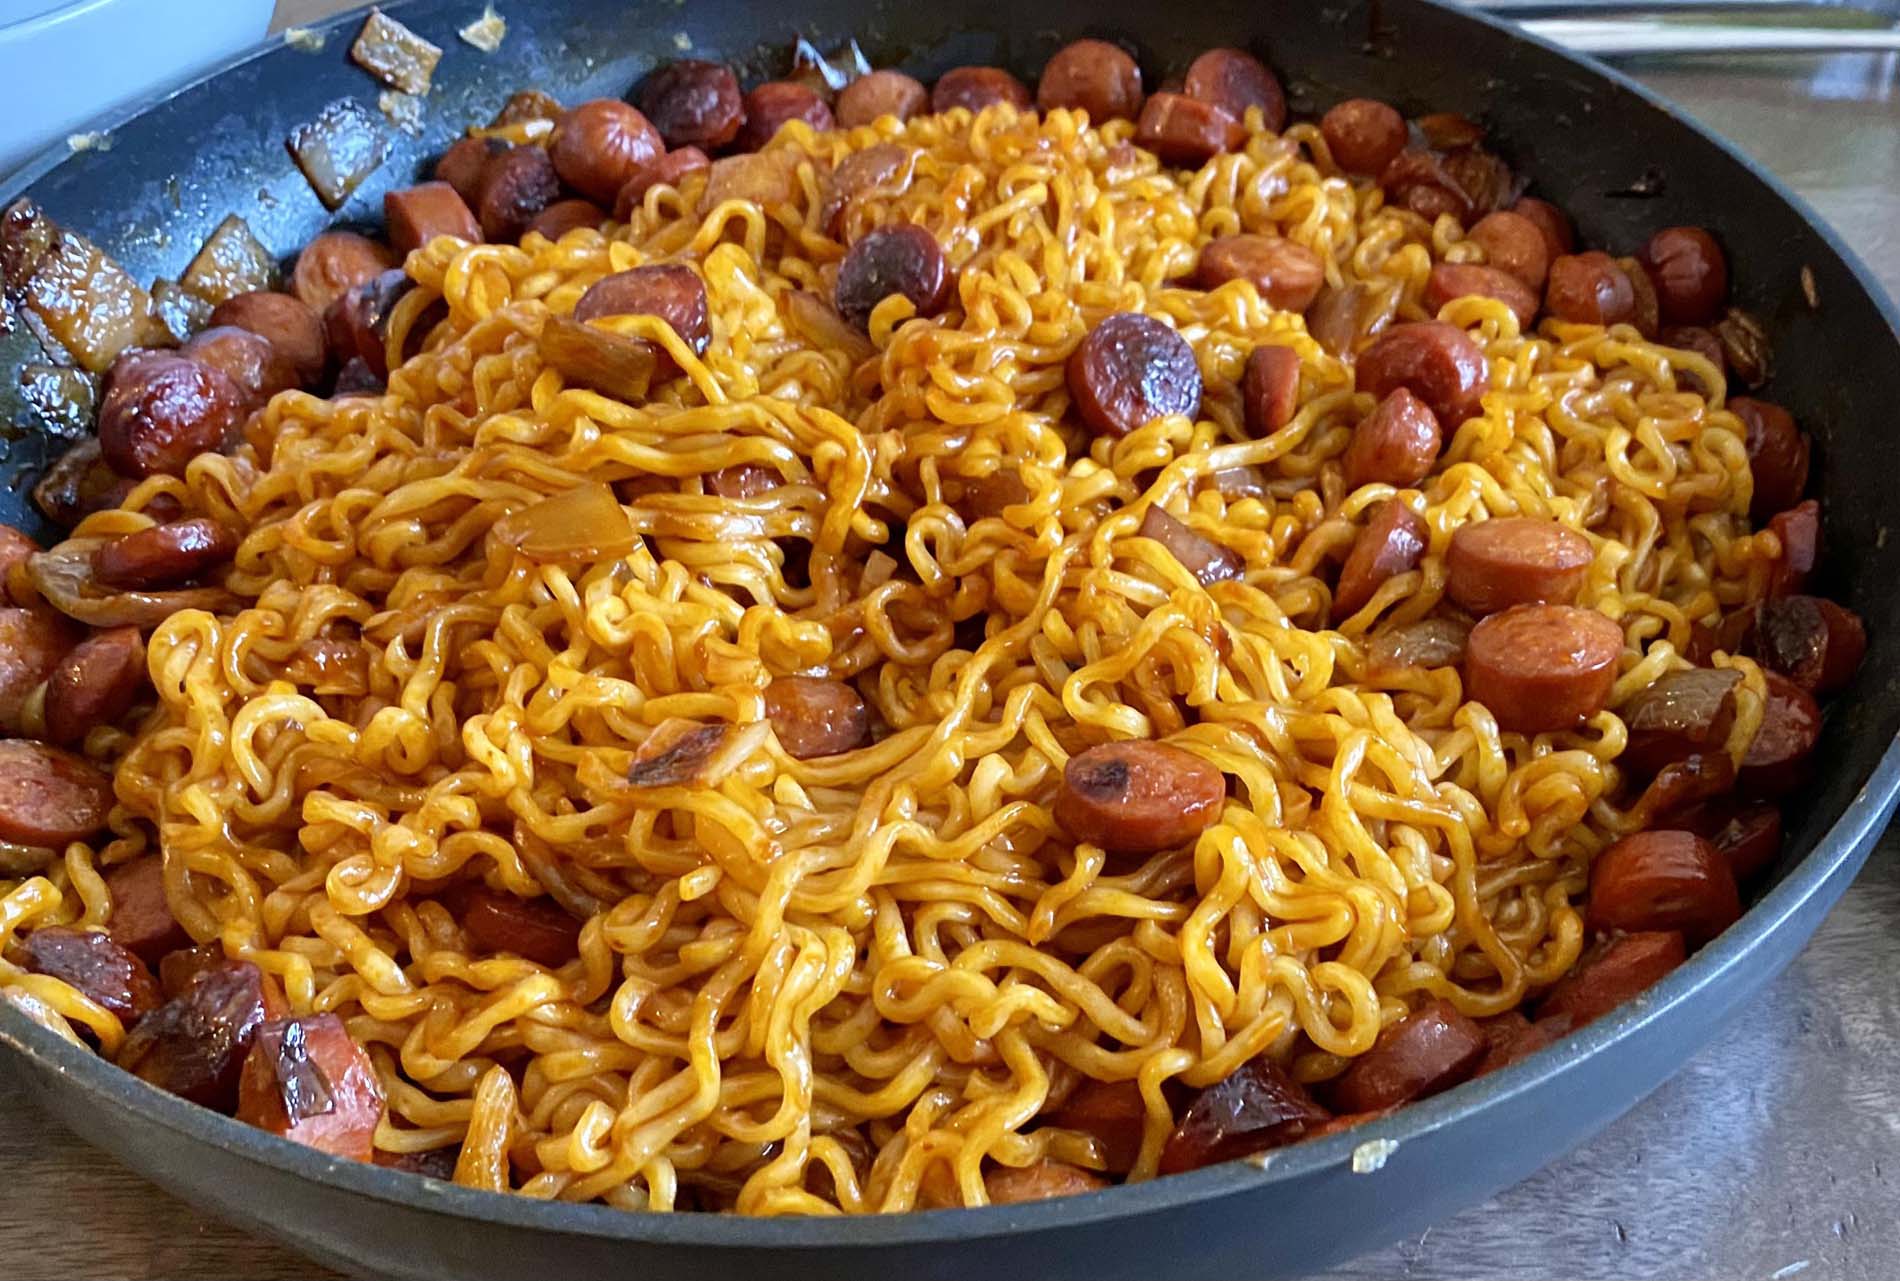
How To Stir Fry Ramen With Hot Dog
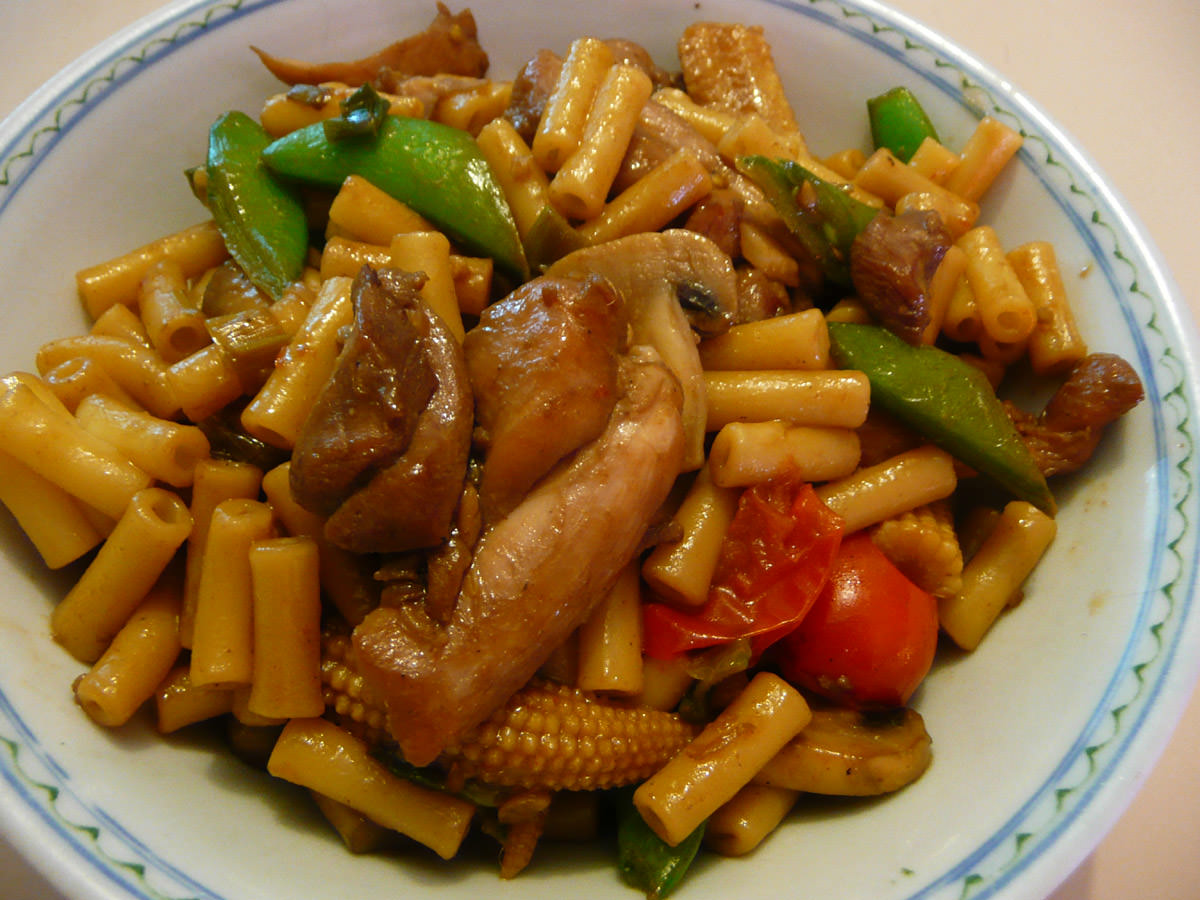
How To Stir Fry Macaroni
How To Stir Fry Oyster Mushrooms
How To Stir Fry Enoki Mushroom