Get Creative in the Kitchen: Learn How To Make Pancake Art
Are you tired of making plain, boring pancakes for breakfast? Why not take your pancake game to the next level by learning the art of pancake art? Not only will it make your breakfasts more exciting, but you’ll also impress your friends and family with your culinary skills. In this article, we’ll show you step-by-step how to make pancake art that will look almost too good to eat!
Step 1: Gather Your Ingredients
Before you can start creating your pancake masterpiece, you’ll need to collect a few essential ingredients:
- 1 cup of all-purpose flour
- 2 tablespoons of sugar
- 1 teaspoon of baking powder
- ½ teaspoon of salt
- 1 cup of milk
- 1 large egg
- 2 tablespoons of melted butter
- A few drops of food coloring
Make sure you have all your ingredients ready before you dive into the pancake art process.
Step 2: Prepare the Pancake Batter
In a mixing bowl, whisk together the flour, sugar, baking powder, and salt. In a separate bowl, whisk together the milk, egg, and melted butter. Gradually pour the wet ingredients into the dry ingredients while whisking until you achieve a smooth batter.
If you want to add some color to your pancake art, divide the batter into separate bowls and mix in a few drops of food coloring. You can get creative and use different colors for various designs!
Step 3: Heat Up Your Pancake Griddle
Now it’s time to heat up your pancake griddle or non-stick frying pan over medium heat. Ensure that the surface is well-greased or use cooking spray to prevent your pancake art from sticking.
Step 4: Let Your Imagination Run Wild
Using a squeeze bottle or a piping bag, carefully pour your colored pancake batter onto the griddle to create your artistic designs. Feel free to experiment with different shapes, patterns, and characters. You can create animals, hearts, flowers, or even your favorite movie characters!
Remember to work quickly as pancake art requires a bit of precision. Once you’re satisfied with your creation, allow the pancake to cook until bubbles form on the surface, then flip it gently and cook for another minute or so on the other side.
Step 5: Serve and Enjoy!
Congratulations! You’ve successfully made your pancake art masterpiece. Carefully transfer it to a plate and repeat the process for any additional pancake art creations you desire. Serve your pancakes with your favorite toppings, whether it’s maple syrup, fresh fruit, or a dollop of whipped cream.
Don’t be discouraged if your first pancake art design doesn’t turn out exactly as planned. Like any art form, pancake art takes practice. Keep experimenting and refining your technique, and soon you’ll become a pancake Picasso!
So, next time you want to impress your loved ones or simply add a dash of creativity to your breakfast routine, try your hand at making pancake art. Not only will you enjoy a delicious meal, but you’ll also create edible masterpieces that are almost too beautiful to eat!
Explore More Creative Pancake Recipes
Once you've mastered the basics of pancake art from the guide, why not challenge yourself with themed designs to impress at your next gathering? For springtime brunches, the spring floral pancakes offer a refreshing touch of nature. If you're gearing up for December festivities, try the christmas pancake art, perfect for adding a festive spin to your morning. Summer celebrations call for the vibrant summer sea pancakes, bringing a splash of oceanic fun to your table. Each recipe is designed to enhance your skills and delight your guests, making every event memorable with your edible creations.
Was this page helpful?
Read Next: How To Serve The Perfect Steak Dinner
Related Articles
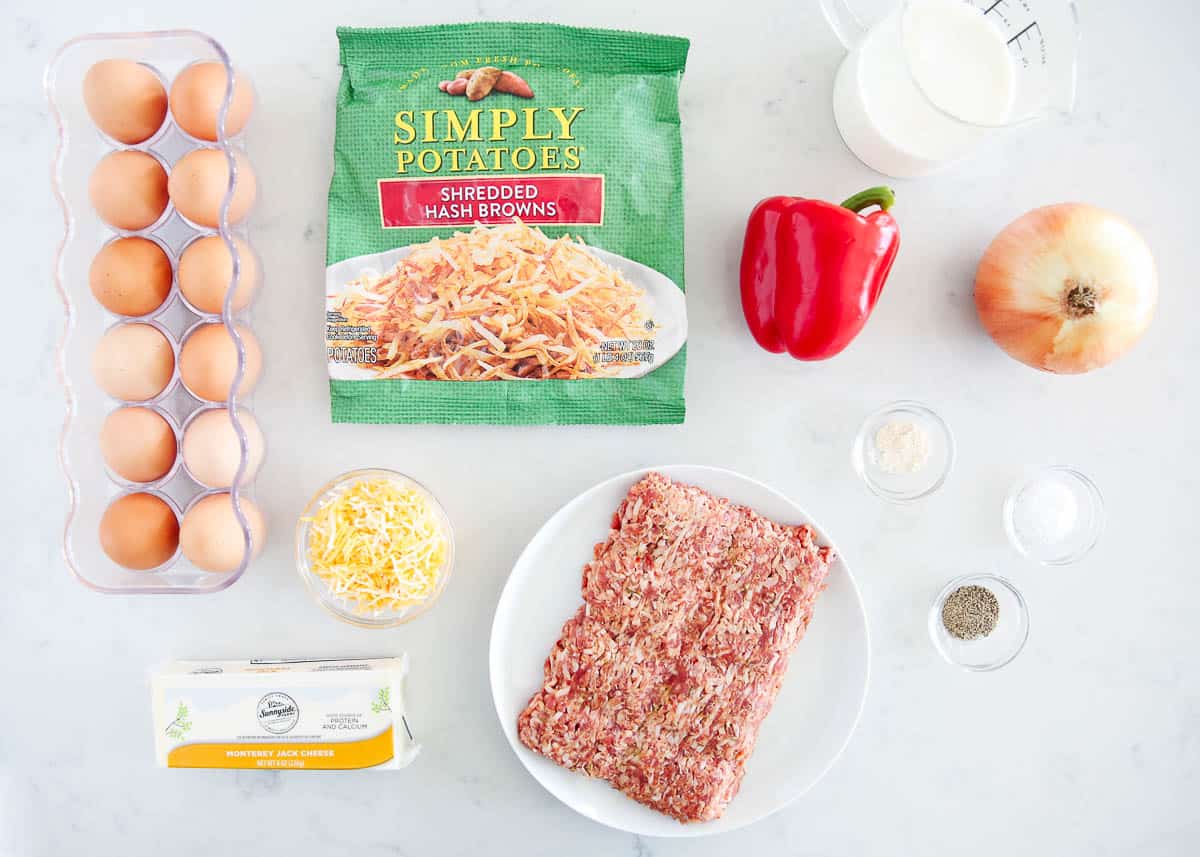
How To Cook Simply Potatoes Hash Browns
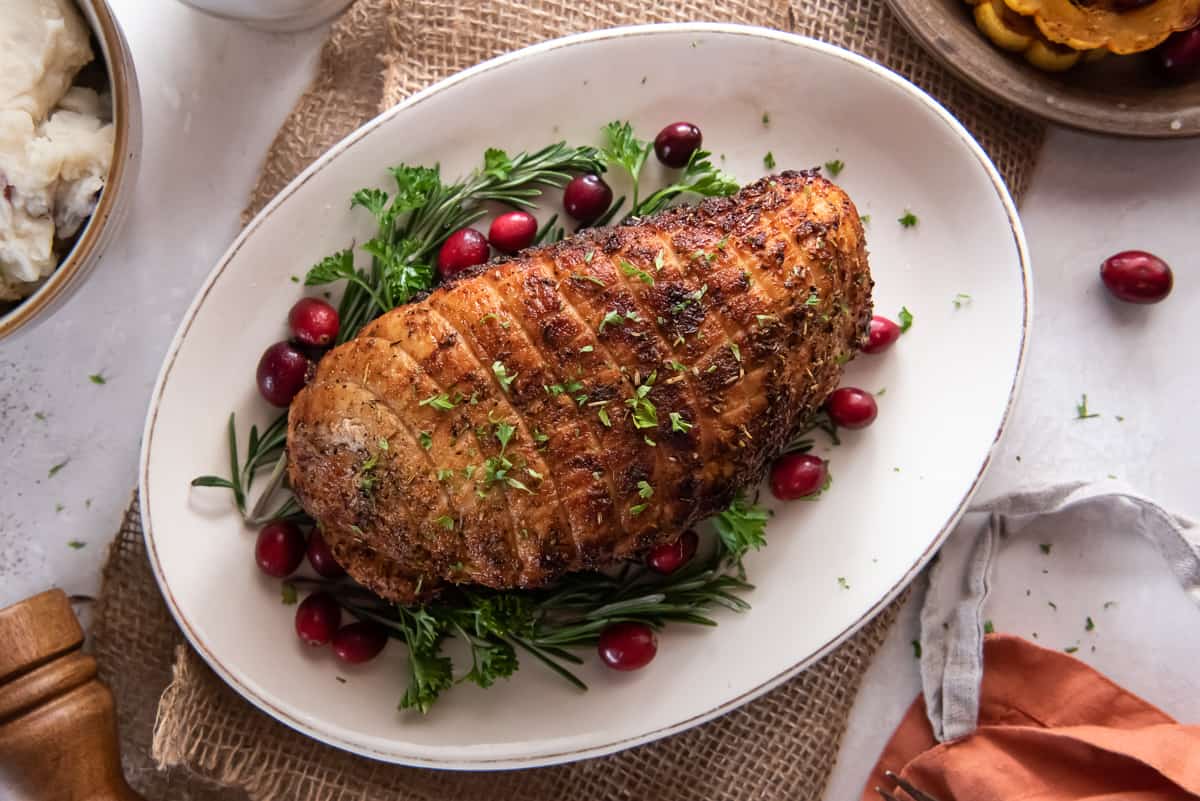
How To Cook Butterball Boneless Turkey Breast
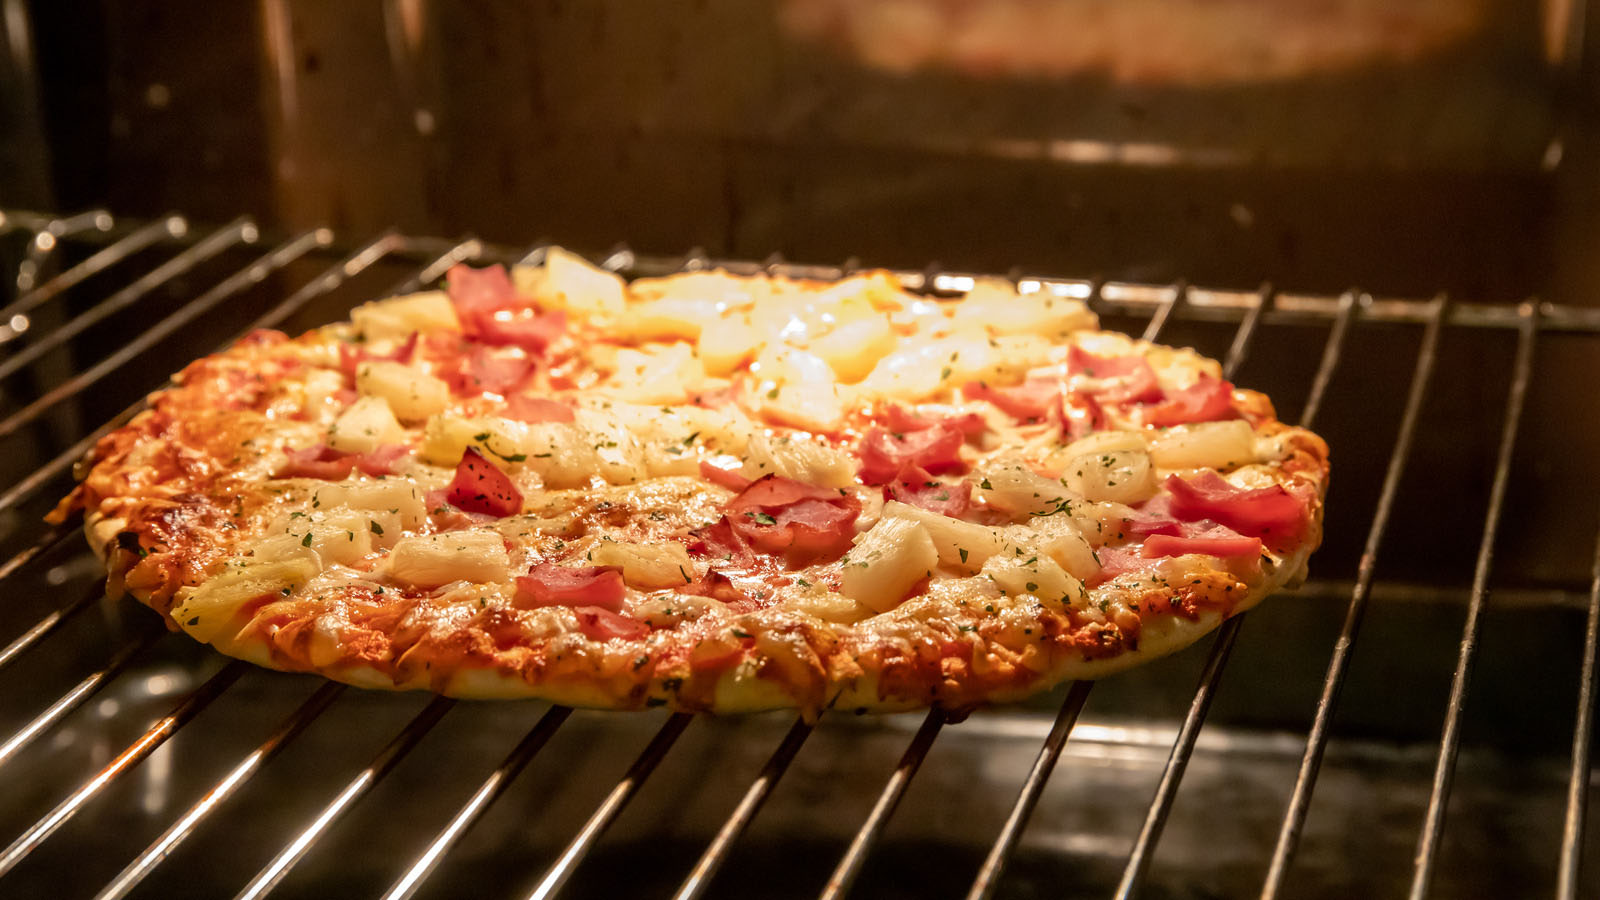
How To Cook Frozen Pizza In The Oven
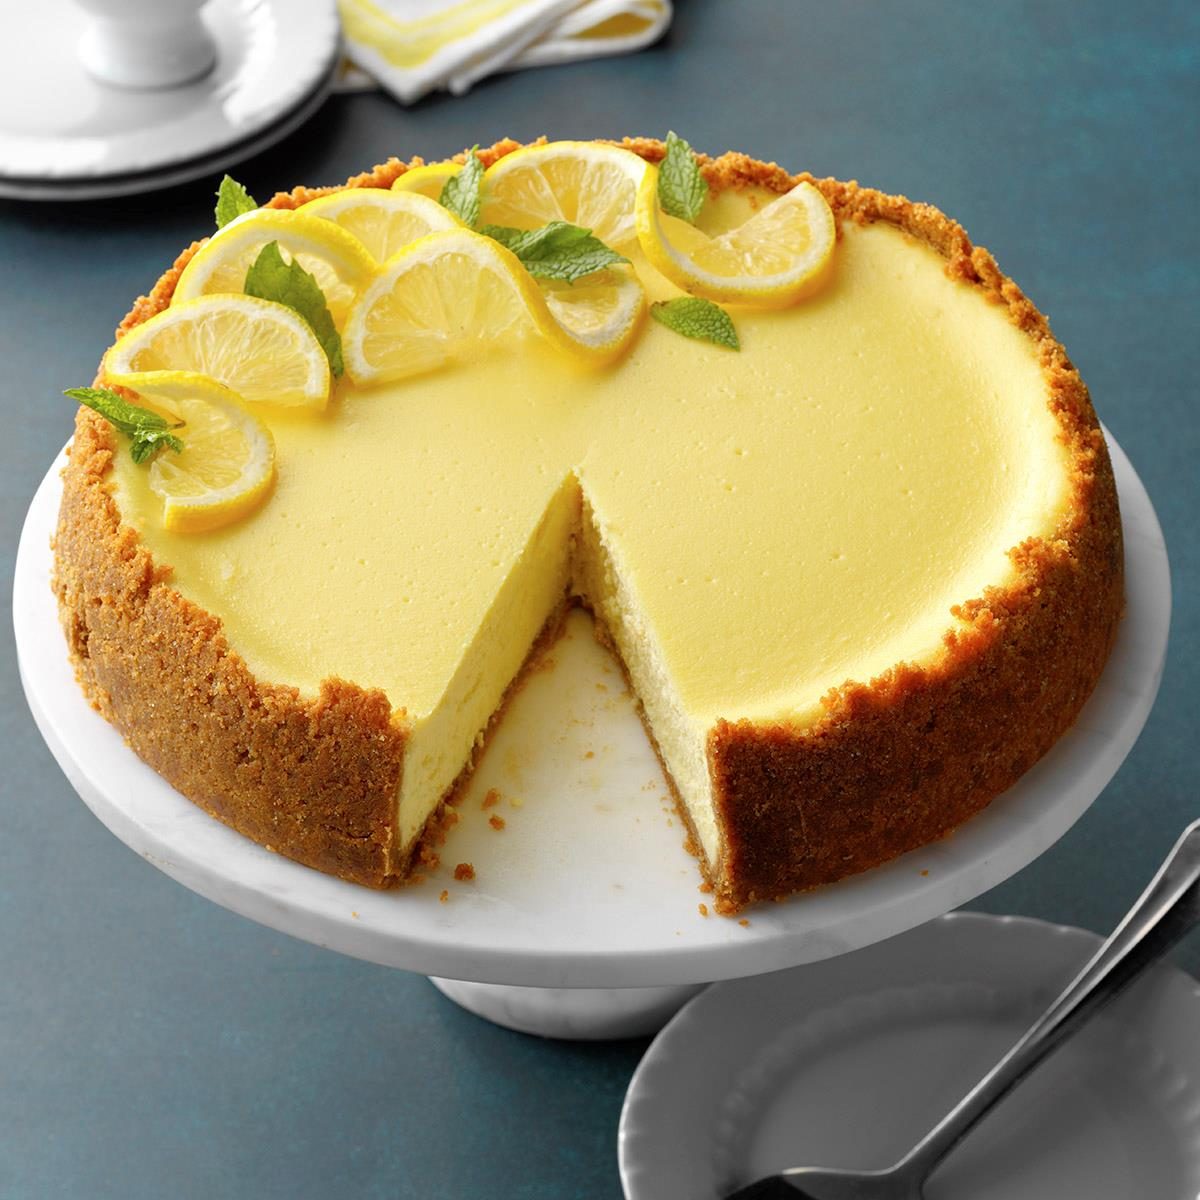
The Best Lemon Dessert Recipes
Our Most Creative Cake Ideas
Top 20 Comfort Foods

Best Places To Eat In Cheltenham
Top 10 Mother’s Day Desserts
Top 10 Foods To Try In Scotland
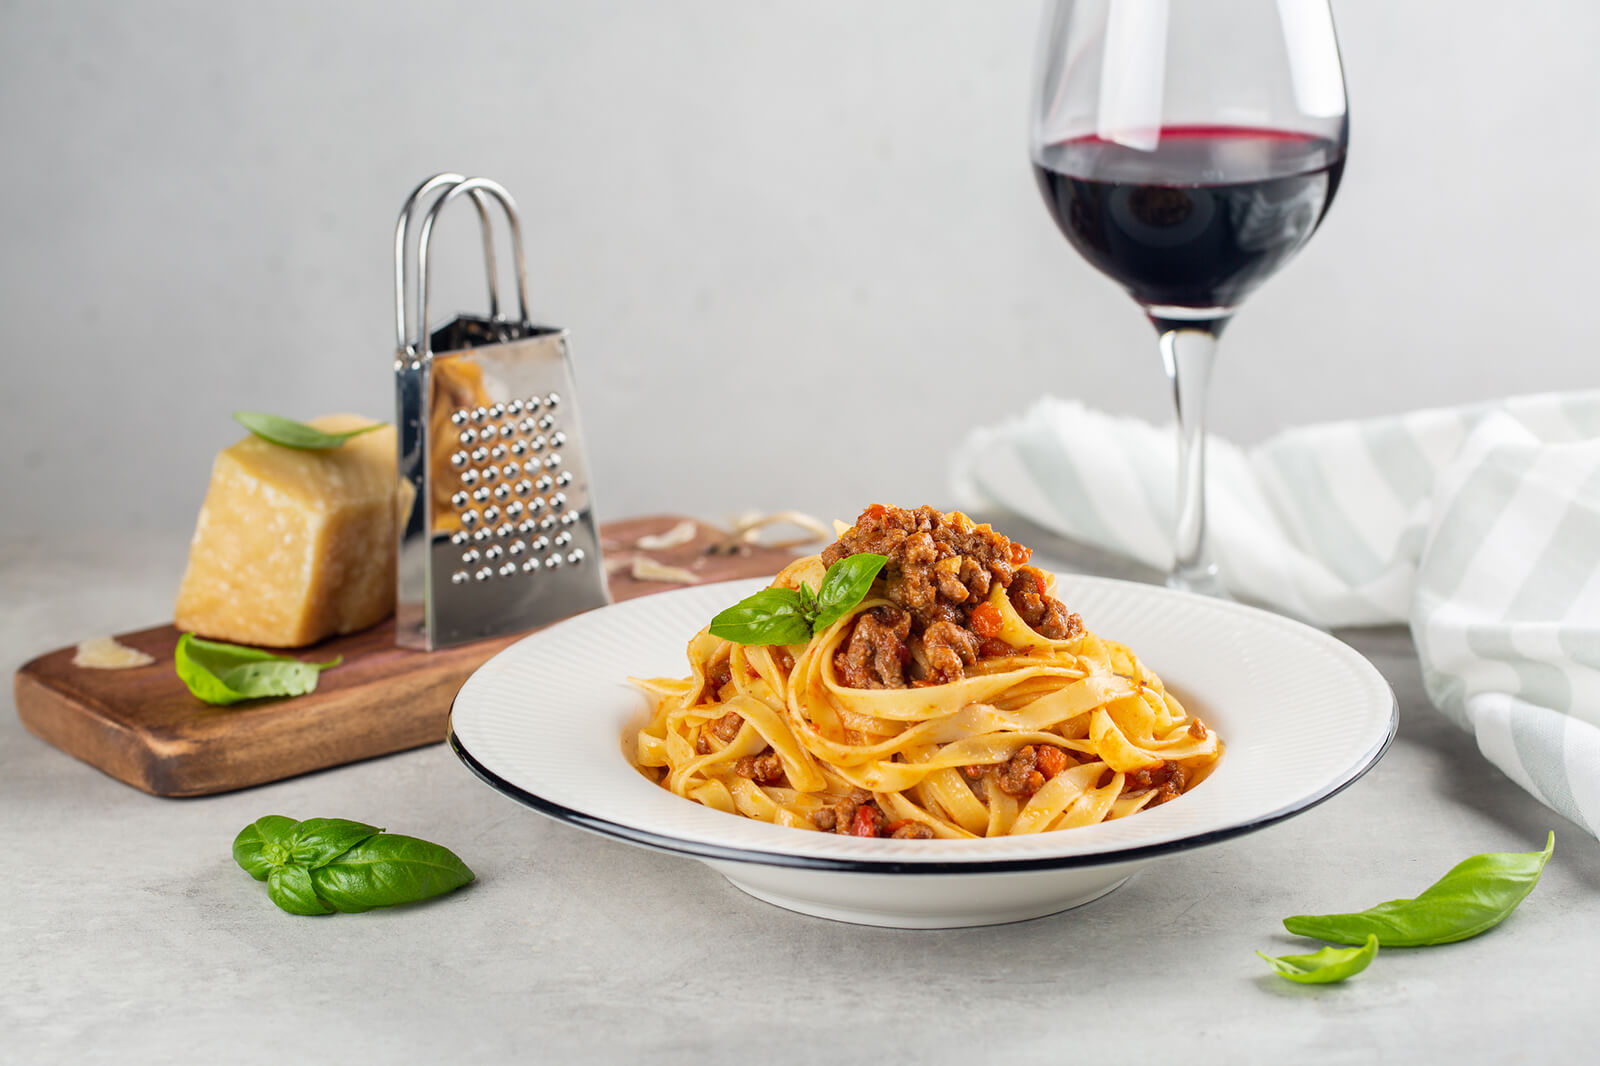
The Best Wines To Drink With Pasta
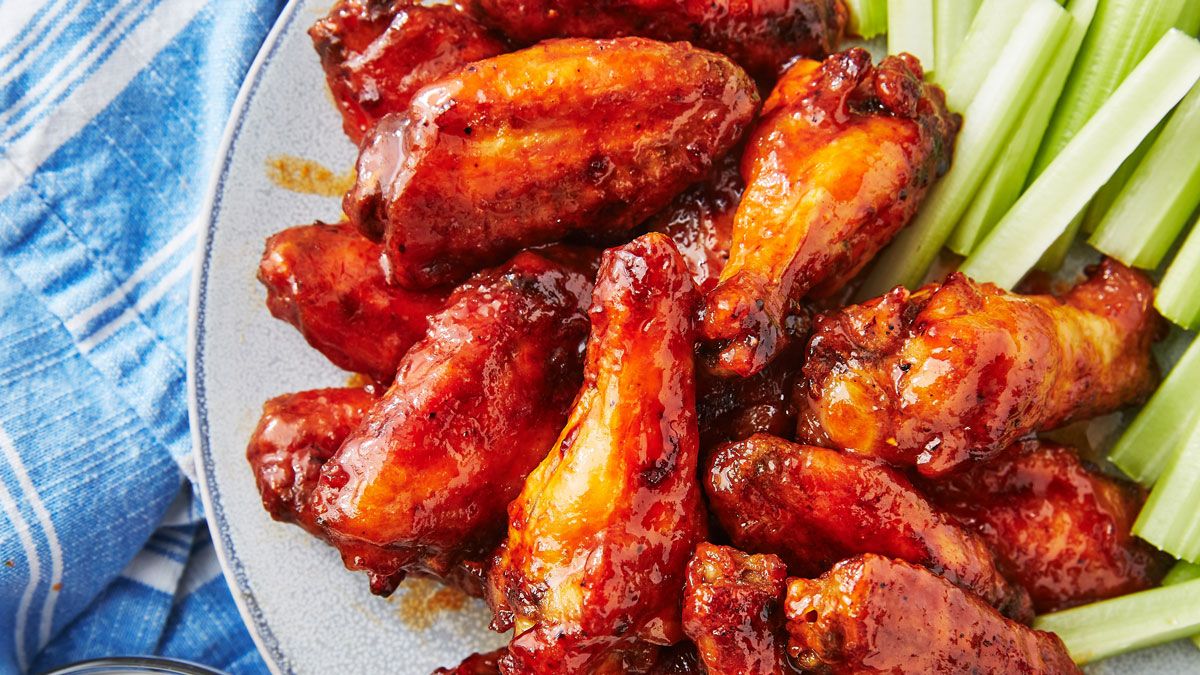
10 Best Chicken Wing Recipes
