How To Make Homemade Ice Lollies
Nothing beats the refreshingly sweet taste of a homemade ice lolly on a hot summer day. Instead of reaching for store-bought options filled with artificial flavors and preservatives, why not try making your own? Not only will you have full control over the ingredients, but it’s also a fun and creative activity for the whole family. In this article, we’ll guide you through the steps to create delicious and healthy ice lollies right in the comfort of your own kitchen.
Gather Your Ingredients
The first step in making homemade ice lollies is gathering the ingredients. You’ll need:
- Fresh fruits of your choice (strawberries, mangoes, kiwis, or any other favorite)
- Natural fruit juice or coconut water
- Yogurt or milk (optional)
- Honey or agave syrup for sweetening (optional)
- Ice lolly molds and sticks
Prepare the Base
Start by preparing the base for your ice lollies. You can choose between a fruity or creamy base, or even combine the two for a delightful flavor fusion.
To make a fruity base:
- Wash and chop your chosen fruits into small pieces.
- Puree the fruits in a blender until smooth.
- Add a splash of natural fruit juice or coconut water to enhance the flavor, if desired.
- If you prefer a sweeter taste, add a small amount of honey or agave syrup.
- Pour the fruity mixture into your ice lolly molds, leaving a little space at the top for expansion during freezing.
- Insert the sticks into the molds.
To make a creamy base:
- Combine yogurt or milk with your favorite fruits.
- Add a touch of honey or sweetener, if desired.
- Blend the mixture until it reaches a smooth and creamy consistency.
- Pour the creamy mixture into the ice lolly molds, leaving a little room at the top.
- Insert the sticks into the molds.
Freezing and Enjoying
Once your ice lolly molds are filled, it’s time to freeze them. Place them in the freezer for at least 4-6 hours or until solid. For best results, let them freeze overnight.
When your ice lollies are frozen and ready to be enjoyed, remove them from the freezer. Gently run the molds under warm water to loosen the lollies, making it easier to remove them from the molds.
Find a cozy spot in the shade or enjoy your ice lolly while lounging by the pool. The burst of natural flavors and the cooling sensation will surely delight your taste buds and help beat the summer heat.
Remember, the possibilities with homemade ice lollies are endless. Get creative by adding in chunks of fresh fruit, nuts, or even a drizzle of chocolate. Customize the flavors to suit your preferences and experiment with different combinations to find your favorite recipes.
Now that you know how to make homemade ice lollies, it’s time to get started. Gather your ingredients, let your imagination run wild, and enjoy the taste of these delicious frozen treats made with love!
For those keen on making their own ice lollies, the article offers a variety of recipes to try out. The Strawberry Lemonade Ice Lollies provide a refreshing blend of sweet and tart flavors, perfect for sunny days. If you're a fan of tropical tastes, the Mango Coconut Ice Lollies combine creamy coconut with juicy mango for a delicious treat. For something a bit more unique, the Cucumber Mint Ice Lollies offer a cool and invigorating option, ideal for a hot afternoon. Lastly, the Mixed Berry Yogurt Ice Lollies balance the tang of yogurt with the sweetness of mixed berries, making them a healthy and satisfying choice. These recipes are sure to please any palate while showcasing your homemade ice lolly skills.
– Strawberry and basil
– Mango and coconut
– Watermelon and lime
– Blueberry and lavender
– Pineapple and mint
Feel free to experiment and mix your favorite fruits, herbs, or even add a touch of yogurt or chocolate for extra indulgence.
Was this page helpful?
Related Articles

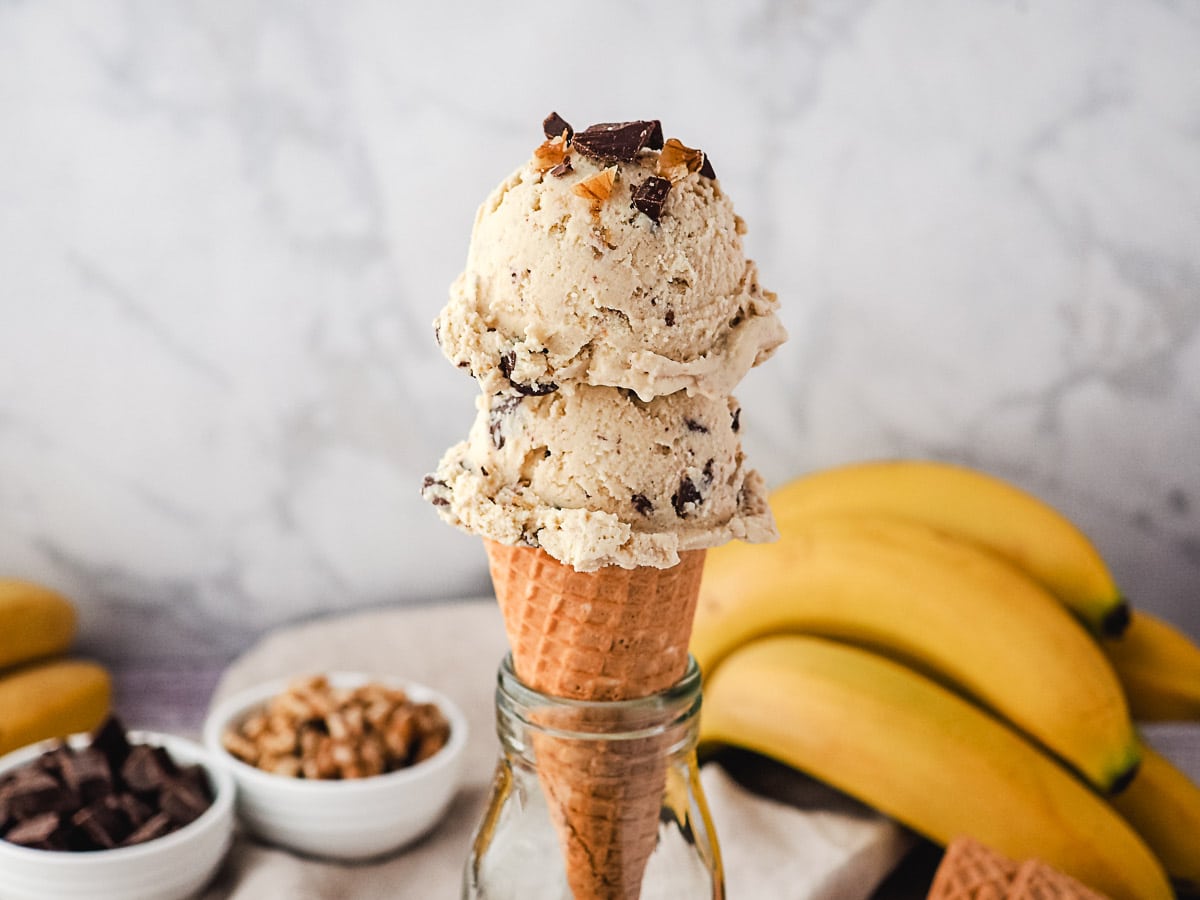
Top 10 Summertime Fresh Fruit Ice Creams and Sorbets
What Is Chunky Monkey?
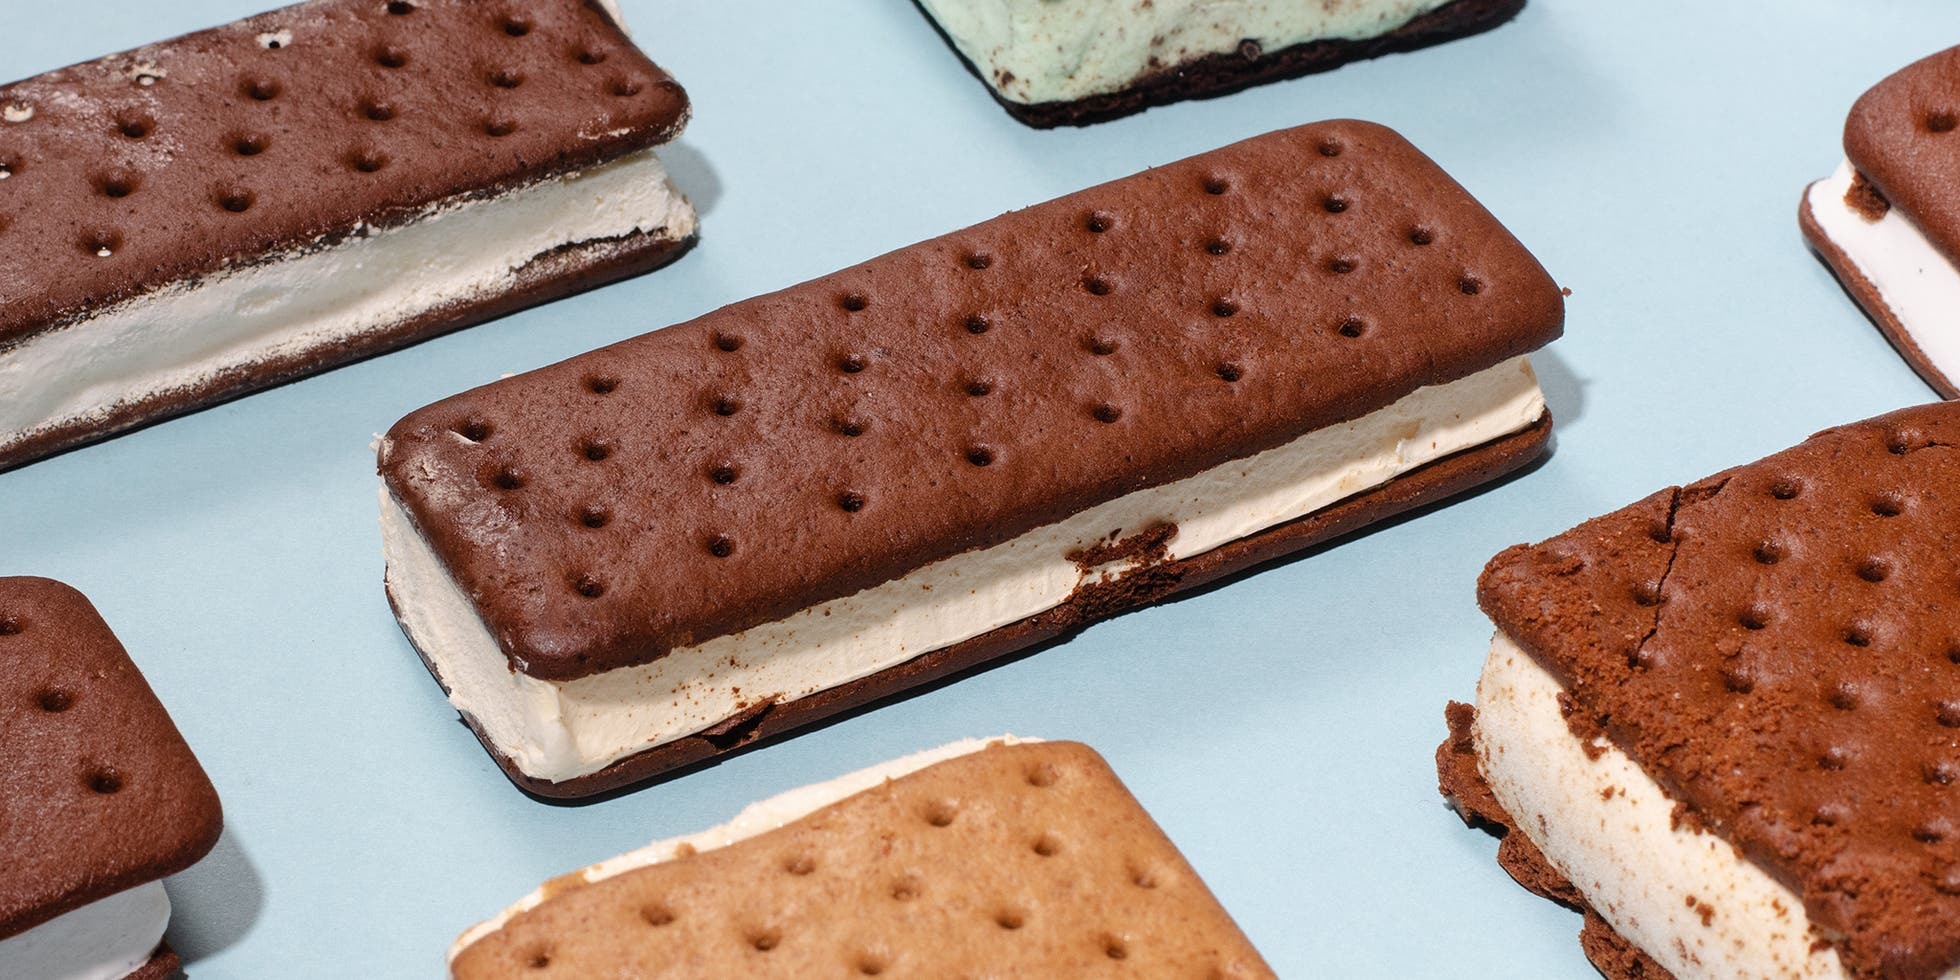
10 Ways With Ice Cream Sandwiches
10 Ways With Ice Cream Sandwiches

Top 10 Low-Carb Lunch Ideas

12 Budget Canapé Ideas

Best Restaurants In Manchester

10 Easy Chicken Recipes

Best Ever Vegan Christmas Party Food
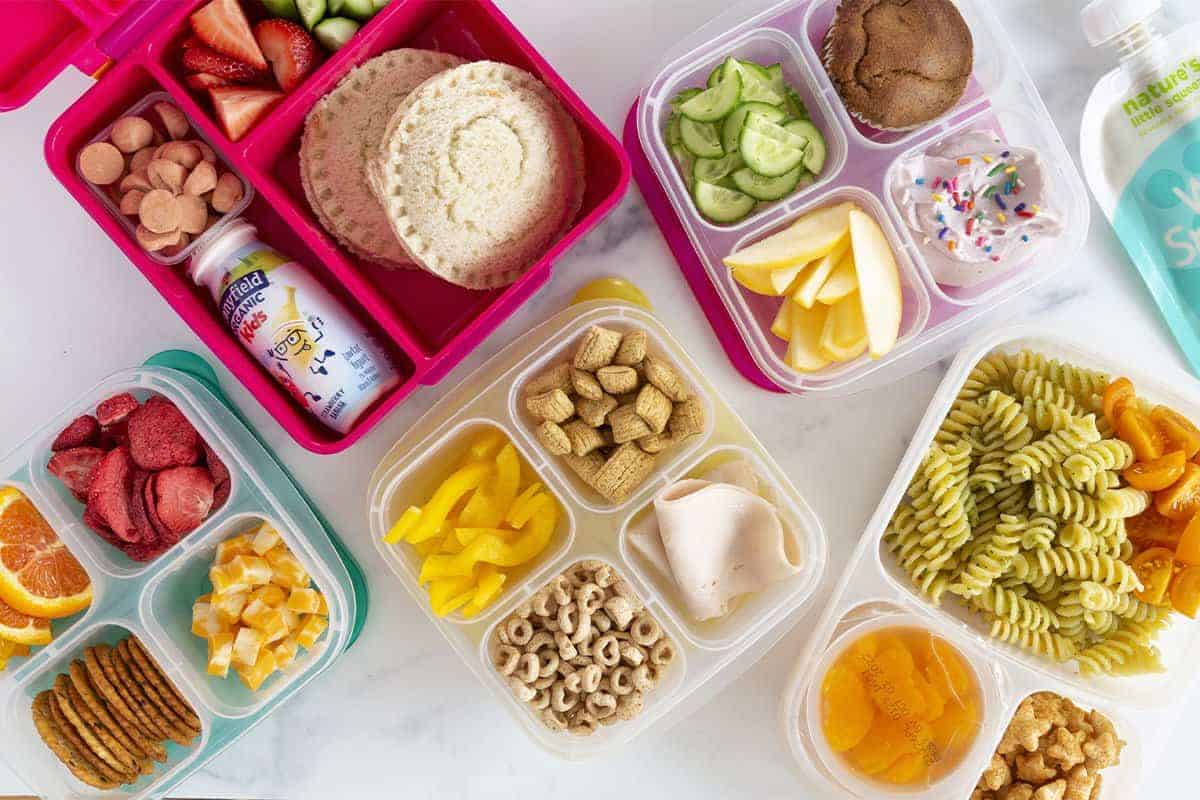
Easy Summer Lunches For Kids
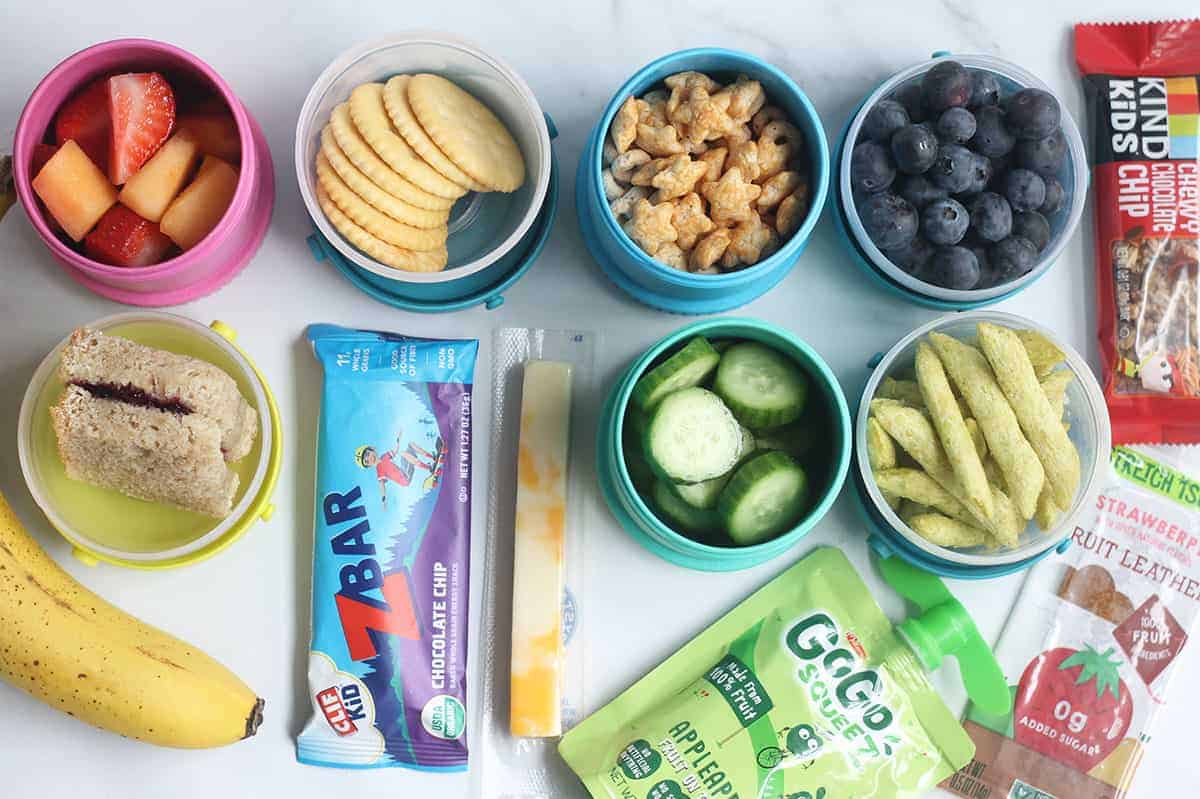
10 Quick And Easy Snacks For Kids