Are you ready to indulge in a delightful treat? Look no further, because we have the perfect recipe for you – homemade cornets! These crispy and delicious goodies are easier to make than you might think. With a few simple ingredients and a little patience, you’ll be savoring every bite of your homemade cornet recipe in no time.
Before we dive into the detailed steps, let’s take a quick look at the ingredients you’ll need:
- 2 cups all-purpose flour
- 2 tablespoons sugar
- 1/2 teaspoon salt
- 1/2 cup unsalted butter, cold and cubed
- 3/4 cup cold water
- 1 cup powdered sugar, for dusting
- Optional toppings: melted chocolate, sprinkles, or nuts
Step 1: Mix and Chill the Dough
In a large mixing bowl, combine the flour, sugar, and salt. Add in the cold butter cubes and use your fingertips or a pastry cutter to rub the butter into the dry ingredients until the mixture resembles coarse crumbs. Gradually pour in the cold water, mixing with a wooden spoon or your hands until the dough comes together.
Shape the dough into a ball, wrap it in plastic wrap, and refrigerate for at least 1 hour.
Step 2: Roll and Shape the Cornets
Preheat your oven to 350°F (175°C). Take the chilled dough out of the refrigerator and divide it into small portions. Working with one portion at a time, roll it out into a thin circle on a lightly floured surface. Cut the circle into triangles, with each triangle being about 5 inches wide at the base.
Take each triangle and carefully roll it up, starting from the wide base and ending at the pointed tip, creating a cone shape. Make sure to press the edges together to seal them. Repeat this process with the remaining dough portions.
Step 3: Bake and Decorate
Place the shaped cornets onto a baking sheet lined with parchment paper. Bake in the preheated oven for 12-15 minutes or until golden brown. Remove from the oven and let them cool completely on a wire rack.
Once cooled, it’s time to add some flair to your cornets! Dust them generously with powdered sugar. If desired, you can also dip the tips in melted chocolate, sprinkle them with colorful sprinkles, or even add some chopped nuts. Let your creativity run wild!
Step 4: Enjoy!
Now comes the best part – enjoying your homemade cornets! These crispy treats are perfect for any occasion – whether you’re hosting a party, having a cozy night in, or simply craving a sweet indulgence. Serve them alongside a scoop of your favorite ice cream or enjoy them on their own. Either way, they are sure to be a hit!
So, what are you waiting for? Gather your ingredients, follow these simple steps, and treat yourself to the deliciousness of homemade cornets. Your taste buds will thank you!
For those eager to master the art of making cornets, the guide offers a variety of exciting recipes to try. One can't go wrong with the Strawberry Cornets Recipe for a fruity delight, or the Lemon Custard Cornets Recipe for a zesty twist. For a more indulgent treat, the Nutella-Filled Cornets Recipe is a must-try. If you're a fan of seasonal flavors, the Pumpkin Spice Cornets Recipe will be a hit. And for a touch of elegance, the Lavender Honey Cornets Recipe is perfect. These recipes not only use the skills detailed in the guide but also offer a range of flavors to satisfy different tastes.
Was this page helpful?
Related Articles
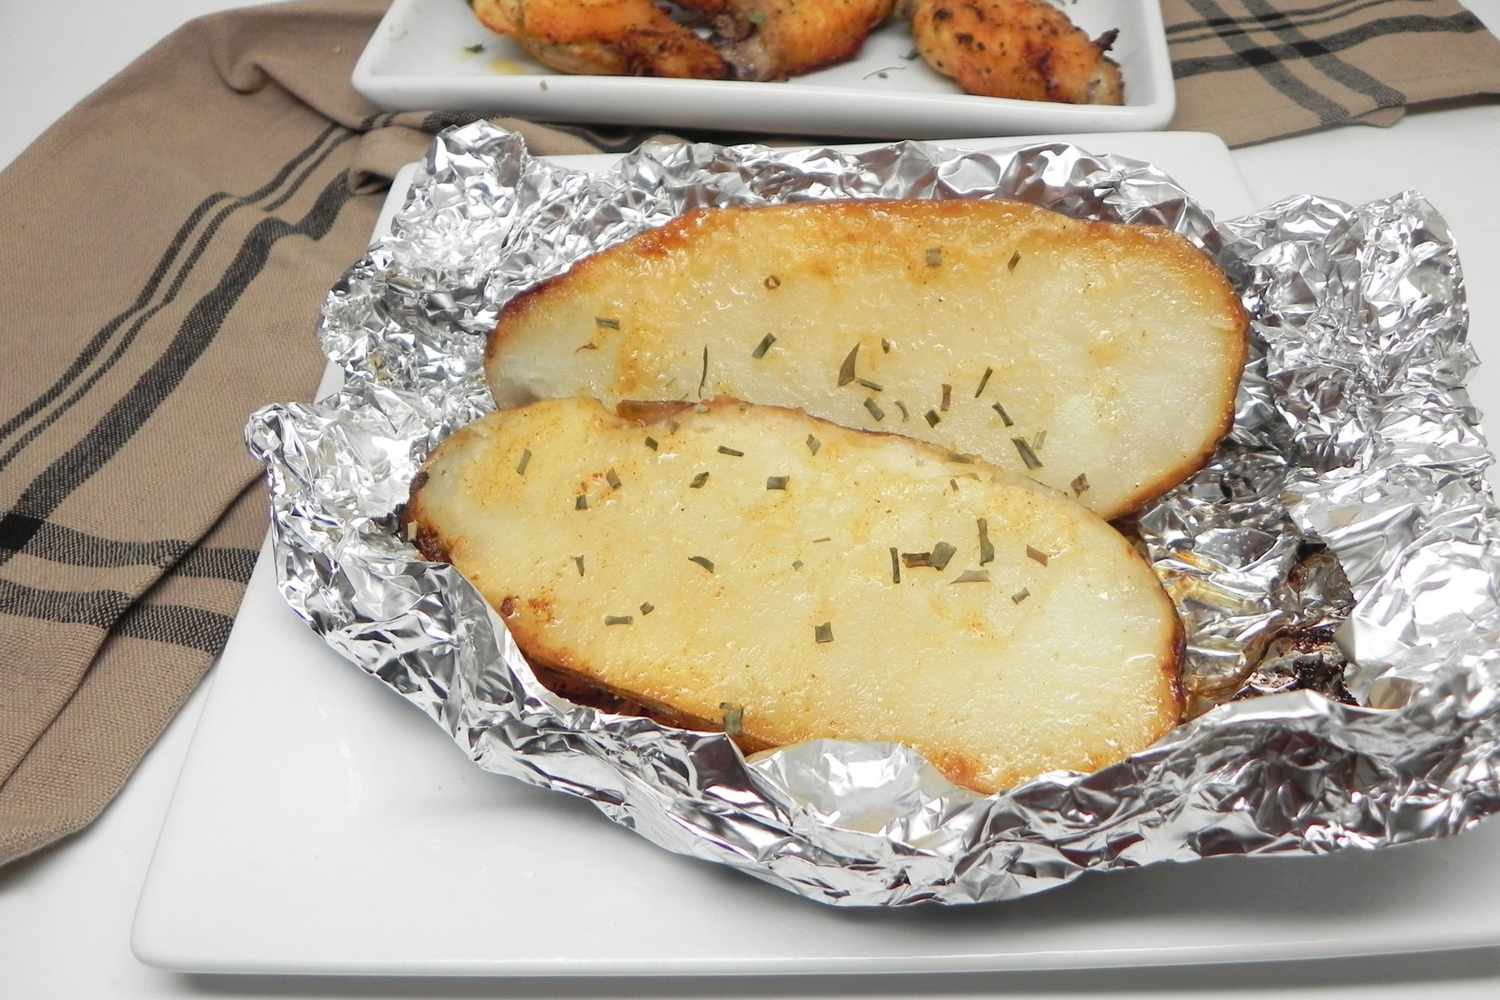
How To Cook A Baked Potato In Foil
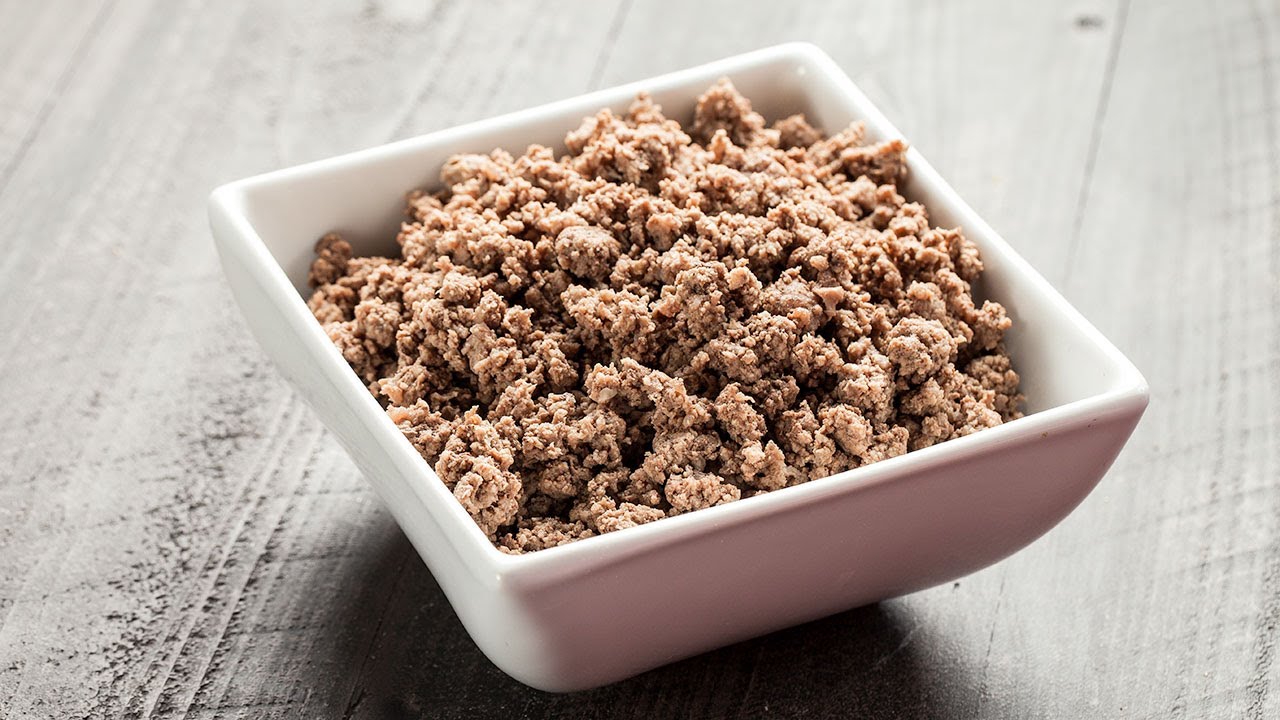
How To Cook Ground Beef Without A Stove
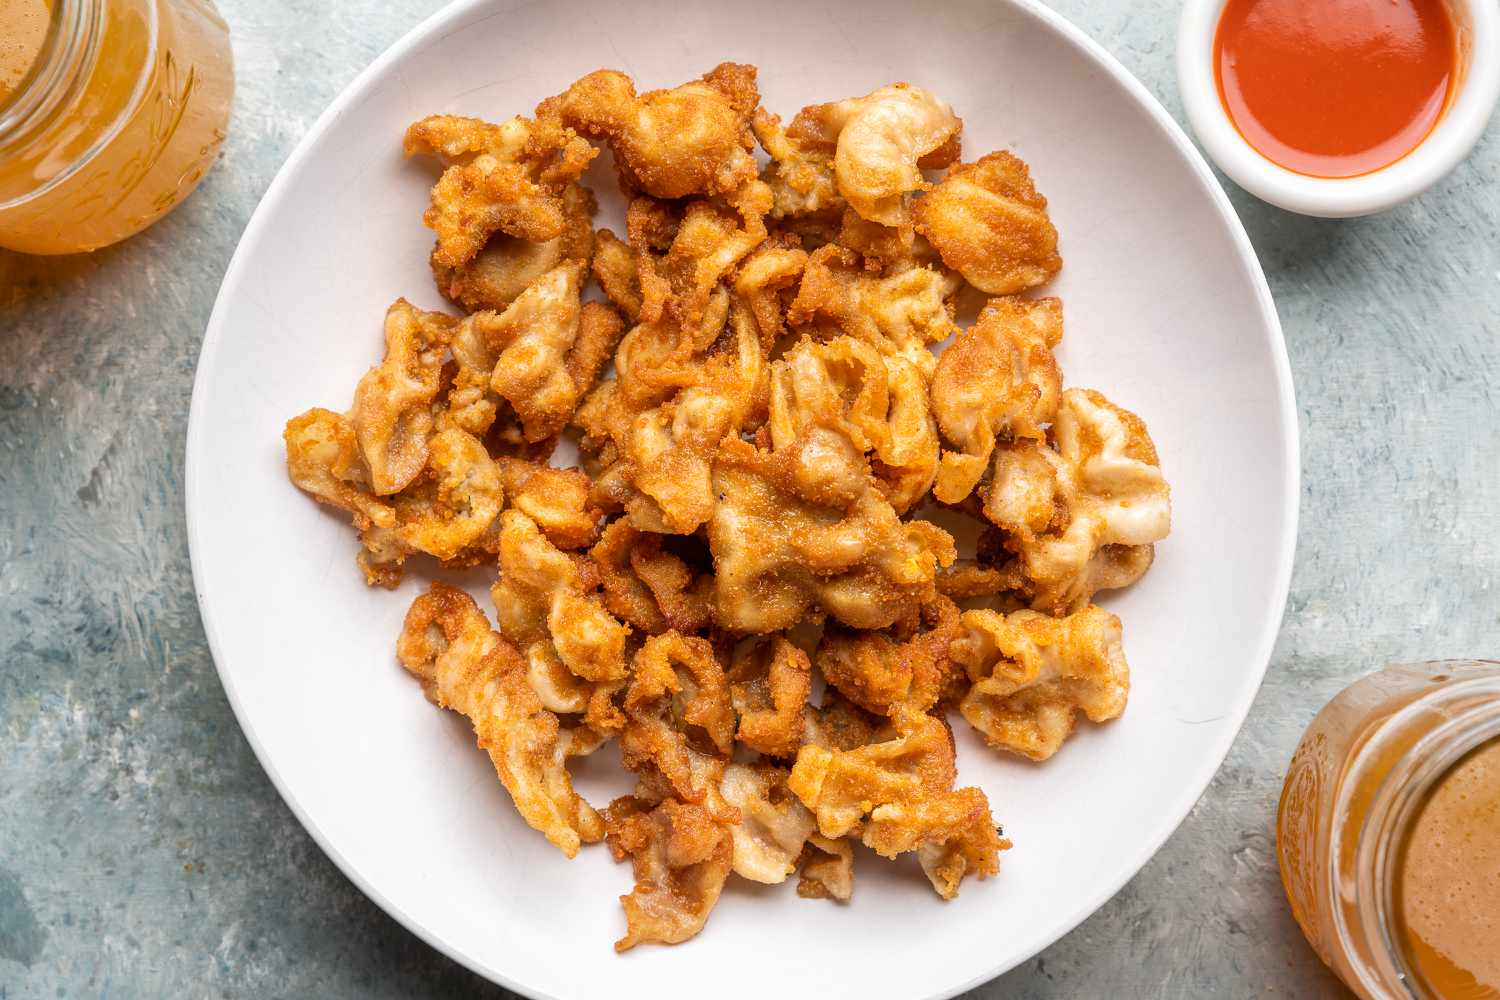
How To Cook Chitterlings Southern Style
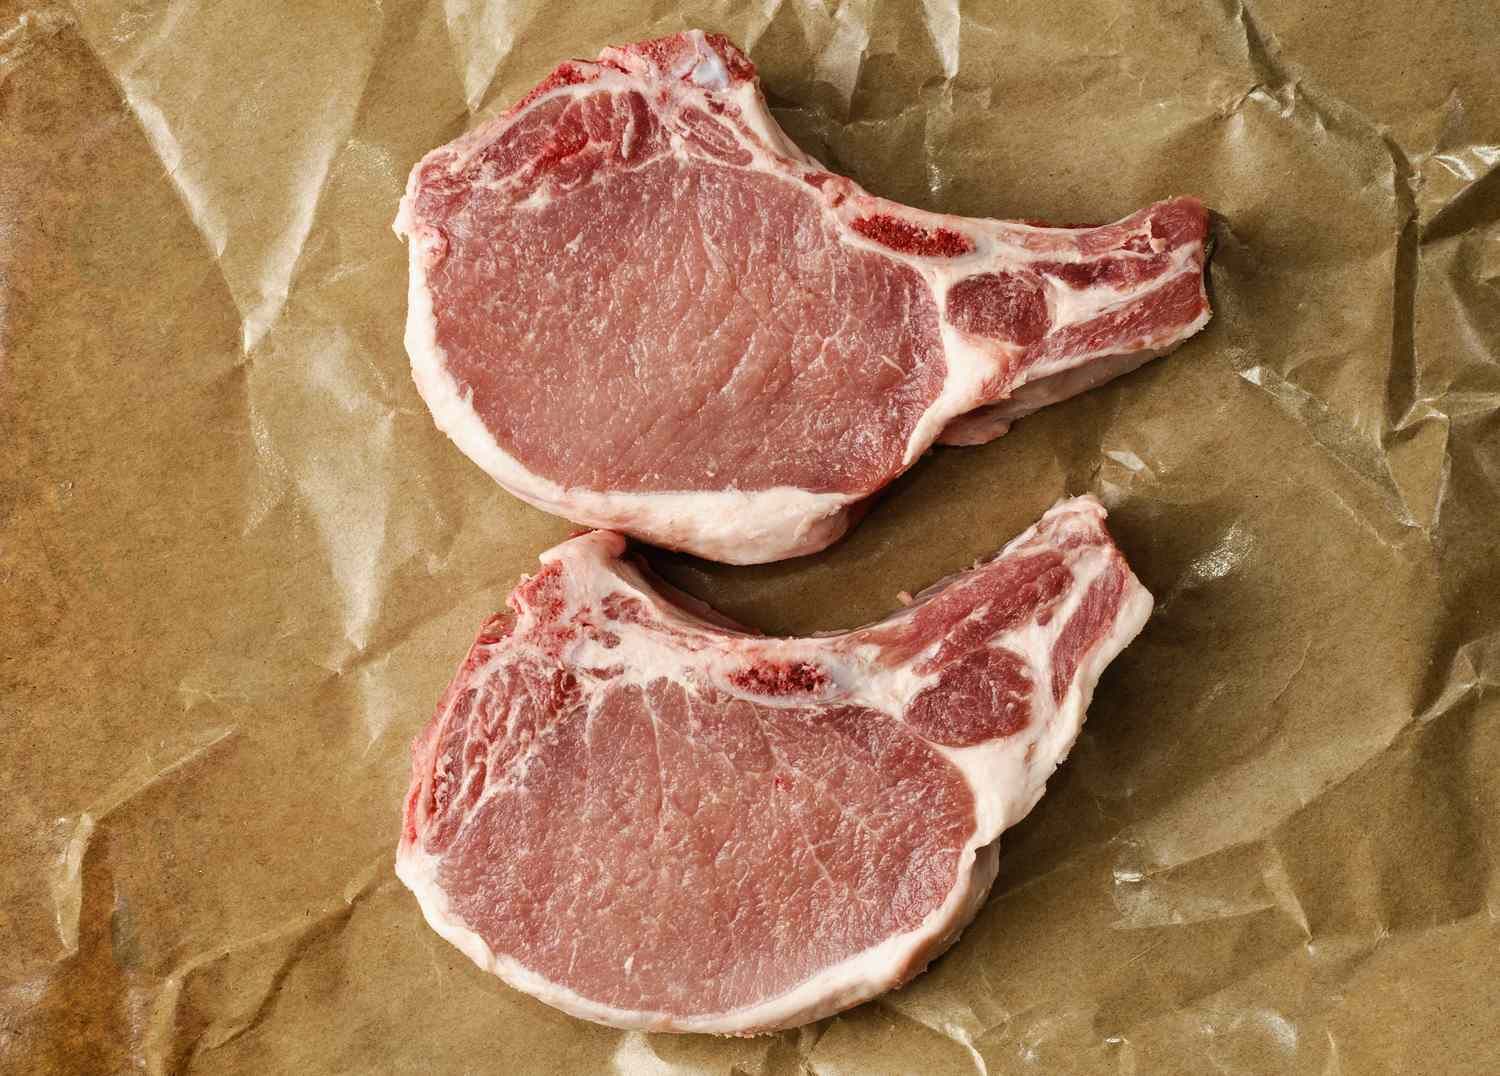
How To Cut Your Own Pork Chops
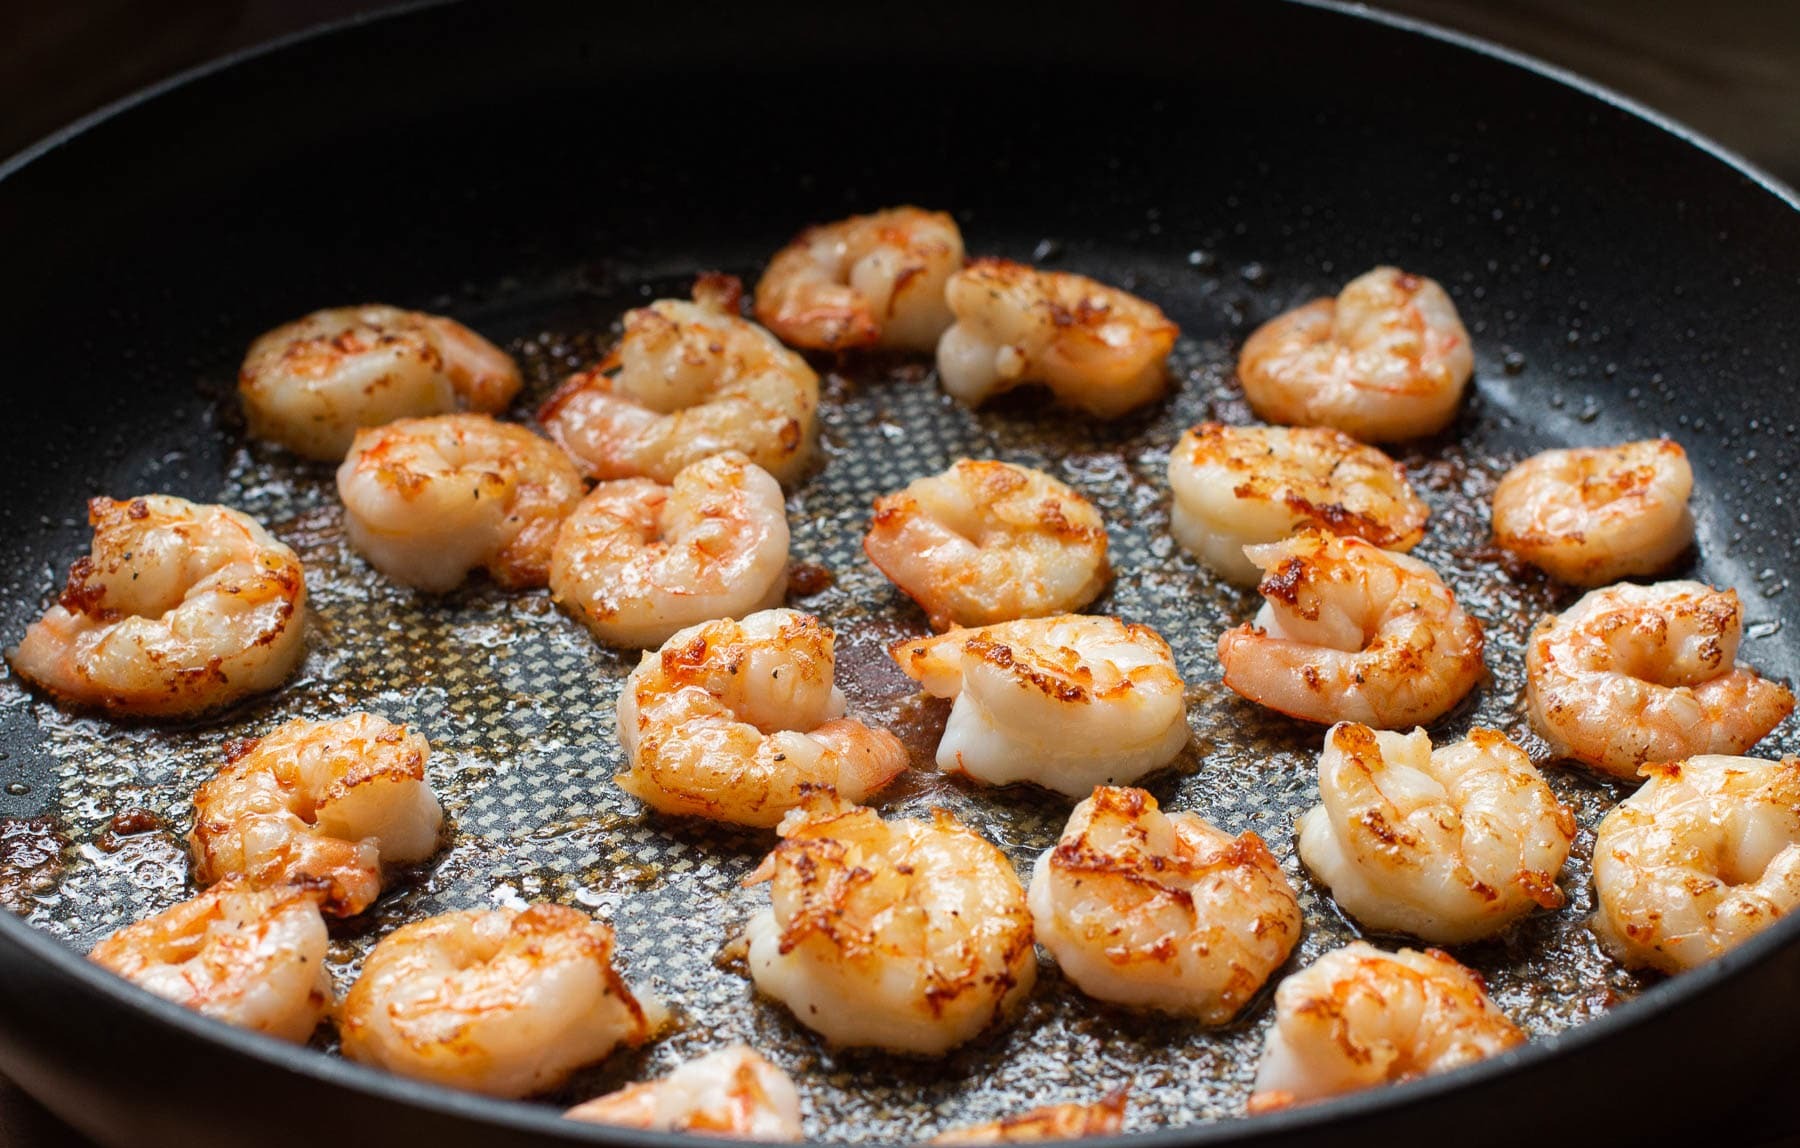
How To Turn Out Tender Shrimp Recipe
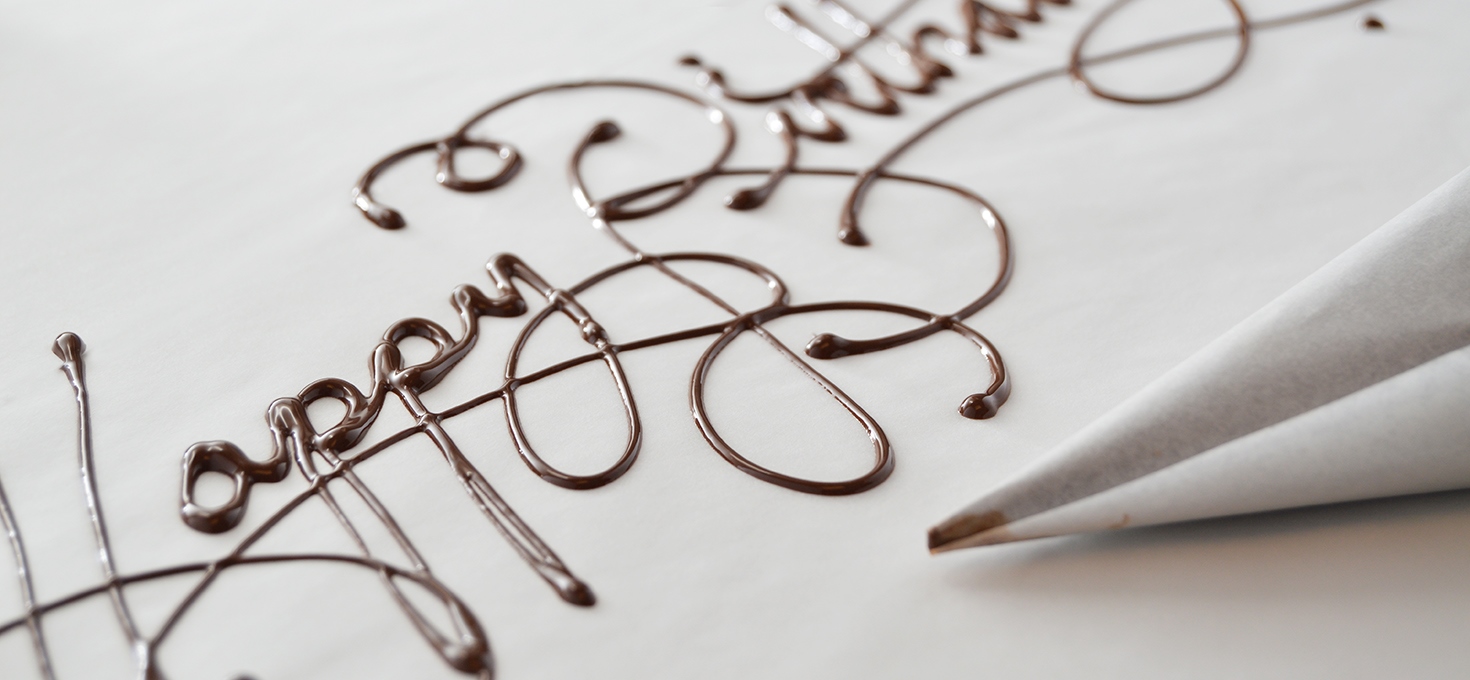
How To Write With Chocolate
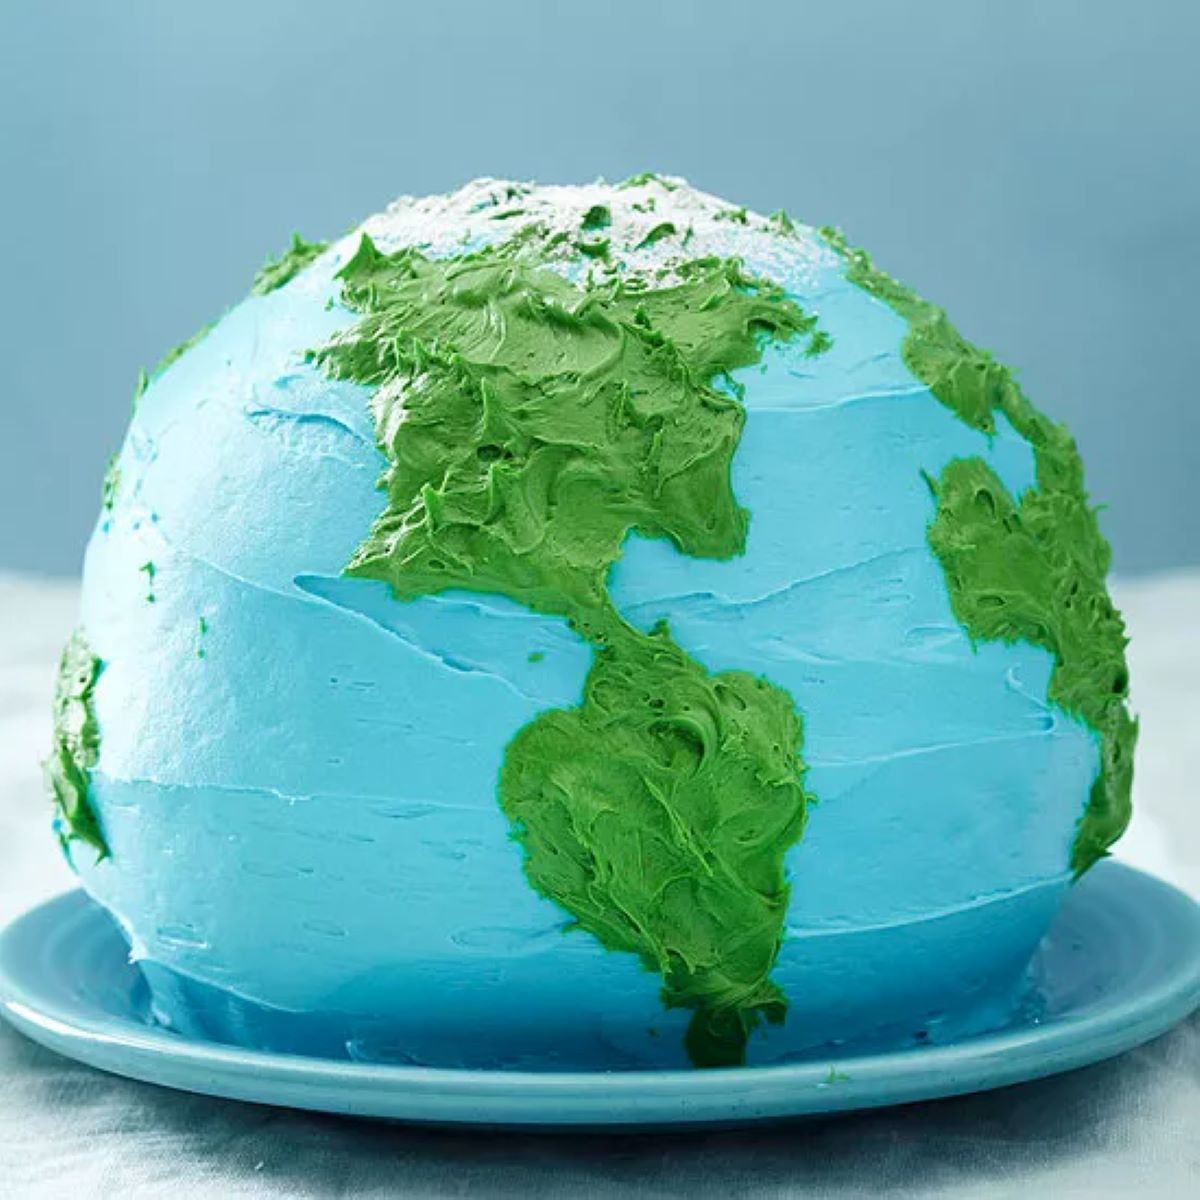
How To Make An Earth Cake
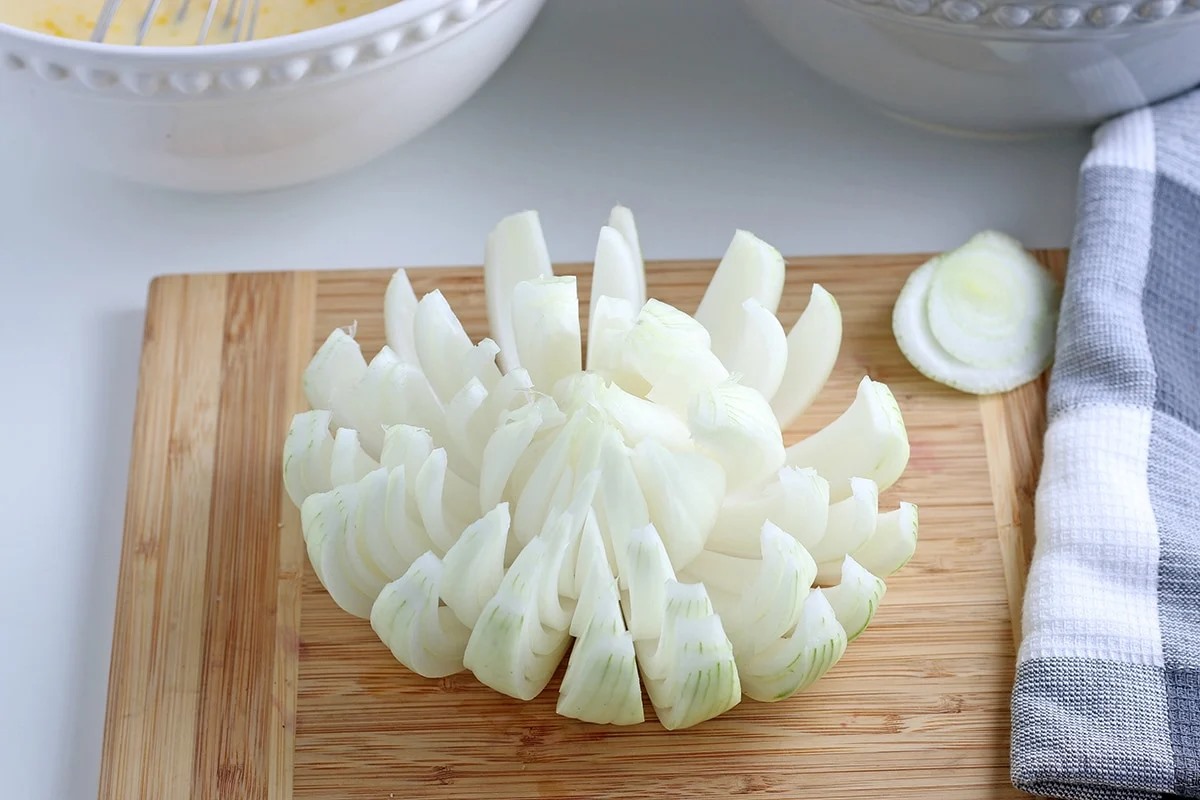
How To Slice A Bloomin’ Onion
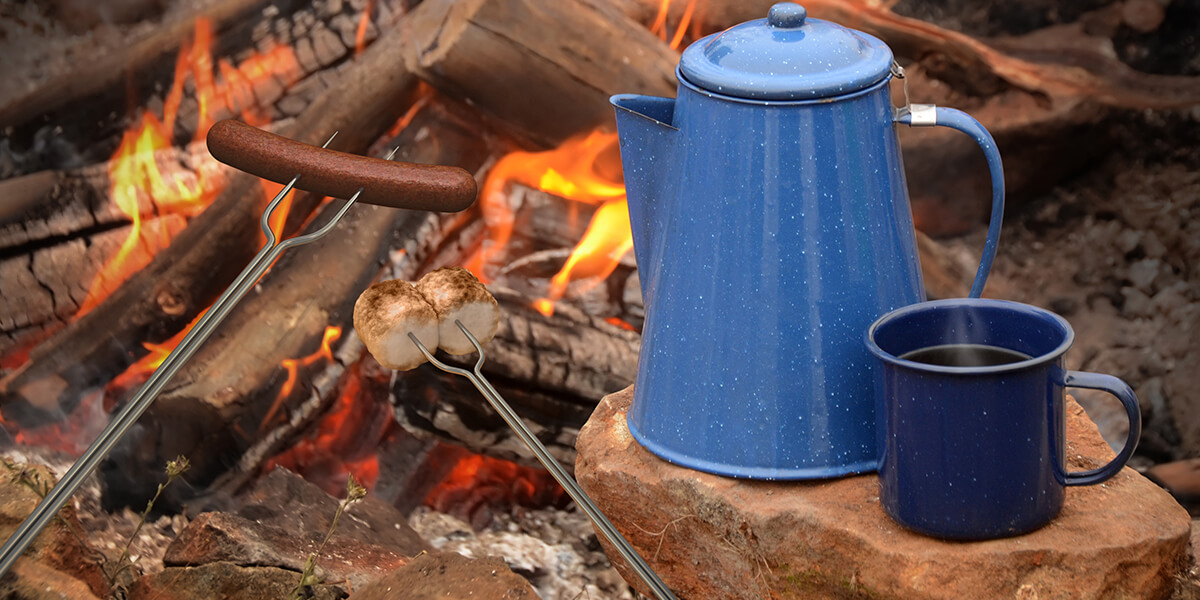
How To Make Cowboy Coffee Recipe
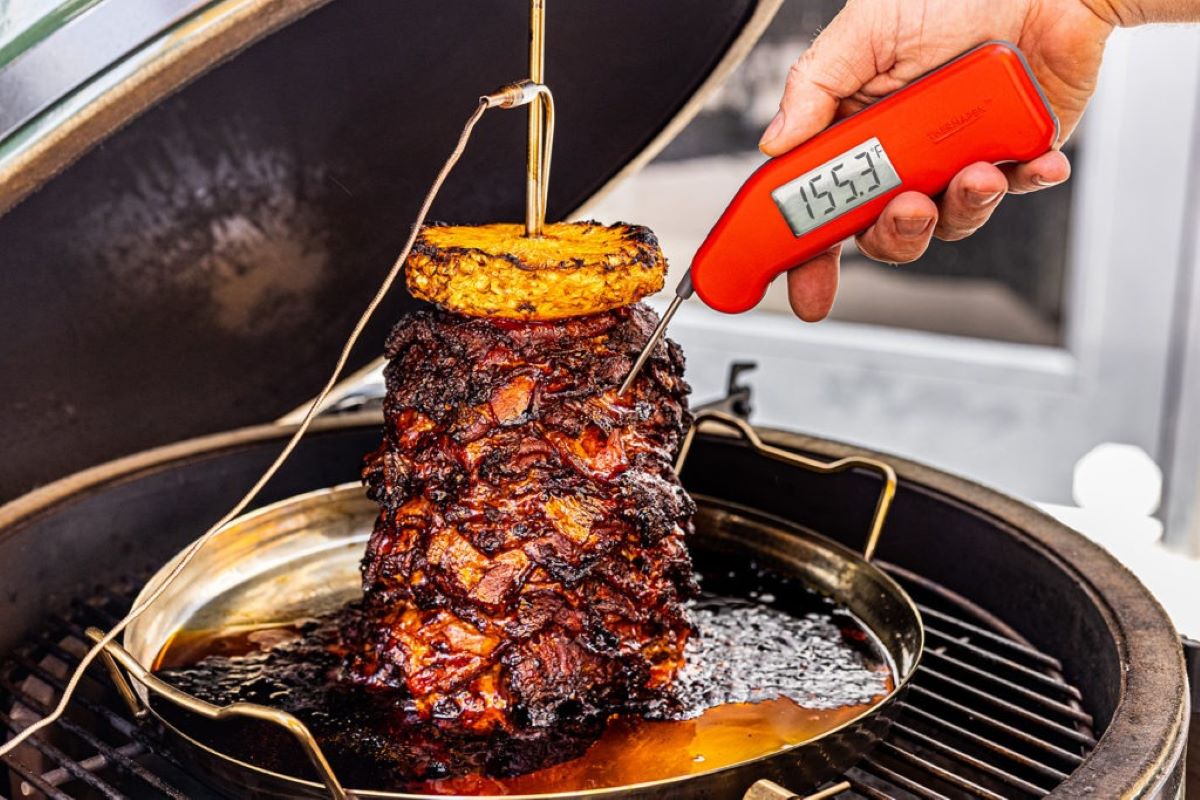
How To Make Pork Al Pastor In The Oven
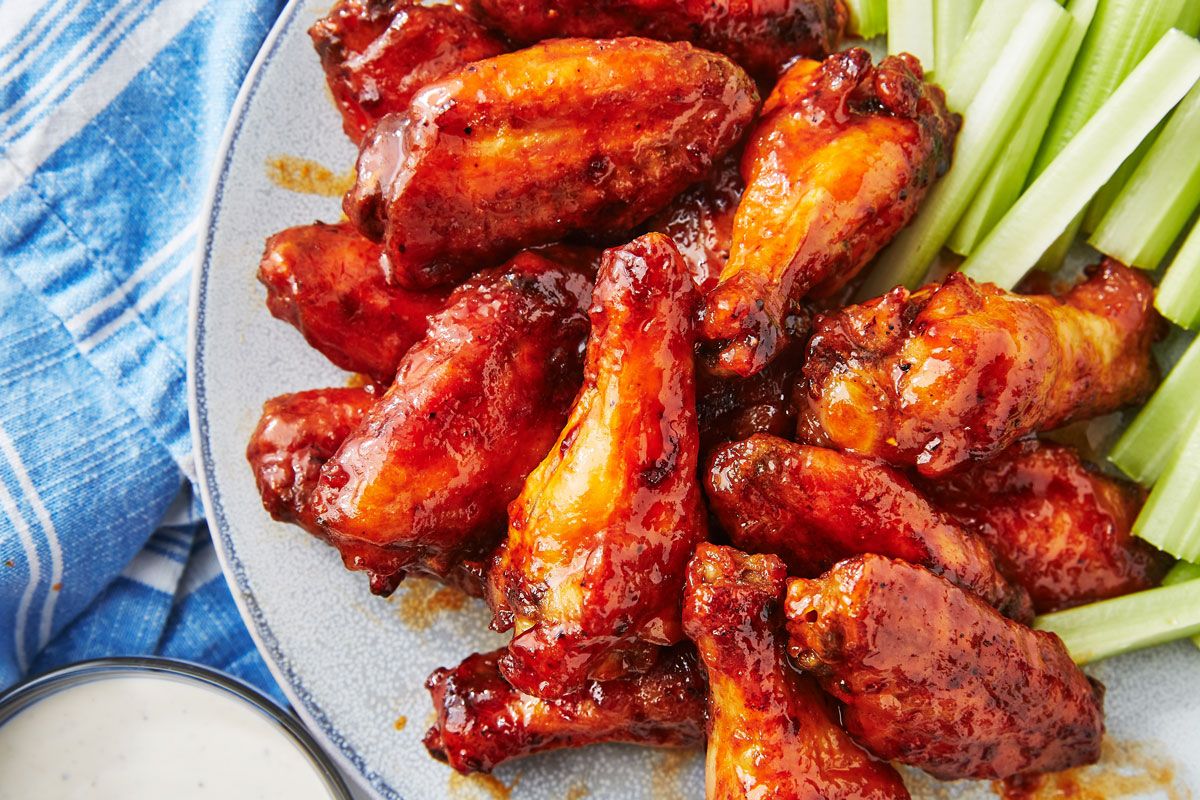
How To Make Homemade Buffalo Wings