Indulge in the Art of Writing With Chocolate
When it comes to unique and creative ways of expressing ourselves, writing with chocolate offers a deliciously delightful option. Whether you are a food enthusiast, a passionate writer, or simply looking for a fun project, this guide will take you through the steps of creating edible masterpieces with your favorite treat.
Gather Your Chocolate Tools
Before you begin your chocolate writing adventure, make sure you have the necessary tools on hand:
- Melting chocolate: Opt for high-quality chocolate bars or chips. Dark, milk, or white chocolate can all be used depending on your preferences.
- Piping bag or ziplock bag: A piping bag is an ideal tool for precise and controlled chocolate writing. If you don’t have one, a ziplock bag can be a great alternative. Just make sure to cut a small hole in one corner.
- Parchment paper or silicone mat: These non-stick surfaces will make it easier to create your chocolate messages and designs.
- Decorative molds (optional): If you want to take your chocolate writing to the next level, consider using molds to create beautifully shaped chocolate pieces.
Melt and Prepare Your Chocolate
Start by melting your chocolate. You can do this by using a double boiler or by microwaving it in short intervals, stirring in between, until it is smooth and liquid.
Writing Techniques
Now that your chocolate is ready, it’s time to unleash your creativity and explore different writing techniques:
Freehand Writing:
Using your piping bag or ziplock bag, start with something simple like writing your name or short phrases on the parchment paper or silicone mat. Remember to apply gentle pressure on the bag for consistent flow, and experiment with different lettering styles.
Calligraphy:
If you’re feeling more adventurous, try your hand at chocolate calligraphy. Select a thicker tip for your piping bag and practice elegant strokes on a smooth surface. With a bit of patience, you’ll be able to write ornate letters and intricate designs.
Stenciling:
For those who prefer a more precise approach, stenciling can be a fantastic option. Create or find stencil patterns of your choice, then place the stencil on the parchment paper or silicone mat. Fill in the design with melted chocolate, carefully removing the stencil once the chocolate has hardened.
Decorate and Present
Once you’ve mastered the art of chocolate writing, it’s time to display your creations! Consider the following ideas for presentation:
- Top cupcakes or cakes with chocolate messages for a personalized touch.
- Create chocolate love notes as a sweet surprise for your special someone.
- Write inspiring quotes or words of encouragement for friends or family.
- Make custom edible place cards for dinner parties or special occasions.
Remember, chocolate writing is not only about the final product but also about the fun and joy of the process. Don’t be afraid to experiment, embrace imperfections, and most importantly, enjoy the delicious results!
Was this page helpful?
Read Next: How To Make Candy Corn
Related Articles
How To Season Corn On Cob
How To Season Veal

How To Carve A Pineapple Into A Cup Without A Corer
How To Make An Earth Cake
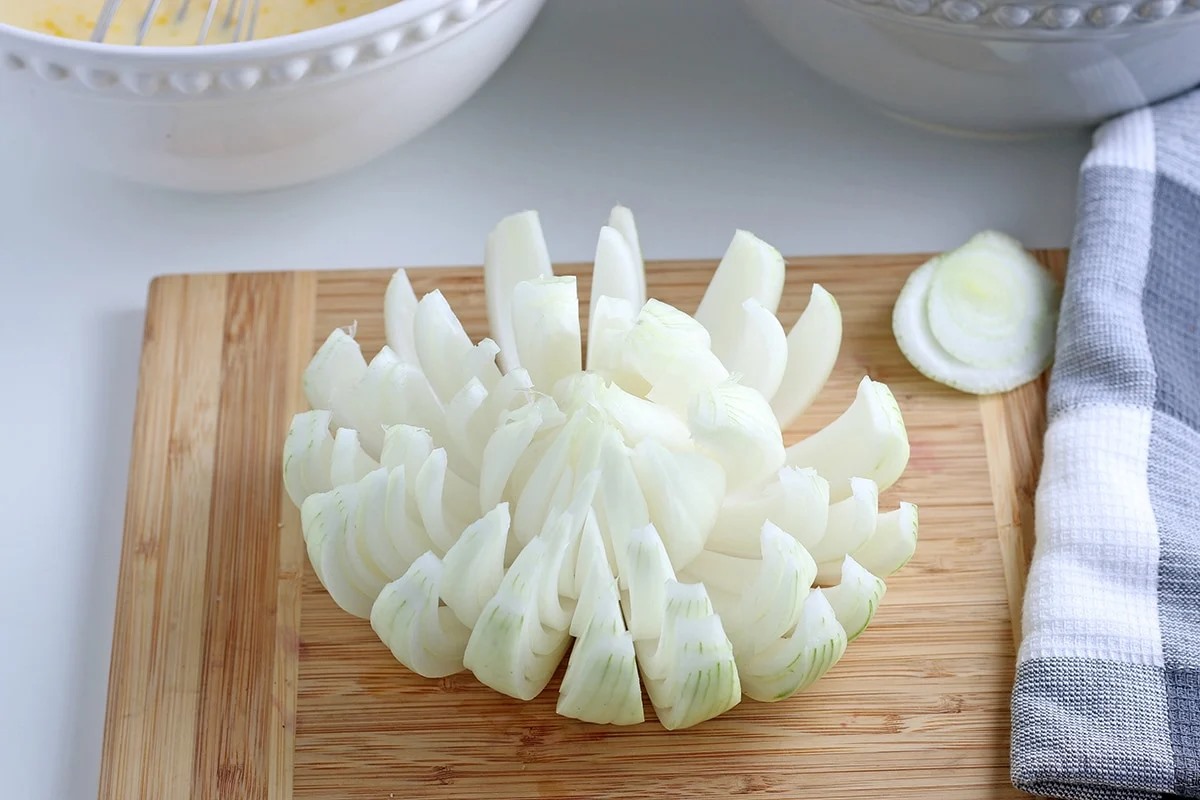
How To Slice A Bloomin’ Onion

How To Make Cowboy Coffee Recipe
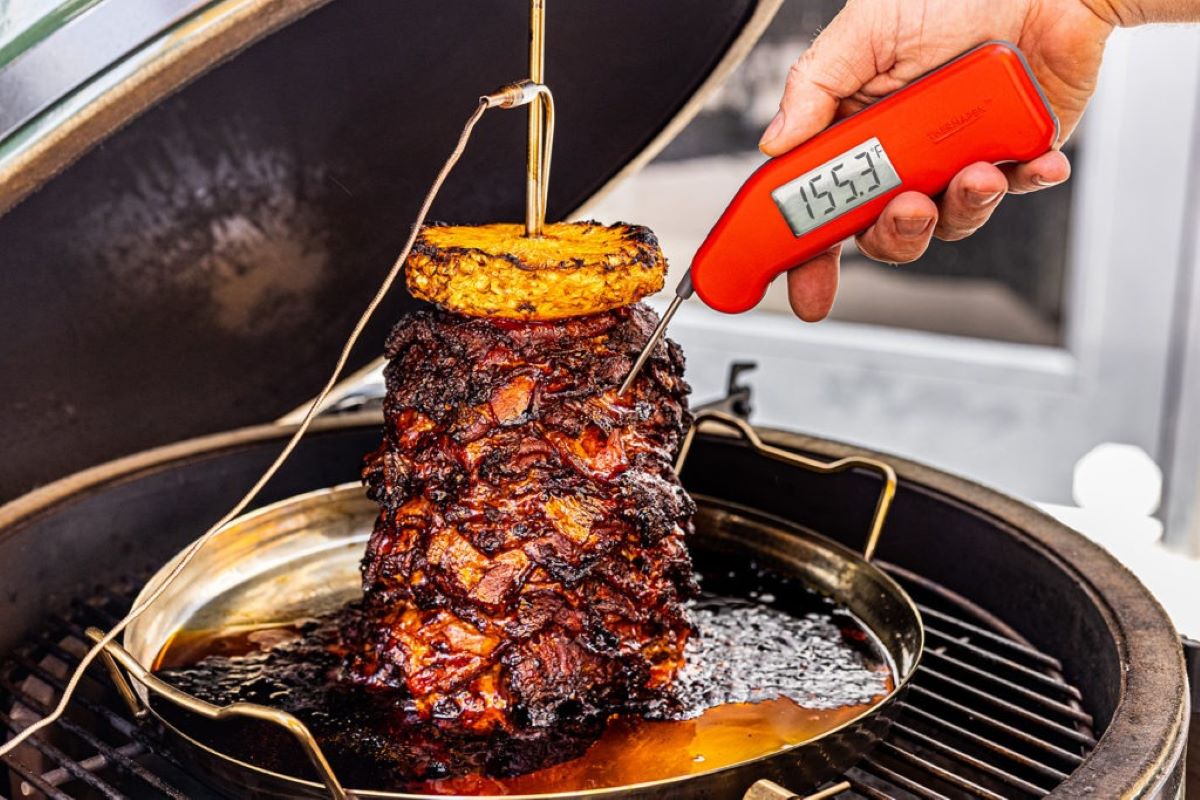
How To Make Pork Al Pastor In The Oven
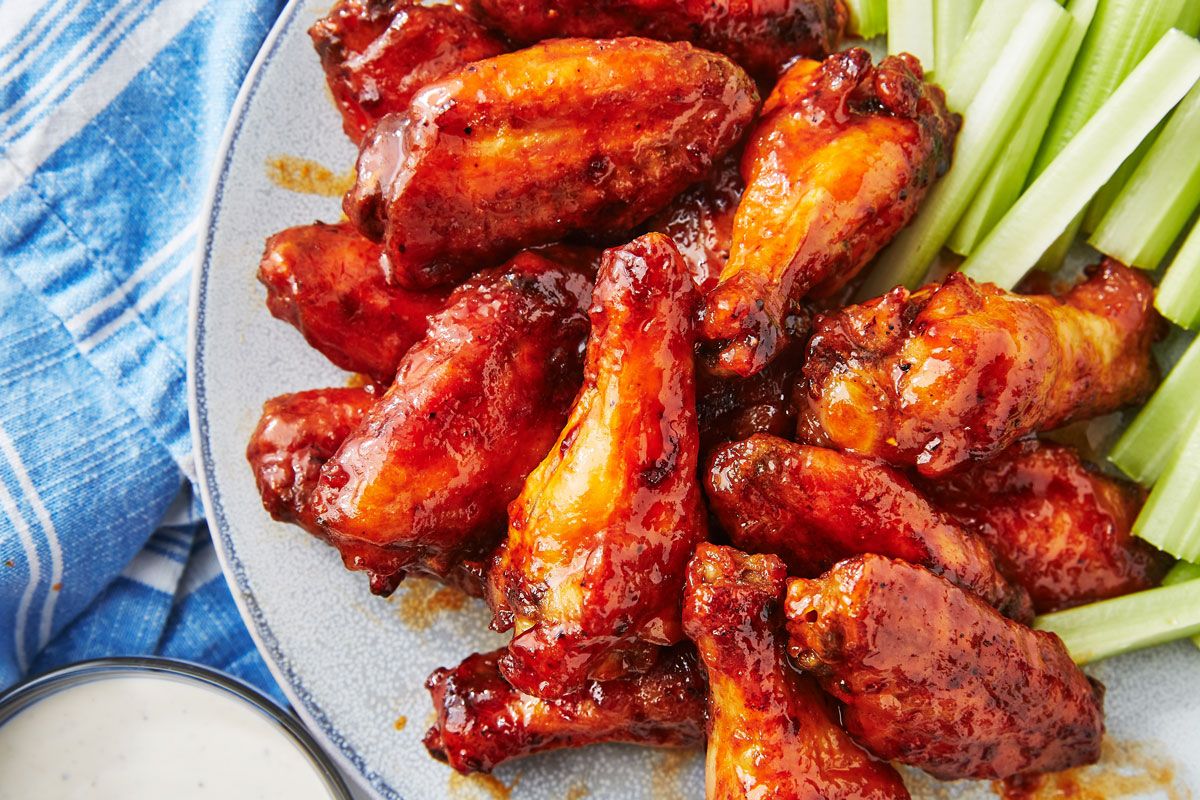
How To Make Homemade Buffalo Wings
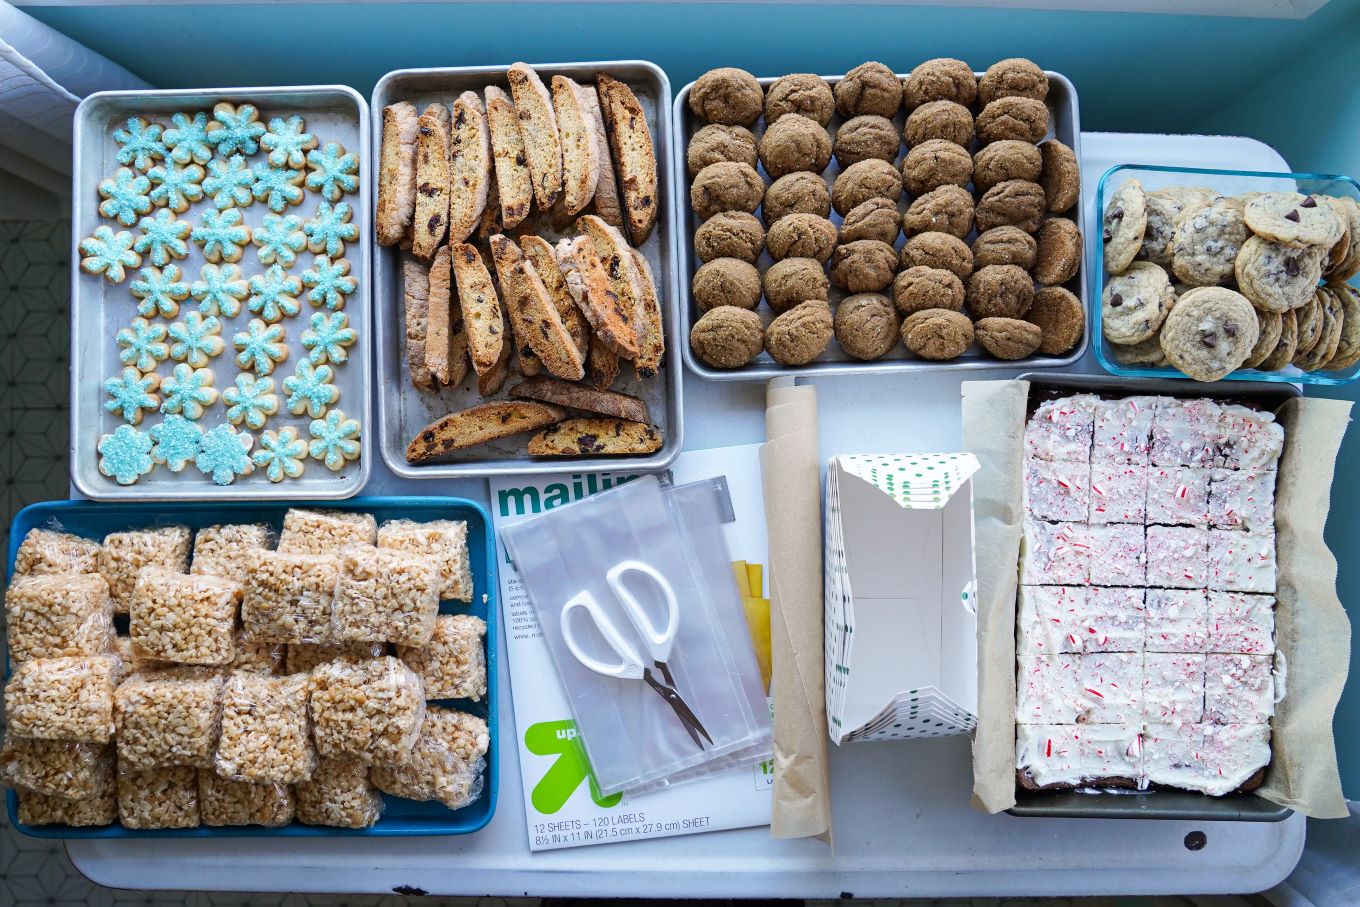
How To Pack And Ship Cookies The Right Way
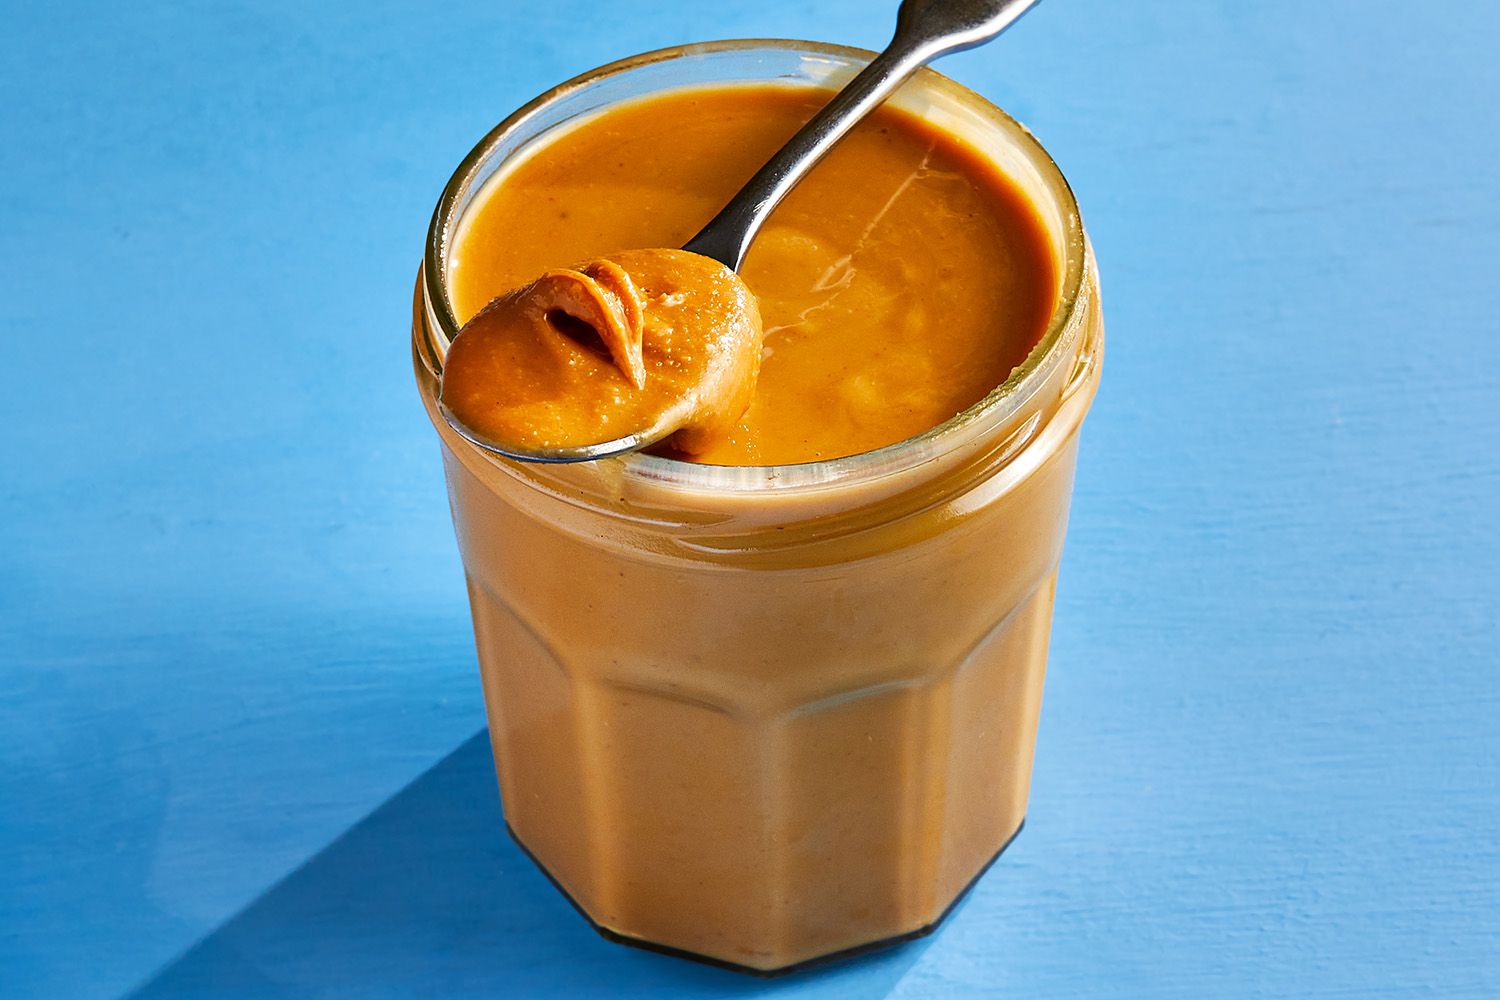
How To Make Homemade Peanut Butter
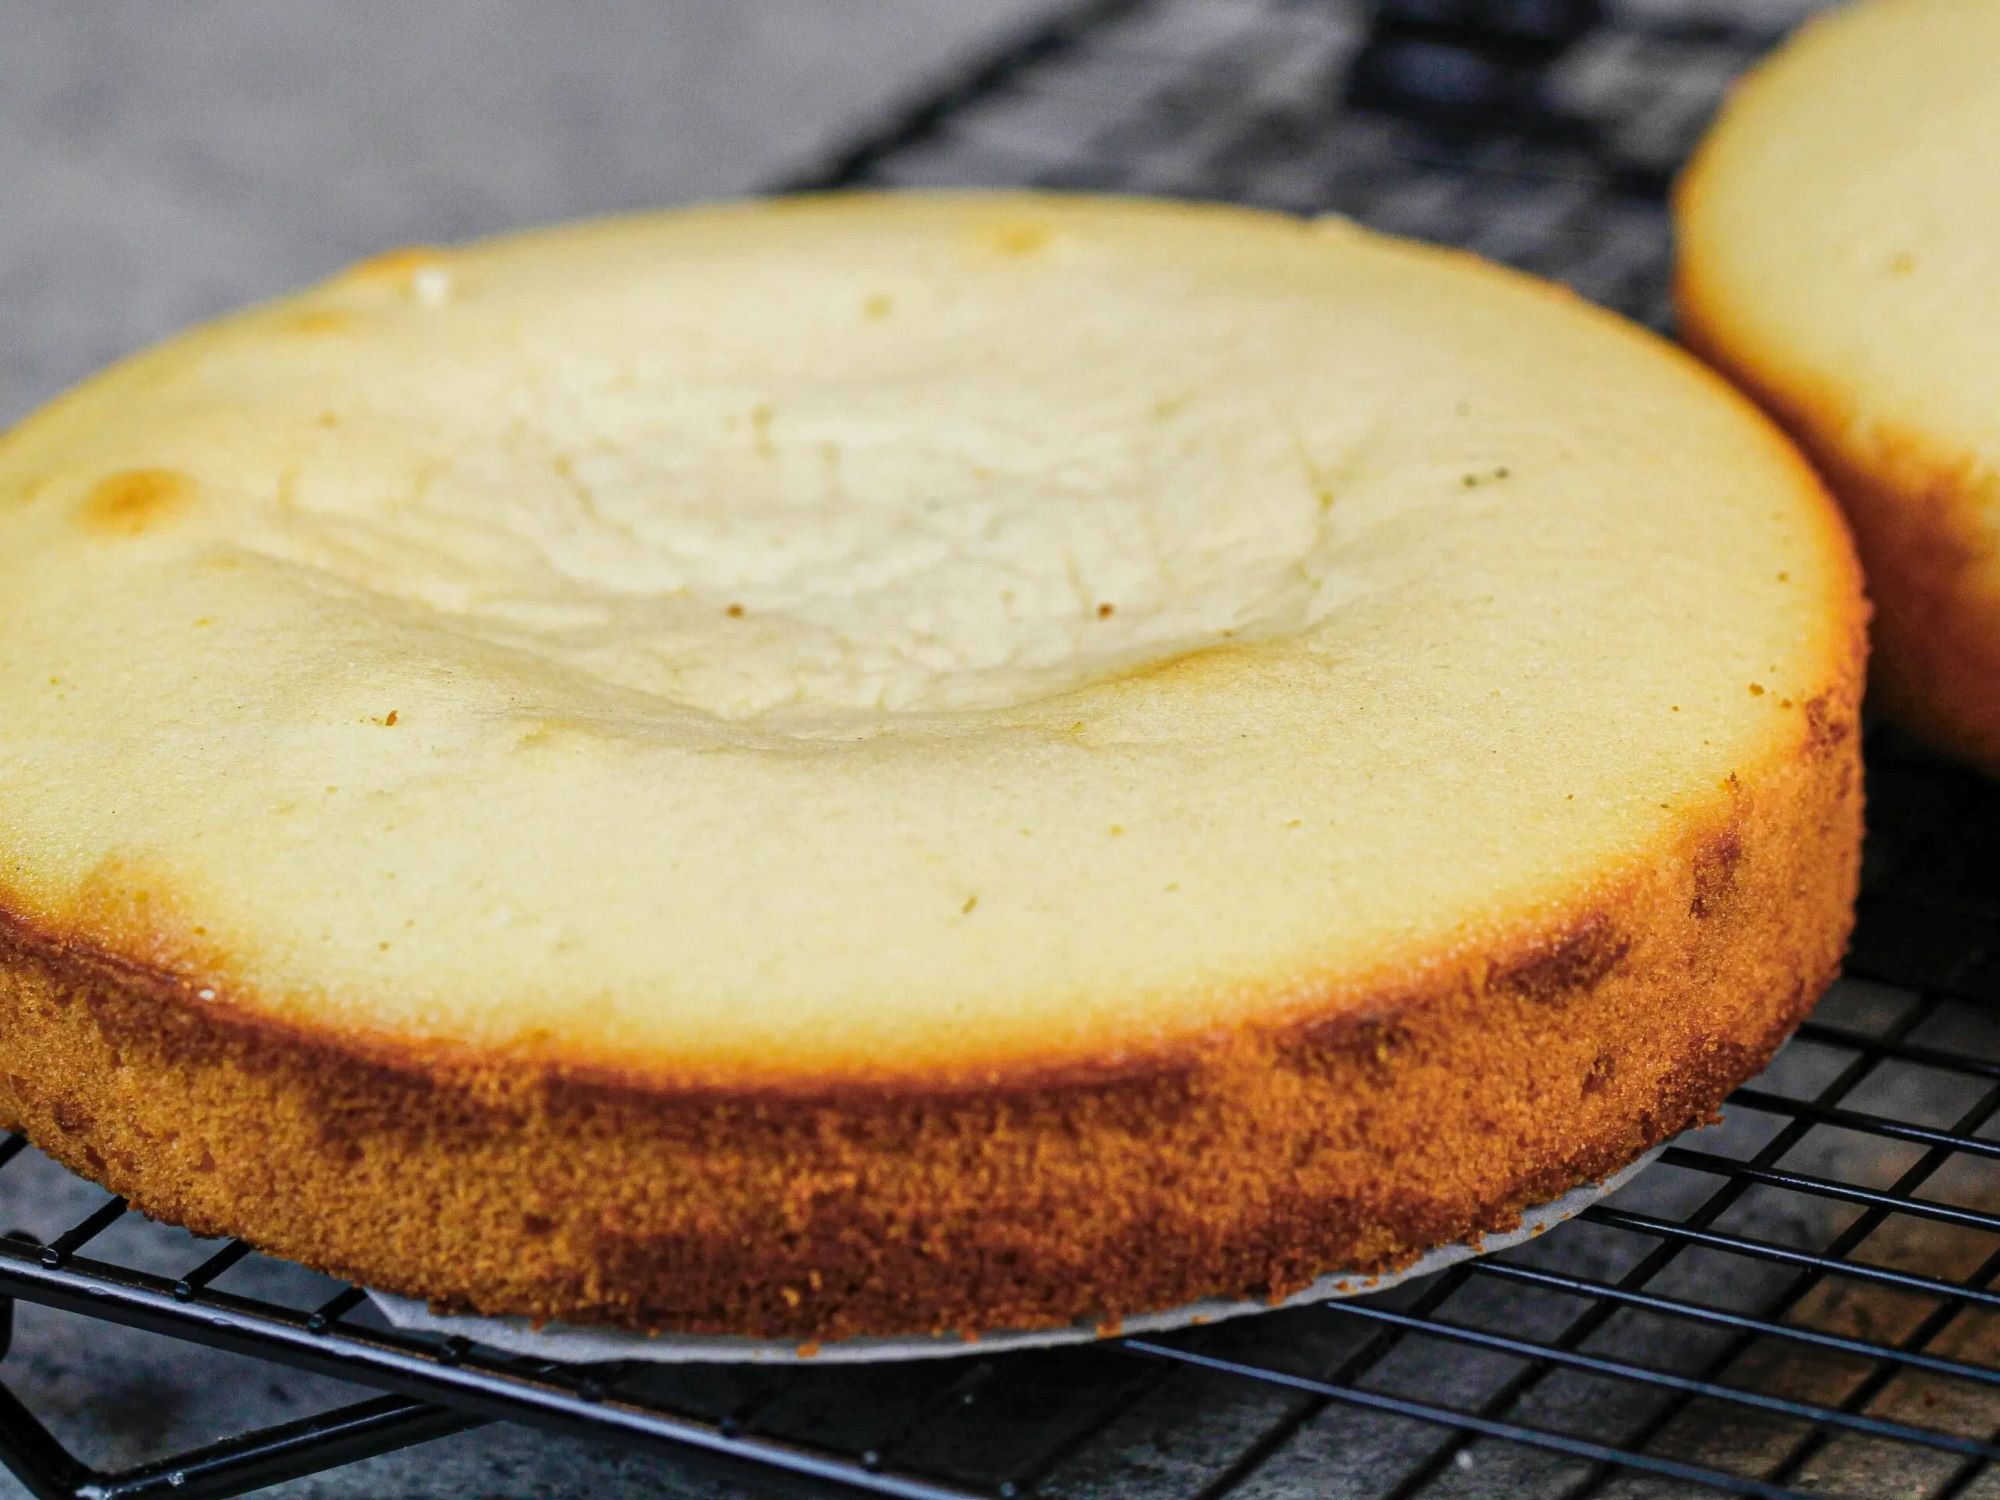
Why Did My Cake Sink In The Middle? (And How To Fix It)