Mastering the Art of Kneading Dough in a Stand Mixer
For many bakers, kneading dough is an essential step in the bread-making process. While some prefer to knead by hand, using a stand mixer can save time and effort, making the process more efficient. If you’re new to using a stand mixer for kneading dough, or if you’re looking to improve your technique, we’ve got you covered. In this guide, we’ll walk you through the steps to knead dough in a stand mixer like a pro.
Choosing the Right Equipment
Before diving into the kneading process, it’s important to ensure that you have the right equipment on hand. Here’s what you’ll need:
- Stand Mixer: Look for a stand mixer with a dough hook attachment, specifically designed for kneading dough.
- Measuring Cups and Spoons: Accurately measuring your ingredients is crucial for successful dough kneading.
- Ingredients: Depending on the recipe, you’ll need flour, water, yeast, salt, and any other specific ingredients for your dough.
Preparing the Dough
Once you have your equipment and ingredients ready, it’s time to prepare the dough for kneading. Follow these steps:
- Measure Ingredients: Measure out the required amount of flour, water, yeast, and salt according to your recipe.
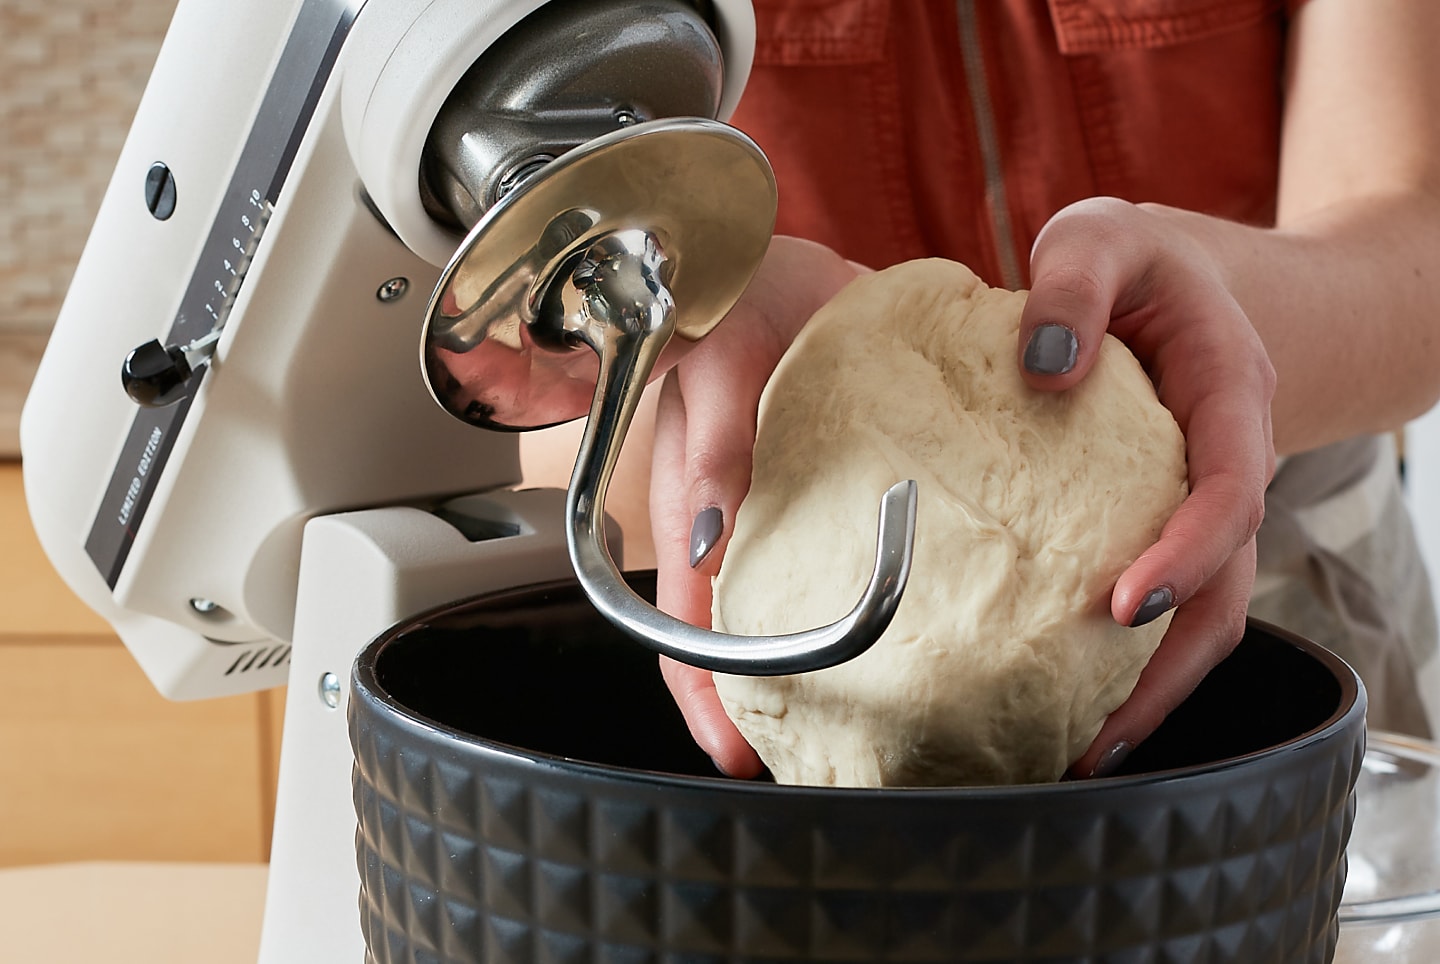
- Attach the Dough Hook: Secure the dough hook attachment to your stand mixer.
- Combine Ingredients: Place the ingredients in the mixing bowl of the stand mixer and set it to the recommended speed for kneading dough.
Kneading the Dough
Now that your dough is prepared, it’s time to start the kneading process. Follow these steps for optimal results:
- Start the Mixer: Turn on the stand mixer and let it run at the specified speed for kneading dough.
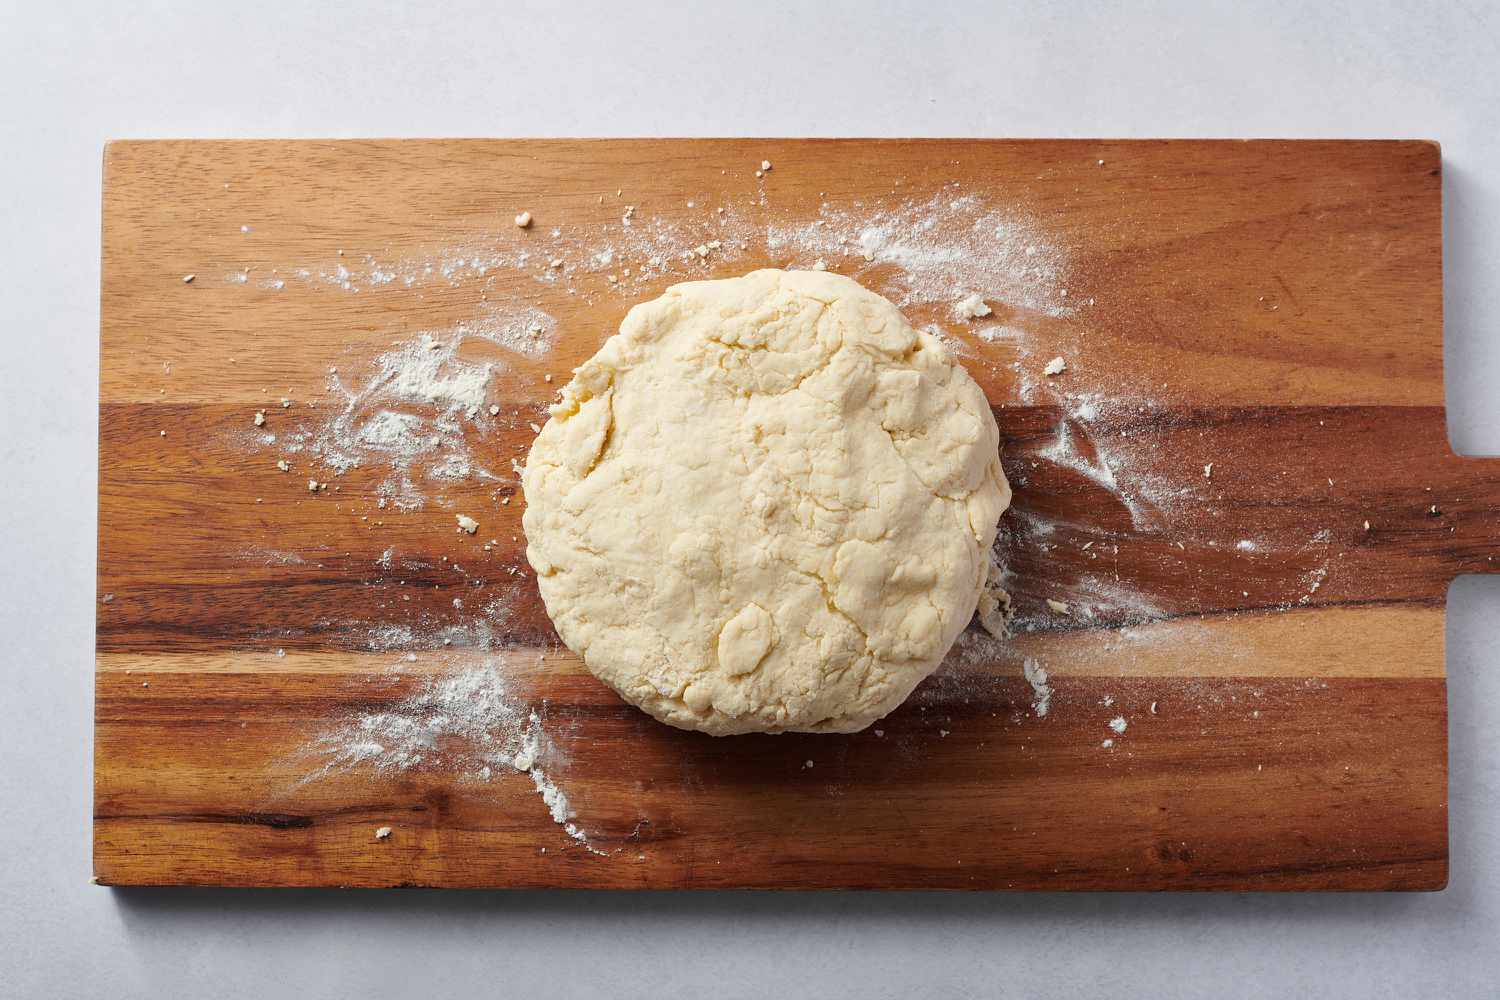
- Monitor the Consistency: Keep an eye on the dough as it kneads. It should come together to form a smooth, elastic ball. If the dough is too dry, add a small amount of water. If it’s too wet, add a bit more flour.
- Knead for the Recommended Time: Most recipes will specify the recommended kneading time. Follow these guidelines to ensure that the dough is properly kneaded.
Checking the Dough
Once the recommended kneading time is up, it’s important to check the dough to ensure that it’s ready for the next steps in your recipe. Here’s what to look for:
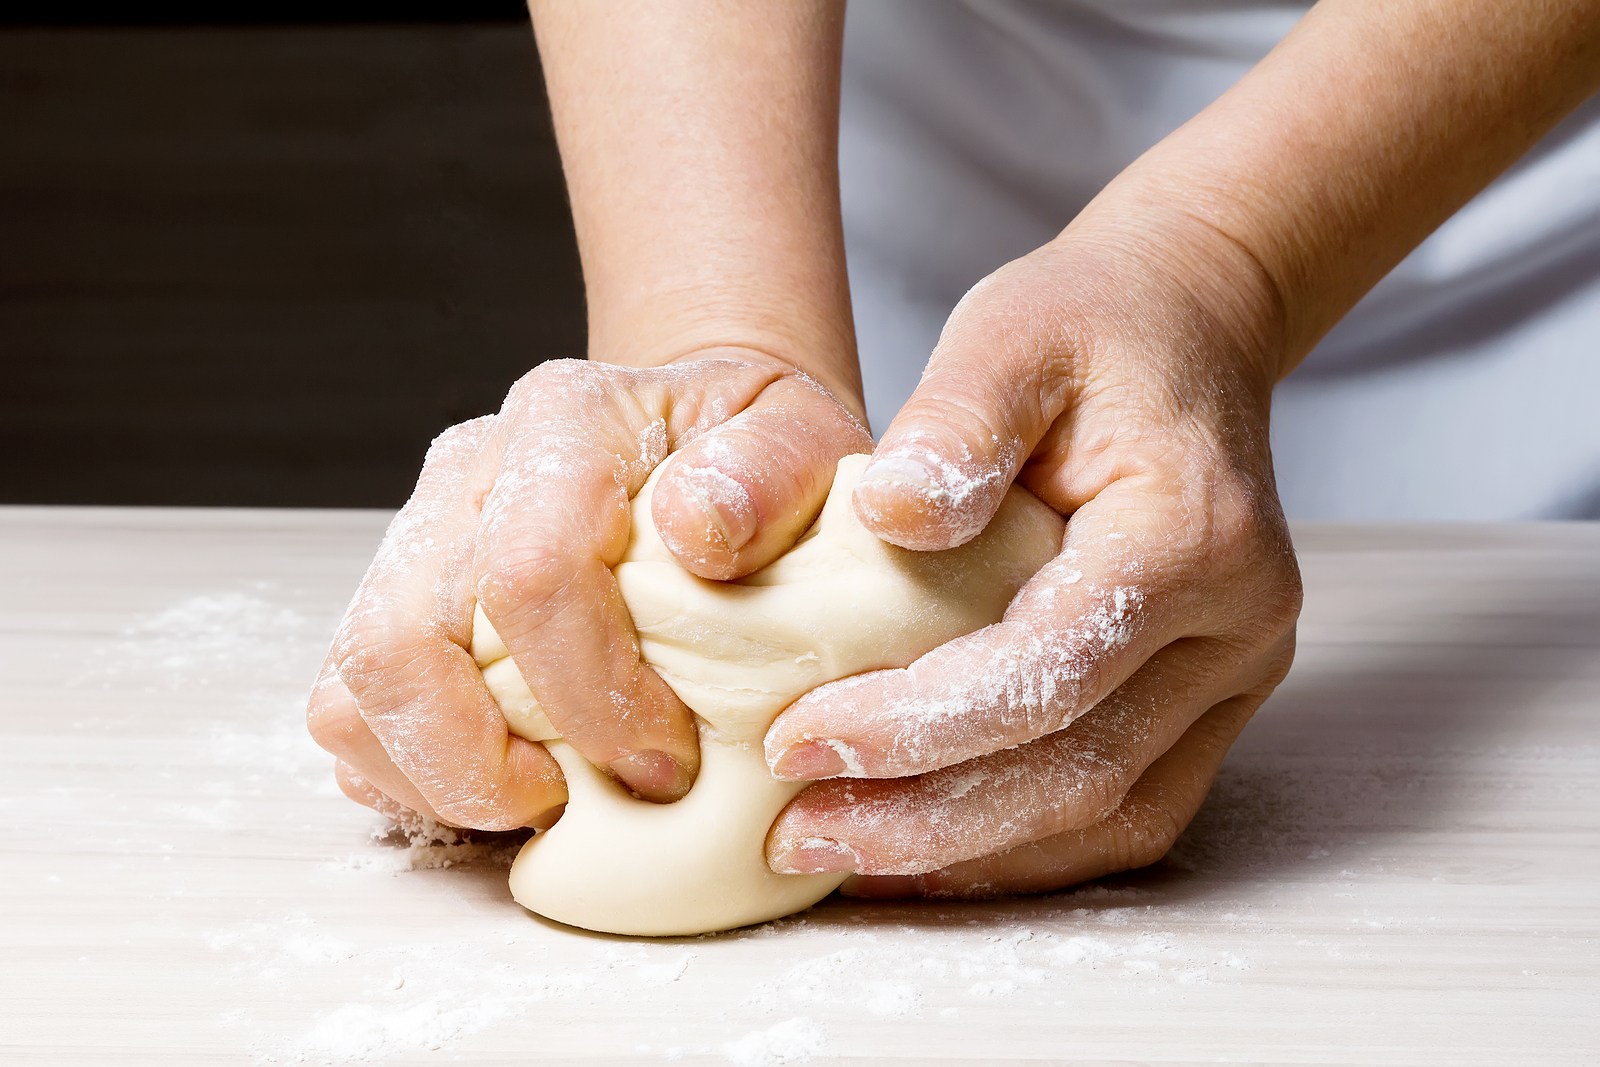
- Smooth Texture: The dough should have a smooth, elastic texture and should be able to stretch without tearing.
- Windowpane Test: To check for proper gluten development, perform the windowpane test by gently stretching a small piece of dough. It should form a thin, translucent membrane without tearing.
Final Thoughts
Mastering the art of kneading dough in a stand mixer takes practice and attention to detail. By following these steps and paying close attention to the texture and consistency of your dough, you’ll be well on your way to creating delicious breads and baked goods with perfectly kneaded dough. With time and experience, you’ll develop a keen instinct for knowing when the dough is just right. Happy baking!
With your newfound skills in kneading dough using a stand mixer, there are several recipes you might want to dive into. For a wholesome start, try the Whole Wheat Bread, which offers a nutty flavor and hearty texture. If you're in the mood for something indulgent, the Cinnamon Rolls are a perfect choice, providing gooey, sweet satisfaction. For those who love artisanal bread, Sourdough Bread lets you practice your patience and technique to achieve that perfect tangy crust. If you enjoy savory snacks, Pretzels offer a fun twist with their unique shape and chewy texture. Lastly, the Homemade Pizza Dough is a versatile option, allowing you to create a variety of pizzas tailored to your taste. Each of these recipes will give you a chance to perfect your kneading technique and enjoy delicious homemade bread products.
