Grinding Pumpkin Seeds for Flour: A Step-by-Step Guide
Are you looking to add a nutritious punch to your baking recipes? If so, grinding pumpkin seeds into flour is a fantastic way to boost the nutritional value of your favorite dishes. Not only is pumpkin seed flour gluten-free, but it also adds a delightful nutty flavor to your baked goods. In this guide, we’ll walk you through the process of grinding pumpkin seeds for flour, so you can elevate your culinary creations with this wholesome ingredient.
Step 1: Selecting the Right Pumpkin Seeds
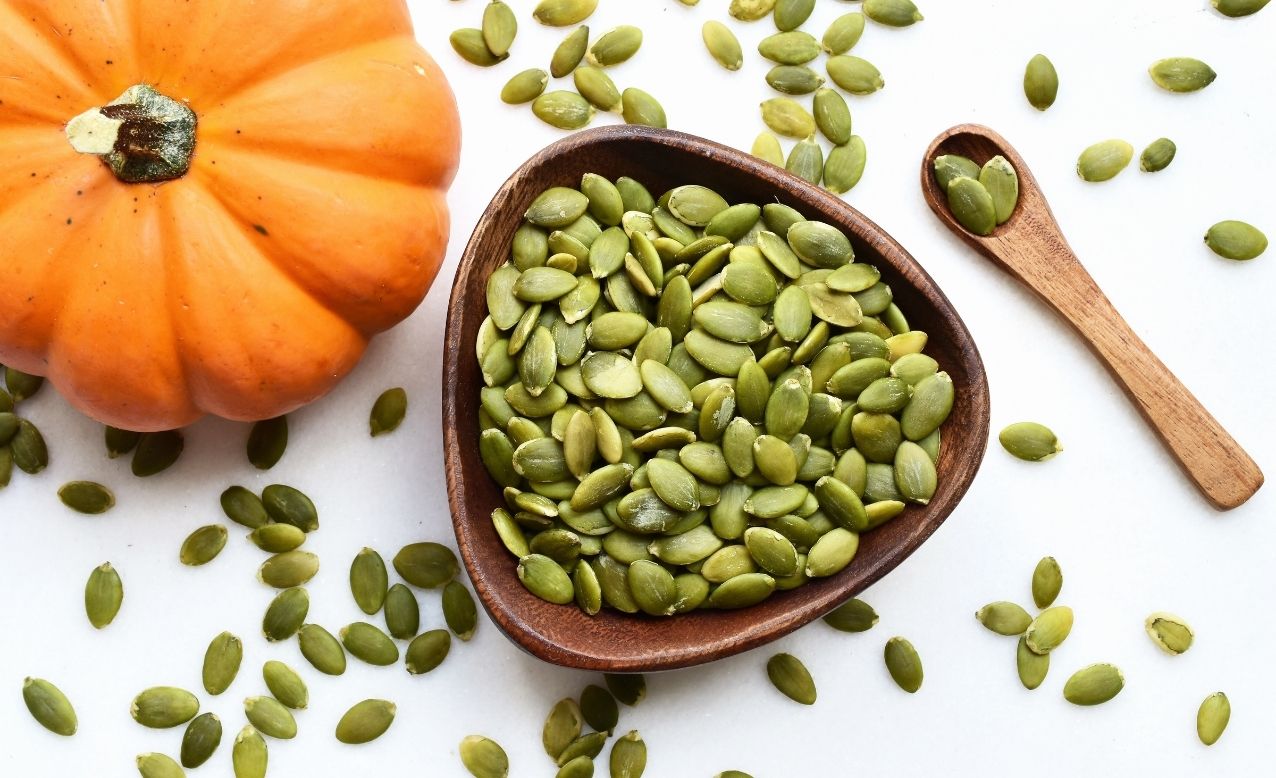
When it comes to making pumpkin seed flour, it’s crucial to start with high-quality seeds. Look for raw, shelled pumpkin seeds that are fresh and free from any signs of spoilage. Organic pumpkin seeds are an excellent choice if you want to ensure that your flour is free from pesticides and other harmful chemicals.
Step 2: Roasting the Seeds (optional)
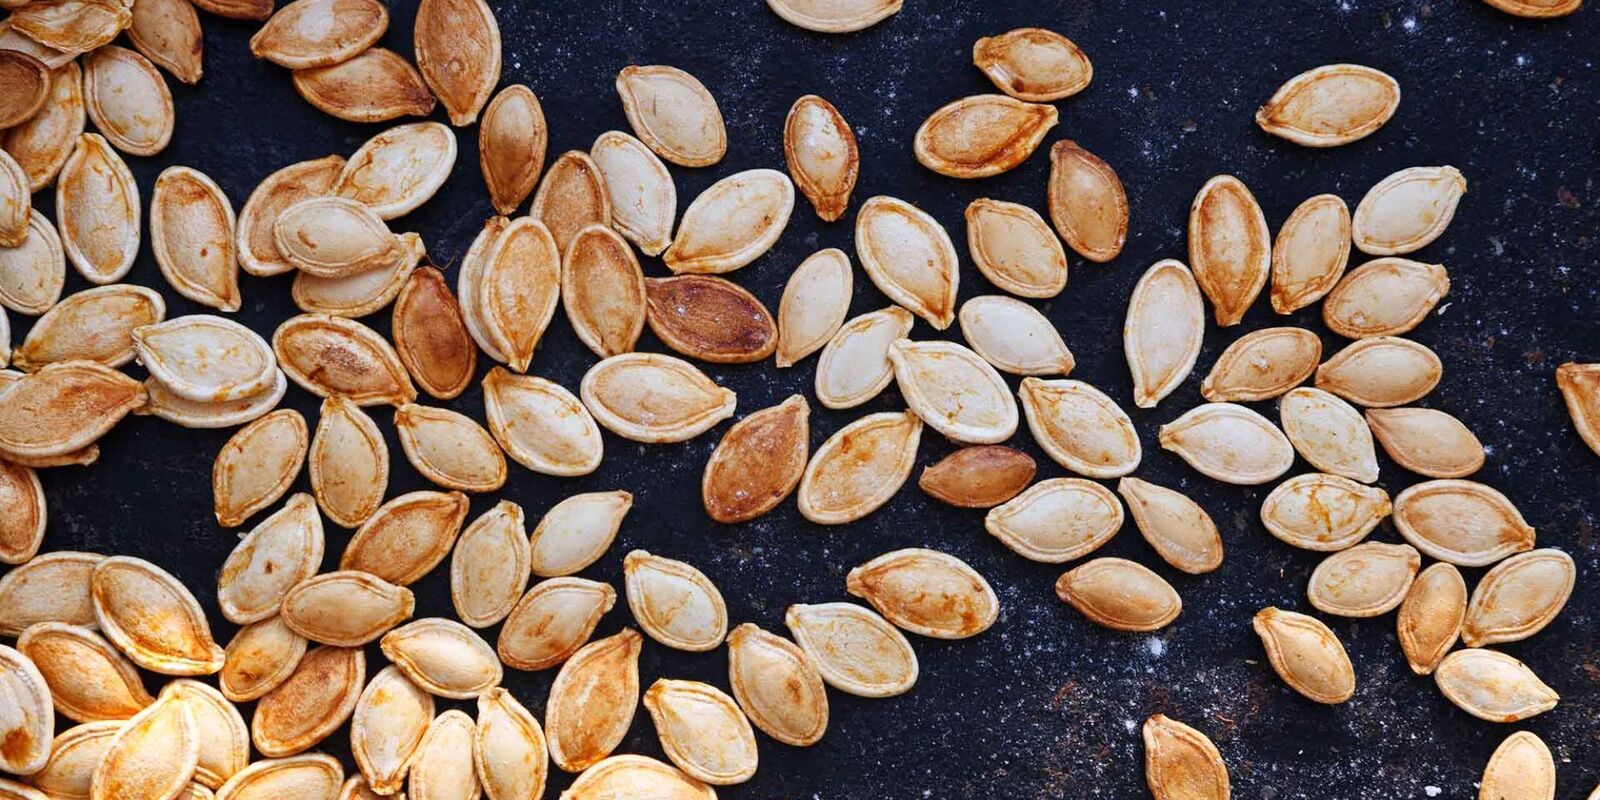
While this step is optional, many people prefer to roast the pumpkin seeds before grinding them. Roasting can enhance the flavor and aroma of the seeds, resulting in a richer, more complex flour. To roast the seeds, simply spread them out on a baking sheet and bake them in a preheated oven at 300°F for about 15-20 minutes, or until they turn golden brown. Allow the roasted seeds to cool completely before proceeding to the next step.
Step 3: Grinding the Seeds
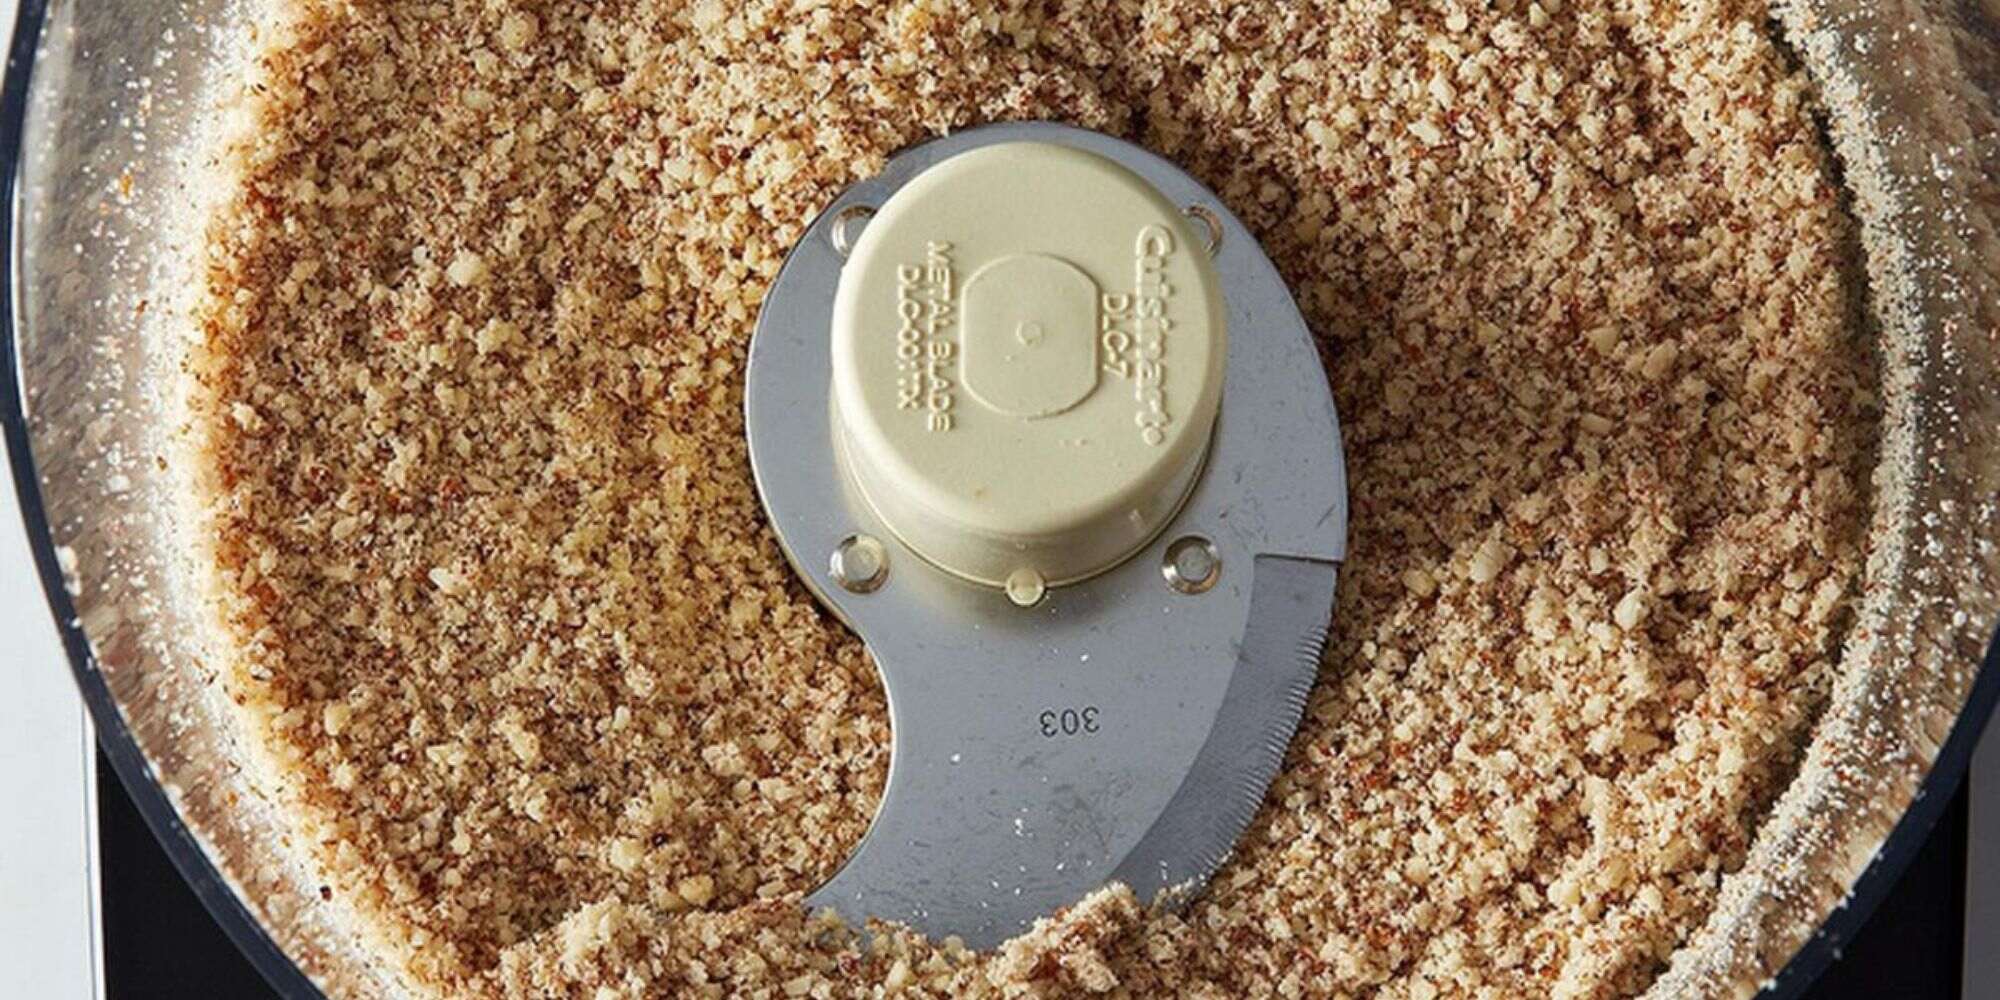
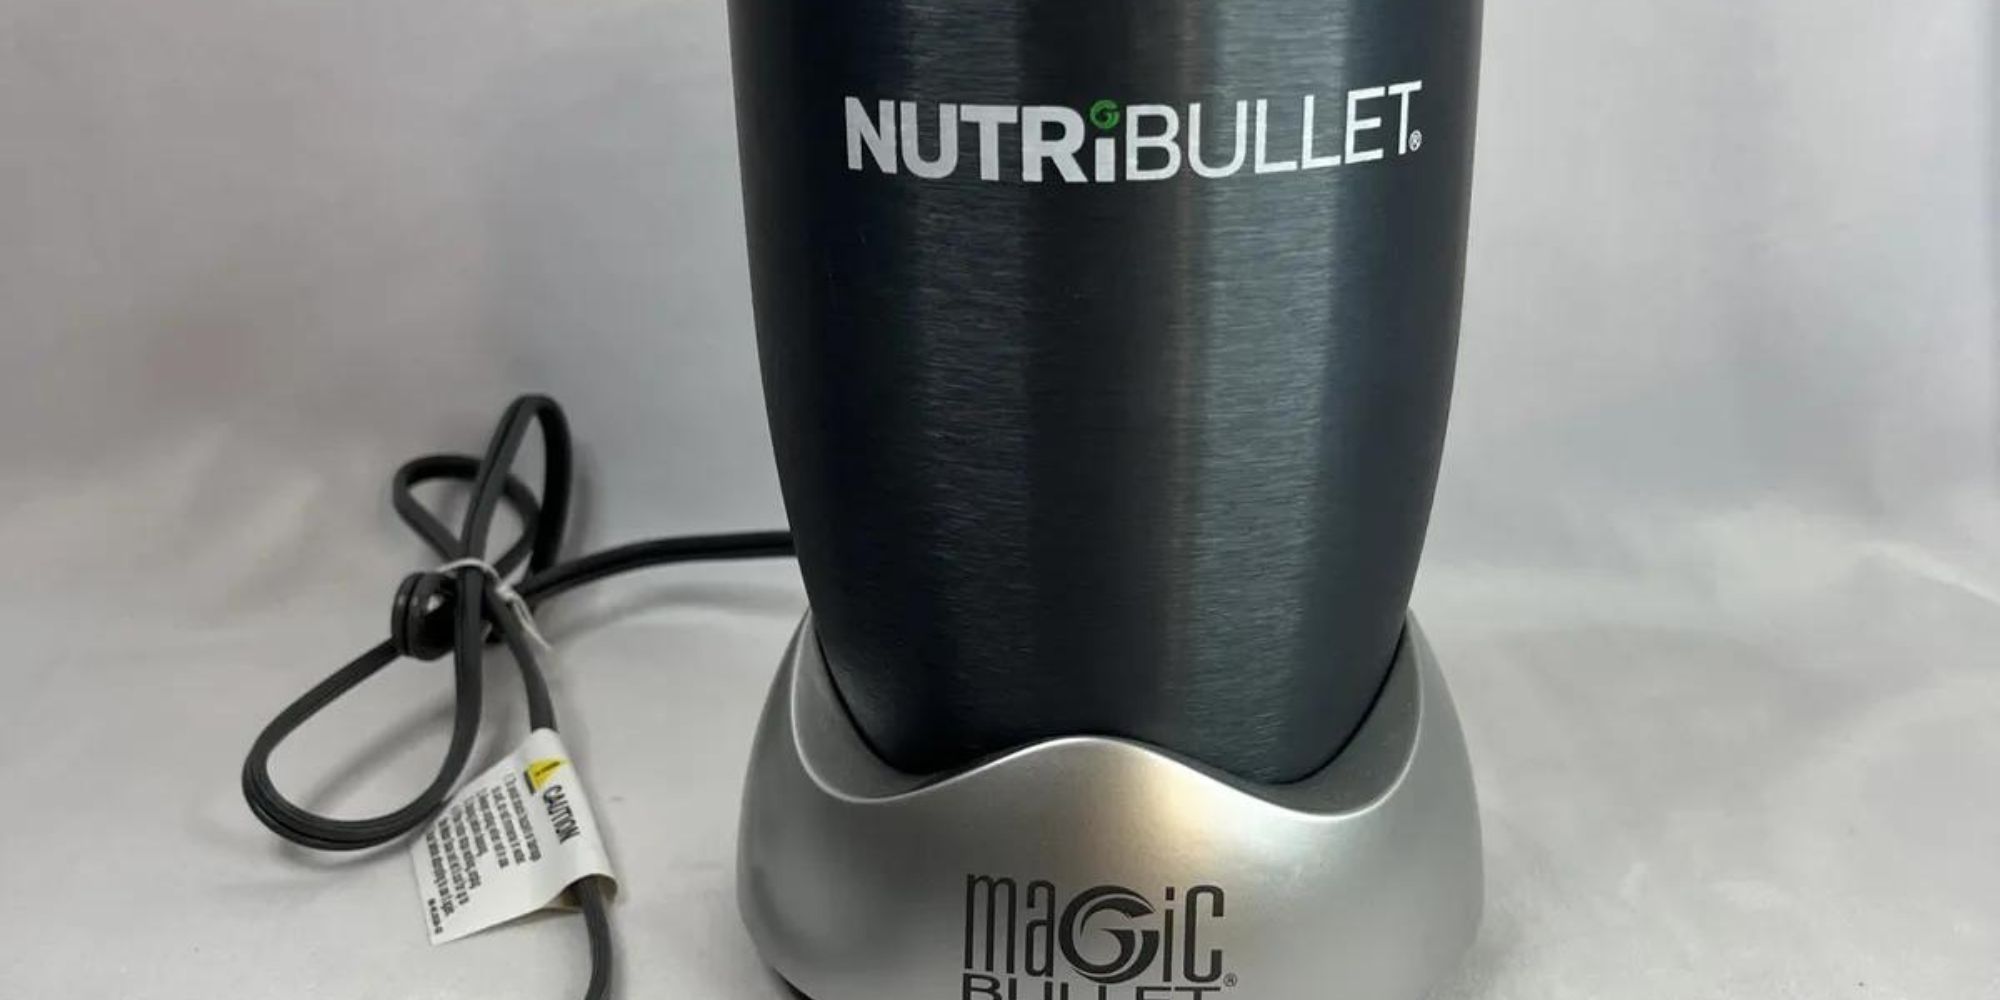
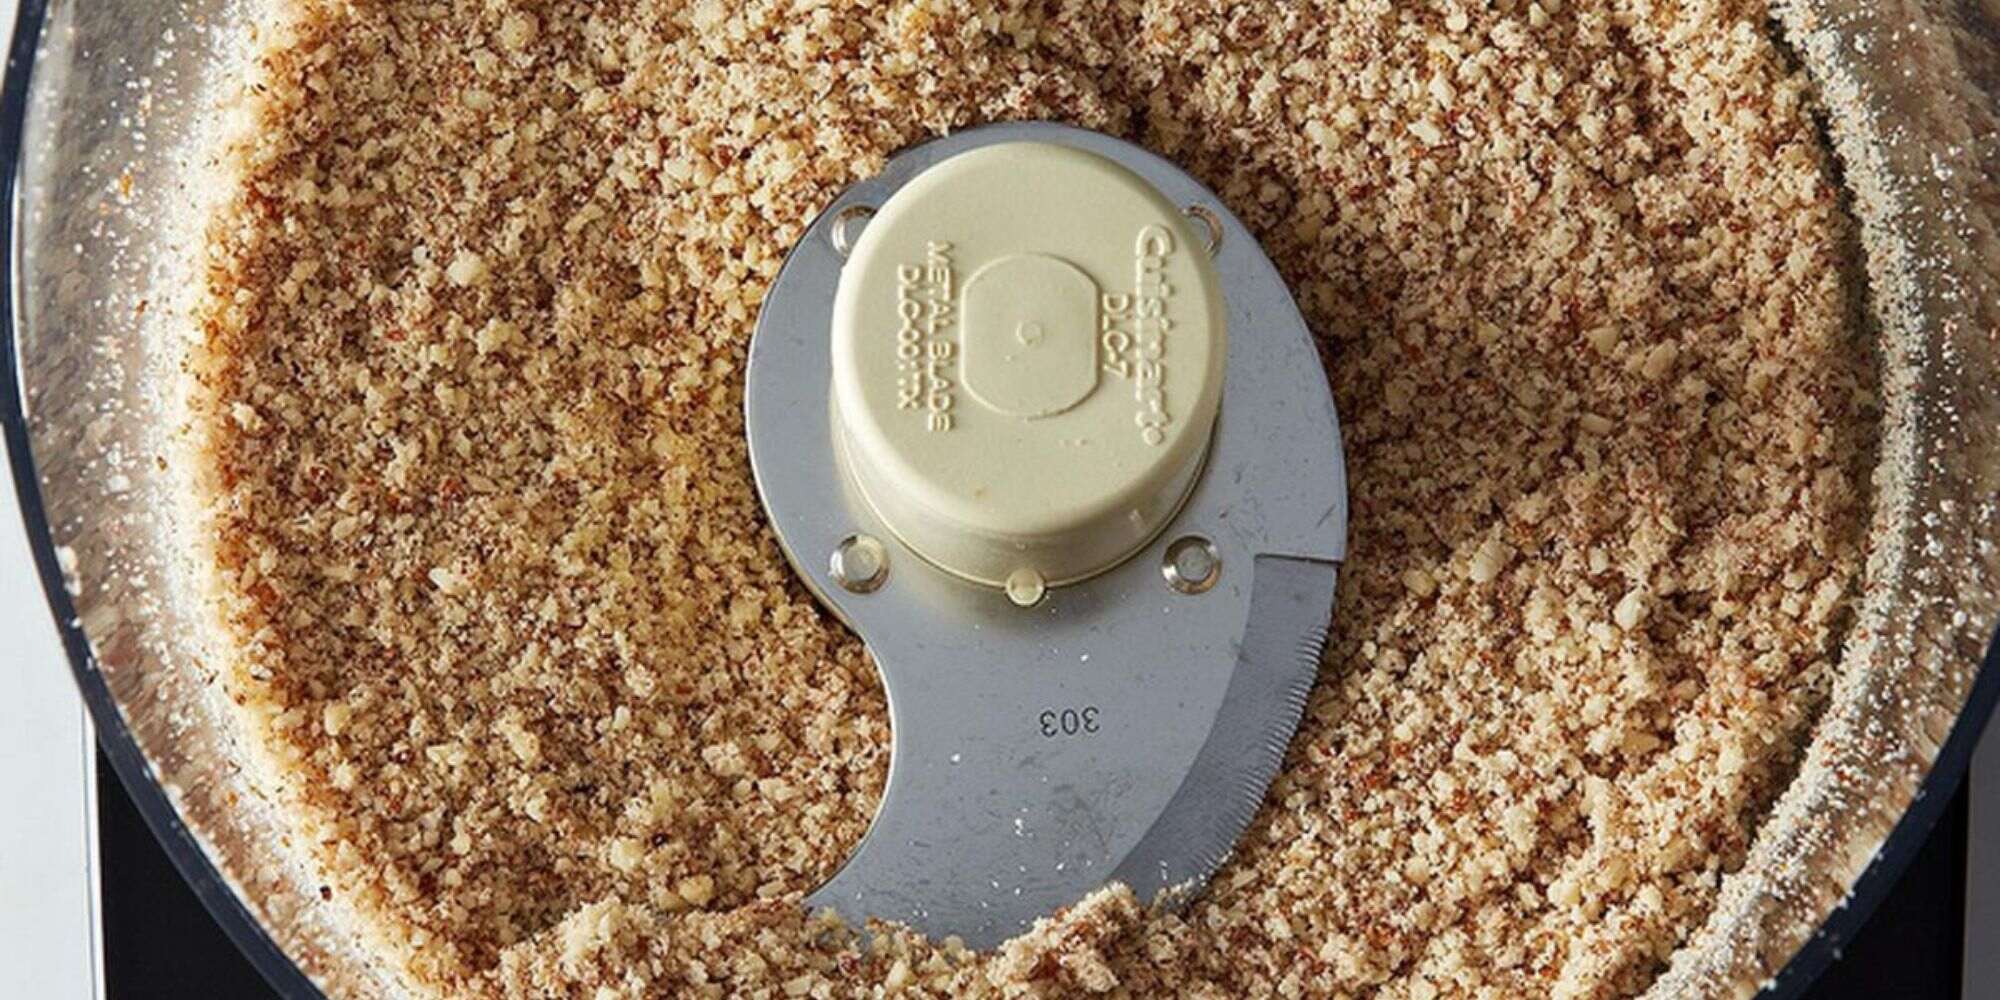
Now it’s time to transform the pumpkin seeds into flour. You can use a food processor, a high-speed blender, or a coffee grinder for this purpose. Here’s a simple guide to grinding pumpkin seeds:
- Place the roasted or raw pumpkin seeds in the grinding appliance of your choice.
- Pulse or blend the seeds in short bursts to prevent the appliance from overheating. This will help ensure a consistent, fine texture.
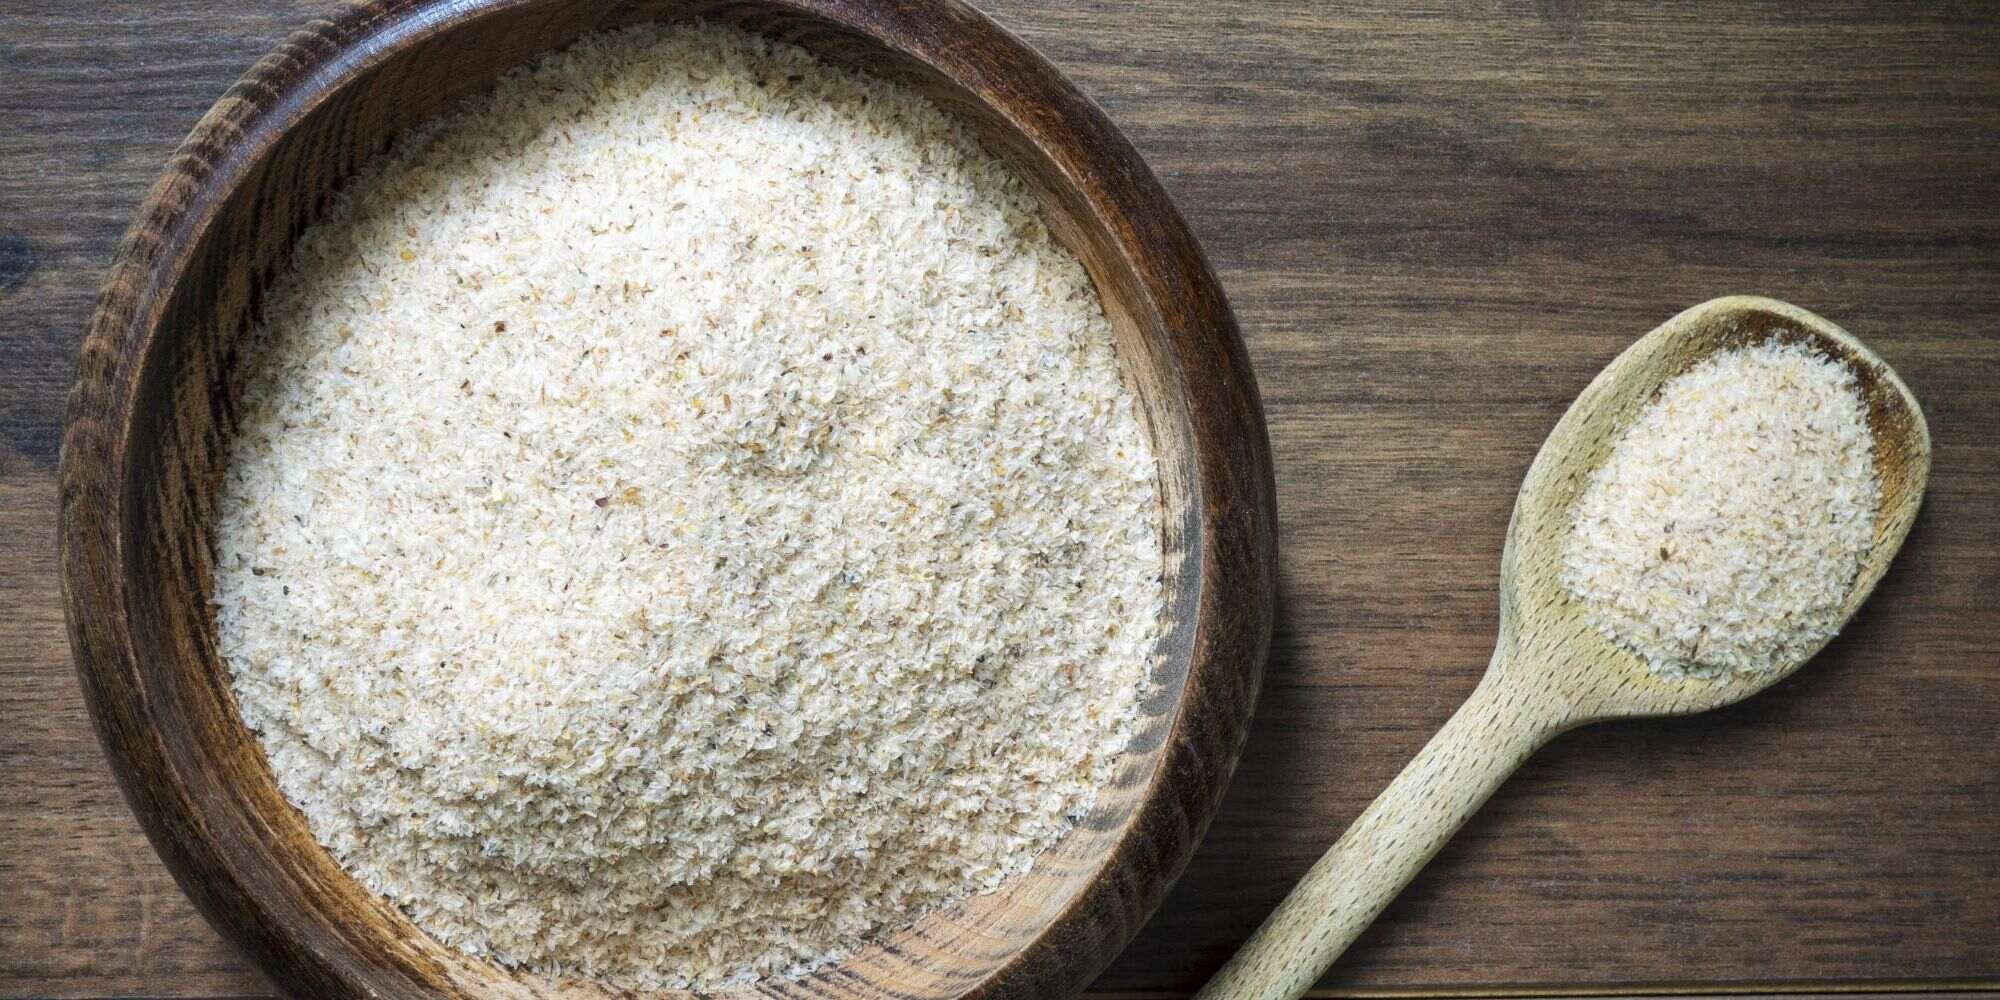
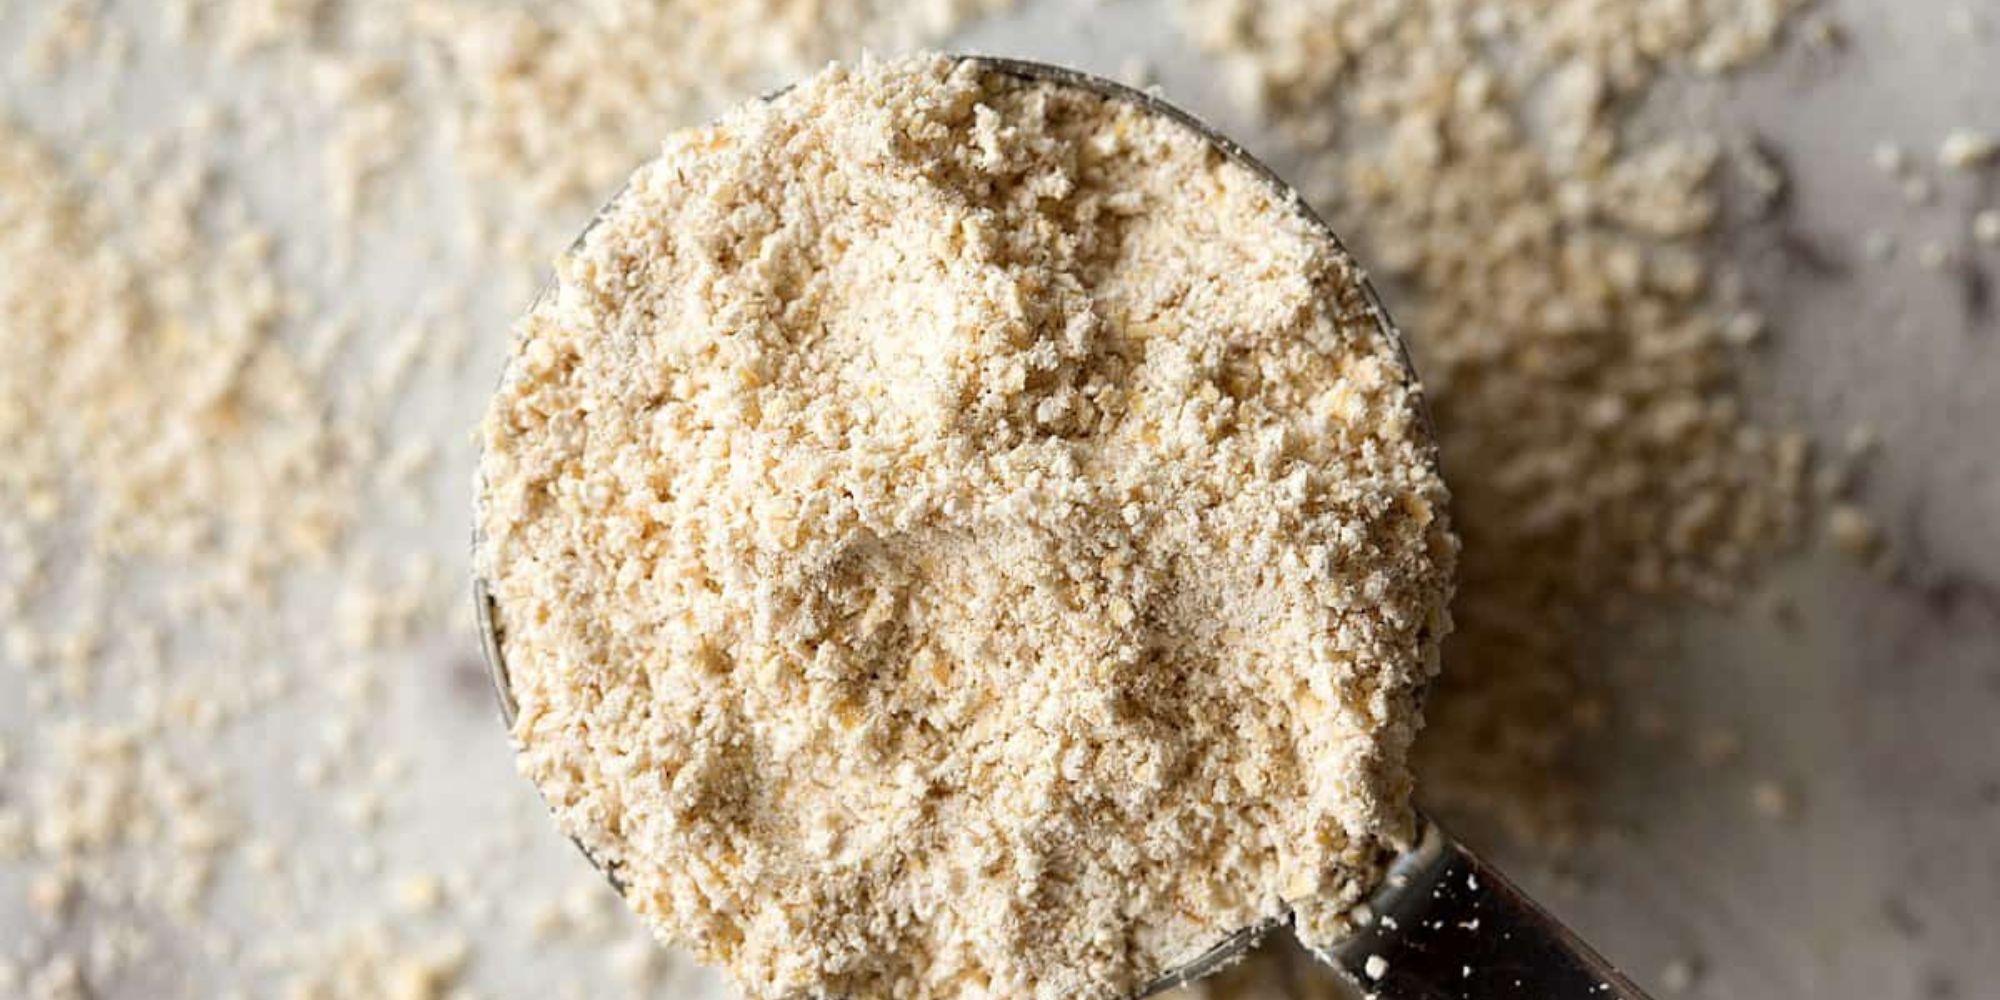
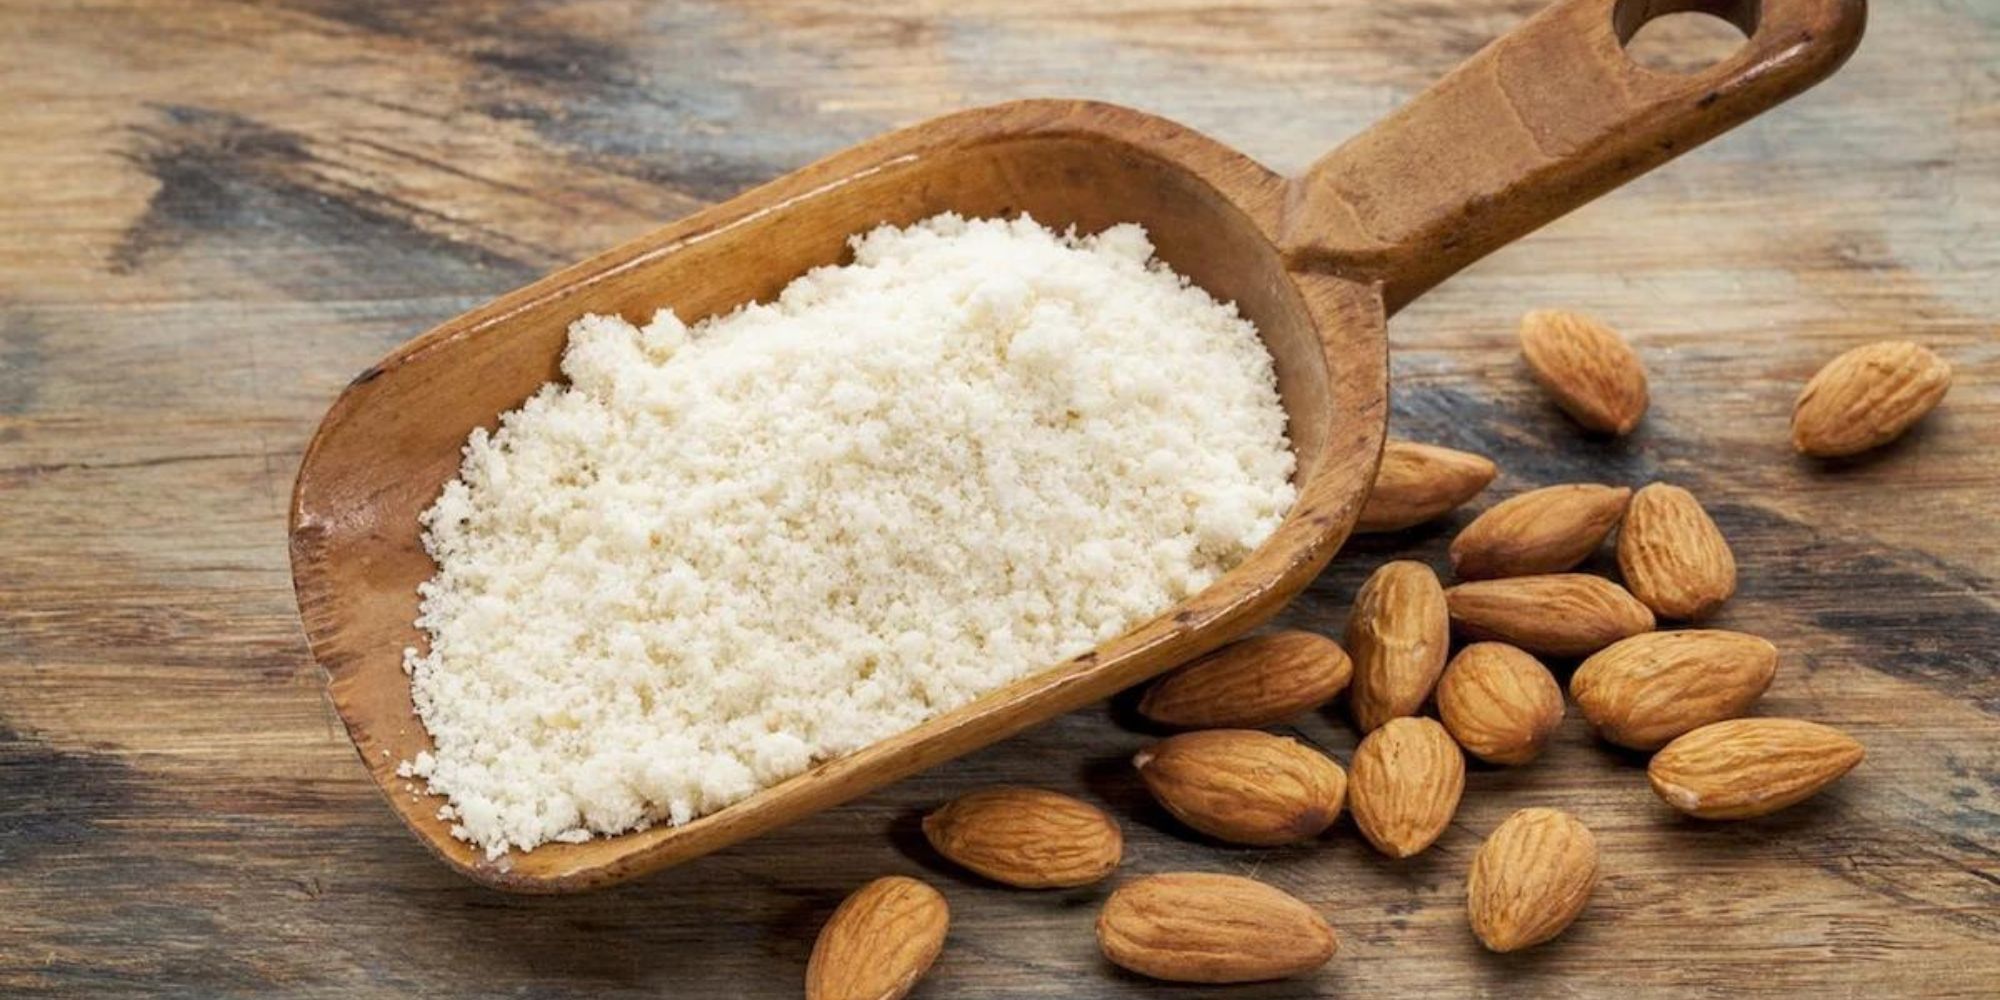
- Continue grinding until the seeds have been transformed into a fine, powdery flour.
If you notice any large pieces remaining, sift the flour through a fine mesh sieve and re-grind the larger pieces as needed.
Step 4: Storing Pumpkin Seed Flour
Once you’ve ground the pumpkin seeds into flour, it’s essential to store it properly to maintain its freshness. Transfer the flour to an airtight container and store it in a cool, dark place, away from direct sunlight and heat. Properly stored, pumpkin seed flour can last for several months without losing its quality.
Using Pumpkin Seed Flour in Recipes
Now that you have a batch of freshly ground pumpkin seed flour, you can start incorporating it into your favorite recipes. From bread and muffins to pancakes and cookies, there are countless ways to use this nutritious flour in your baking endeavors. Not only does pumpkin seed flour add a delightful nutty flavor, but it also provides a healthy dose of essential nutrients, including protein, fiber, and healthy fats.
Whether you’re following a gluten-free diet or simply want to experiment with new and wholesome ingredients, grinding pumpkin seeds for flour is a simple and rewarding process. By following the steps outlined in this guide, you can enjoy the nutritional benefits and delicious flavor of homemade pumpkin seed flour in your culinary creations.
So, why not give it a try and elevate your baking game with this nutrient-packed flour?
For readers eager to experiment with pumpkin seed flour, there are a variety of tasty recipes to try. A standout is the Pumpkin Seed Flour Bread, perfect for those looking for a healthy and gluten-free alternative to traditional bread. Those with a sweet tooth might enjoy the Pumpkin Seed Flour Brownies, which provide a rich, nutty flavor with a healthy twist. For breakfast enthusiasts, Pumpkin Seed Flour Waffles are a must-try, offering a delightful way to start the day. Lastly, Pumpkin Seed Flour Bagels bring a nutritious spin to a classic favorite, ensuring you don’t miss out on the chewy goodness of a traditional bagel. Each of these recipes showcases the versatility of pumpkin seed flour and makes excellent use of the grinding techniques outlined in the article.
