Cutting ahi tuna for sushi is an art that requires precision and understanding of the fish's structure. Ahi tuna, known for its rich flavor and buttery texture, makes for an exquisite sushi ingredient. To start, ensure your tuna is fresh and of sushi-grade quality. You'll need a very sharp knife – a sashimi knife is ideal. The key is to slice against the grain of the fish to achieve that melt-in-your-mouth texture sushi lovers crave. With careful technique, you can transform a beautiful piece of ahi tuna into perfect slices ready to be savored in your homemade sushi creations.
Essential Ingredients for Perfect Sushi-Grade Ahi Tuna
- Fresh Ahi Tuna steak, preferably sashimi grade
- Sharp chef's knife or sashimi knife
- Cutting board
- Paper towels or clean cloth
- Optional: Soy sauce, wasabi, and pickled ginger for serving
Must-Have Tools for Slicing Ahi Tuna
-
Sharp Chef's KnifeEnsures precise, clean cuts without tearing the fish.
-
Cutting BoardPreferably bamboo or plastic, to avoid cross-contamination and preserve knife sharpness.
-
Fish TweezersFor removing any remaining bones from the tuna fillet.
-
Kitchen TowelsKeep everything dry, which aids in handling and cutting the fish.
-
Gloves (optional)For those who prefer not to touch the fish directly, ensuring a better grip.
-
Sushi Mat (optional)Useful if planning to roll sushi after cutting the tuna.
For perfect sushi, slice Ahi tuna against the grain into thin strips. Use a sharp, long knife, ensuring smooth, precise cuts for the best texture and presentation.
The Art of Cutting Ahi Tuna for Sushi
Cutting Ahi tuna for sushi requires precision and understanding of the fish's structure. Sharp knives and proper technique ensure slices are clean, enhancing the sushi's texture and flavor. Mastery in slicing not only respects the ingredient but elevates the dining experience, showcasing the chef's skill and dedication to quality.
Ahi tuna, known for its rich flavor and tender texture, is a favorite among sushi enthusiasts. Preparing it involves identifying the grain of the fish to slice against it, preventing a chewy texture. This careful process highlights the importance of technique in traditional Japanese cuisine, where every detail matters.
Mastering the Cut: A Step-by-Step Guide
-
Select the right knife: For cutting Ahi tuna for sushi, a very sharp, long, and thin blade is essential. A sashimi knife (also known as a Yanagiba) is ideal for this task.
-
Prepare the Ahi tuna: Before slicing, ensure your Ahi tuna is properly chilled, not frozen. This makes it easier to cut clean, precise slices. If it's too soft, consider wrapping it in paper towels and chilling it in the refrigerator for about 30 minutes to firm up.
-
Remove any skin and bones: Start by removing the skin from your Ahi tuna. Place the fish skin-side down on the cutting board. Hold the tail end firmly and slide your knife between the skin and flesh. Move the knife back and forth gently, pulling the skin away with your other hand. Check for and remove any bones.
-
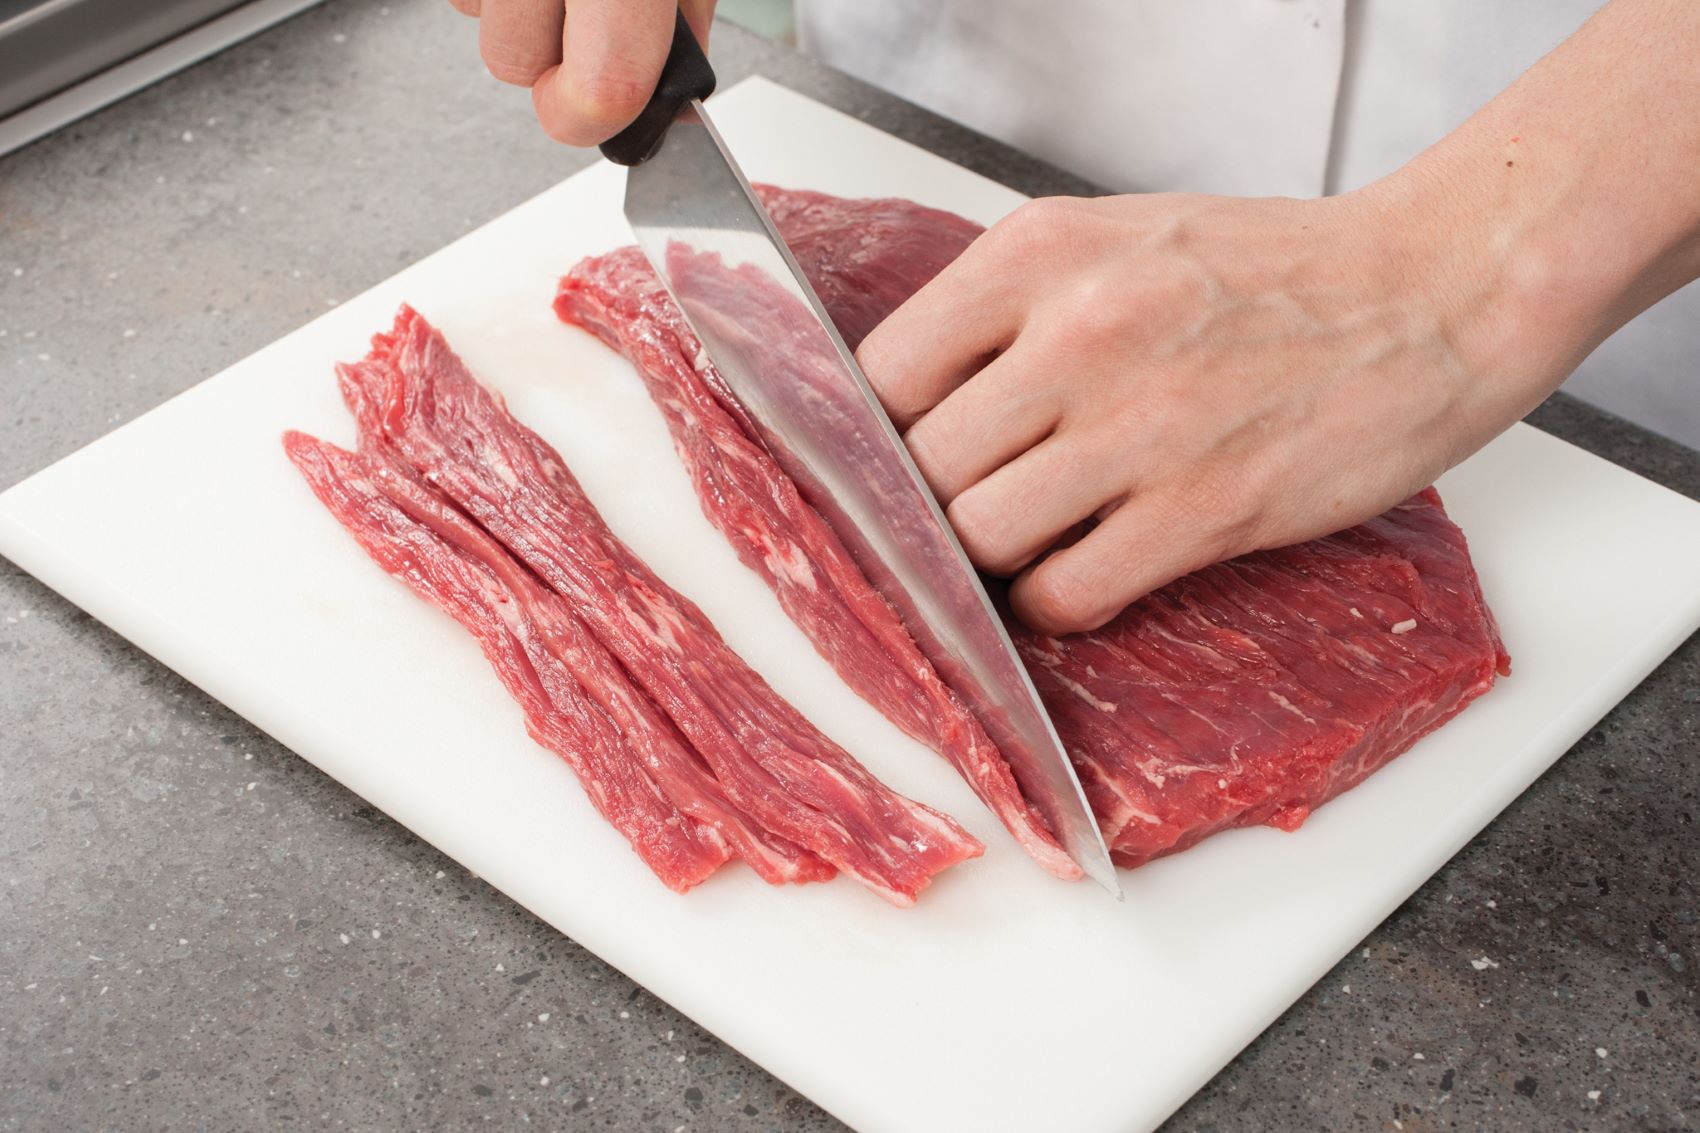
Cut against the grain: Look closely at your Ahi tuna steak to identify the direction of the muscle fibers. This is what chefs refer to as the "grain." To achieve the best texture for sushi, slice the tuna perpendicular to these fibers. This method ensures each piece is tender rather than chewy.
-
Slice with confidence: Hold the knife at a 45-degree angle to the cutting board. This angle helps in achieving those aesthetically pleasing, thin slices that are perfect for sushi. Use a single, smooth motion to cut, pulling the knife towards you. Avoid sawing back and forth as this can tear the flesh and ruin the presentation.
-
Thickness of slices: For Nigiri sushi, aim for slices about 1/4 inch thick. If you're preparing sashimi, slightly thicker slices, around 1/3 inch, are preferable. Consistency is key, so try to make all slices the same thickness.
-
Keep your knife clean: After every few slices, wipe your knife clean with a damp cloth. This prevents the tuna from sticking to the knife and ensures clean cuts. A clean knife also glides through the fish more smoothly.
-
Store properly: If not using the sliced Ahi tuna immediately, cover it with plastic wrap and keep it chilled. This helps in maintaining its freshness and color until you're ready to serve.
-
Practice makes perfect: Cutting Ahi tuna for sushi is an art that requires practice. Don't be discouraged if your first attempts aren't perfect. With time and patience, your slicing skills will improve.
Mastering the Art of Ahi Tuna Preparation
Cutting ahi tuna for sushi isn't just about having the right tools; it's about understanding the texture and grain of the fish. With a sharp knife and a bit of practice, you'll be slicing perfect pieces for your sushi creations in no time. Remember, the key is to slice against the grain for that melt-in-your-mouth experience. Keep your slices even and take your time to ensure each piece is as beautiful as it is delicious. Whether you're making sashimi, nigiri, or sushi rolls, mastering the cut of ahi tuna elevates your dish to a professional level. So, grab your knife, steady your hand, and let the beauty of ahi tuna shine in your next sushi adventure.
For anyone eager to use their newfound skill in cutting ahi tuna for sushi, there are plenty of exciting recipes to try. The Spicy Tuna Roll Recipe offers a flavorful kick that's sure to impress. For a lighter option, the Seared Ahi Tuna Salad Recipe combines fresh greens with perfectly seared tuna. Those who love raw preparations should definitely experiment with the Ahi Tuna Tartare Recipe, which highlights the fish's delicate texture. For a more traditional approach, the Classic Ahi Tuna Sashimi Recipe is a must-try, showcasing the pure flavor of the tuna. These recipes not only allow you to practice your cutting skills but also let you enjoy ahi tuna in a variety of delicious forms.
All Your Questions Answered About Cutting Ahi Tuna
How do I choose the right Ahi tuna for sushi?
Look for Ahi tuna that's bright in color, firm to the touch, and doesn't have a fishy smell. Freshness is key, so if possible, opt for tuna that was caught recently. Sushi-grade is a term often used to indicate quality, but it's not regulated, so trust your senses and the reputation of your fishmonger.
What's the best way to cut Ahi tuna for sushi?
First, you'll want to remove any skin and bones. Then, identify the grain of the fish—this is the direction the muscle fibers run. For the most tender bites, slice perpendicular to the grain in smooth, long strokes using a very sharp knife. Thickness can vary based on preference, but generally, slices should be about 1/4 inch thick.
Can I cut Ahi tuna ahead of time before serving?
Sure, you can cut Ahi tuna a few hours in advance. Just make sure to cover it tightly with plastic wrap and store it in the coldest part of your fridge. This helps maintain its freshness and texture. However, for the best taste and texture, slicing it just before serving is ideal.
What type of knife should I use?
A sharp, long-bladed knife is crucial. Sushi chefs typically use a sashimi knife, known as a Yanagiba, which is designed for slicing raw fish. Its sharp edge and long blade allow for precise, clean cuts without tearing the fish.
How do I keep the Ahi tuna from sticking to the knife?
Moistening the blade with water or a mixture of water and rice vinegar can help prevent sticking. Wiping the knife clean between slices also ensures smoother cuts and keeps the fish from tearing.
Is there a difference in cutting technique for nigiri versus sashimi?
Yes, there is. For nigiri, you'll want slightly thicker, shorter slices since they'll be draped over a ball of rice. For sashimi, longer, thinner slices are preferred to highlight the fish's texture and flavor. Both styles require a smooth, single slicing motion to avoid damaging the fish's delicate structure.
Any tips for beginners trying to cut Ahi tuna for sushi at home?
Practice makes perfect. Start with a very sharp knife and don't rush the process. Focus on maintaining consistent thickness and smooth slicing motions. Watching tutorials or taking a class can also be incredibly helpful for visual learners. Remember, even professional sushi chefs spent years perfecting their technique, so be patient with yourself.
Was this page helpful?
Read Next: How To Cut Veggies For Sushi

