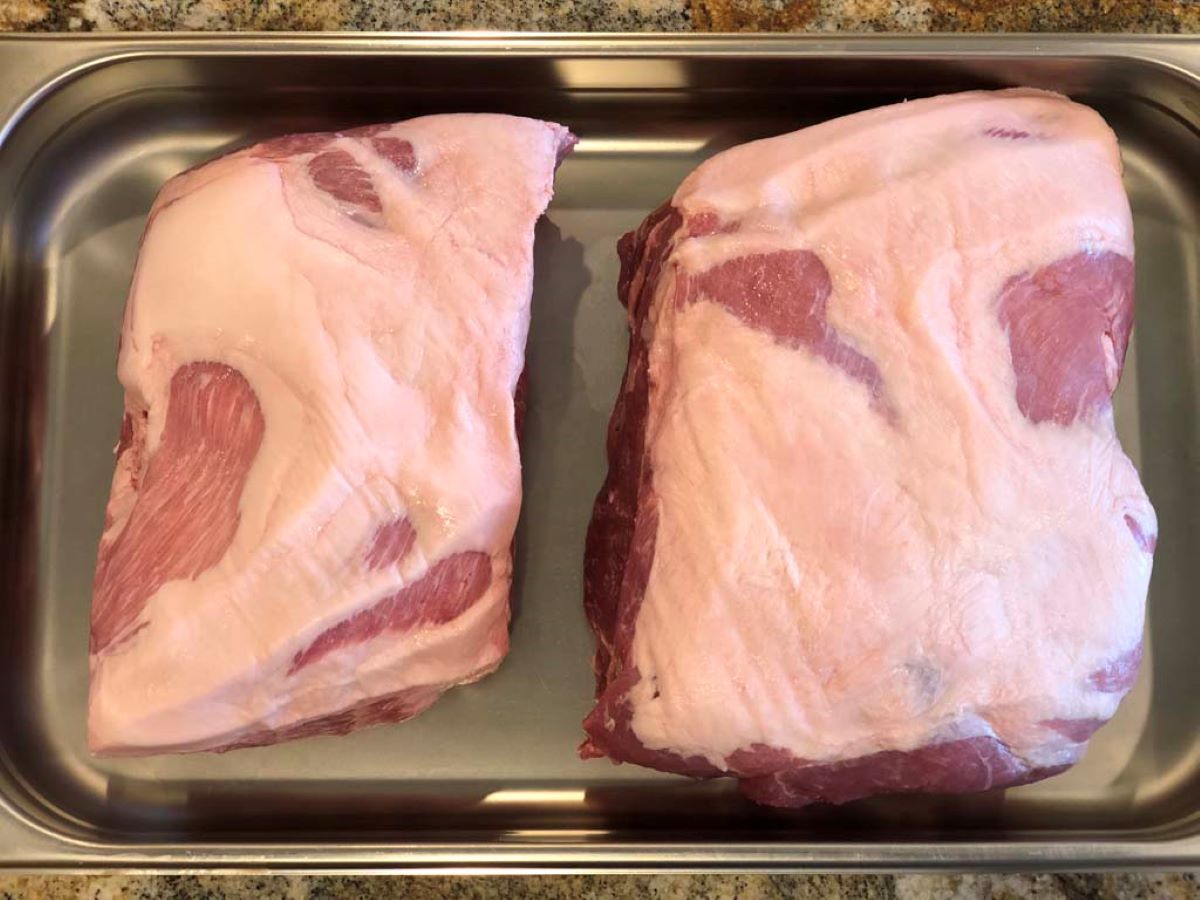
How To Cut A Ham Shank
Are you looking for the perfect way to slice and serve a delicious ham shank? Look no further! In this article, we will guide you through the step-by-step process of cutting a ham shank like a pro. Follow these simple instructions, and you’ll be able to carve the ham with precision and finesse.
What You’ll Need:
- A sharp carving knife
- A cutting board
- Ham shank (fully cooked)
- Patience and a love for mouthwatering ham!
Step 1: Prepare Your Tools and Workspace
Before you begin, make sure you have all your tools and ingredients ready. Find a spacious and clean work area where you can comfortably carve the ham without any distractions. Place a non-slip cutting board on the counter to provide stability while you slice.
Step 2: Understand the Anatomy of a Ham Shank
To cut a ham shank properly, it’s important to familiarize yourself with its anatomy. The ham shank has a bone running through the center, surrounded by tender and flavorful meat. The key to a beautifully carved ham lies in understanding how to navigate around the bone without wasting any meat.
Step 3: Start Carving
Gently place the ham shank on the cutting board with the bone facing upwards. Begin by making a vertical cut around the bone, using the tip of your sharp carving knife. This initial incision will serve as your guide throughout the cutting process.
Step 4: Slice the Meat
Using smooth and even strokes, start slicing the meat away from the bone. Keep your slices consistent in thickness, aiming for thin, succulent pieces. If you’re looking for larger portions, you can cut thicker slices as per your preference.
Step 5: Remove the Bone
Once you’ve sliced one side of the ham shank, it’s time to remove the bone. With the tip of your knife, carefully scrape the meat away from the bone. Gently cut along the natural contour of the bone, ensuring you don’t leave any meat behind.
Step 6: Continue Slicing
After removing the bone, place the shank flat on the cutting board and continue slicing until you’ve cut through the entire piece of meat. Remember to adjust your cutting angle as necessary to achieve the desired thickness of each slice.
Step 7: Presentation and Serving
Once you’ve finished carving the ham shank, it’s time to showcase your culinary masterpiece! Arrange the slices on a platter or individual plates, ready to be served. The visually appealing presentation will undoubtedly whet the appetite of your guests.
Now that you know how to cut a ham shank, you can confidently take on this delectable task. Practice makes perfect, so don’t be afraid to sharpen your carving skills with every delicious ham shank you encounter. Enjoy the process, and savor the mouthwatering results!
For those looking to put their ham shank cutting skills to good use, there are several recipes to try. The Classic Ham and Bean Soup Recipe offers a comforting dish perfect for chilly days, blending hearty beans with rich ham flavors. If you're in the mood for something sweet and savory, the Honey-Glazed Ham Shank Recipe provides a delightful contrast with its sticky-sweet glaze. For a touch of elegance, the Ham Shank with Pineapple Sauce Recipe delivers a tropical twist that pairs beautifully with the meat. Lastly, the Slow-Cooked Ham Shank Recipe is ideal for those who prefer a hands-off approach, allowing the flavors to meld together over time for a tender, mouthwatering result.
Was this page helpful?
Read Next: How To Cut Ham Off The Bone
Related Articles
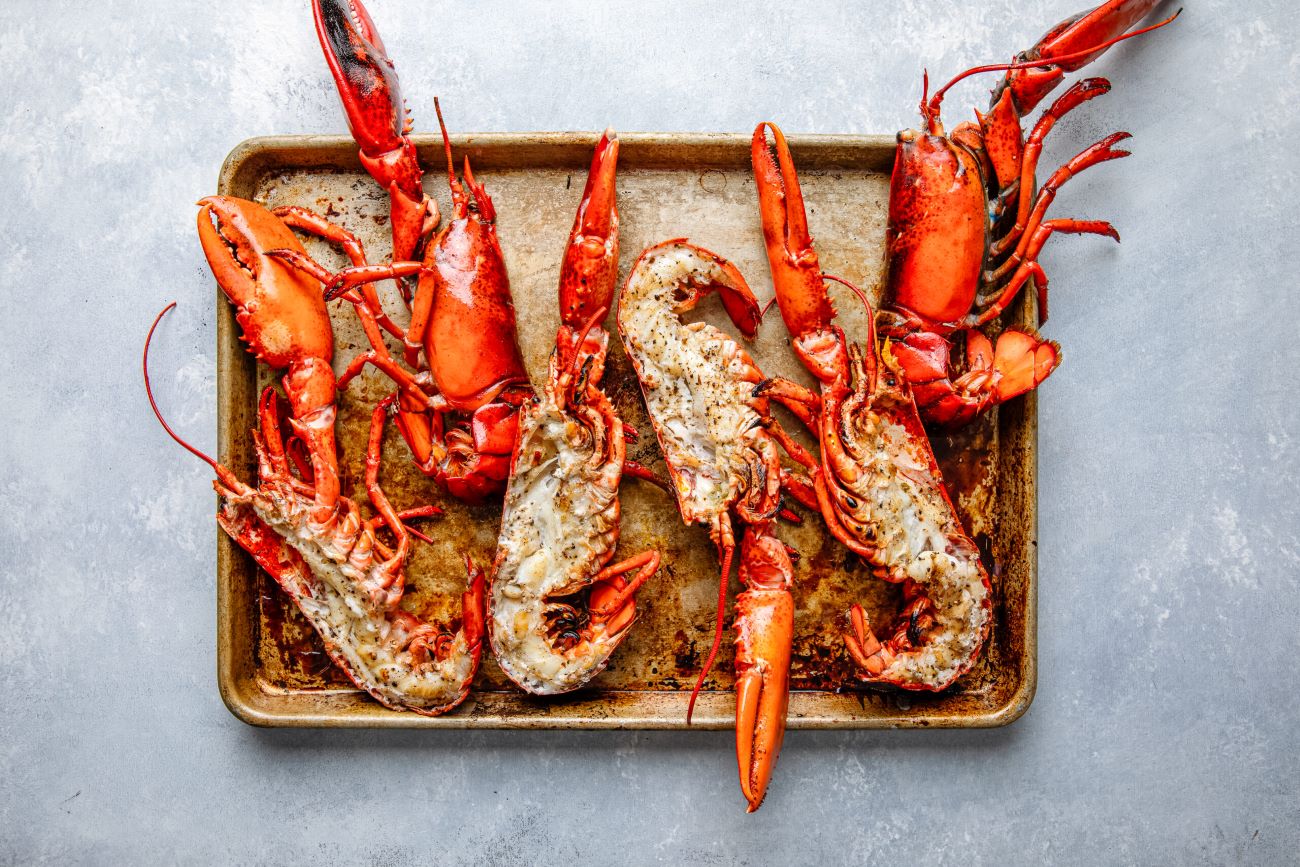
How To Cut A Whole Lobster
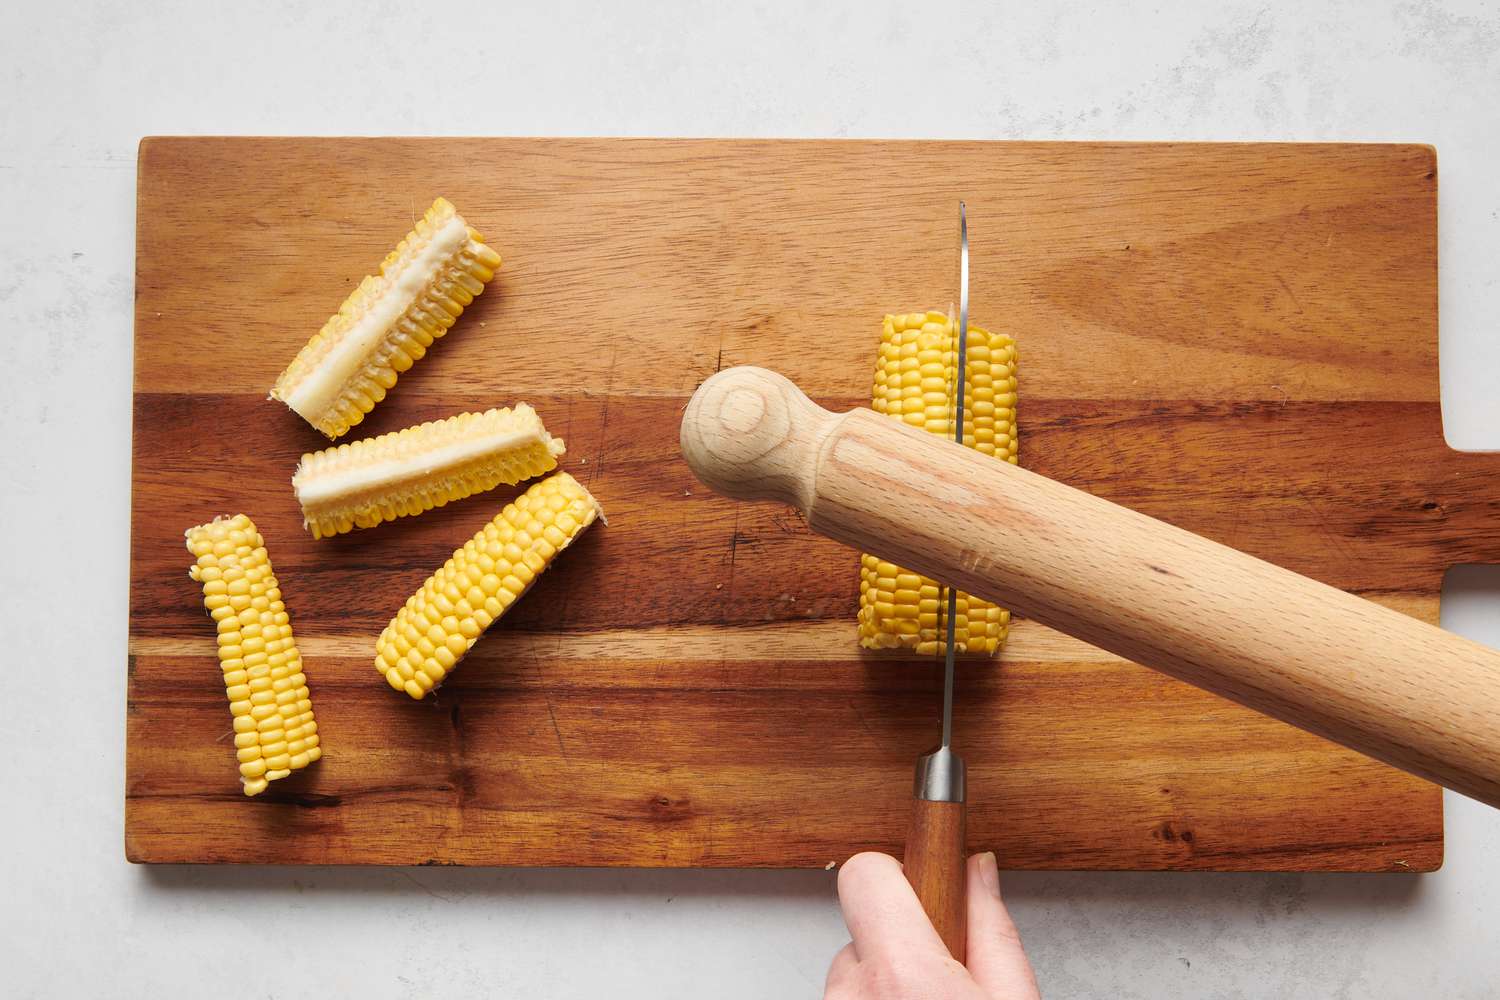
How To Cut Corn Cobs In Quarters

How To Cut Rice Crispy Treats
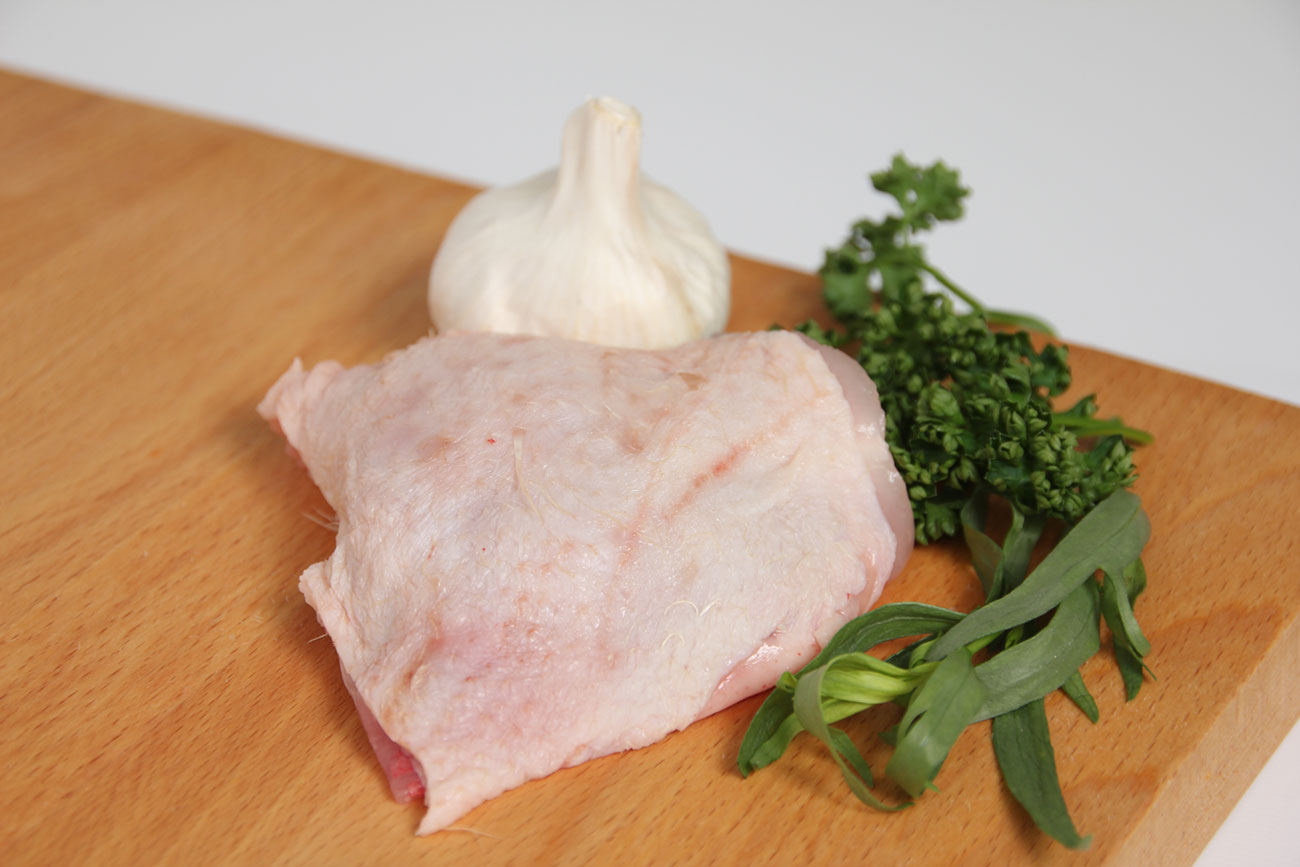
How To Cut Chicken Thigh
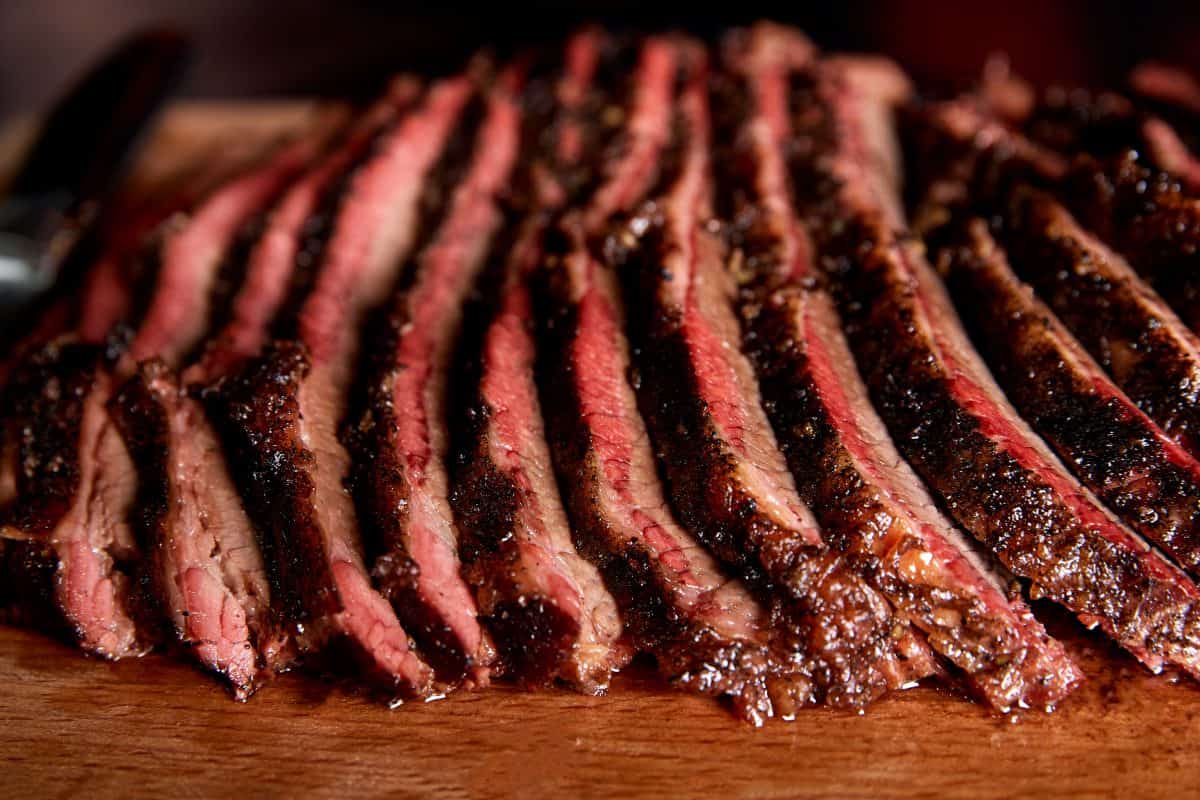
How To Cut Up A Whole Brisket
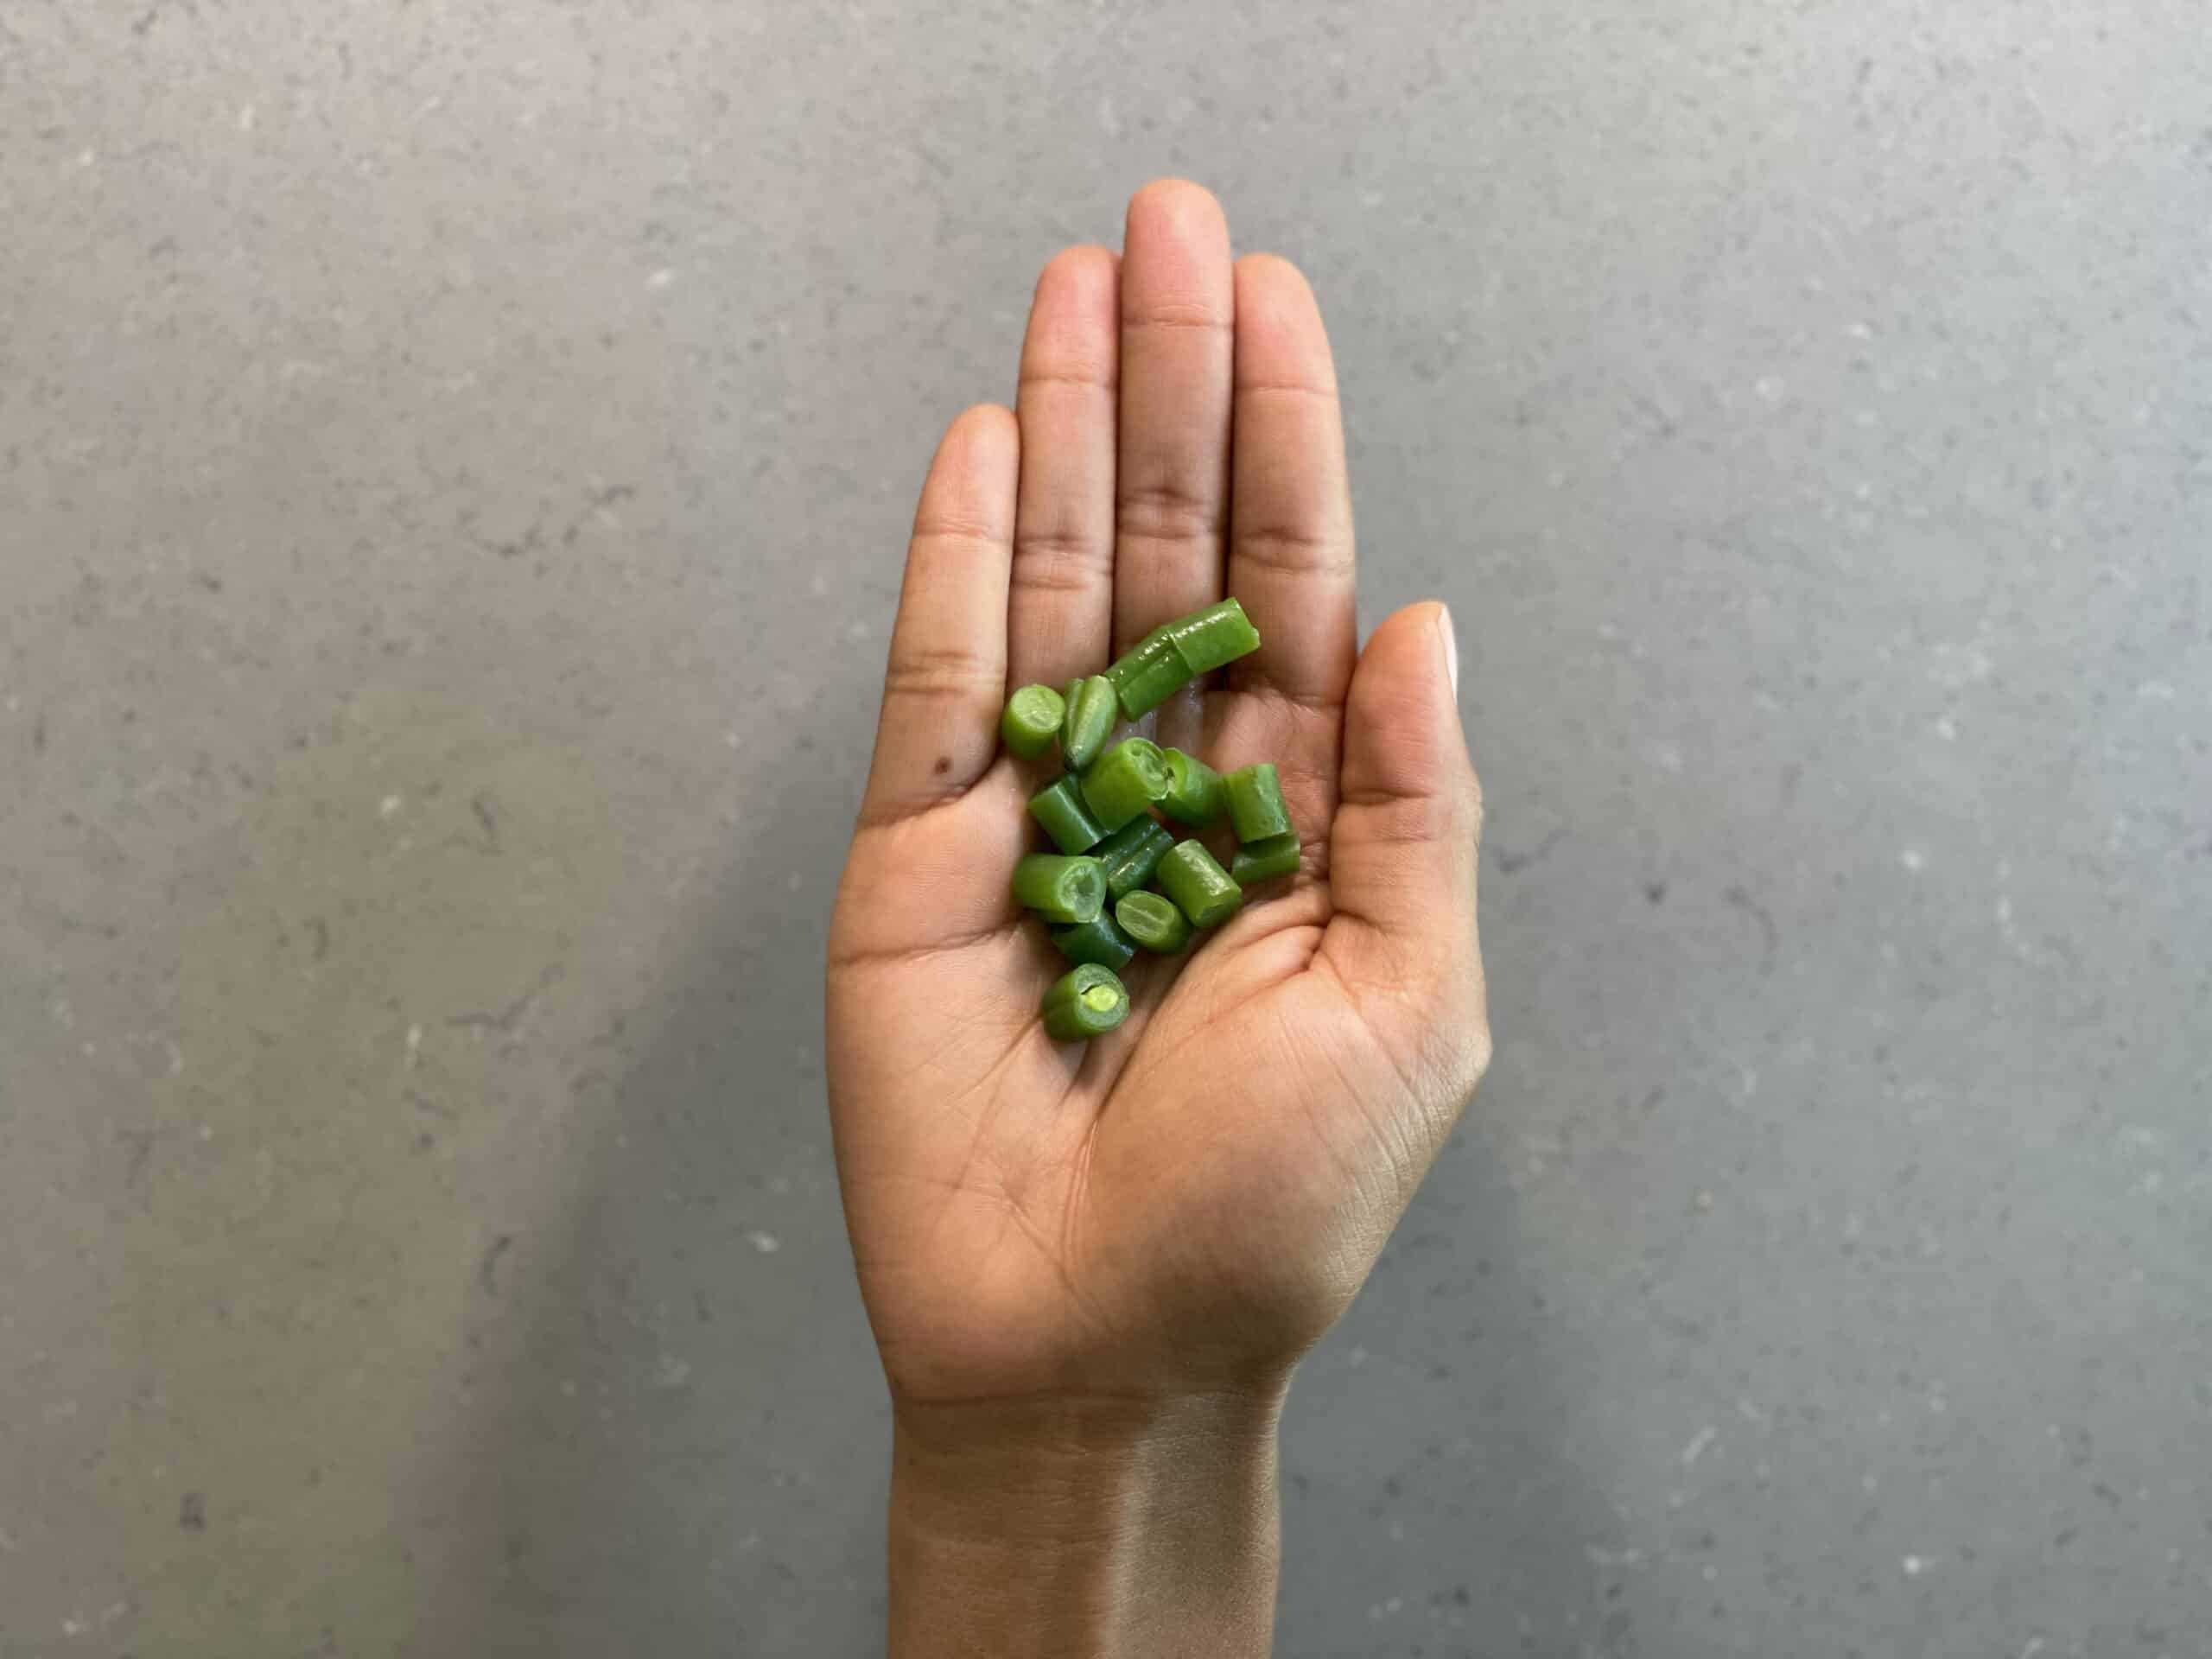
How To Cut Green Beans For Baby
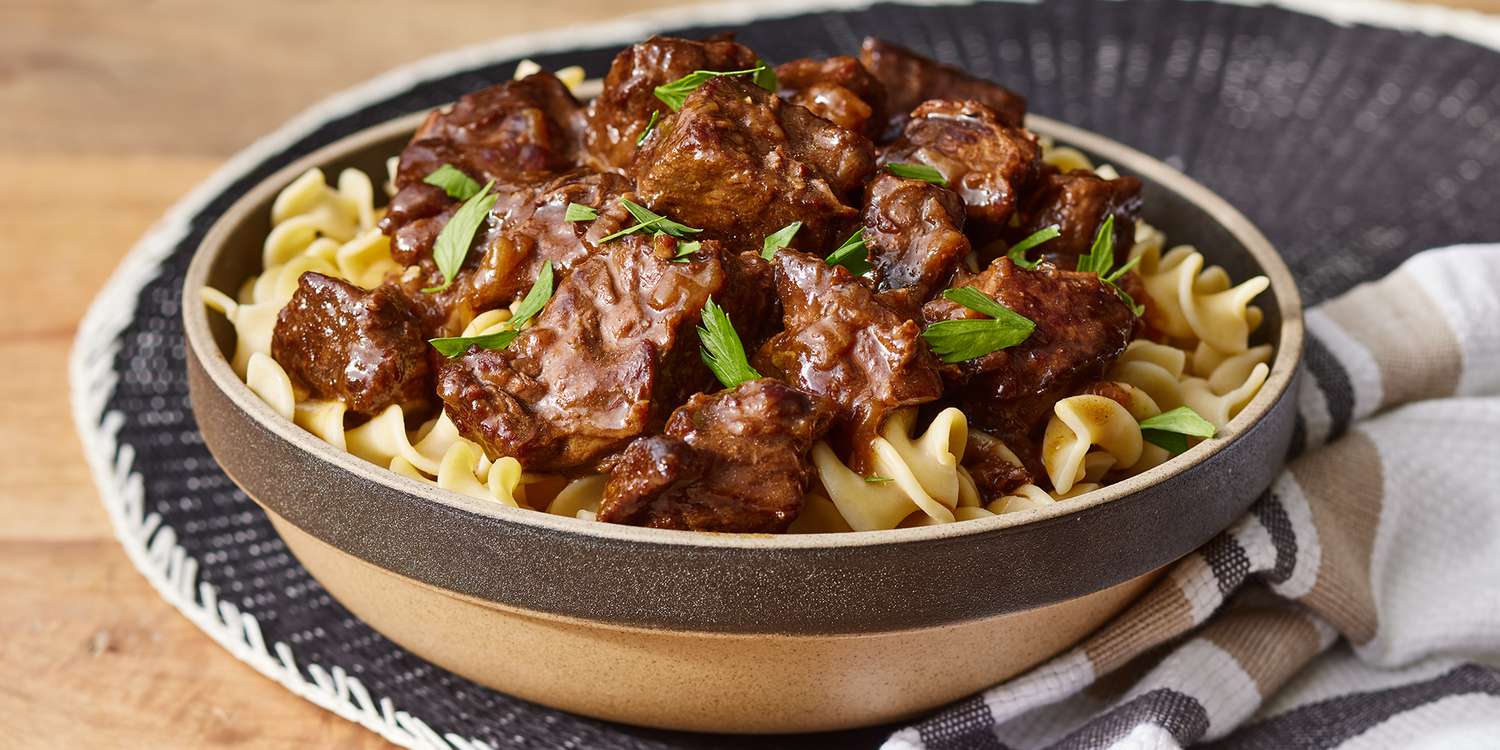
How To Cut Beef Tips

How To Cut Lettuce For Burger
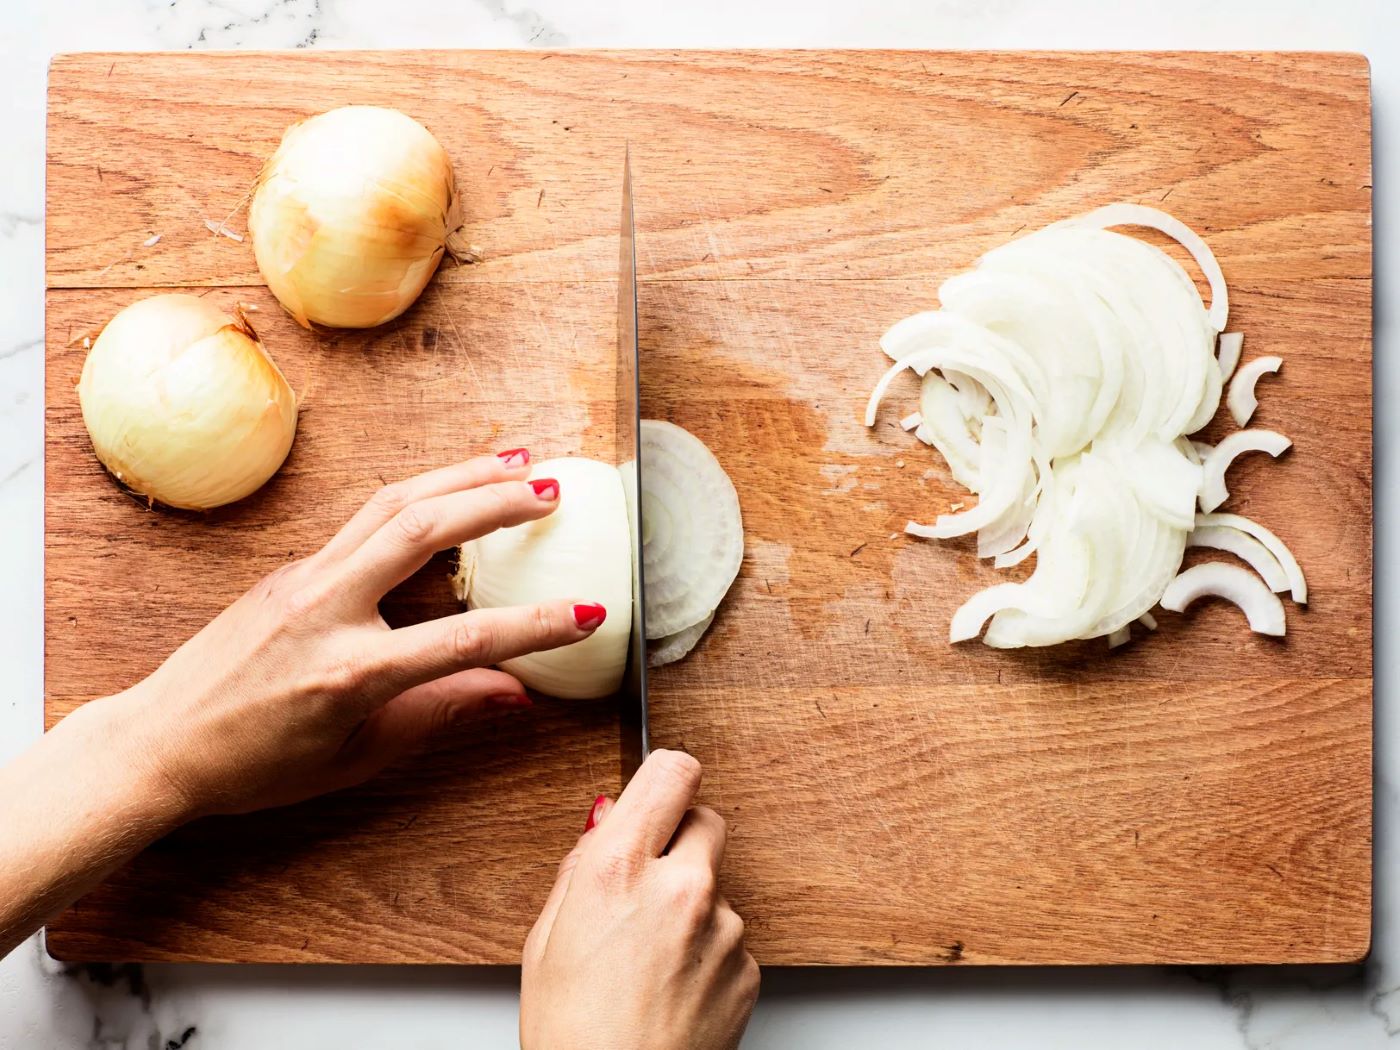
How To Cut Onions For Hamburgers
How To Cut Fresh Aloe Vera
How To Cut Caramel Apples