Curing meat before cold smoking is an age-old method of preserving and flavoring meat. The process involves using a combination of salt, sugar, and sometimes other seasonings to draw out moisture from the meat, inhibit bacterial growth, and impart delicious flavors. If you're new to the world of curing and smoking meat, don't worry! We've got you covered with a step-by-step guide on how to cure meat before cold smoking.
Why Cure Meat Before Cold Smoking?
Curing meat before cold smoking serves several important purposes:
-
Preservation: Curing helps to extend the shelf life of the meat by inhibiting the growth of harmful bacteria.
-
Flavor: The curing process allows the meat to absorb the flavors of the curing ingredients, resulting in a rich and savory taste.
-
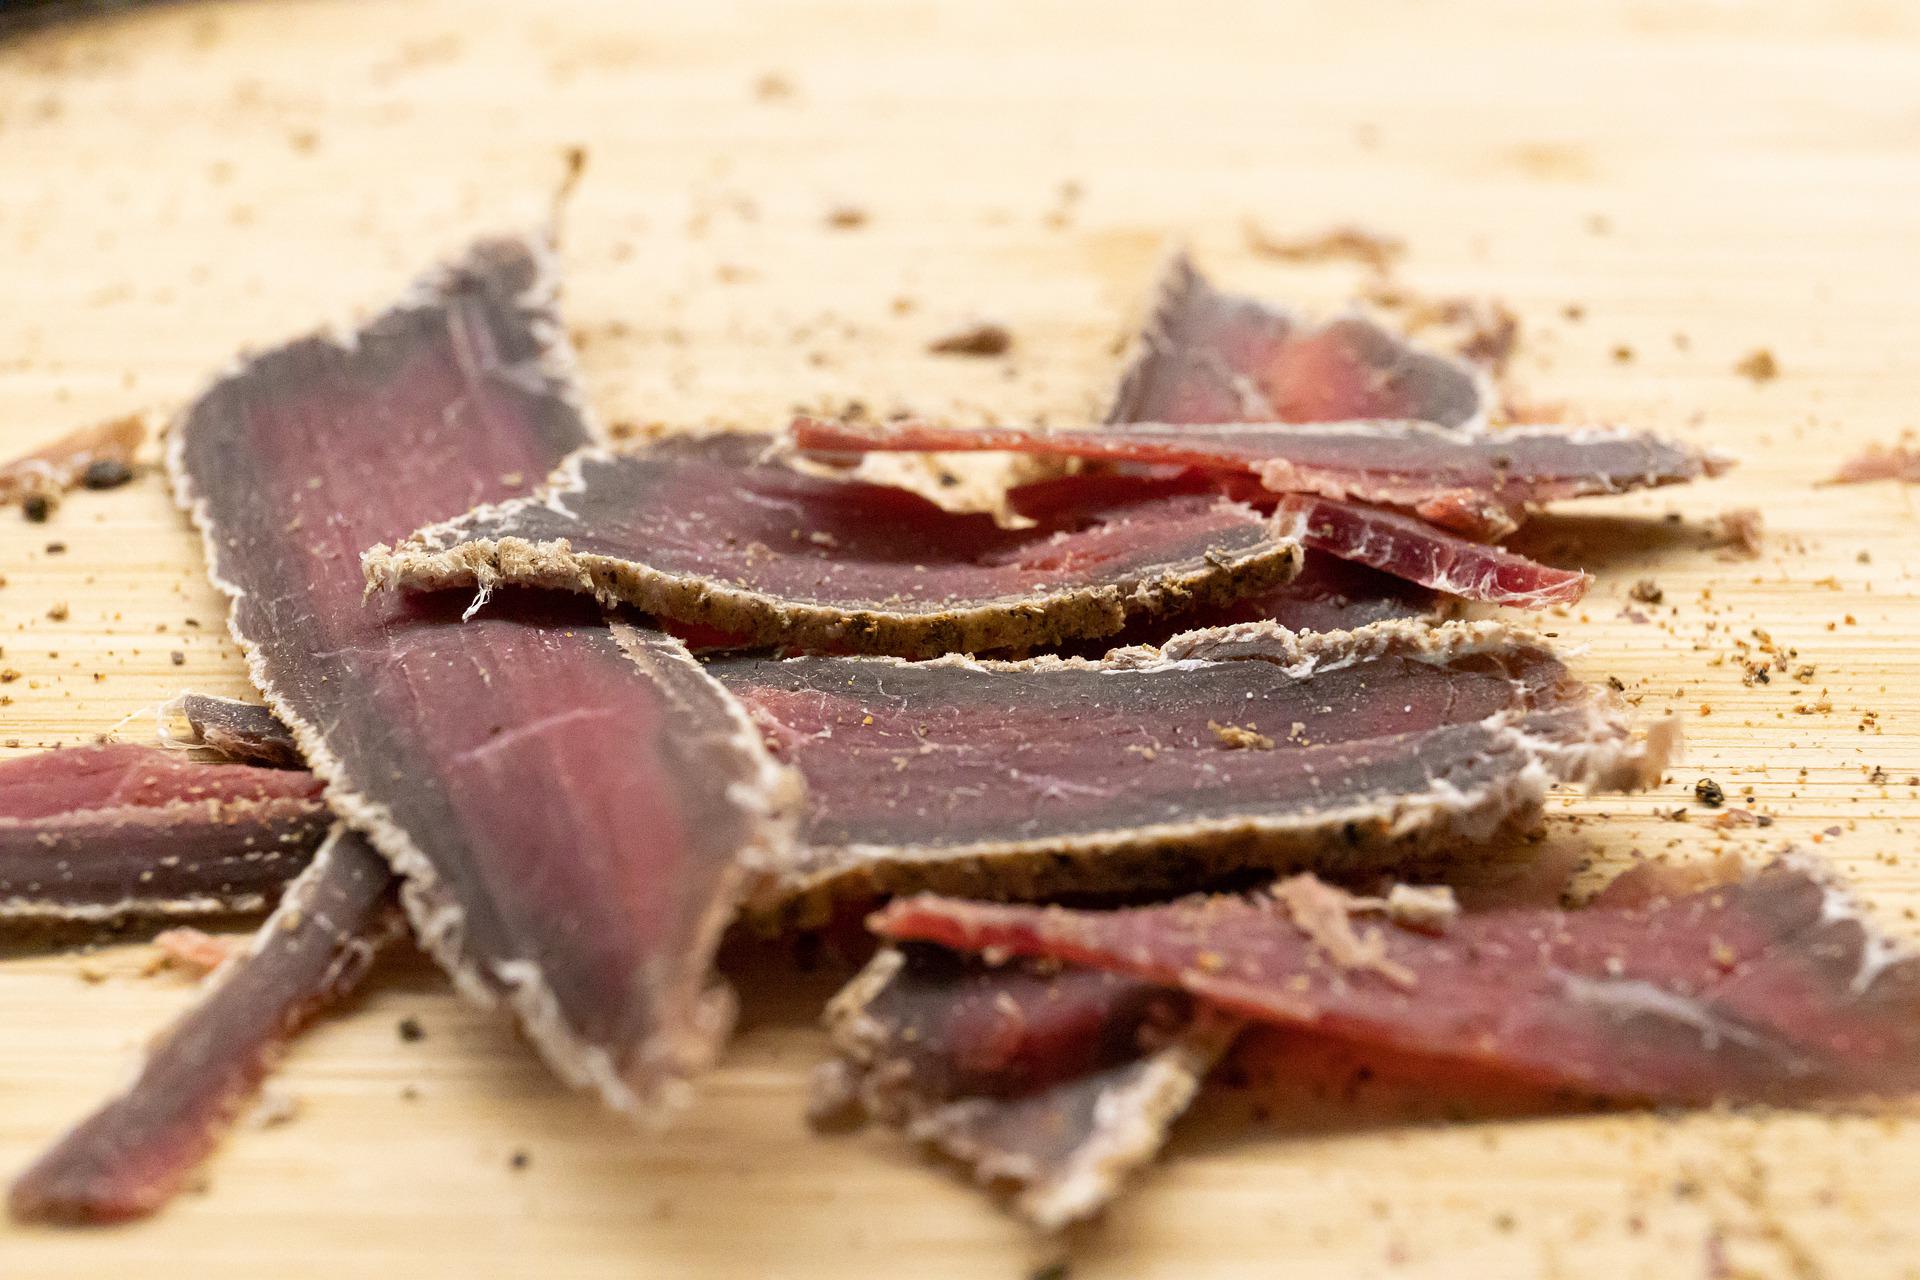
Texture: Curing can also help to improve the texture of the meat, making it firmer and more suitable for slicing.
Step-by-Step Guide to Curing Meat Before Cold Smoking
Follow these simple steps to cure your meat before cold smoking:
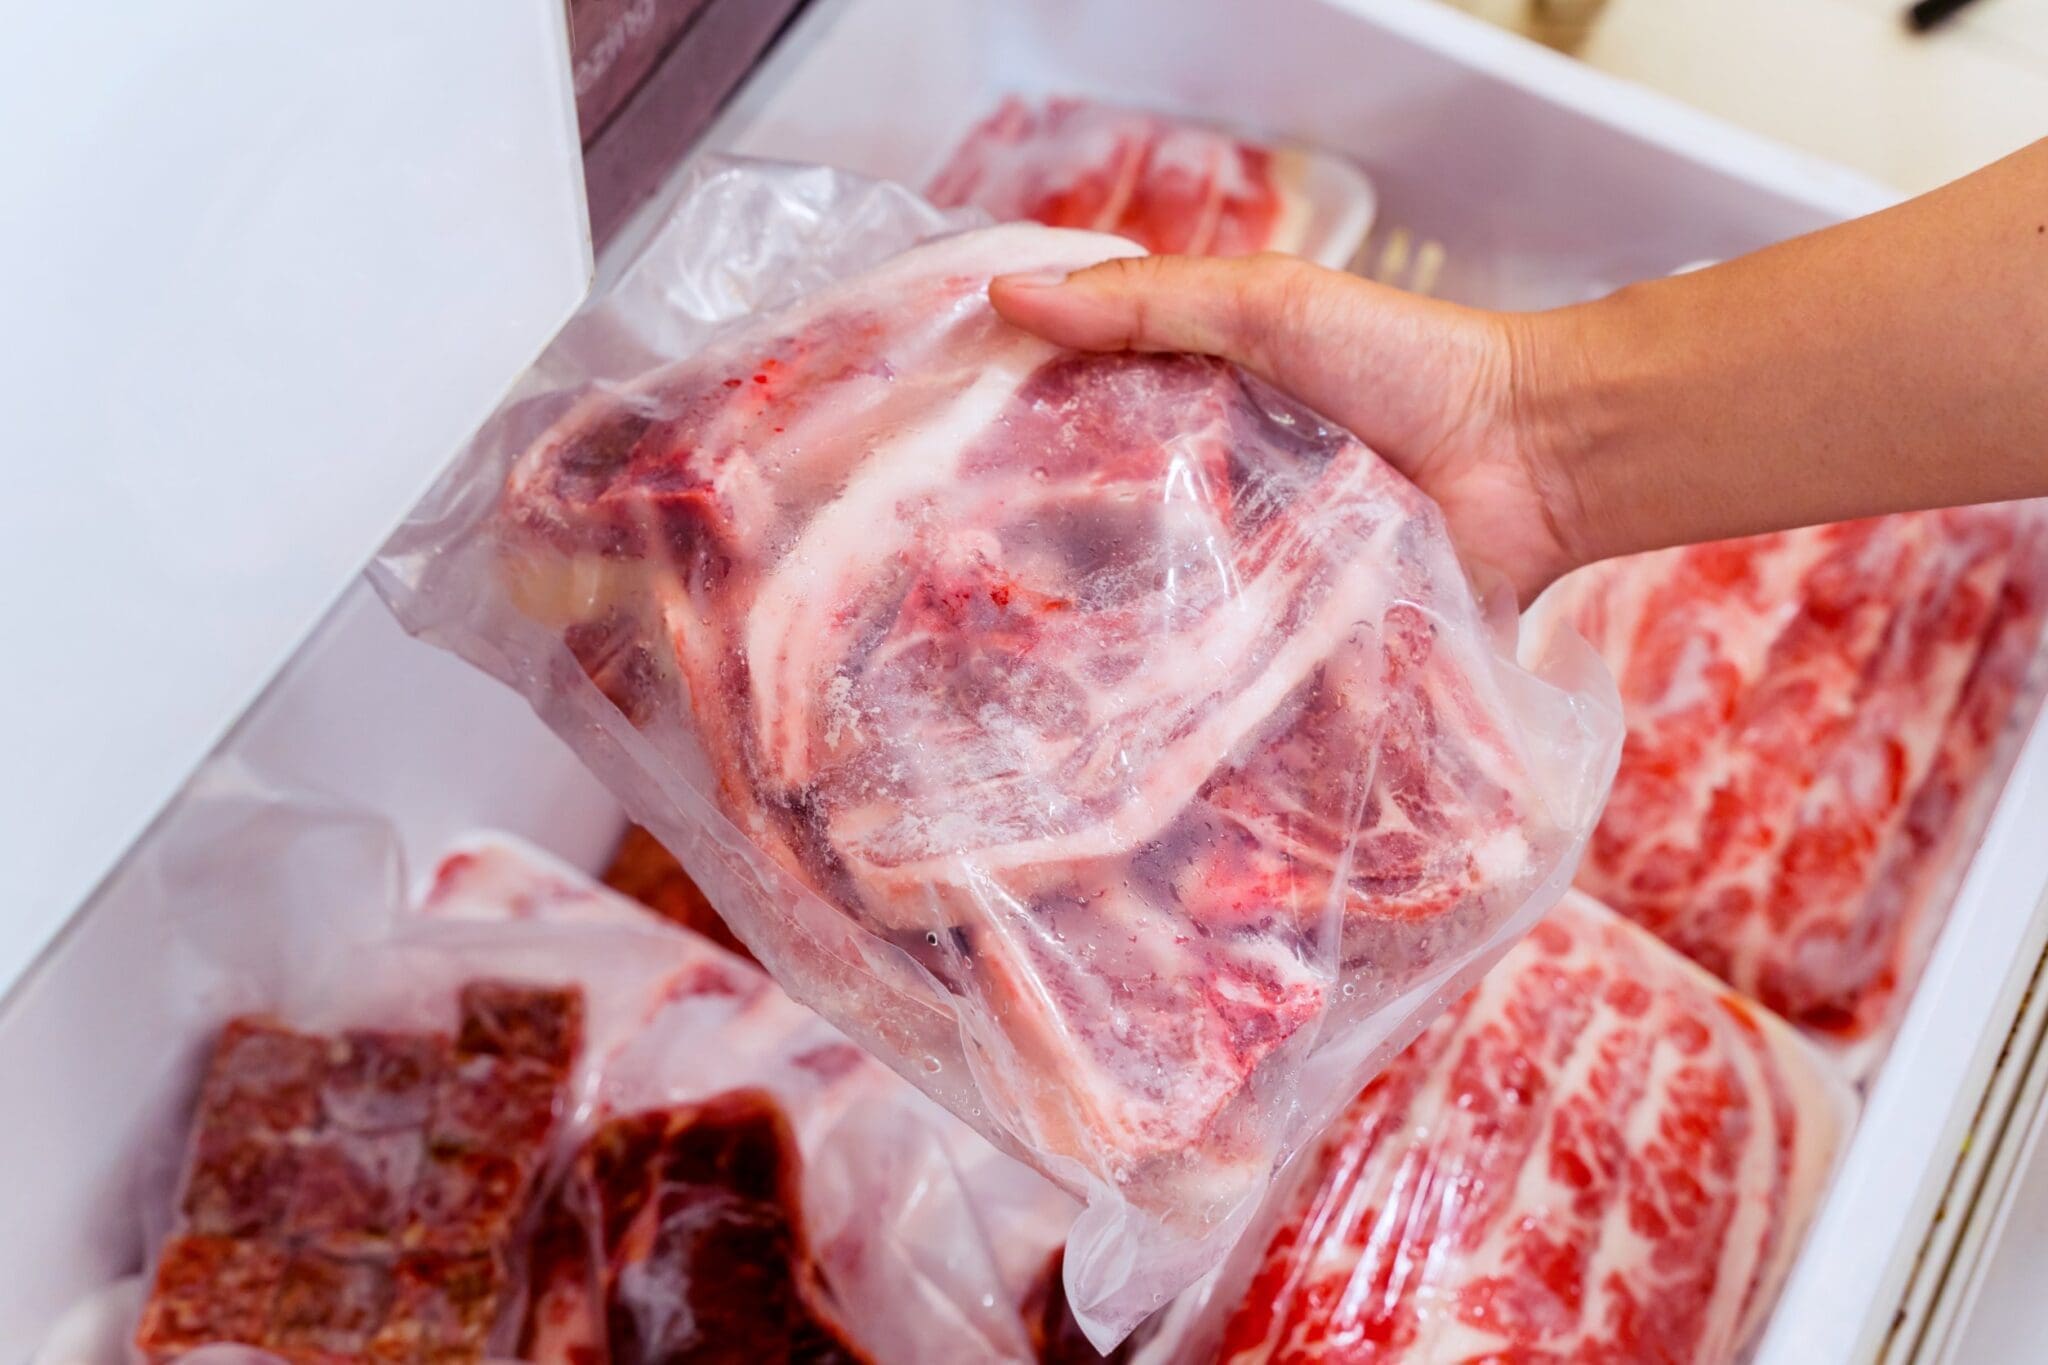
1. Select Your Meat
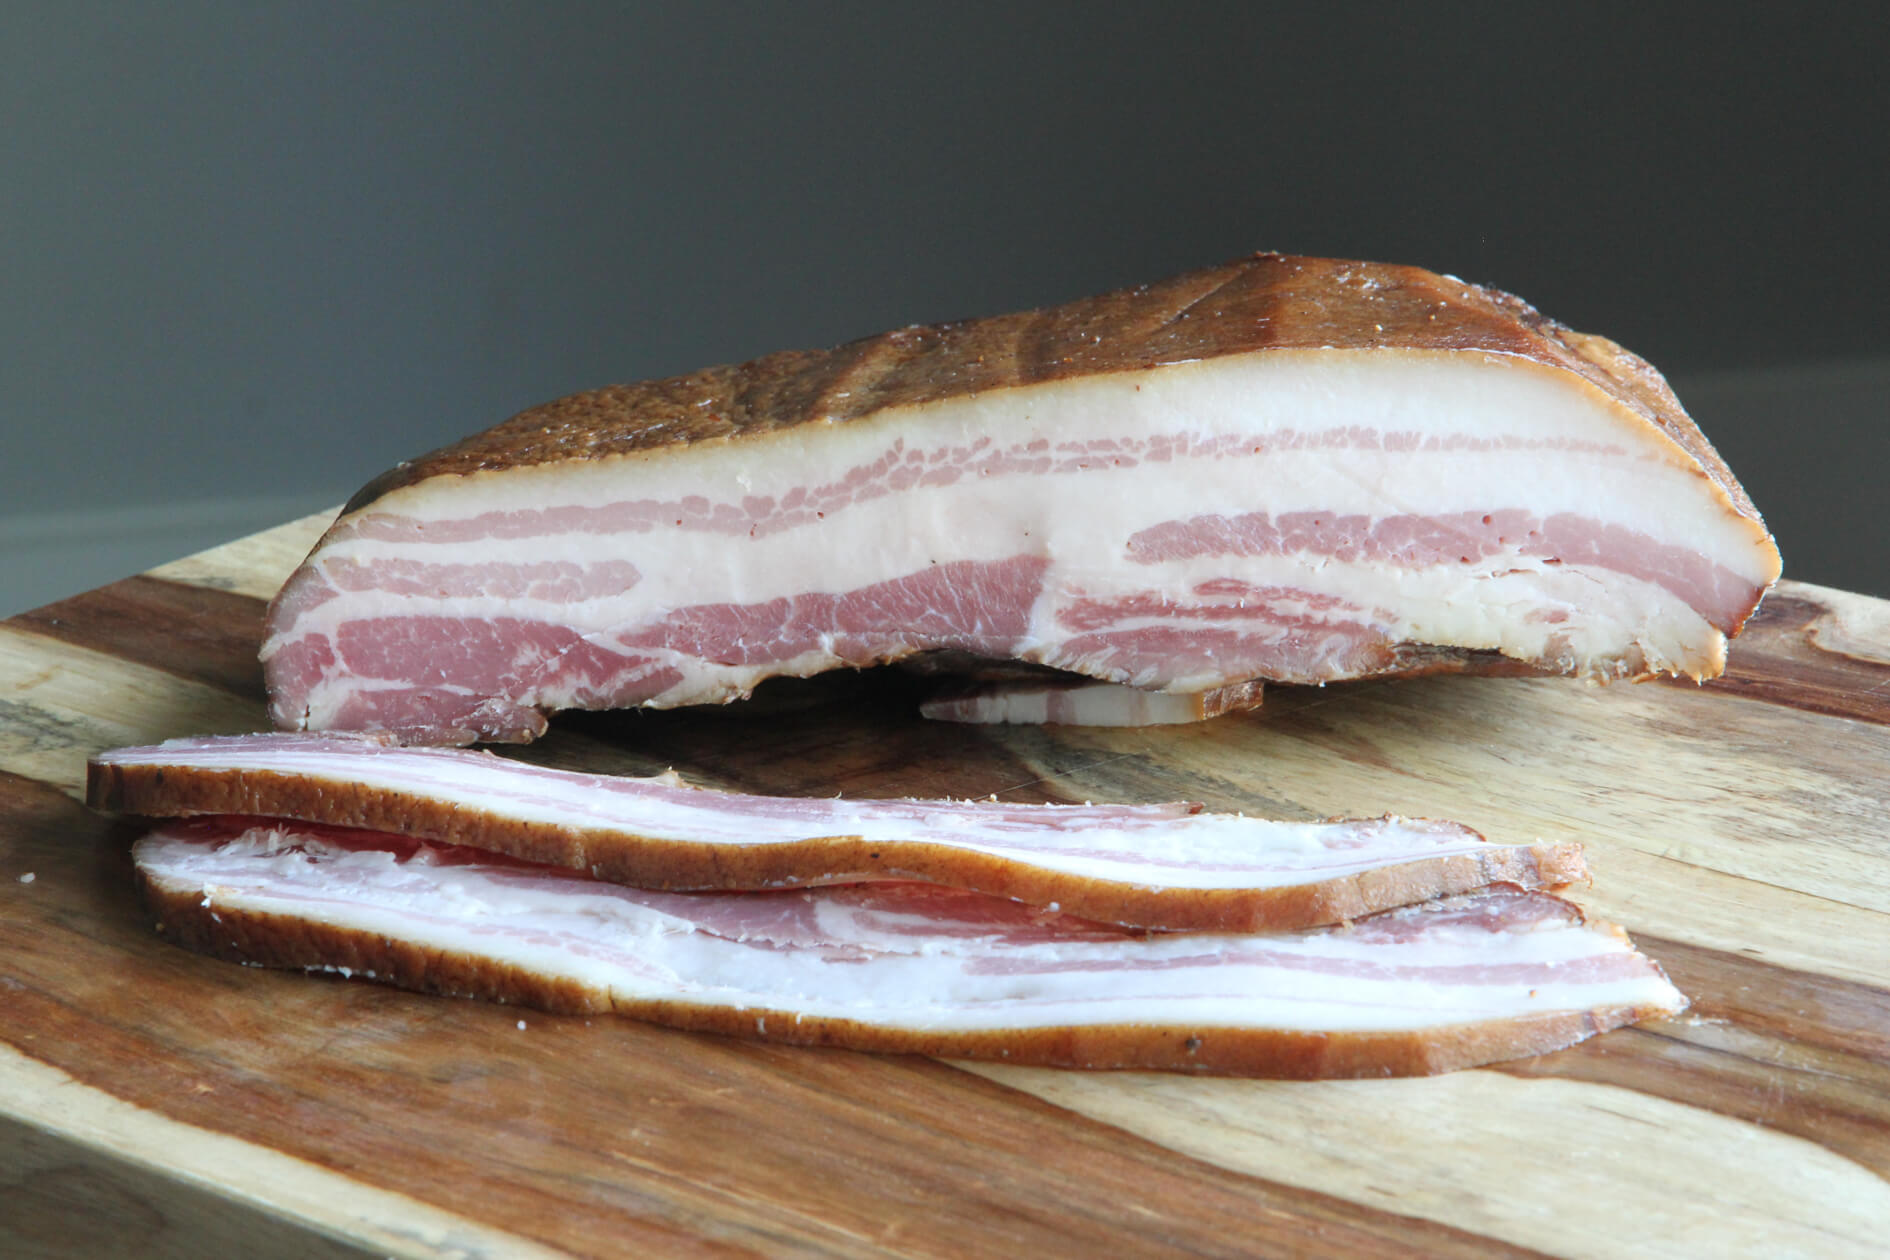
Choose a high-quality cut of meat for curing and smoking. Popular choices include pork belly for bacon, beef brisket for pastrami, and salmon for smoked fish.
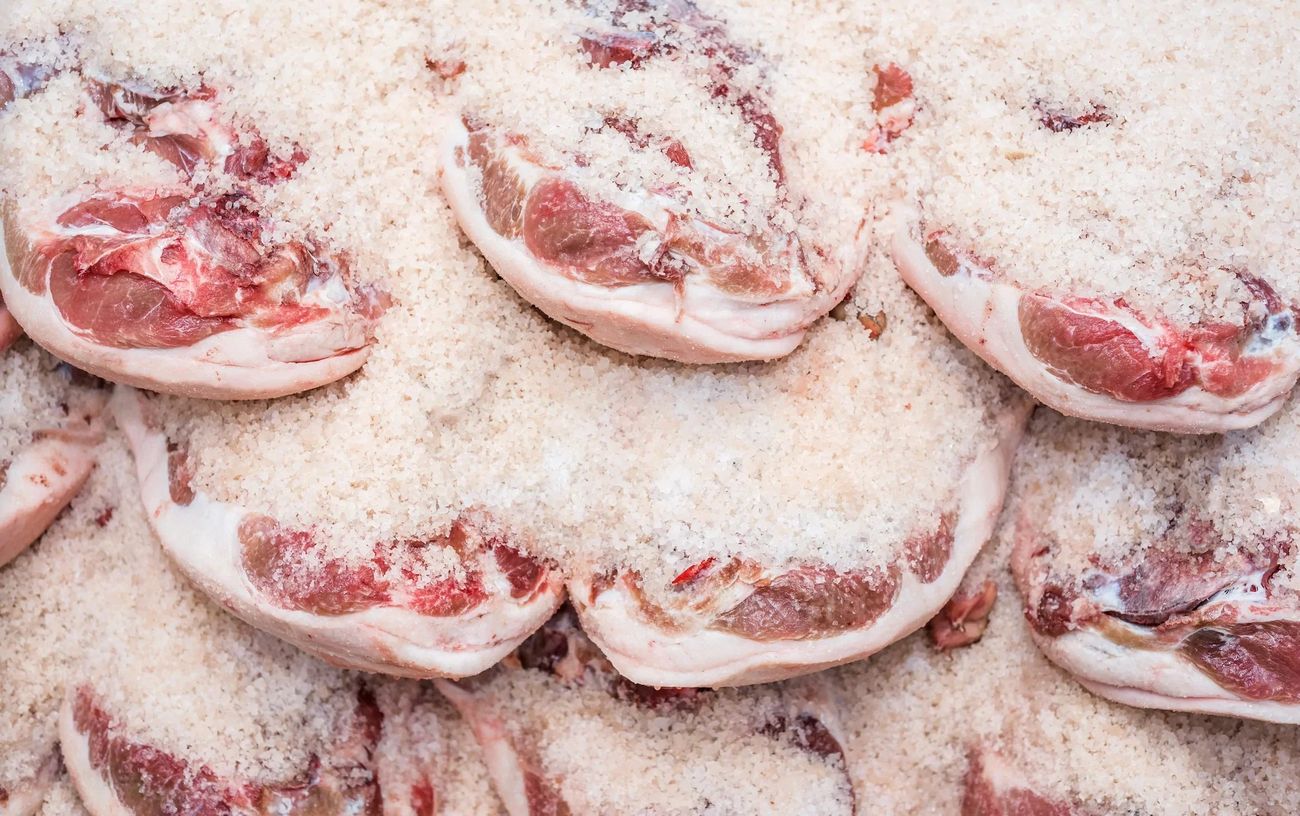
2. Prepare the Cure
Create a curing mixture using a combination of salt and sugar. You can also add other seasonings such as black pepper, garlic, or herbs for additional flavor. The ratio of salt to sugar will depend on the specific recipe you are using.
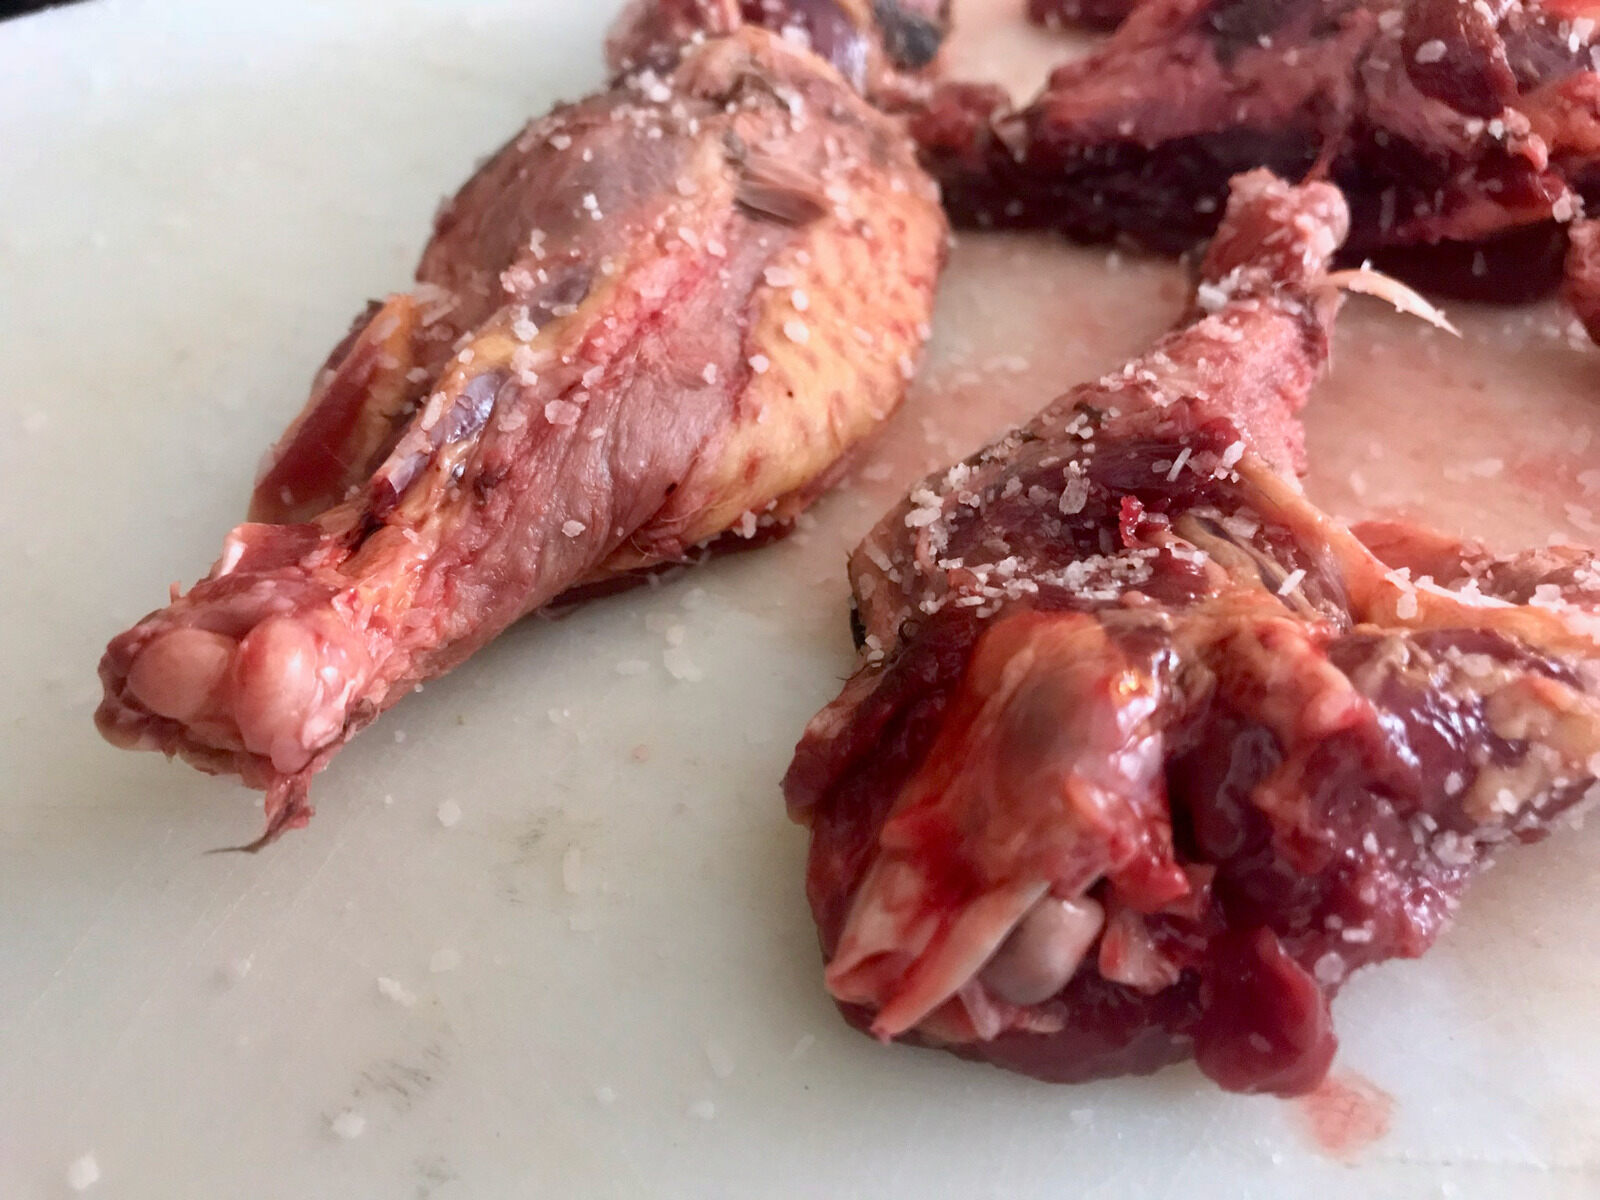
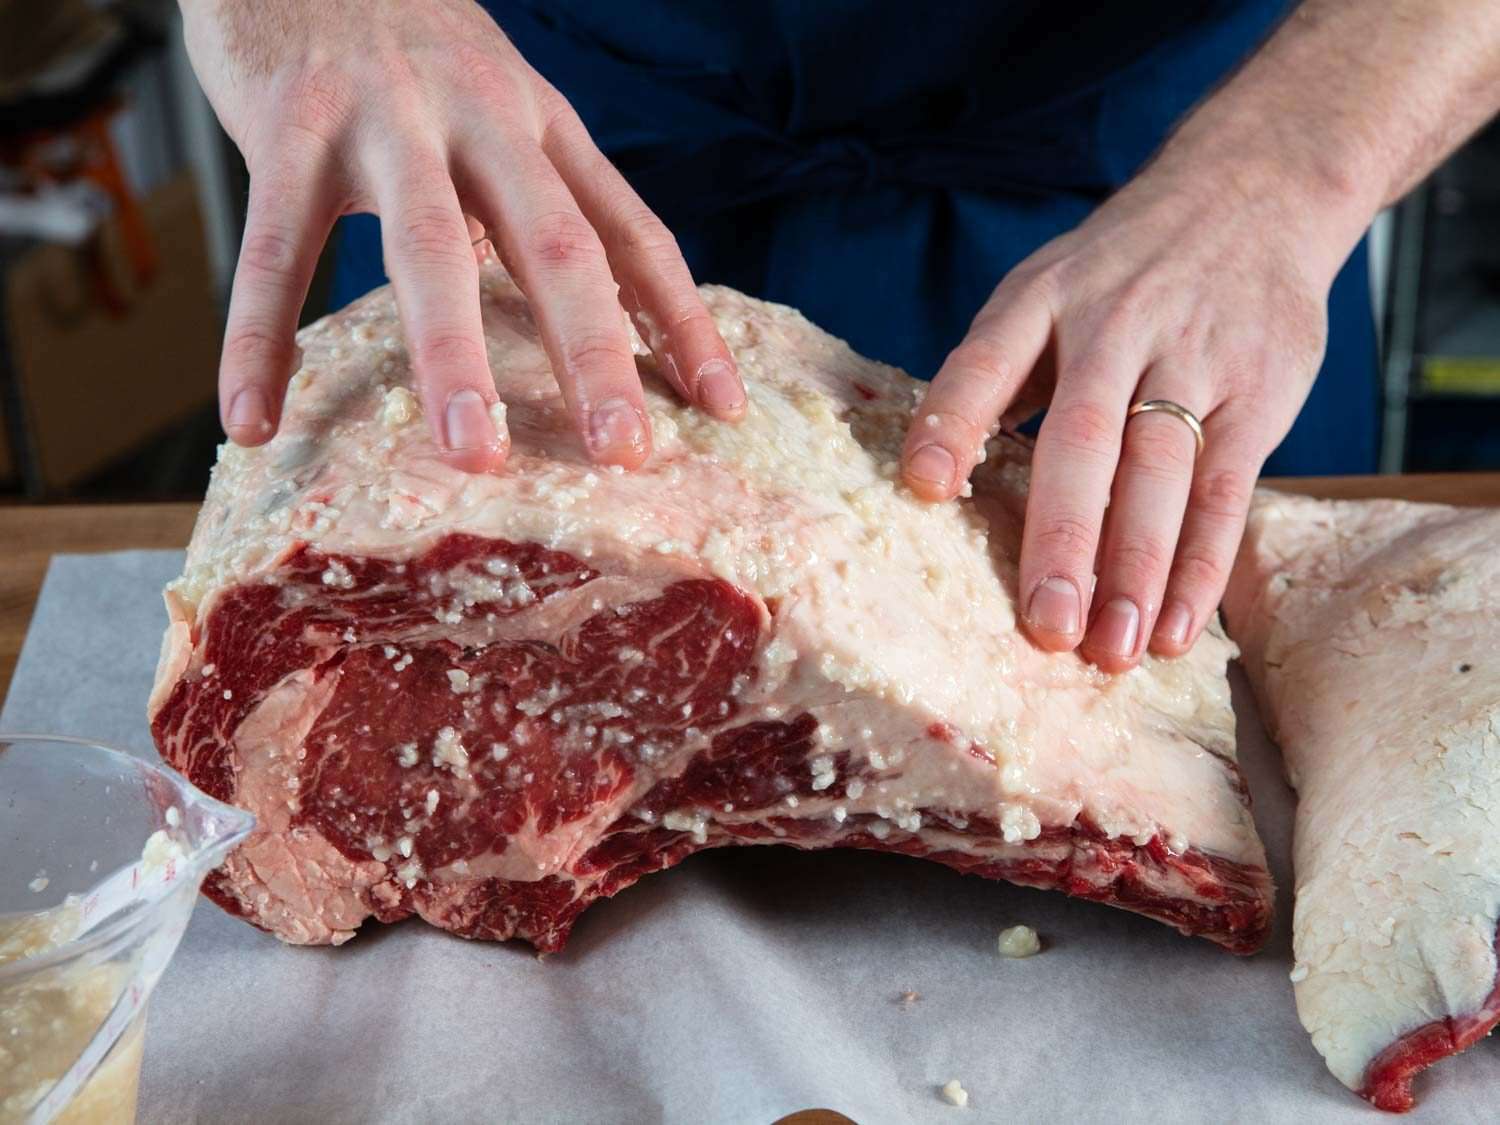
3. Apply the Cure
Thoroughly coat the meat with the curing mixture, making sure to cover all surfaces. Place the meat in a non-reactive container, such as a plastic or glass dish, and refrigerate.
4. Allow the Meat to Cure
The curing time will vary depending on the type and size of the meat. As a general rule of thumb, you should allow the meat to cure for at least 24 hours per inch of thickness, flipping the meat halfway through the curing process.
5. Rinse and Dry the Meat
After the curing period is complete, remove the meat from the curing mixture and rinse it thoroughly under cold water to remove any excess salt. Pat the meat dry with paper towels.
6. Air-Dry the Meat
Place the cured meat on a wire rack and allow it to air-dry in the refrigerator for several hours or overnight. This will help to form a tacky outer layer, known as the pellicle, which will attract smoke during the smoking process.
7. Cold Smoke the Meat
Once the meat has air-dried, it's ready for cold smoking. Place the meat in your smoker and smoke it at a temperature below 85°F (29°C) for several hours, depending on the type of meat you are smoking.
By following these steps, you can successfully cure your meat before cold smoking, resulting in delicious, flavorful, and safely preserved smoked meats. Whether you're making bacon, pastrami, or smoked fish, the process of curing before cold smoking is a time-honored tradition that yields mouthwatering results. So, roll up your sleeves, gather your ingredients, and get ready to embark on a culinary adventure in the world of meat curing and smoking!
Was this page helpful?
Read Next: How To Cure Corned Beef Recipe
Related Articles
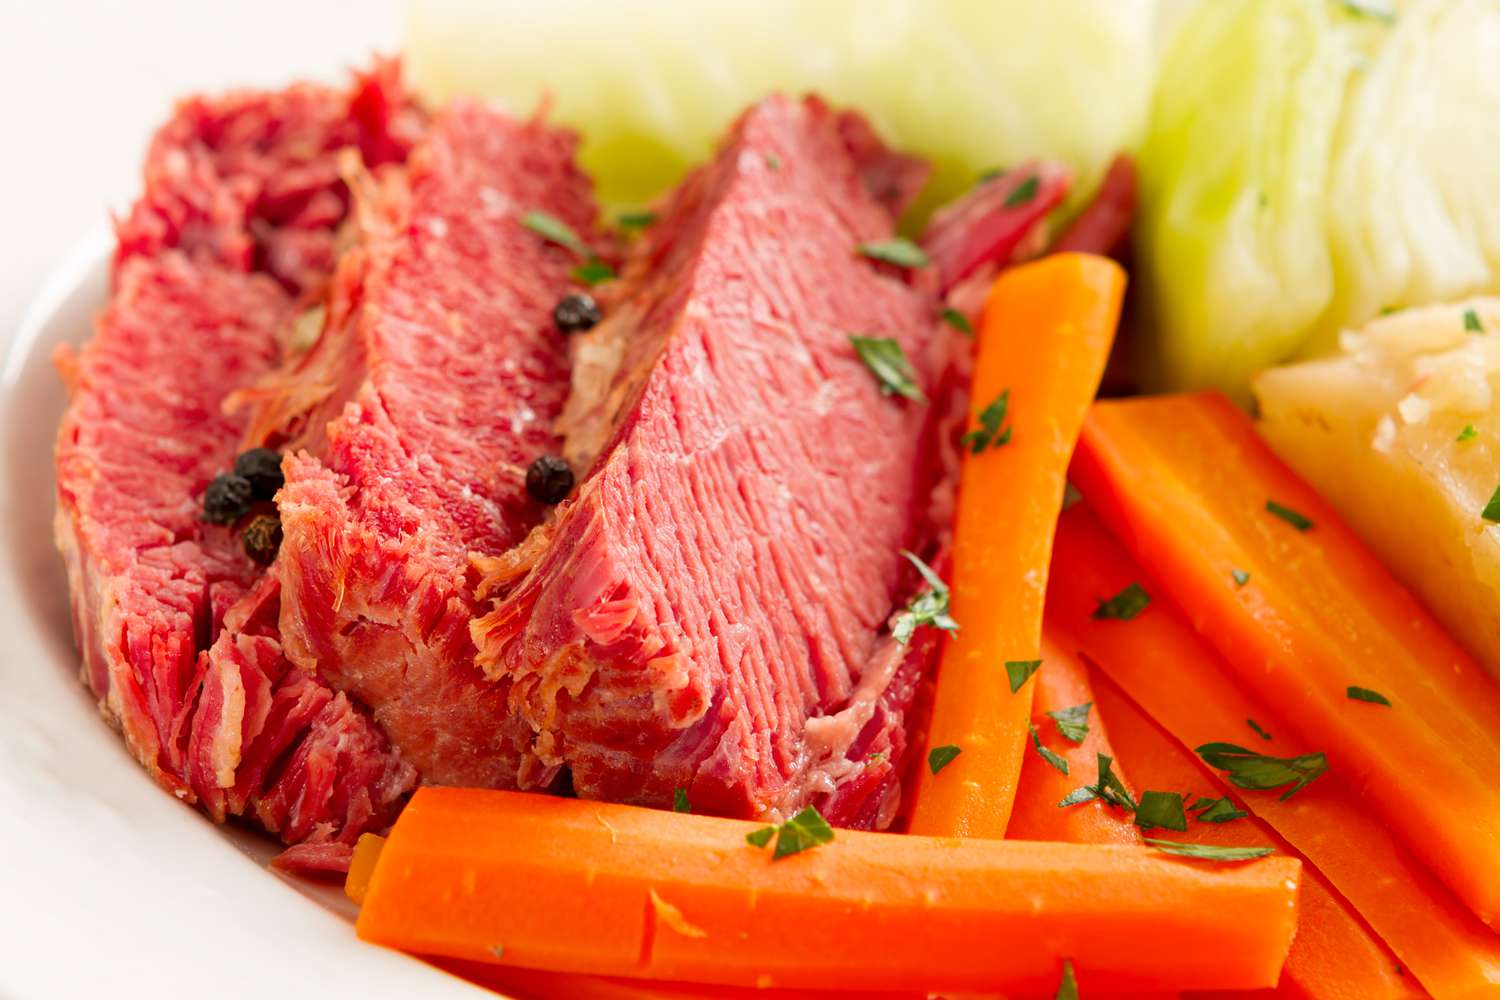
How To Cure Corned Beef Recipe
How To Cure Meat In Sugar

How To Cure Meat With Celery Powder
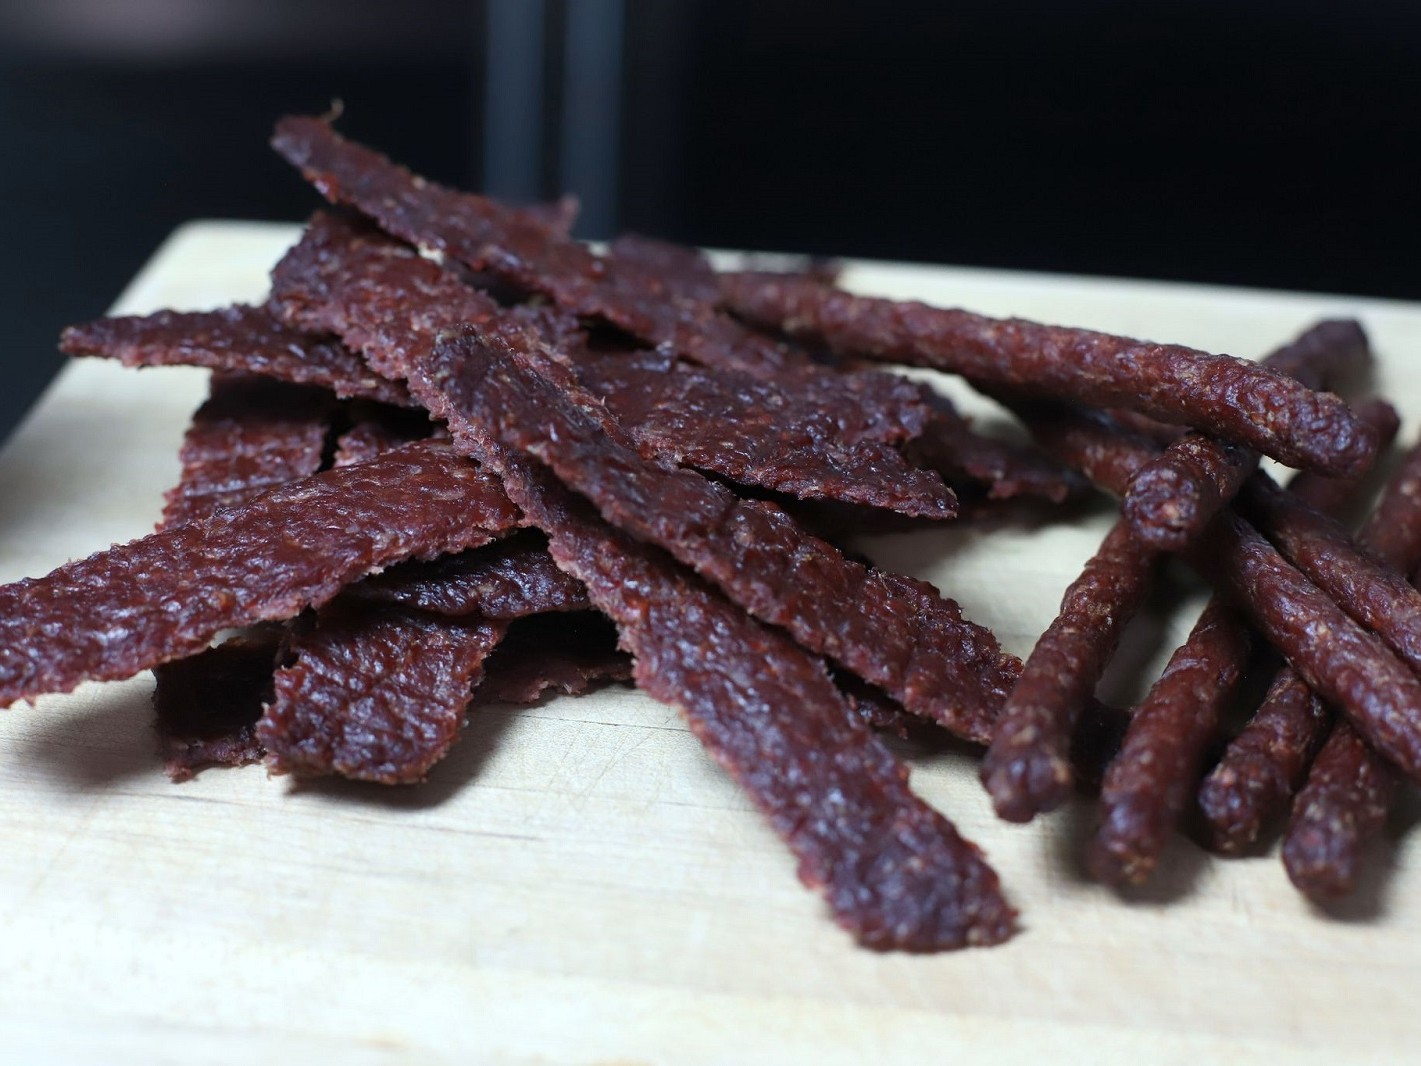
How To Cure Ground Beef Jerky
How To Cure Beef For Long-Term Storage

How To Cure Meat With Sodium Nitrate
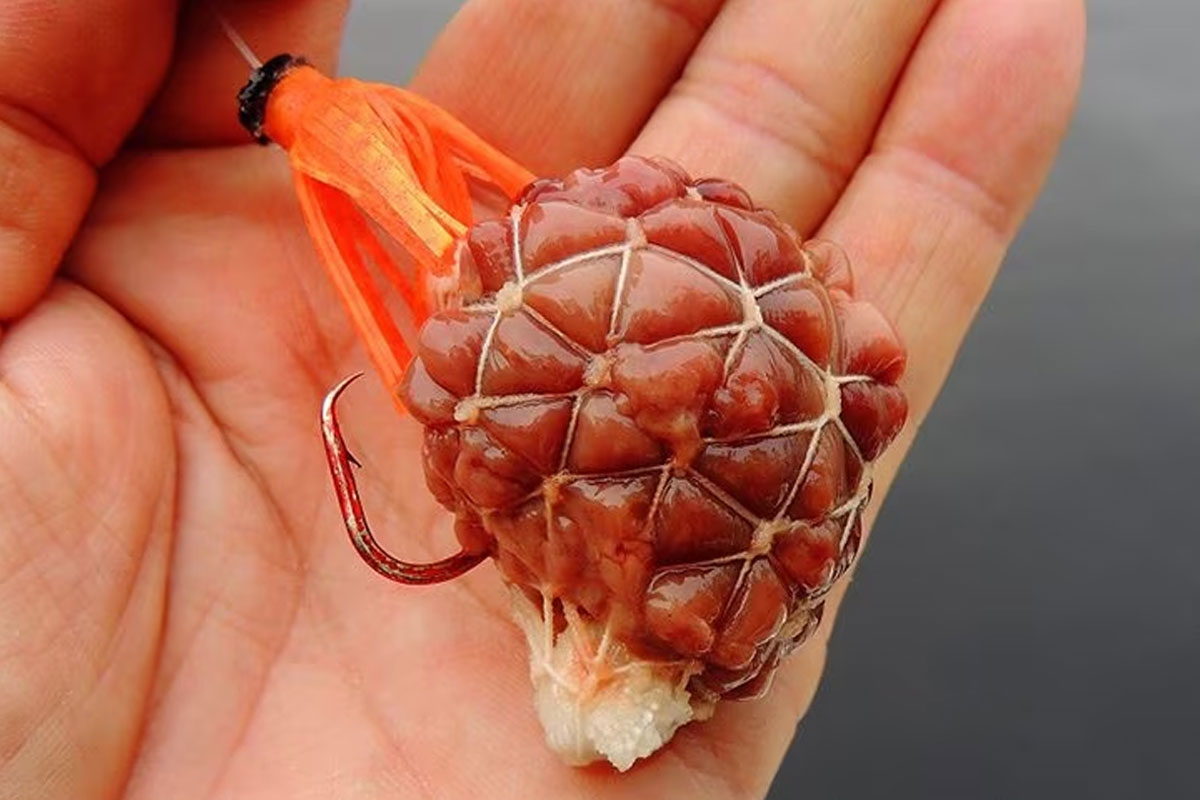
How To Cure Chicken Livers For Catfishing
How To Cure Meat In The Wild
How To Cure Meat In Koji
How To Cure Pork Side Meat

How To Cure Meat