Master the Art of Grilling Steak on a Blackstone Grill
Grilling steak is a culinary art that requires precision and technique. If you’re a steak enthusiast and you own a Blackstone Grill, then you’re in luck! The Blackstone Grill is the perfect tool to cook mouthwatering, juicy steaks that will have your taste buds dancing with joy. In this article, we will guide you through the step-by-step process of how to cook steak on a Blackstone Grill, ensuring restaurant-quality results in the comfort of your backyard.
Choose the Right Cut
The first step to grilling the perfect steak is selecting the right cut. Some popular choices for grilling include ribeye, strip steak, tenderloin, and T-bone. Before grilling, allow the steak to sit at room temperature for around 30 minutes. This will help it cook more evenly.
Preheat Your Blackstone Grill
Preheating your Blackstone Grill is the key to achieving that delicious sear on your steak. Start by setting the burners to high and letting the grill heat up for at least 10 minutes. This will ensure that the surface of the grill is hot enough to sear the steak quickly and lock in the juices.
Seasoning is Everything
While some steak lovers prefer a simple salt and pepper seasoning, others enjoy a flavorful dry rub or marinade. Whichever seasoning you choose, make sure to apply it generously on both sides of the steak. Allow the steak to sit for a few minutes before placing it on the grill. This will give the flavors time to penetrate the meat.
Grill Time
Place the seasoned steak on the preheated Blackstone Grill. The sizzling sound when the steak hits the grill is pure music to the ears. For a medium-rare steak, cook each side for about 4-5 minutes, depending on the thickness of the cut. If you prefer your steak more well-done, adjust the cooking time accordingly.
Don’t Forget to Flip
Flipping the steak is an essential step in achieving a perfectly cooked piece of meat. Use a pair of tongs or a spatula and flip the steak only once during the grilling process. Avoid pressing down on the steak as this can cause the precious juices to escape, resulting in a less juicy steak.
Rest and Savor
Once your steak has reached the desired doneness, remove it from the grill and let it rest for a few minutes. This step is crucial as it allows the juices to redistribute and creates a more tender and flavorful steak. Use this time to gather your side dishes and prepare to indulge in a truly mouthwatering meal.
Experiment and Enjoy
Now that you know the basics of cooking steak on a Blackstone Grill, it’s time to unleash your creativity. Feel free to experiment with different seasonings, marinades, and cuts of meat. The Blackstone Grill provides a versatile cooking surface that allows you to try out various techniques and flavors. So, fire up your grill, grab your favorite steak, and let your culinary skills shine!
Remember to always follow proper safety precautions when grilling and enjoy the process. With a Blackstone Grill and a little know-how, you’ll be grilling steak like a pro in no time.
More Delicious Recipes to Try on Your Blackstone Grill
After mastering the art of cooking steak on a Blackstone Grill, readers can expand their culinary repertoire with a selection of mouth-watering recipes. For a classic experience, the Classic Ribeye Steak on the Blackstone Grill is a must-try due to its simplicity and rich flavors. Those looking for a more adventurous taste should not miss the Spicy Marinated Flank Steak on Blackstone Grill, which offers a tantalizing kick. For a delightful meal that combines both elegance and flavor, the Grilled Tenderloin Steak with Blue Cheese Sauce on Blackstone is highly recommended. Each recipe leverages the unique cooking style of the Blackstone Grill, ensuring that every steak is seared to perfection.
Was this page helpful?
Read Next: How To Cook Dried Pink Beans
Related Articles
How To Cook Frozen Egg Bites
How To Cook Smithfield Pork Tenderloin In Air Fryer
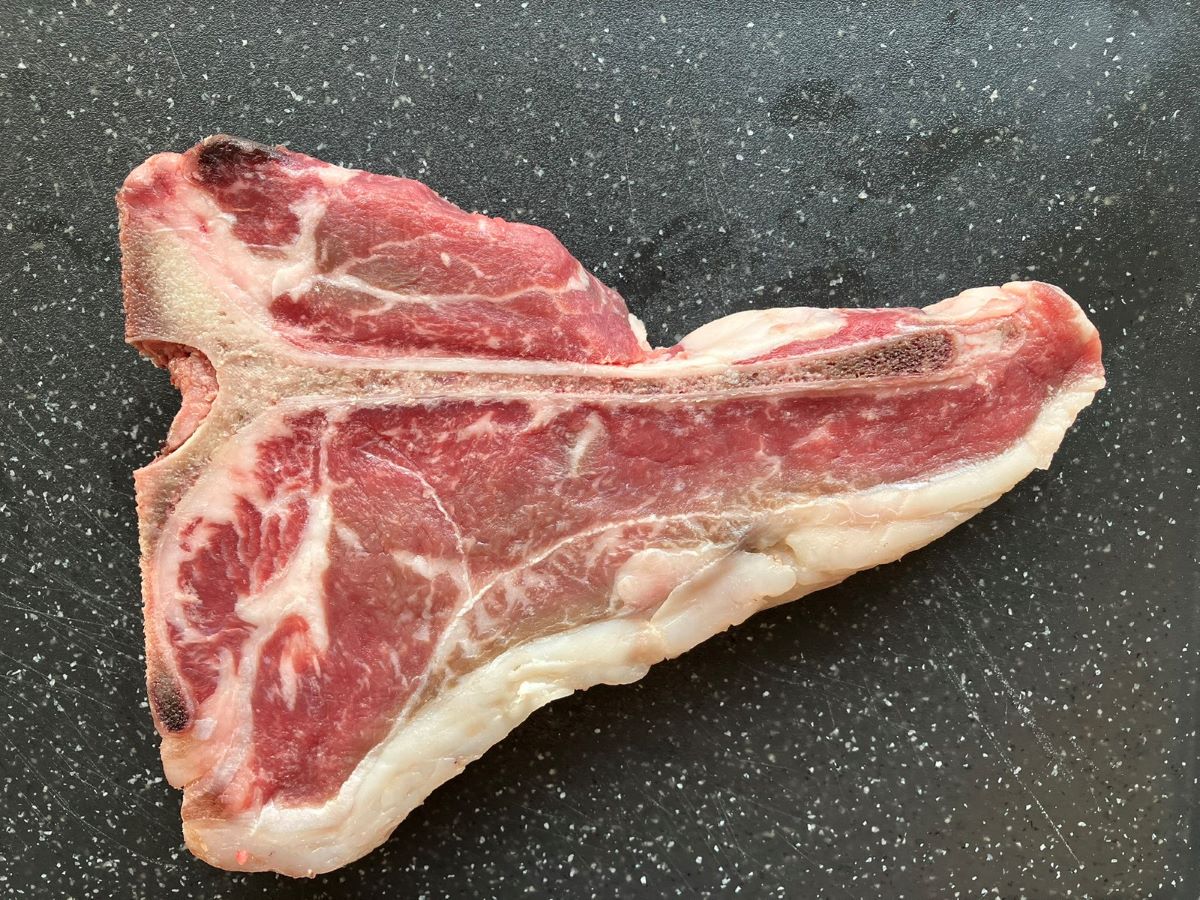
How To Cook 1 Inch T-Bone Steak
How To Cook Rice With Cream Of Chicken Soup
How To Cook Tortellini In A Pan
How To Cook Chicken In Stainless Steel Pan

How To Cook Potato Leaves

How To Cook Corn Tortillas In Oven
How To Cook Pre Cooked Shrimp In The Oven

How To Cook Frozen Bone Marrow
How To Cook Mushrooms For Spaghetti