Cooking ribs in a Ninja Foodi transforms this daunting task into a simple pleasure, offering tender, fall-off-the-bone results every time. This versatile kitchen gadget combines pressure cooking and air frying capabilities, ensuring your ribs are both succulent and crisply finished. Whether you're a seasoned chef or stepping into the kitchen for the first time, mastering ribs in the Ninja Foodi is surprisingly straightforward. With just a few tips and tricks, you'll be serving up mouthwatering ribs that rival any barbecue joint. Ready to impress your guests and satisfy your cravings? Let's dive into the art of cooking ribs in a Ninja Foodi.
Essential Ingredients for Delicious Ninja Foodi Ribs
- Baby back ribs (about 2-3 pounds)
- Barbecue sauce (1 cup)
- Brown sugar (2 tablespoons)
- Paprika (1 tablespoon)
- Garlic powder (1 teaspoon)
- Onion powder (1 teaspoon)
- Salt (1/2 teaspoon)
- Black pepper (1/2 teaspoon)
- Water (1 cup)
- Apple cider vinegar (1/4 cup)
Gather Your Tools: What You’ll Need for Perfect Ribs
- Ninja Foodi Grill
- Meat thermometer
- Tongs
- Aluminum foil
- Basting brush
- Cutting board
- Sharp knife
Cooking ribs in a Ninja Foodi requires pressure cooking them first for tenderness, then using the air fryer function to achieve a crispy exterior. Season well for best flavor.
The Secret Behind Cooking Ribs in Your Ninja Foodi
Cooking ribs in a Ninja Foodi offers a fast, efficient method to achieve tender, flavorful meat. This innovative kitchen appliance combines pressure cooking and air frying capabilities, allowing ribs to be cooked under pressure to tenderize quickly, then crisped to perfection, all in one device, saving time and kitchen space.
Using a Ninja Foodi for ribs also enhances flavor and texture. Pressure cooking locks in juices, making ribs succulent. Following with the air frying feature adds a deliciously crispy exterior. This technique provides a convenient, foolproof way to prepare restaurant-quality ribs at home, appealing to both novice cooks and seasoned chefs alike.
Mastering Ribs in the Ninja Foodi: A Step-by-Step Guide
- Select Ribs: Choose baby back or spare ribs based on preference.
- Prep Ribs: Remove membrane from the back of ribs for better texture.
- Season Ribs: Rub generously with your favorite BBQ spice mix.
- Cut Ribs: If necessary, cut ribs to fit into the Ninja Foodi pot.
- Add Liquid: Pour 1 cup of water and 1 cup of apple juice into the pot. This creates steam for cooking.
- Place Ribs in Basket: Insert the air fryer basket into the pot. Place ribs inside, standing on their edge, circling the basket.
- Pressure Cook: Seal the Ninja Foodi lid. Set to pressure cook on high for 30 minutes.
- Natural Release: After cooking, allow pressure to release naturally for 15 minutes, then quick release any remaining pressure.
- Preheat Air Crisper: Remove lid, and switch to the air crisper or broil function to preheat.
- Sauce Ribs: Brush ribs with a generous layer of BBQ sauce.
- Air Crisp: With the air crisper lid down, set to 400°F for 10-15 minutes or until the sauce is caramelized.
- Rest Ribs: Let ribs rest for 5-10 minutes before cutting. This helps juices redistribute.
- Serve: Enjoy your perfectly cooked ribs from the Ninja Foodi.
Mastering Ribs in Your Ninja Foodi
Cooking ribs in a Ninja Foodi is a game-changer, offering a blend of convenience and flavor that's hard to beat. With the right techniques, you can achieve tender, fall-off-the-bone ribs that rival any traditional barbecue. Remember, the secret lies in the preparation and cooking process. Season your ribs generously, pressure cook to tenderize, then air fry to achieve that irresistible crust. Don't forget to let them rest before diving in; this ensures all those juicy flavors stay locked in. Embracing this method not only saves time but elevates your rib game to new heights. So, next time you're craving barbecue, turn to your Ninja Foodi and get ready for a mouthwatering feast.
More Delicious Recipes to Try in Your Ninja Foodi
For those ready to put their Ninja Foodi to work, a world of flavors awaits in these rib recipes. Whether you're in the mood for something classic or adventurous, the versatility of the Ninja Foodi makes it possible to explore a variety of cuisines. Start with Classic BBQ Baby Back Ribs in the Ninja Foodi for a traditional, smoky barbecue experience, or venture into bolder territory with Spicy Honey-Glazed Ribs in the Ninja Foodi. Those with a penchant for Asian flavors might lean towards Korean BBQ Ribs in the Ninja Foodi or Teriyaki Ribs in the Ninja Foodi. Each recipe is crafted to highlight the unique capabilities of the Ninja Foodi, ensuring juicy, flavorful ribs that are sure to impress at any dining table.
All Your Questions Answered About Ninja Foodi Ribs
How long does it take to cook ribs in a Ninja Foodi?
Cooking ribs in your Ninja Foodi is a breeze and doesn't take all day. Expect to spend about 30 minutes under high pressure, followed by a quick crisp under the broil function for that perfect finish. So, in under an hour, you're looking at fall-off-the-bone goodness.
Can I use frozen ribs in my Ninja Foodi?
Sure thing! If you forgot to thaw your ribs, no sweat. Just add about 5-10 extra minutes to the pressure cooking time. Keep in mind, seasoning might not stick as well to frozen ribs, so consider a quick thaw in cold water if you've got a bit of time.
What's the best way to season ribs for cooking in a Ninja Foodi?
Seasoning is key for lip-smacking ribs. A dry rub with a mix of brown sugar, paprika, garlic powder, salt, and pepper works wonders. Rub it generously on both sides of the ribs before cooking. For an extra kick, slather on your favorite BBQ sauce during the last few minutes of broiling.
How much liquid do I need to add to the Ninja Foodi for ribs?
You'll need at least a cup of liquid to create enough steam for pressure cooking. Water works fine, but for added flavor, try using apple juice or beer. This little trick can add a subtle hint of sweetness or depth to your ribs.
Can I stack ribs in the Ninja Foodi?
Absolutely! If you're cooking a large batch, feel free to stack the ribs on top of each other. Just make sure there's some space between them for the steam to circulate. This ensures even cooking and tender ribs all around.
What's the best way to finish ribs after pressure cooking?
After pressure cooking, slather your ribs with BBQ sauce and use the broil function for about 5-10 minutes. This step caramelizes the sauce and gives the ribs a deliciously crispy exterior. Keep an eye on them to prevent burning.
Any tips for making ribs fall-off-the-bone tender in the Ninja Foodi?
For that coveted fall-off-the-bone texture, ensure you're not rushing the natural pressure release. Give it about 10-15 minutes after cooking. This allows the ribs to relax and reabsorb some of the juices, making them extra tender.
Was this page helpful?
Read Next: How To Cook Beans For Weight Loss
Related Articles
How To Cook Beef Strips For Stir Fry
How To Cook Canned Corn In The Oven
How To Cook Onions For Spaghetti Sauce
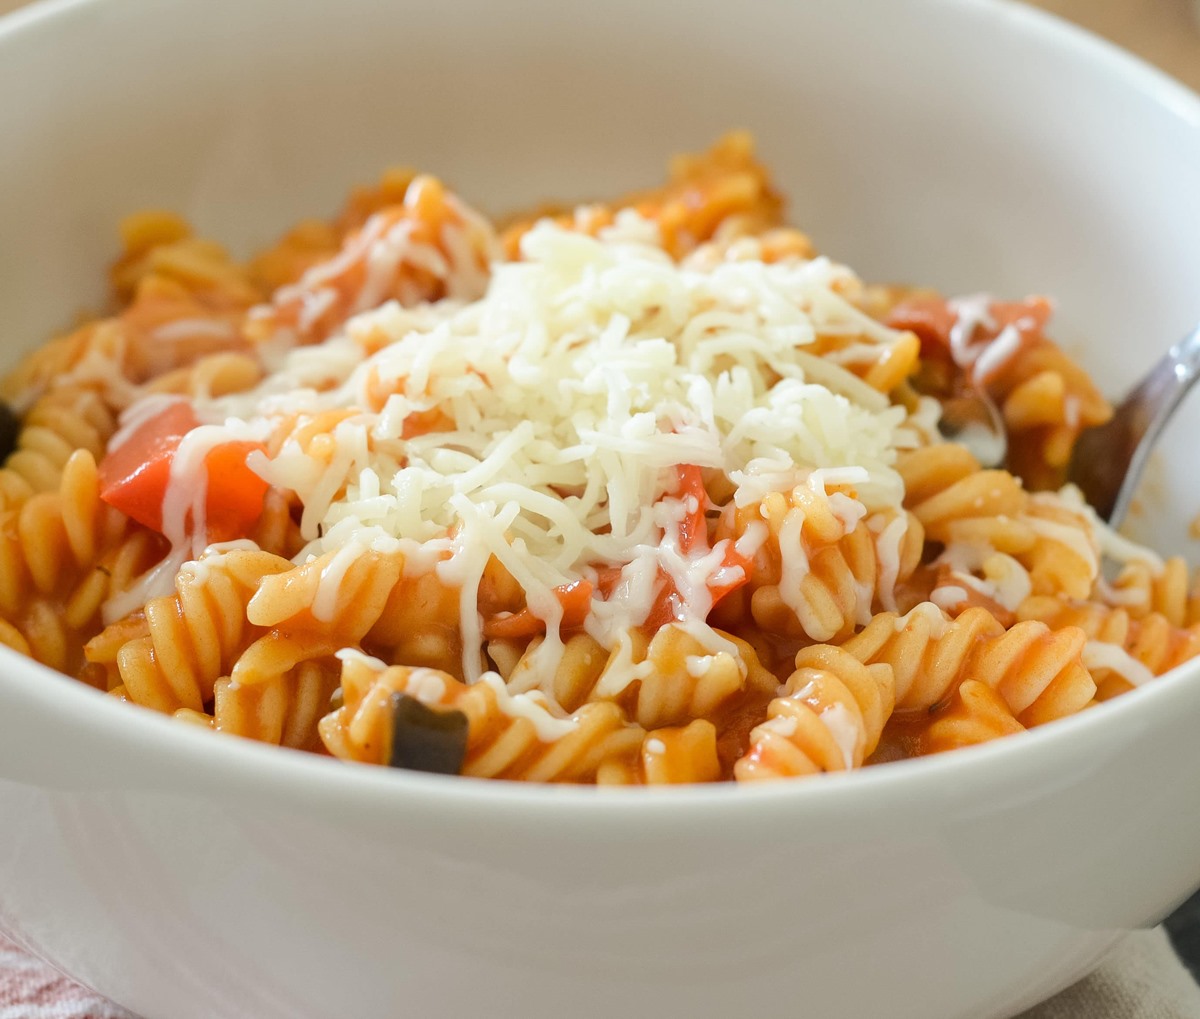
How To Cook Pasta In Ninja Foodi
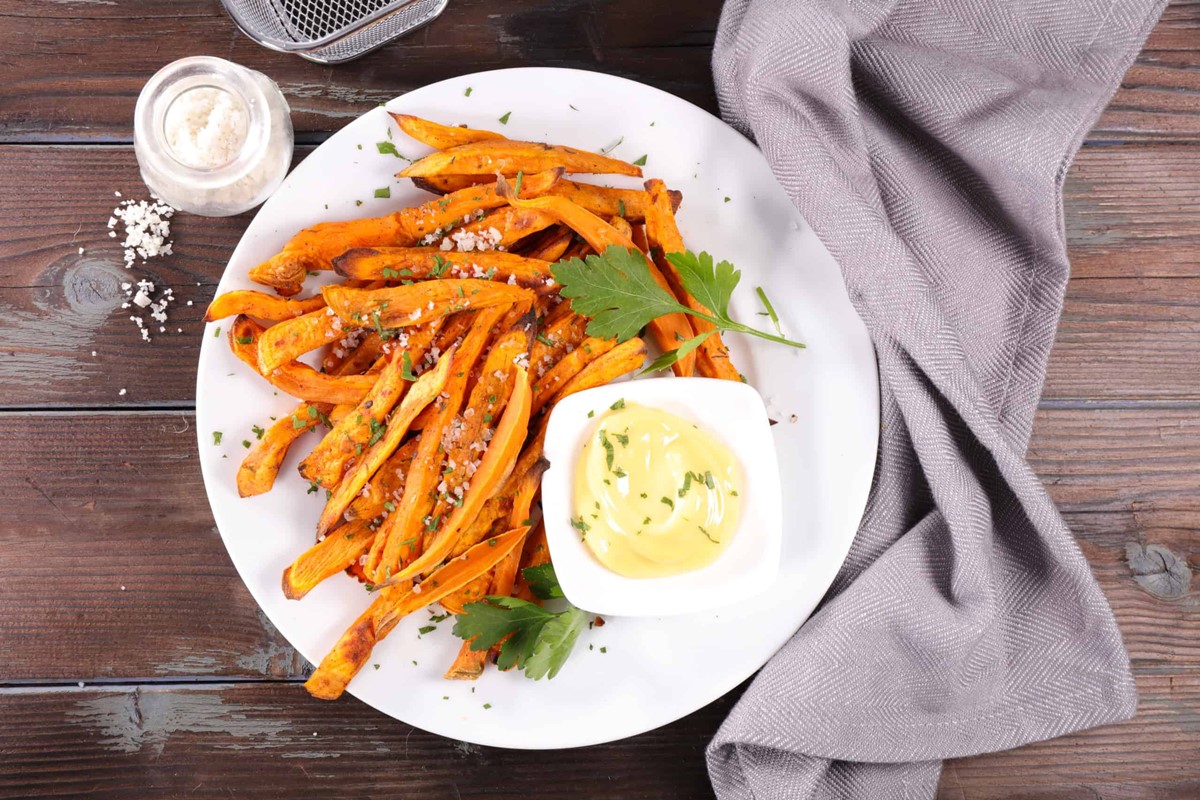
How To Cook Sweet Potatoes In Ninja Foodi
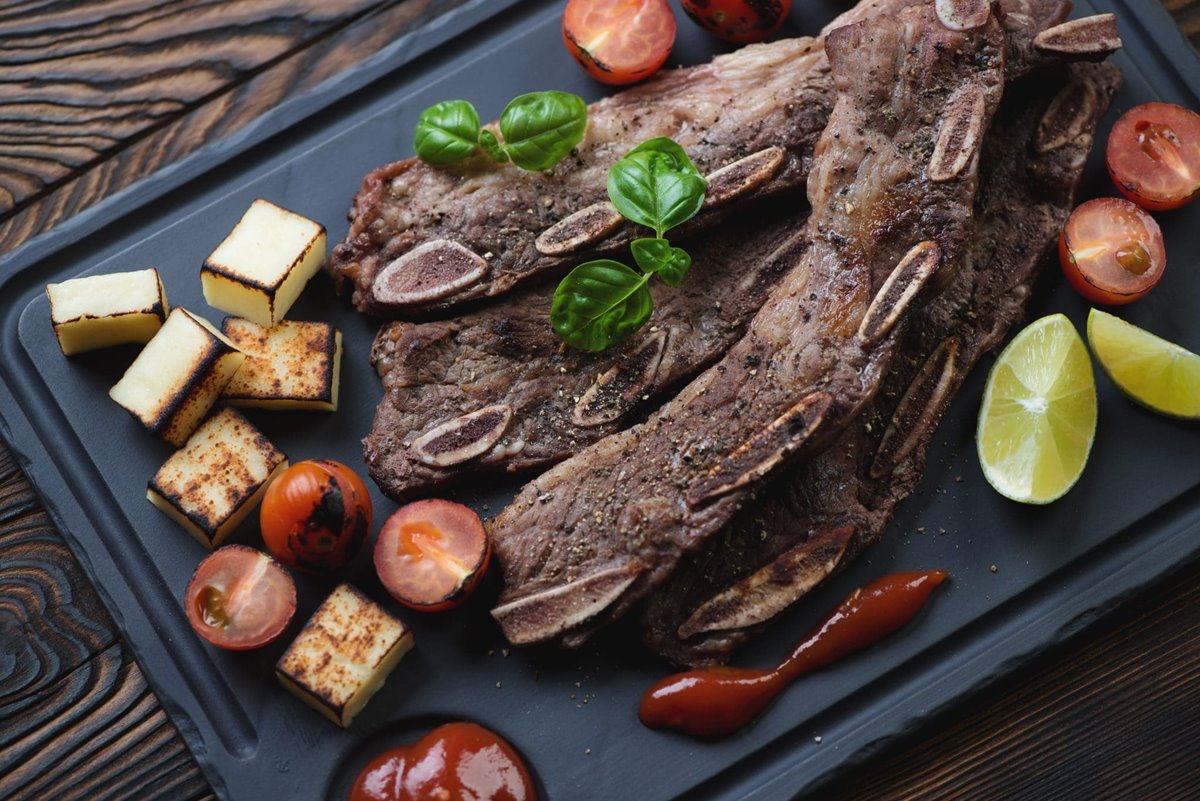
How To Cook Beef Ribs In Ninja Foodi Grill

How To Cook A Whole Chicken In Ninja Foodi Grill
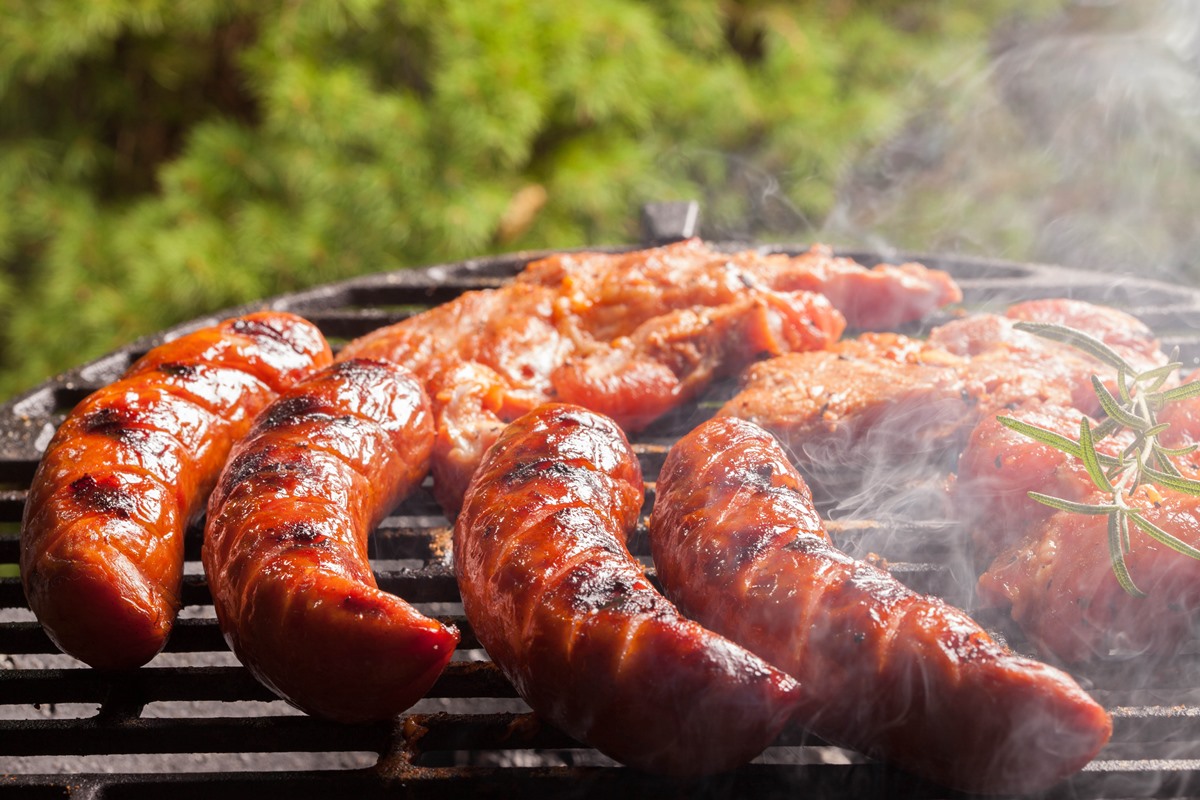
How To Cook Field Roast Sausage
How To Cook Ground Sausage In Pan
How To Cook Roger Wood Sausage
How To Cook Ground Italian Sausage On Stove