Unlocking the Deliciousness: A Guide to Cooking Costco Pierogies
Costco has long been renowned for offering great deals on quality products, and their pierogies are no exception. These savory dumplings, filled with a variety of delicious ingredients, can be a versatile and satisfying addition to any meal. Whether you’re a pierogi novice or an experienced cook, this guide will walk you through the steps to cook Costco pierogies to perfection.
Step 1: Gather Your Ingredients
Before you embark on your pierogi-cooking adventure, make sure you have everything you need at hand. Here’s what you’ll need:
- Package of Costco pierogies
- Water
- Salt
- Butter or oil
- Optional toppings and sauces: sour cream, sautéed onions, bacon bits, or marinara sauce
Step 2: Boil the Pierogies
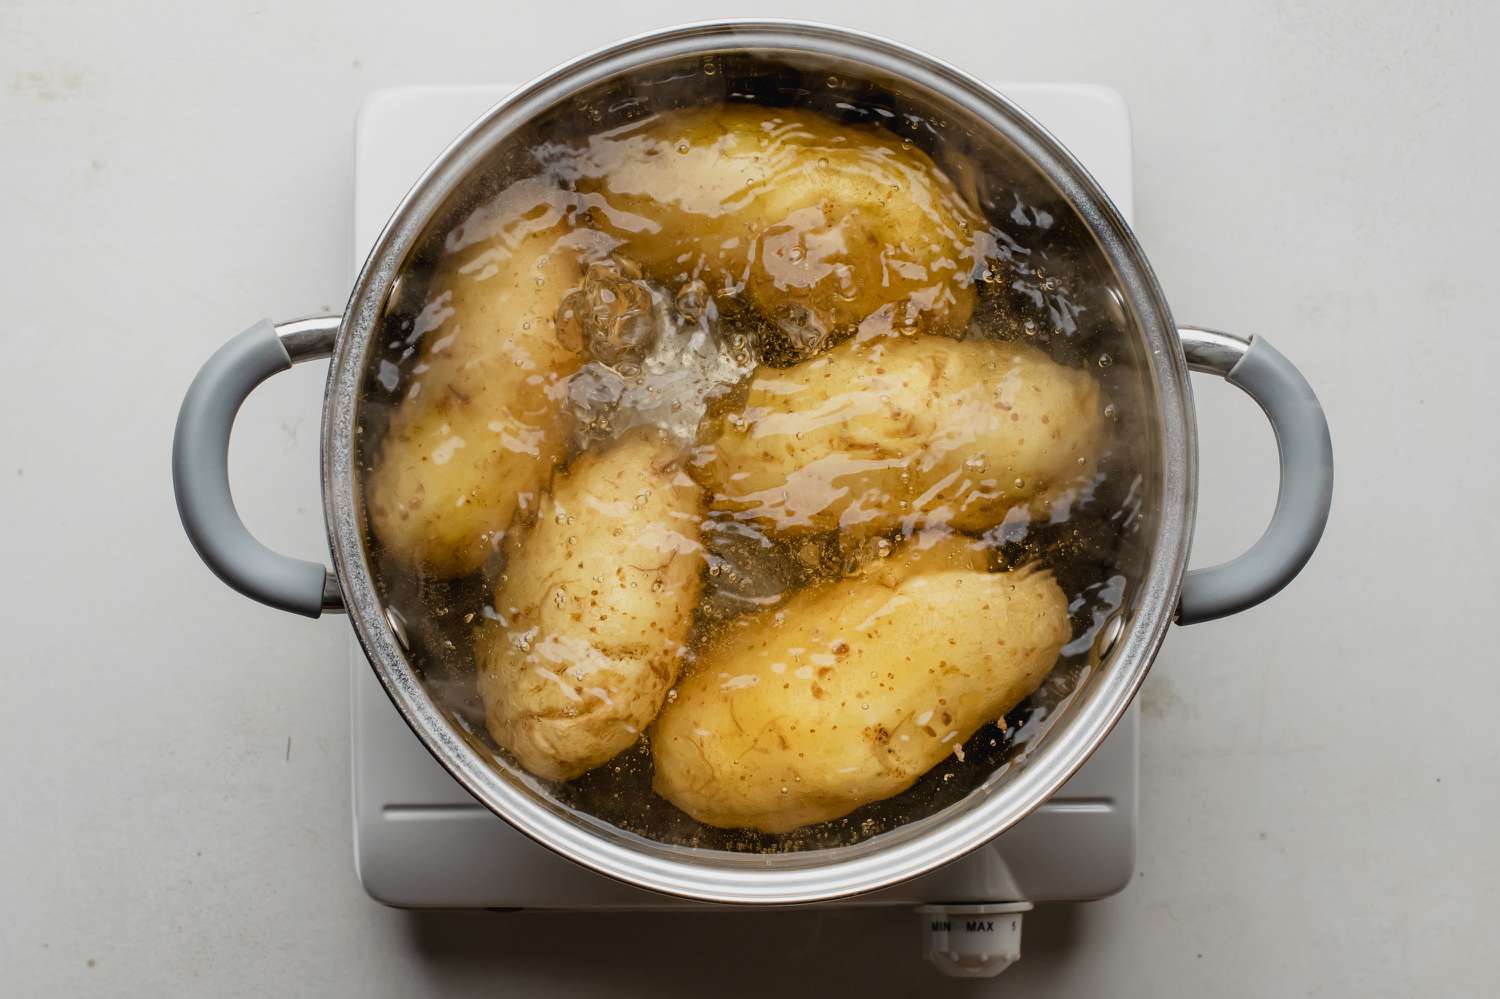
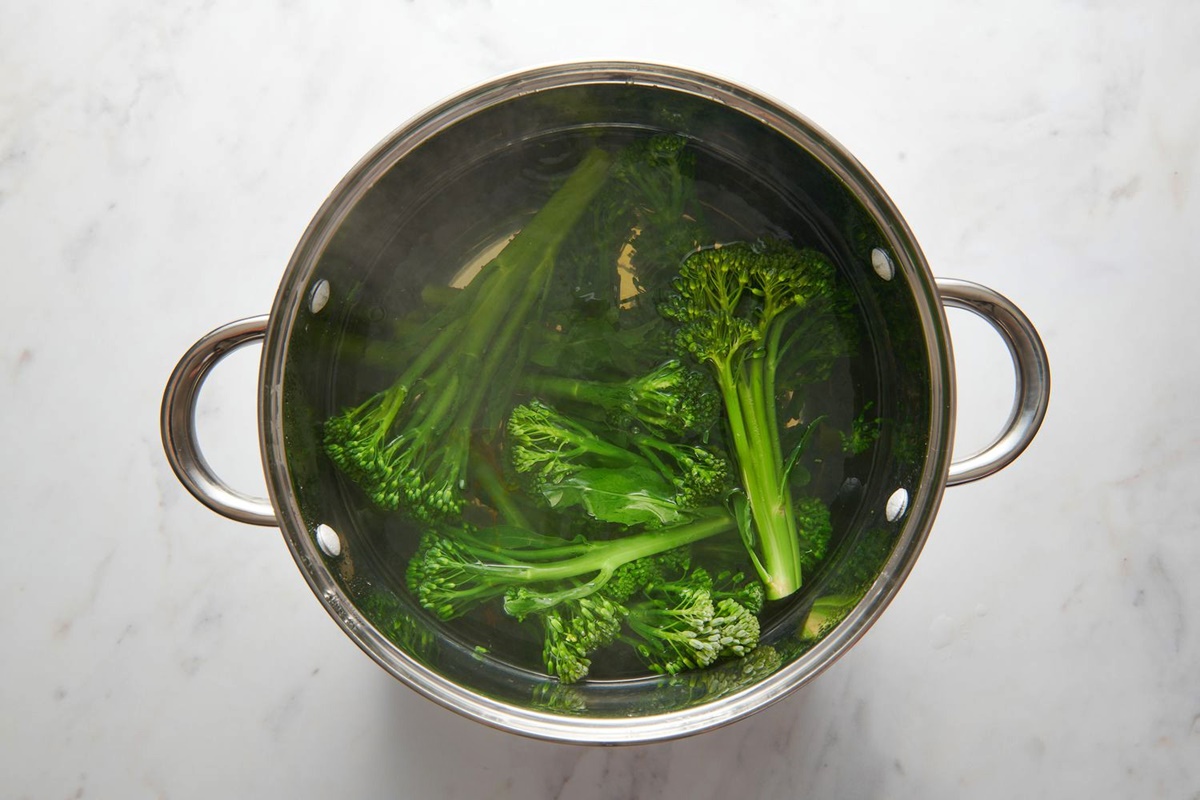
Fill a pot with water and bring it to a boil. Add a pinch of salt to enhance the flavor of the pierogies. Carefully drop the pierogies into the boiling water, ensuring they are fully submerged. Allow them to cook for about 5-7 minutes, or until they float to the surface.
Step 3: Sauté or Fry for Extra Deliciousness
While the pierogies are boiling, heat up a skillet with butter or oil over medium heat. Once the pierogies are done boiling, transfer them to the hot skillet. Cook them for an additional 2-3 minutes on each side until they turn golden brown and slightly crispy.
Step 4: Serve and Enjoy!
Remove the pierogies from the skillet and let them cool for a moment. Now it’s time to get creative! Serve your cooked pierogies with your choice of toppings and sauces, such as sour cream, sautéed onions, bacon bits, or marinara sauce. The possibilities are endless!
Tips and Tricks
To take your pierogi cooking game to the next level, here are a few additional tips:
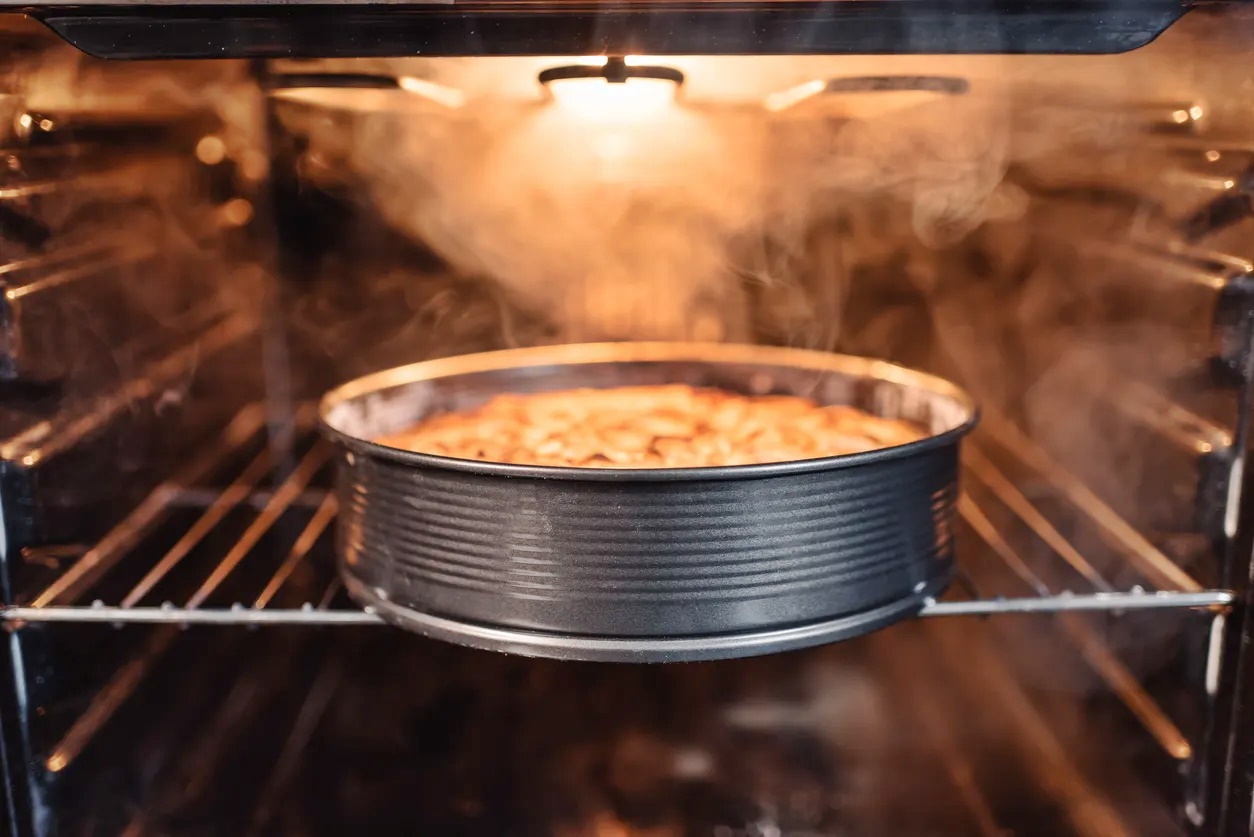
- Experiment with different cooking methods: If you prefer a healthier option, try baking your pierogies in the oven. Preheat the oven to 375°F (190°C), brush the pierogies with oil or melted butter, and bake for 20-25 minutes or until golden brown.
- Add some flavor: While boiling the pierogies, you can toss in some chopped onions, garlic, or herbs to infuse them with extra flavor.
- Get creative with fillings: While Costco offers a variety of pierogi flavors, you can also experiment with additional fillings of your choice. From classic potato and cheese to more adventurous options like spinach and feta or mushroom and caramelized onion, the choice is yours.
- Make a larger batch: Cooking pierogies can take time, so consider preparing a larger batch and freezing the extras. Just lay them flat on a baking sheet, freeze until solid, and then transfer to a freezer bag for future use.
With these simple steps and expert tips, you’re well on your way to enjoying a scrumptious plate of Costco pierogies. So go ahead, get cooking, and savor every bite!
Explore More Delicious Recipes and Uses
Now that you've mastered the basics of cooking Costco pierogies, it's time to put your skills to the test with some creative and delicious recipes. For a comforting meal, try the Classic Pierogies Recipe—the sweetness of the onions pairs beautifully with the creamy texture of the pierogies. If you're in the mood for something rich, the Fried Pierogies Recipe is a must-try, offering a delightful crunch with every bite. For those who enjoy bold flavors, the Spicy Pierogies Recipe will not disappoint, providing a spicy kick that's perfectly balanced by the doughy pierogies. Each recipe offers a unique way to savor these versatile dumplings, whether you're looking for a quick dinner option or an impressive dish for guests.
Was this page helpful?
Read Next: How To Cook A Ribeye Cap Steak
