How To Cook Chicken Legs On A Pellet Grill
If you’re a fan of succulent and juicy chicken legs, then you’re in for a treat! Cooking chicken legs on a pellet grill is a delicious and easy way to enjoy this classic dish. The combination of smoky flavors and tender meat makes for a mouthwatering meal that will leave you craving for more. Follow these simple steps to achieve perfectly cooked chicken legs every time.
Step 1: Selecting the Chicken Legs
Start by choosing high-quality chicken legs from your local butcher or grocery store. Look for legs that are plump, with smooth skin and vibrant color. Ensure that they are fresh and free from any unpleasant odors.
Step 2: Preparing the Marinade
Marinating the chicken legs is essential to infuse them with flavor and keep them moist during grilling. Create a marinade of your choice, using ingredients such as olive oil, lemon juice, garlic, herbs, and spices. For an Asian-inspired twist, you can use soy sauce, ginger, and honey. Place the chicken legs in a ziplock bag or a shallow dish and pour the marinade over them. Allow them to marinate for at least 1 hour, or preferably overnight for maximum flavor.
Step 3: Preheating the Pellet Grill
While the chicken legs marinate, preheat your pellet grill to medium heat, around 350°F (175°C). Pellet grills are an excellent choice for cooking chicken legs as they provide consistent and easy temperature control, ensuring even cooking throughout.
Step 4: Setting Up the Grill
Before placing the chicken legs on the grill, make sure to grease the grates with cooking oil to prevent sticking. This will also help achieve those beautiful grill marks. If desired, you can also add some wood pellets of your choice, such as hickory or mesquite, to enhance the smoky flavor.
Step 5: Grilling the Chicken Legs
Once the grill is preheated, carefully place the marinated chicken legs on the grates. Close the lid and let them cook for about 20-25 minutes, turning occasionally, until they reach an internal temperature of 165°F (74°C). Using a meat thermometer is highly recommended to ensure safe and perfectly cooked chicken.
Step 6: Letting It Rest
Once the chicken legs have reached the desired temperature, remove them from the grill and let them rest for a few minutes. This allows the juices to redistribute, resulting in more flavorful and tender meat.
Step 7: Enjoying the Deliciousness
Now that your chicken legs are perfectly cooked, it’s time to dig in! Serve them as they are or pair them with your favorite sides such as grilled vegetables, coleslaw, or mashed potatoes. Whether it’s a weekday dinner or a weekend BBQ, these pellet-grilled chicken legs are sure to be a hit with friends and family.
Tips and Tricks
- Experiment with different marinades and spices to create unique flavor profiles.
- For an extra crispy skin, you can finish the chicken legs on high heat for a couple of minutes.
- Ensure that the grill is properly cleaned and maintained for optimal cooking results.
- Consider brining the chicken legs before marinating for even juicier meat.
There you have it! Now you know how to cook chicken legs on a pellet grill like a pro. With these simple steps, you can enjoy a delicious and flavorful meal that will impress your guests and satisfy your taste buds. So fire up your pellet grill, get those chicken legs marinating, and let the grilling begin!
Explore More Delicious Recipes and Uses
Now that you've mastered cooking chicken legs on a pellet grill, it's time to spice up your menu with a variety of flavorful recipes. For those who enjoy classic tastes, the Classic BBQ Pellet-Grilled Chicken Legs Recipe is a must-try. If you're in the mood for something with a sweet and savory twist, the Honey Garlic Pellet-Grilled Chicken Legs Recipe offer a delightful balance. Adventurous palates will appreciate the bold flavors of Spicy Jerk Pellet-Grilled Chicken Legs Recipe. Each recipe utilizes the pellet grill's ability to infuse deep, smoky flavors, ensuring your chicken is not only cooked to perfection but also bursting with taste. These choices are highly recommended as they cater to different tastes and are a perfect way to showcase your grilling skills.
Was this page helpful?
Read Next: How To Cook Taylor Pork Roll
Related Articles
How To Cook Vegetables In Instant Pot Without Steamer Basket
How To Cook Pork Loin In Dutch Oven
How To Cook Frozen Corn On The Cob In The Oven Without Foil
How To Cook A Beef Tenderloin On The Grill
How To Cook Picanha On Gas Grill
How To Cook Red Fish On The Grill
How To Cook A Whole Pig On A Charcoal Grill
How To Cook Pork Chops On George Foreman Grill
How To Cook Pork Belly On Gas Grill
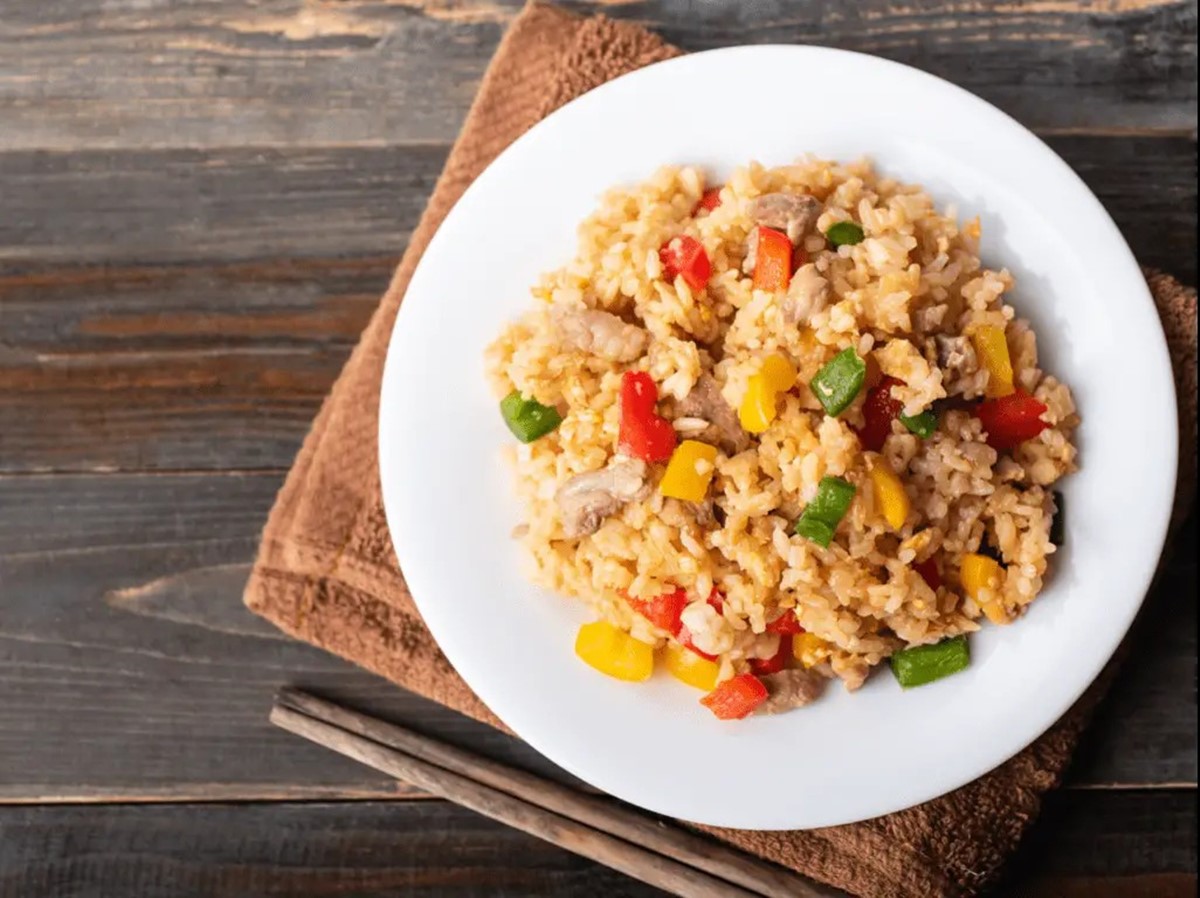
How To Cook Frozen Fried Rice
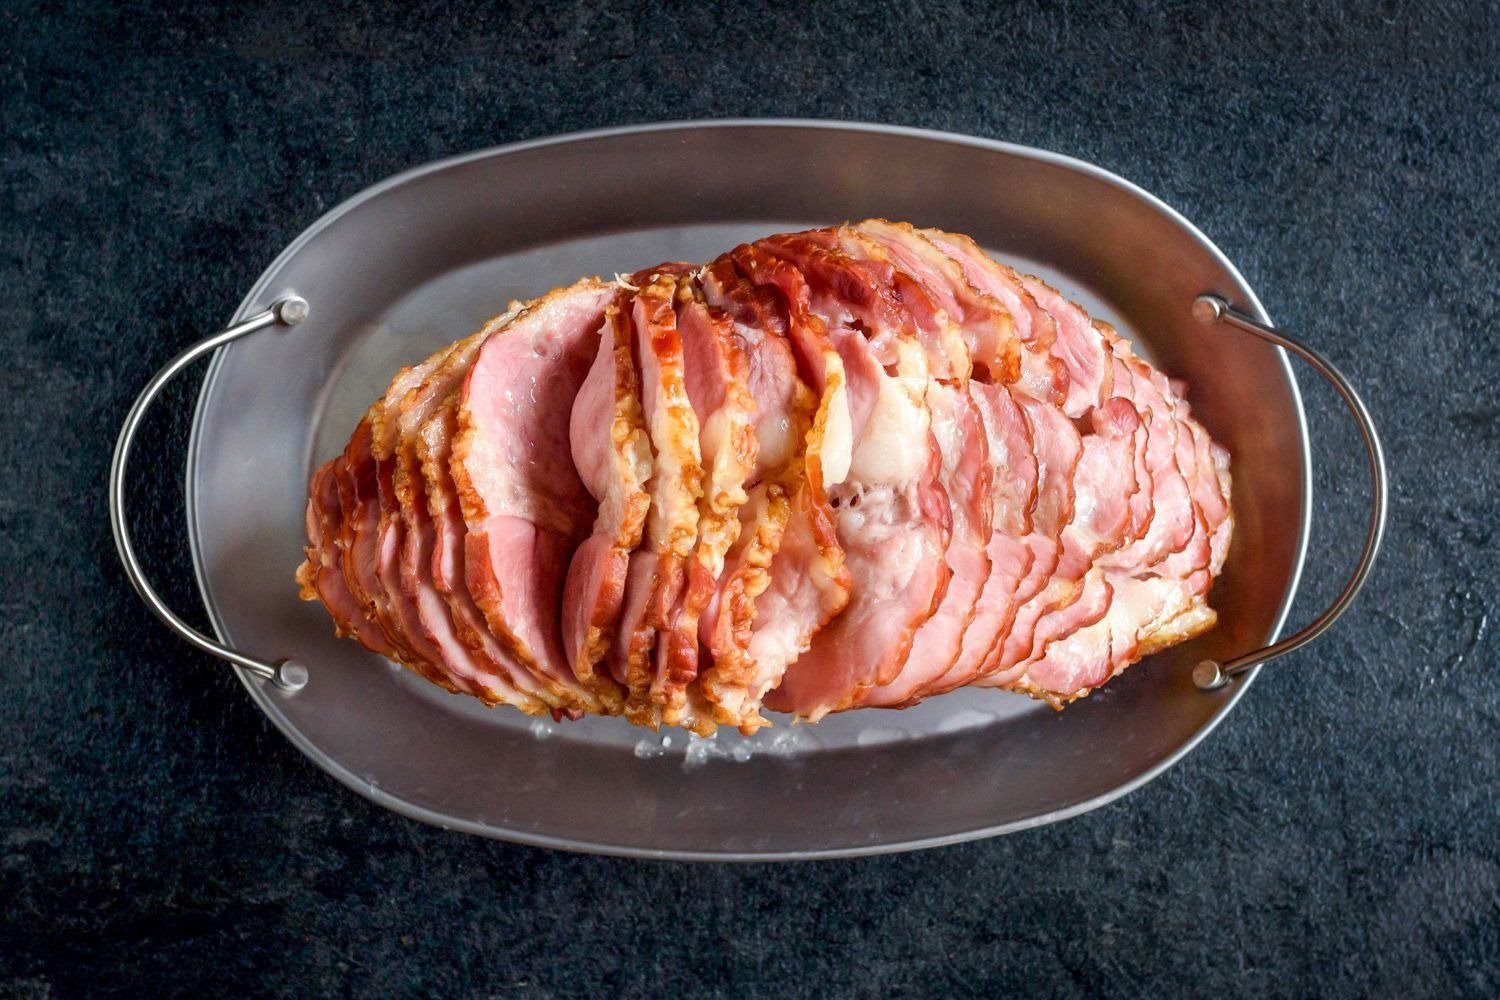
How To Cook A Frozen Spiral Ham