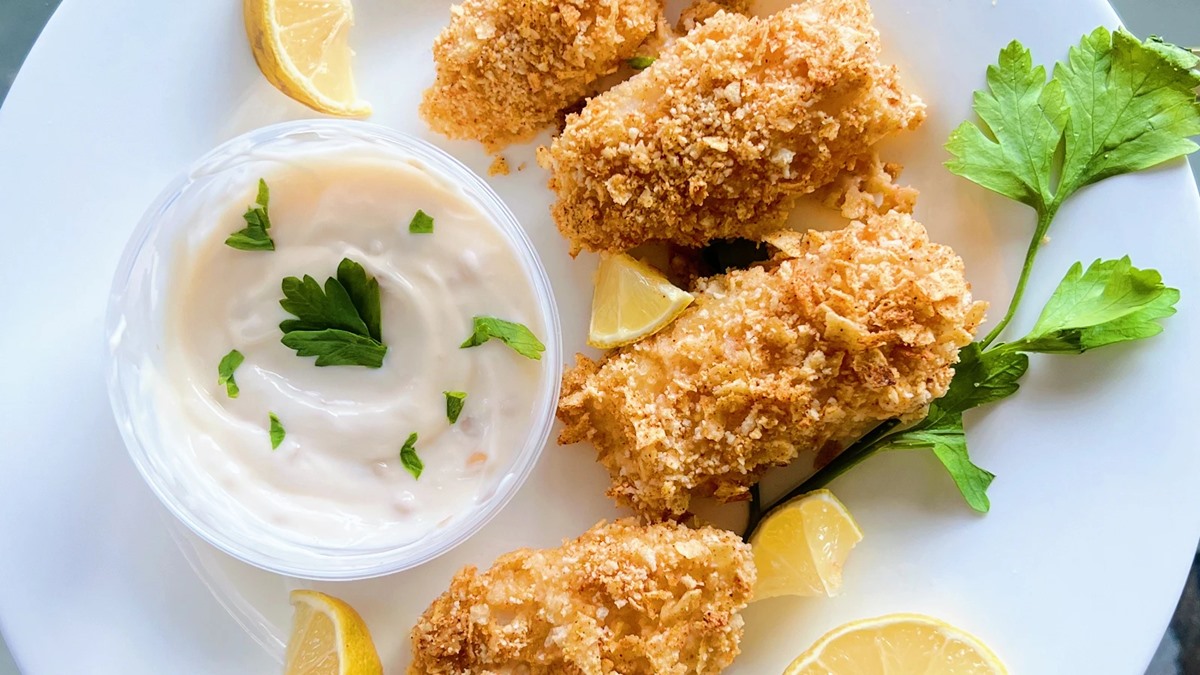
Delicious and Easy Chicken Kiev in the Air Fryer
Imagine sinking your teeth into a crispy exterior, only to be met with a burst of savory garlic butter as you savor every bite of tender, juicy chicken. This is the magic of Chicken Kiev, a classic dish that is sure to please the entire family. And the best part? You can achieve that perfect combination of flavors and textures right in your air fryer!
Whether you are new to cooking or a seasoned pro, the air fryer offers a convenient and healthier way to prepare your favorite dishes. By using minimal oil and circulating hot air, it ensures that you get that desirable crispy coating while locking in moisture at the same time.
Ingredients:
- 4 boneless, skinless chicken breasts
- 1 cup bread crumbs (you can use panko or regular)
- 2 tablespoons freshly chopped parsley
- 1 teaspoon garlic powder
- 1/2 teaspoon salt
- 1/4 teaspoon black pepper
- 4 tablespoons unsalted butter, softened
- 2 cloves garlic, minced
- 1 tablespoon freshly squeezed lemon juice
Instructions:
- Preheat your air fryer to 400°F (200°C) for about 5 minutes.
- While the air fryer is preheating, prepare the garlic butter mixture. In a small bowl, combine the softened butter, minced garlic, and lemon juice. Mix well until fully combined.
- Butterfly each chicken breast by cutting horizontally through the thickest part, being careful not to cut all the way through. Open the chicken breast like a book.
- Place 1 tablespoon of the garlic butter mixture in the center of each chicken breast.
- Fold the chicken breast in half, enclosing the garlic butter mixture. Secure with toothpicks to keep the filling intact.
- In a separate bowl, combine the bread crumbs, chopped parsley, garlic powder, salt, and black pepper.
- Dip each stuffed chicken breast into the bread crumb mixture, pressing gently to adhere the crumbs to the chicken.
- Place the breaded chicken breasts in the air fryer basket in a single layer, leaving space between each piece for even cooking.
- Cook the chicken in the air fryer for 12-15 minutes, or until the internal temperature reaches 165°F (74°C) and the coating is golden brown and crispy. Flip the chicken halfway through for even browning.
- Remove the chicken from the air fryer and allow it to rest for a few minutes before serving.
- Gently remove the toothpicks from the chicken breasts before serving. This step is crucial to avoid any accidental bites!
Your homemade Chicken Kiev is now ready to be devoured. Serve it alongside your favorite side dishes, such as mashed potatoes and steamed vegetables, for a complete and satisfying meal.
Next time you’re craving a delicious and elegant dish, reach for your air fryer and indulge in the crispy, buttery goodness of Chicken Kiev. Prepare to impress your family and friends with this easy and flavorful recipe that will have everyone asking for seconds!
Was this page helpful?
Related Articles
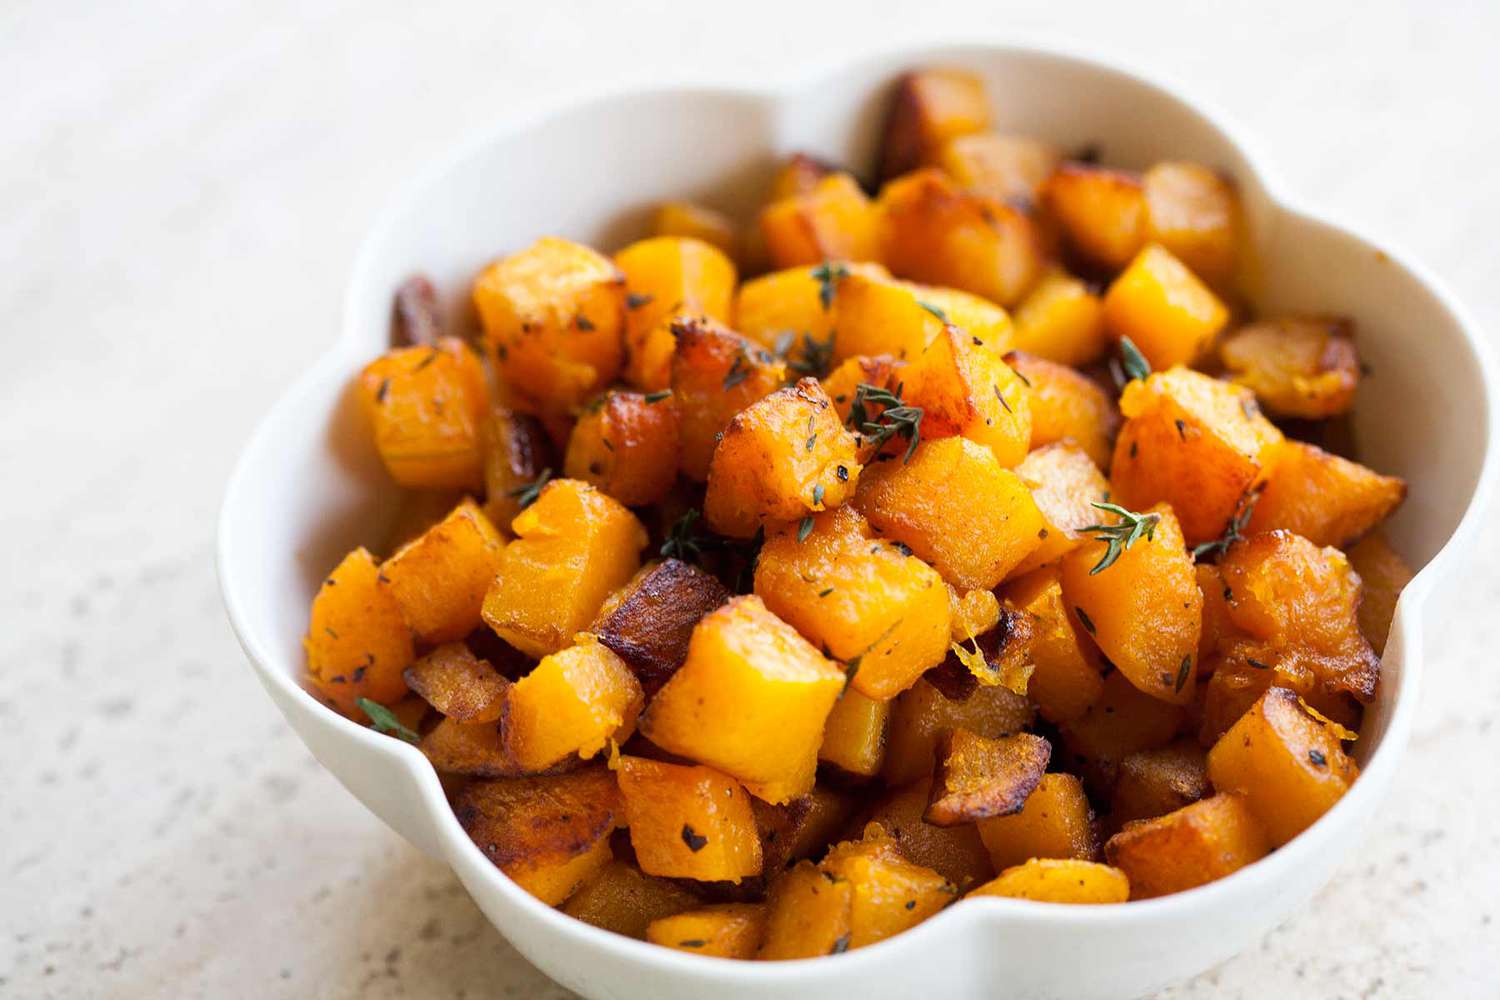
How To Cook Frozen Butternut Squash On The Stove
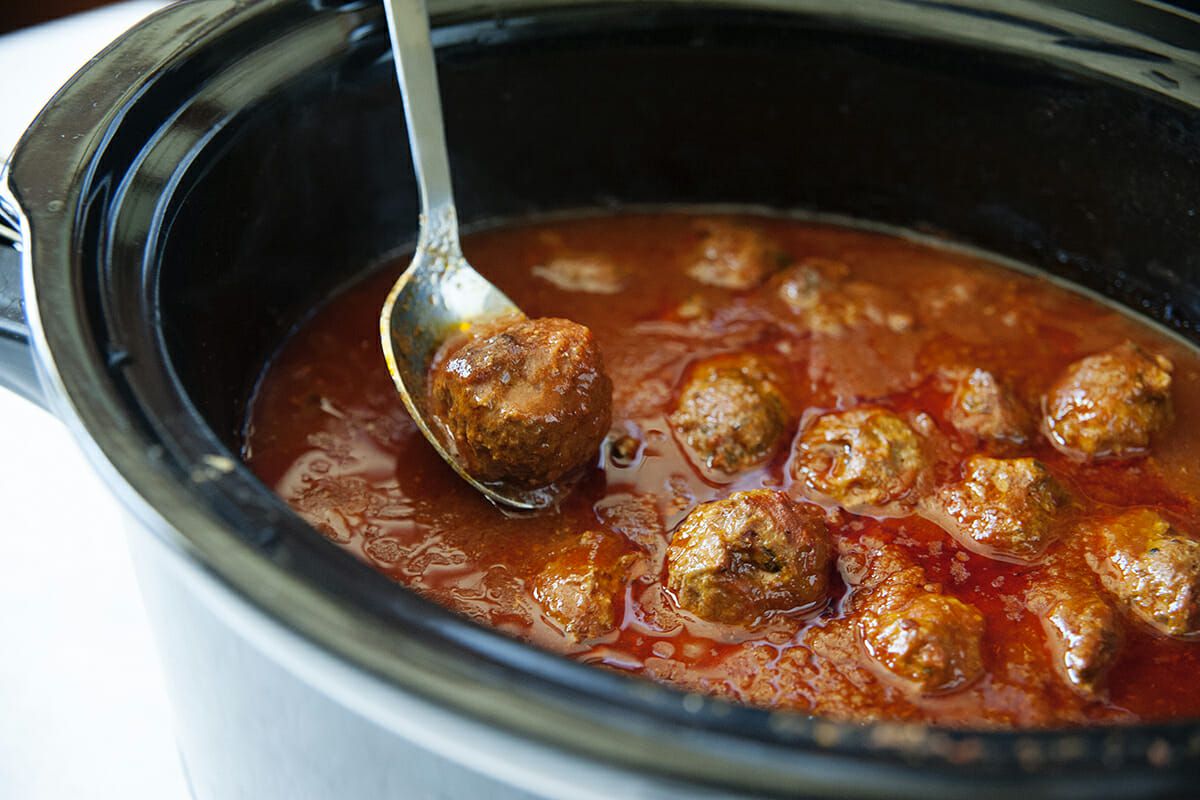
How To Cook Frozen Meatballs In Crock Pot

How To Cook 1 Cup Of Lentils
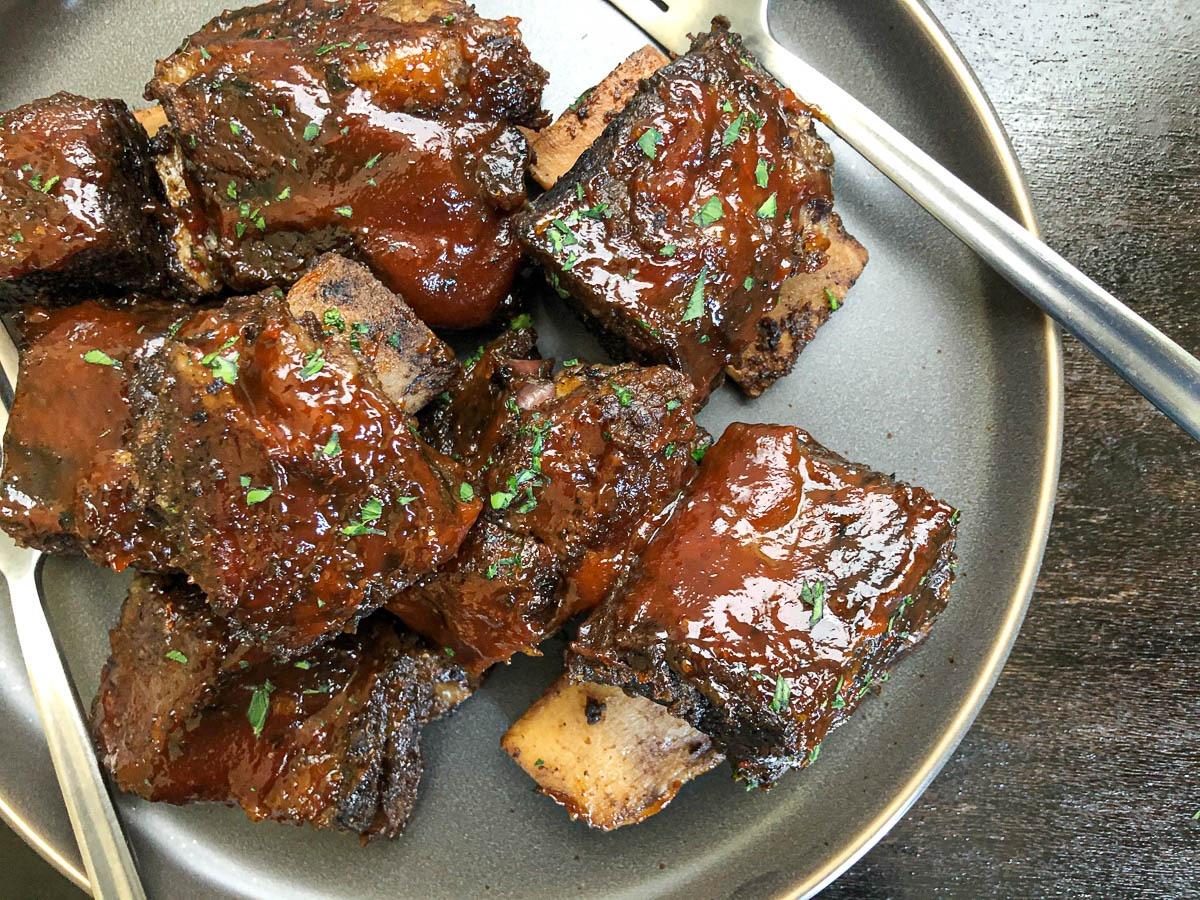
How To Cook Frozen Beef Short Ribs In Oven
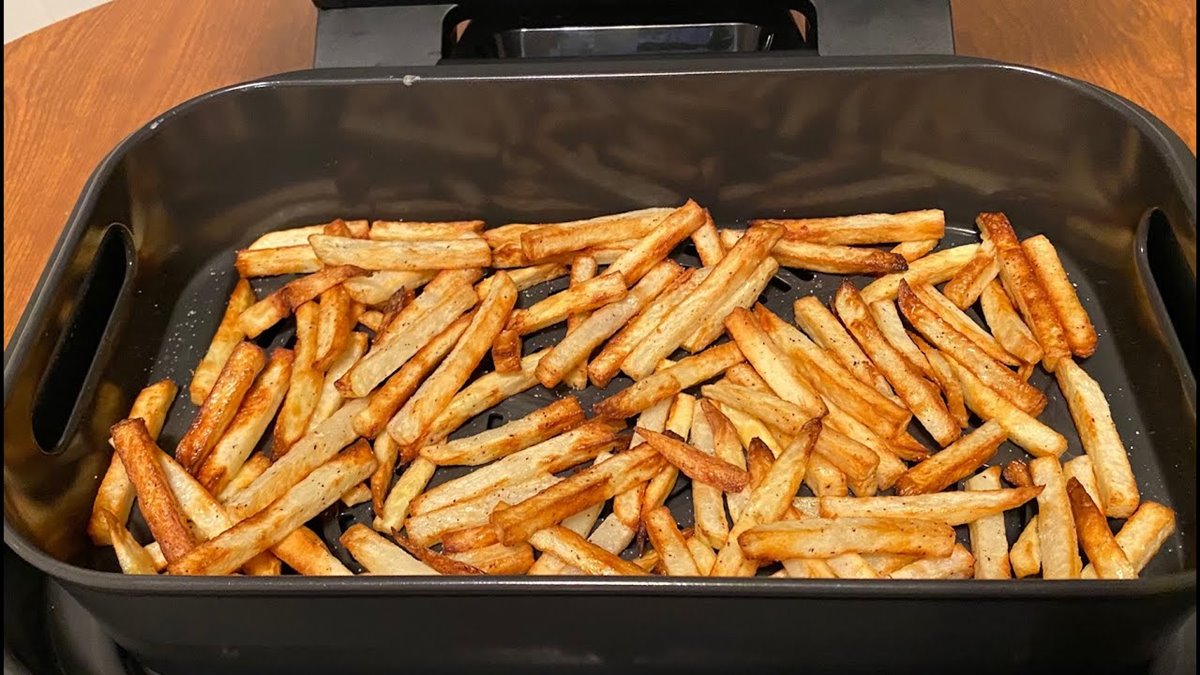
How To Cook Frozen French Fries In The Ninja Foodi

How To Cook Raw Pumpkin For Dogs
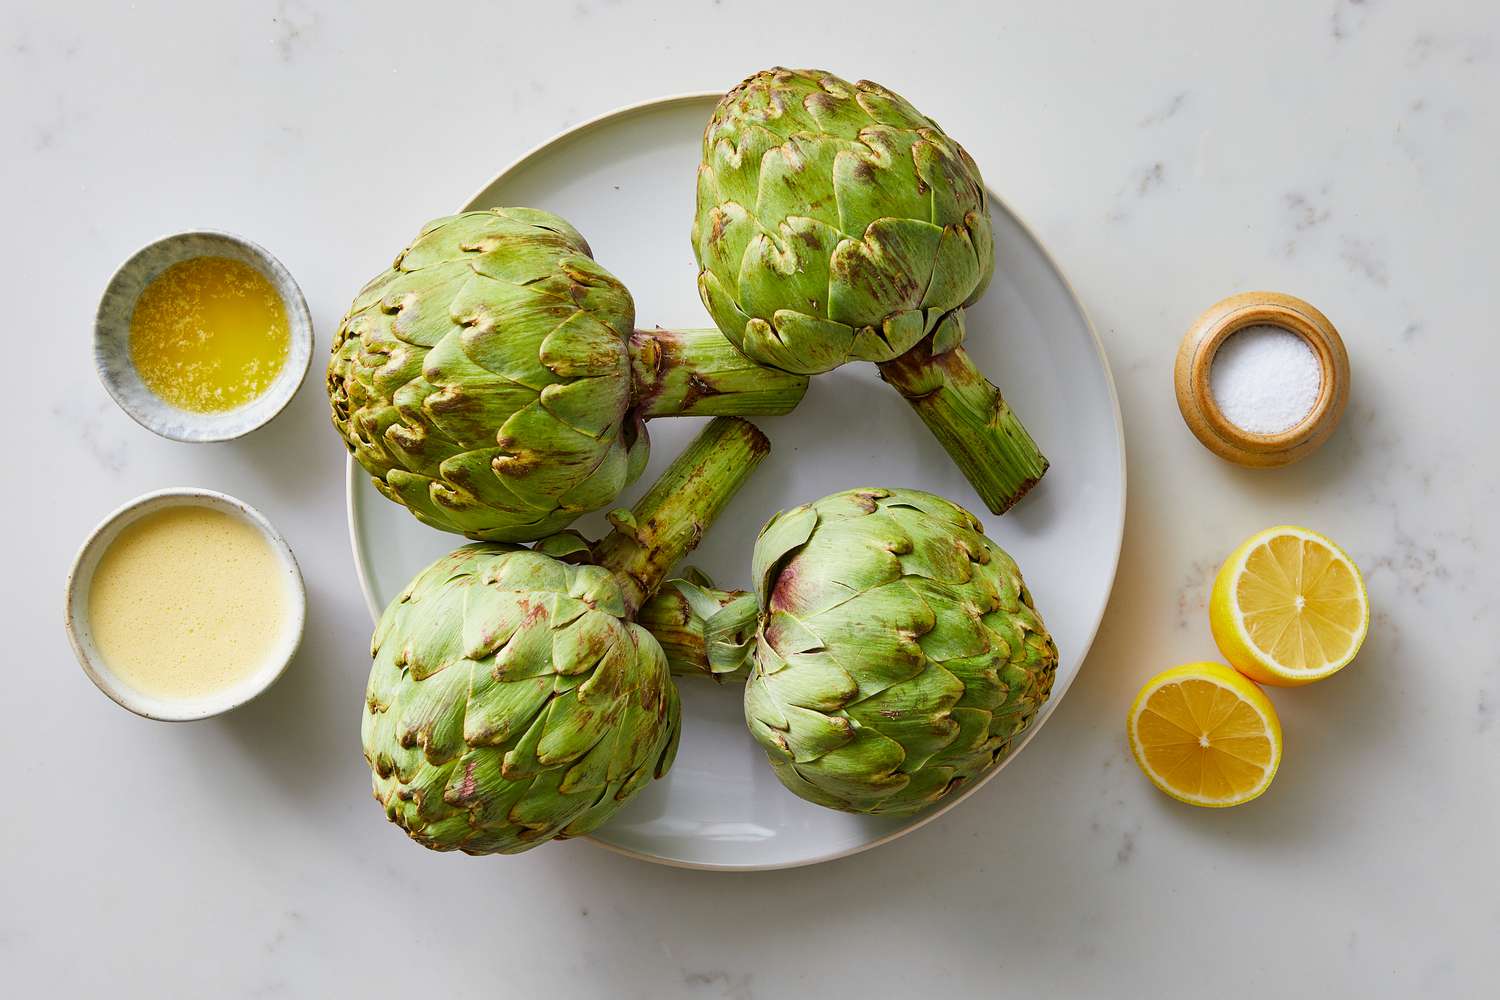
How To Cook Artichokes Without A Steamer Basket
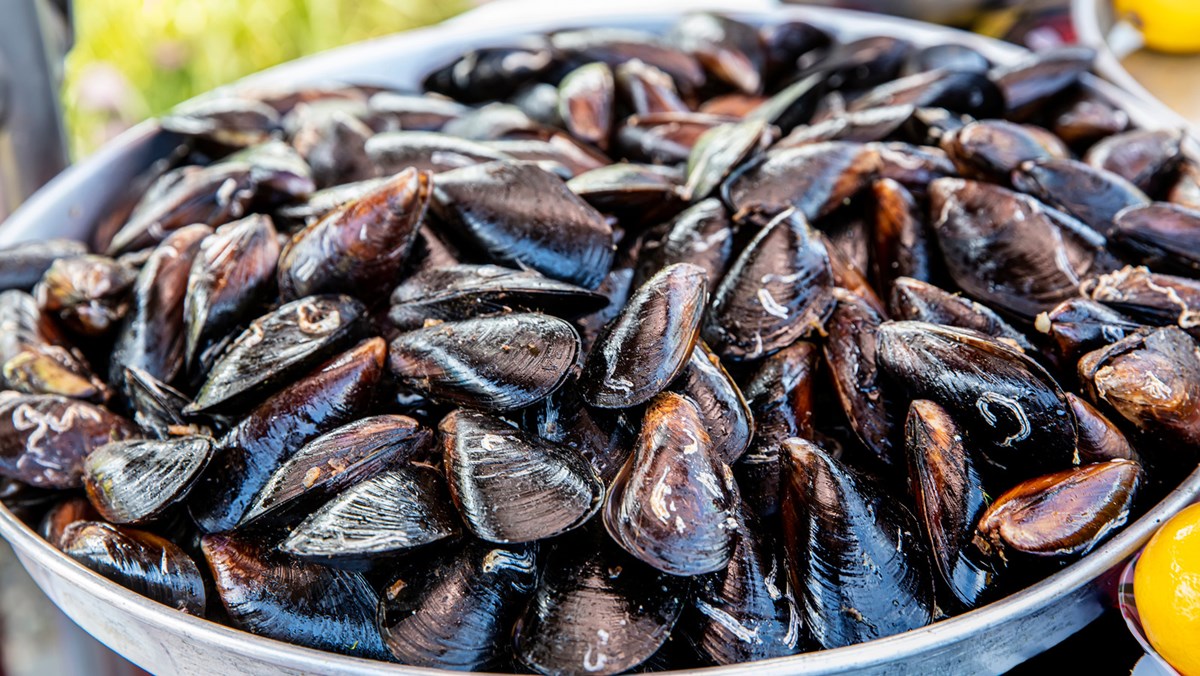
How To Cook Pre Cooked Mussels
How To Cook Salted Egg
How To Cook Potato Crusted Cod
How To Cook Black Beans For Dogs