Perfectly Crispy Bacon Straight From Your Ninja Foodi Grill
If you’re a bacon lover like me, you know that nothing beats the heavenly aroma of sizzling bacon in the morning. The crispy texture and savory flavor make it the ultimate indulgence. But, have you ever wished for a foolproof method to cook bacon that guarantees perfection every time? Look no further! In this post, I’ll show you how to cook bacon in a Ninja Foodi Grill, ensuring deliciously crispy results every single time.
The Ninja Foodi Grill Advantage
The Ninja Foodi Grill is a game-changing kitchen appliance that combines the functions of a grill and an air fryer, giving you the best of both worlds. With its impressive temperature control and even heat distribution, it’s the perfect tool for cooking bacon to perfection.
Step-by-Step Guide to Cooking Bacon in a Ninja Foodi Grill
1. Start by selecting your bacon. Whether you prefer thick cut, hickory smoked, or maple-flavored, the Ninja Foodi Grill can handle it all. Choose your favorite type and make sure it’s fresh for mouthwatering results.
2. Preheat your Ninja Foodi Grill. Set the temperature to 400°F and allow it to preheat for a few minutes. This ensures that the heat is evenly distributed, resulting in perfectly cooked bacon.
3. Prepare the bacon. Line the grill grates with aluminum foil to catch any drippings and make cleanup a breeze. Place the bacon strips side by side on the grates, leaving a small gap between each strip for even air circulation. You can cook as many strips as your Ninja Foodi Grill can accommodate, but be careful not to overcrowd the grill.
4. Cook the bacon. Close the lid of the Ninja Foodi Grill and let the bacon cook for 8 to 10 minutes, depending on your desired level of crispiness. For a chewy texture, aim for the shorter end of the cooking time, while those who prefer crispy bacon can keep it on a bit longer. Remember to flip the bacon halfway through to ensure even browning on both sides.
5. Drain and enjoy. Once the bacon is done cooking, carefully remove it from the Ninja Foodi Grill using tongs or a spatula. Place the strips on a paper towel-lined plate to drain off any excess grease. This step is crucial for achieving that perfect crispiness!
Tips and Variations
- For extra flavor, you can sprinkle your bacon with some brown sugar, black pepper, or even a dash of cayenne pepper before cooking.
- If you prefer a less greasy bacon, you can use a bacon rack instead of aluminum foil. The rack allows the excess grease to drip away, resulting in a lighter bacon experience.
- Don’t discard the bacon grease! Save it in a container for cooking purposes. Bacon grease adds incredible flavor to various recipes and can be an excellent substitute for butter or oil.
- Try experimenting with different types of bacon, such as turkey bacon or maple-glazed bacon, to add a unique twist to your breakfast spread.
- Clean your Ninja Foodi Grill thoroughly after cooking bacon to prevent any lingering odors or flavors from affecting future meals.
Now that you know the secrets to cooking bacon in a Ninja Foodi Grill, it’s time to put your newfound knowledge to the test. Whether you’re hosting a brunch or simply treating yourself to a delicious breakfast, your perfectly crispy bacon will leave everyone craving for more. Happy cooking!
Using the Ninja Foodi Grill to cook bacon opens up a world of delicious recipes. Readers can try out the Bacon-Wrapped Jalapeno Poppers for a spicy kick or the Maple Bacon Pancakes for a sweet and savory breakfast treat. For a hearty meal, the Bacon Cheeseburger is a must-try, combining juicy beef with crispy bacon. Those looking for something more gourmet might enjoy the Bacon-Wrapped Scallops, a perfect blend of seafood and smoky bacon. Veggie lovers can go for the Bacon and Brussels Sprouts Skillet, which brings out the best in both ingredients. Each of these recipes showcases the versatility and flavor-enhancing power of bacon cooked to perfection in the Ninja Foodi Grill.
Was this page helpful?
Read Next: How To Cook Rice On A Grill
Related Articles

How To Cook Half Boiled Egg
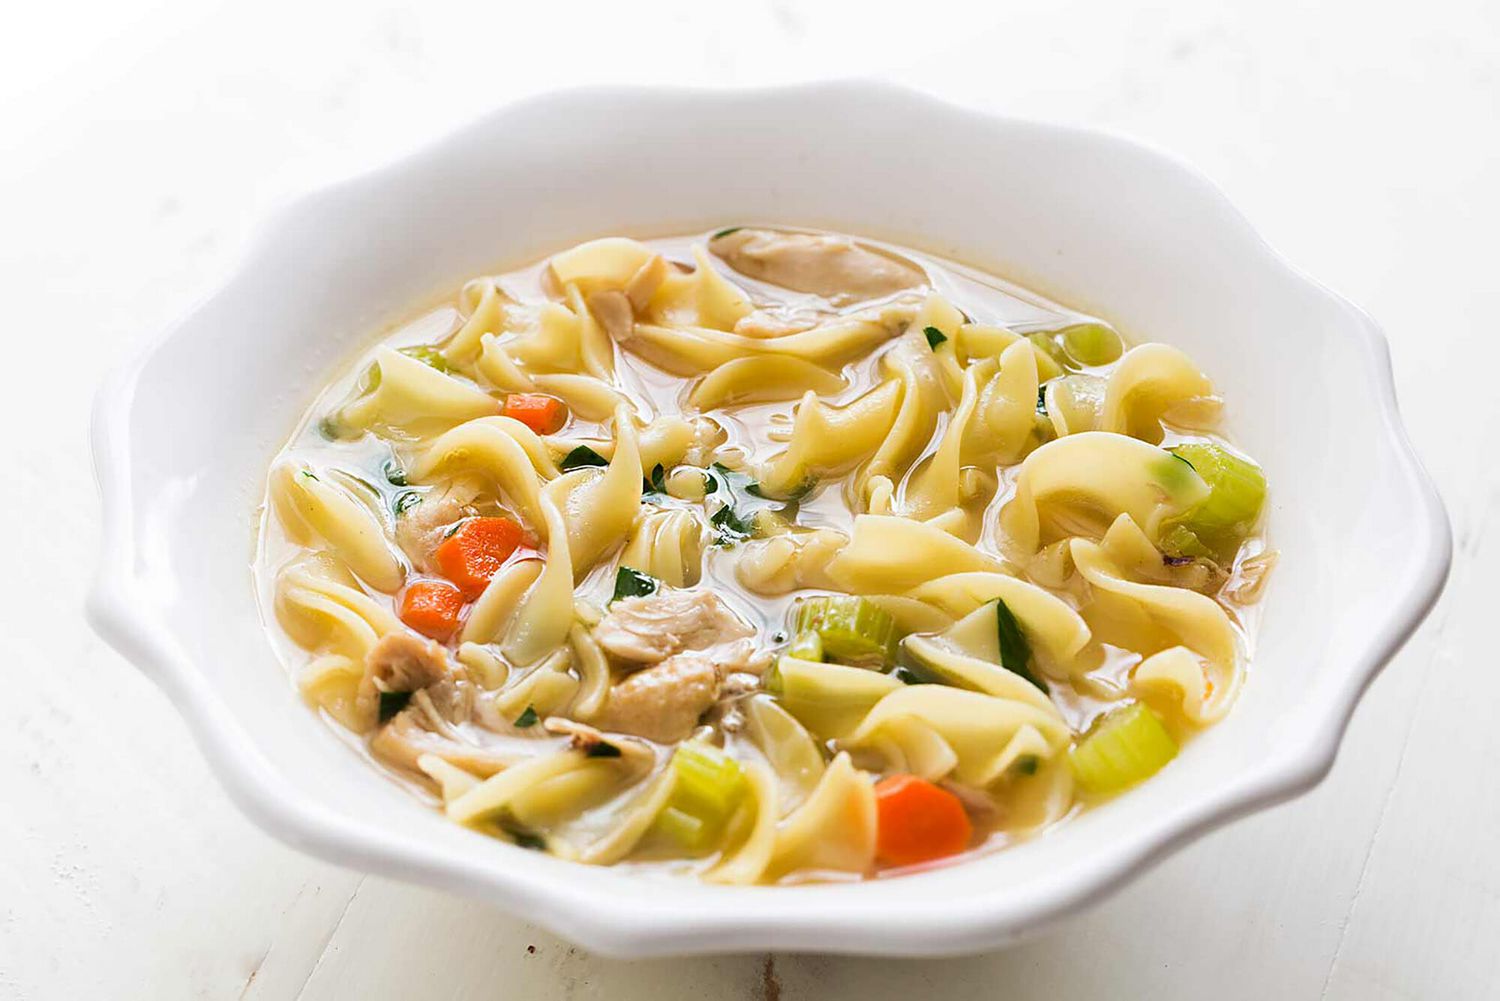
How To Cook Noodles In Chicken Broth

How To Cook Big Eye Tuna
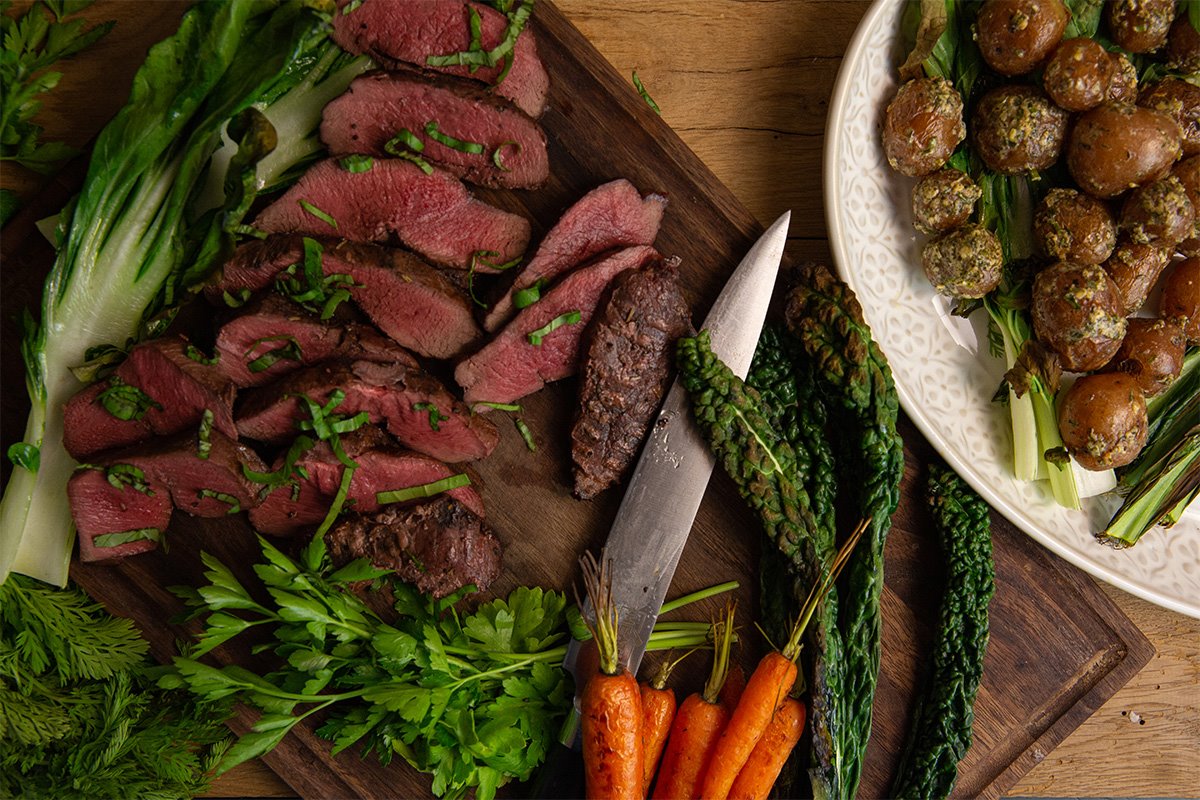
How To Cook Venison Roast In Air Fryer
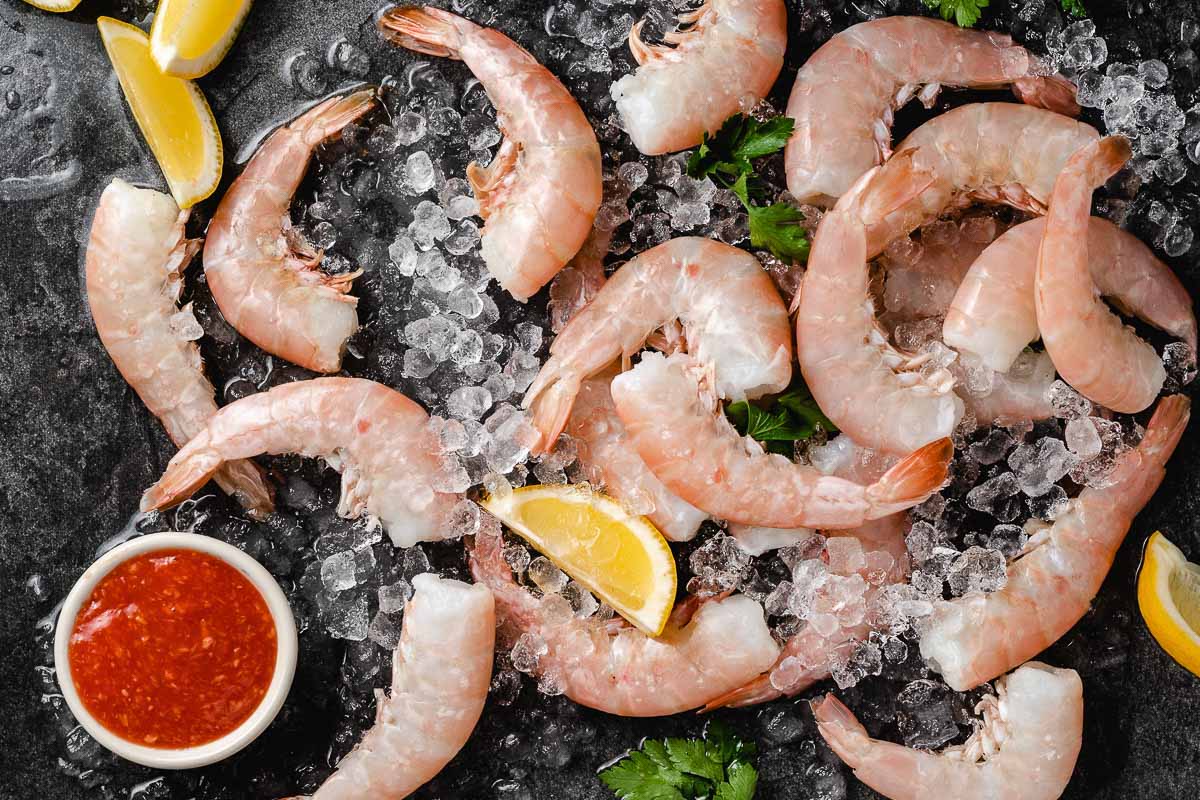
How To Cook Crab Meat In Air Fryer
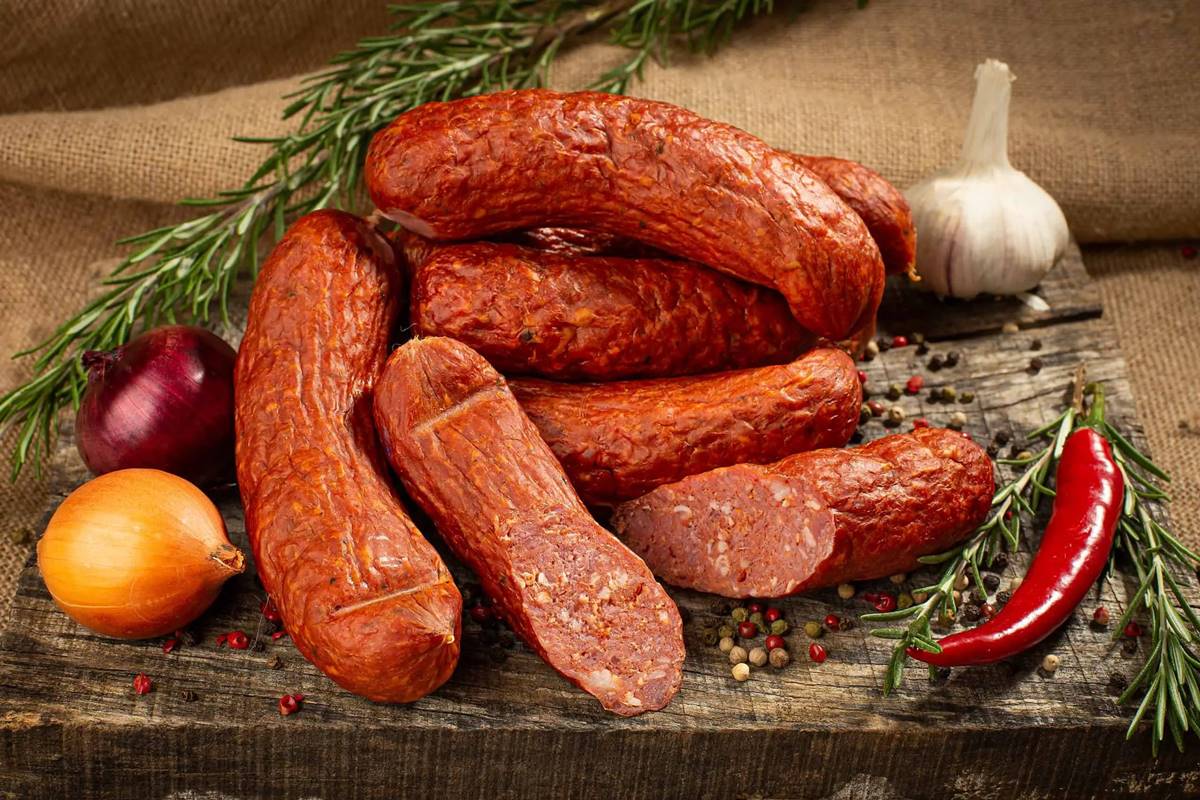
How To Cook Fresh Kielbasa In An Air Fryer
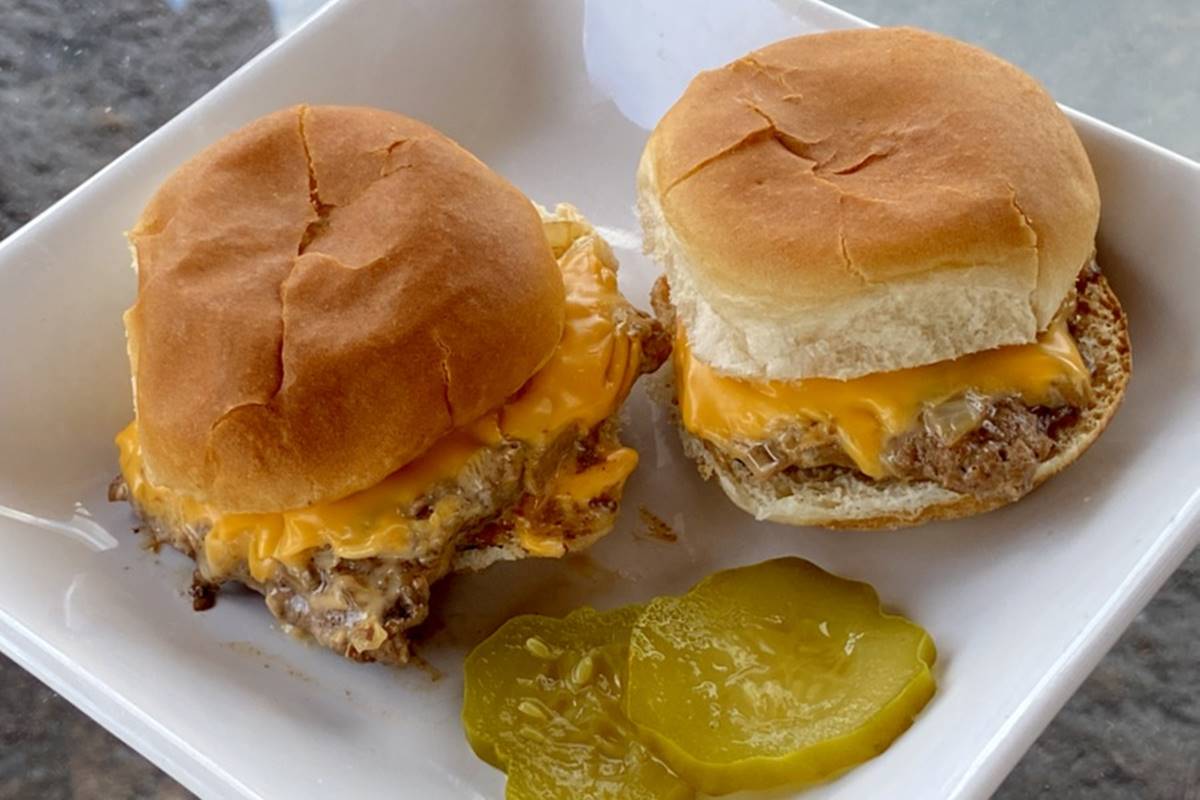
How To Cook Frozen White Castle Sliders In Air Fryer
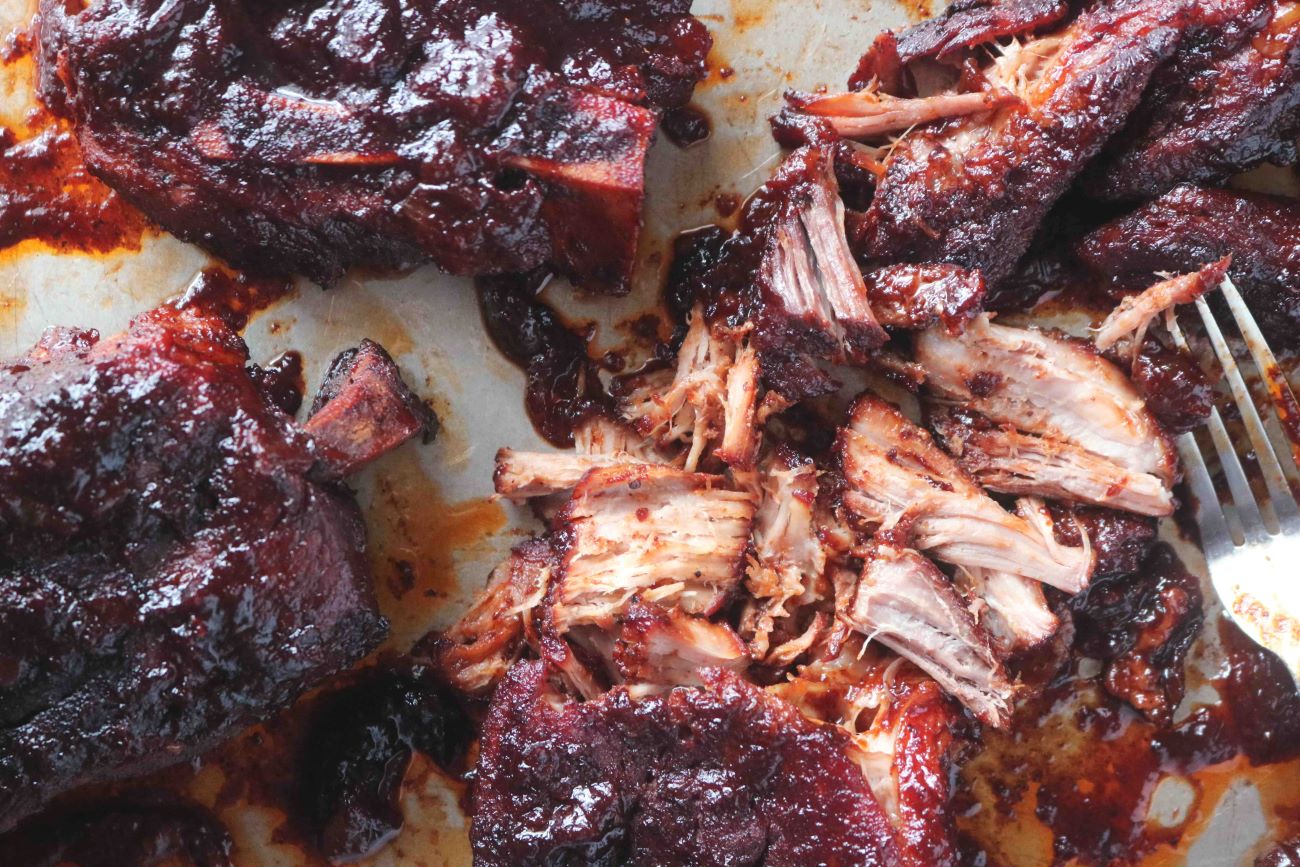
How To Cook Country Style Pork Ribs In A Roaster Oven
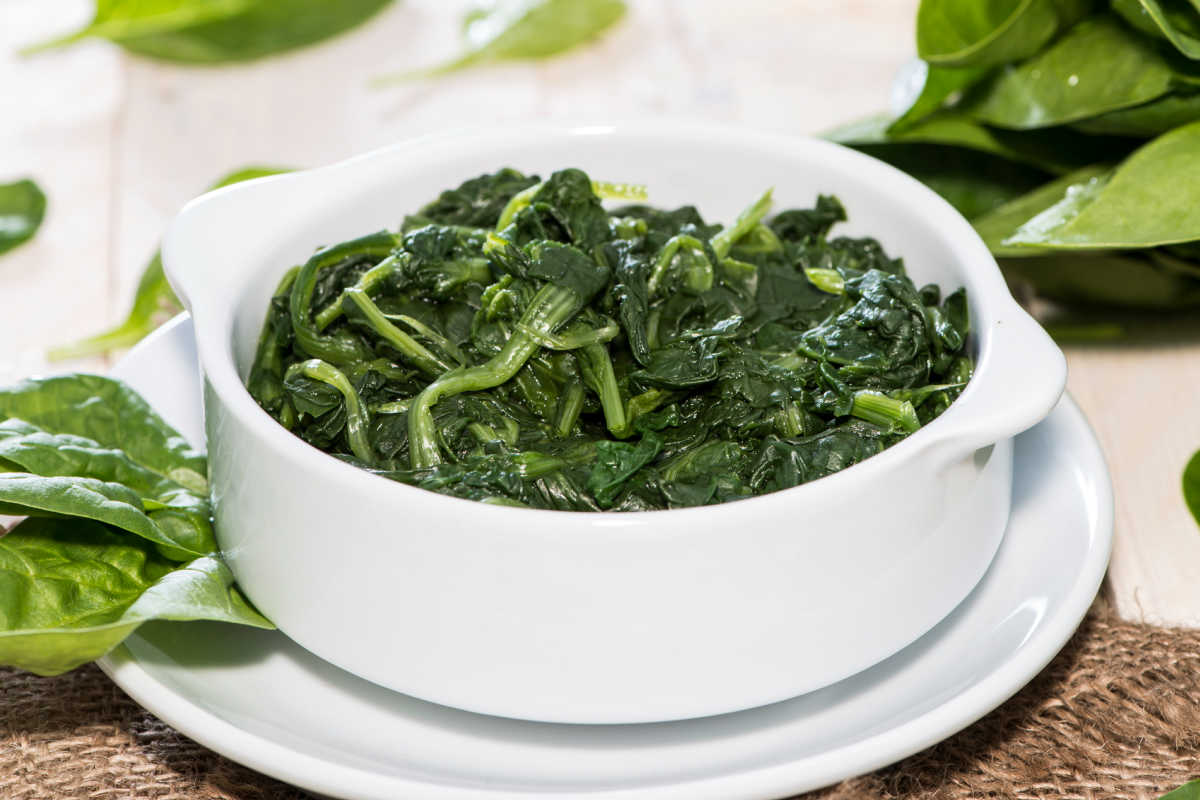
How To Cook Spinach For Dogs

How To Cook Veal Breast Bone-In
How To Cook Vacuum Sealed Food