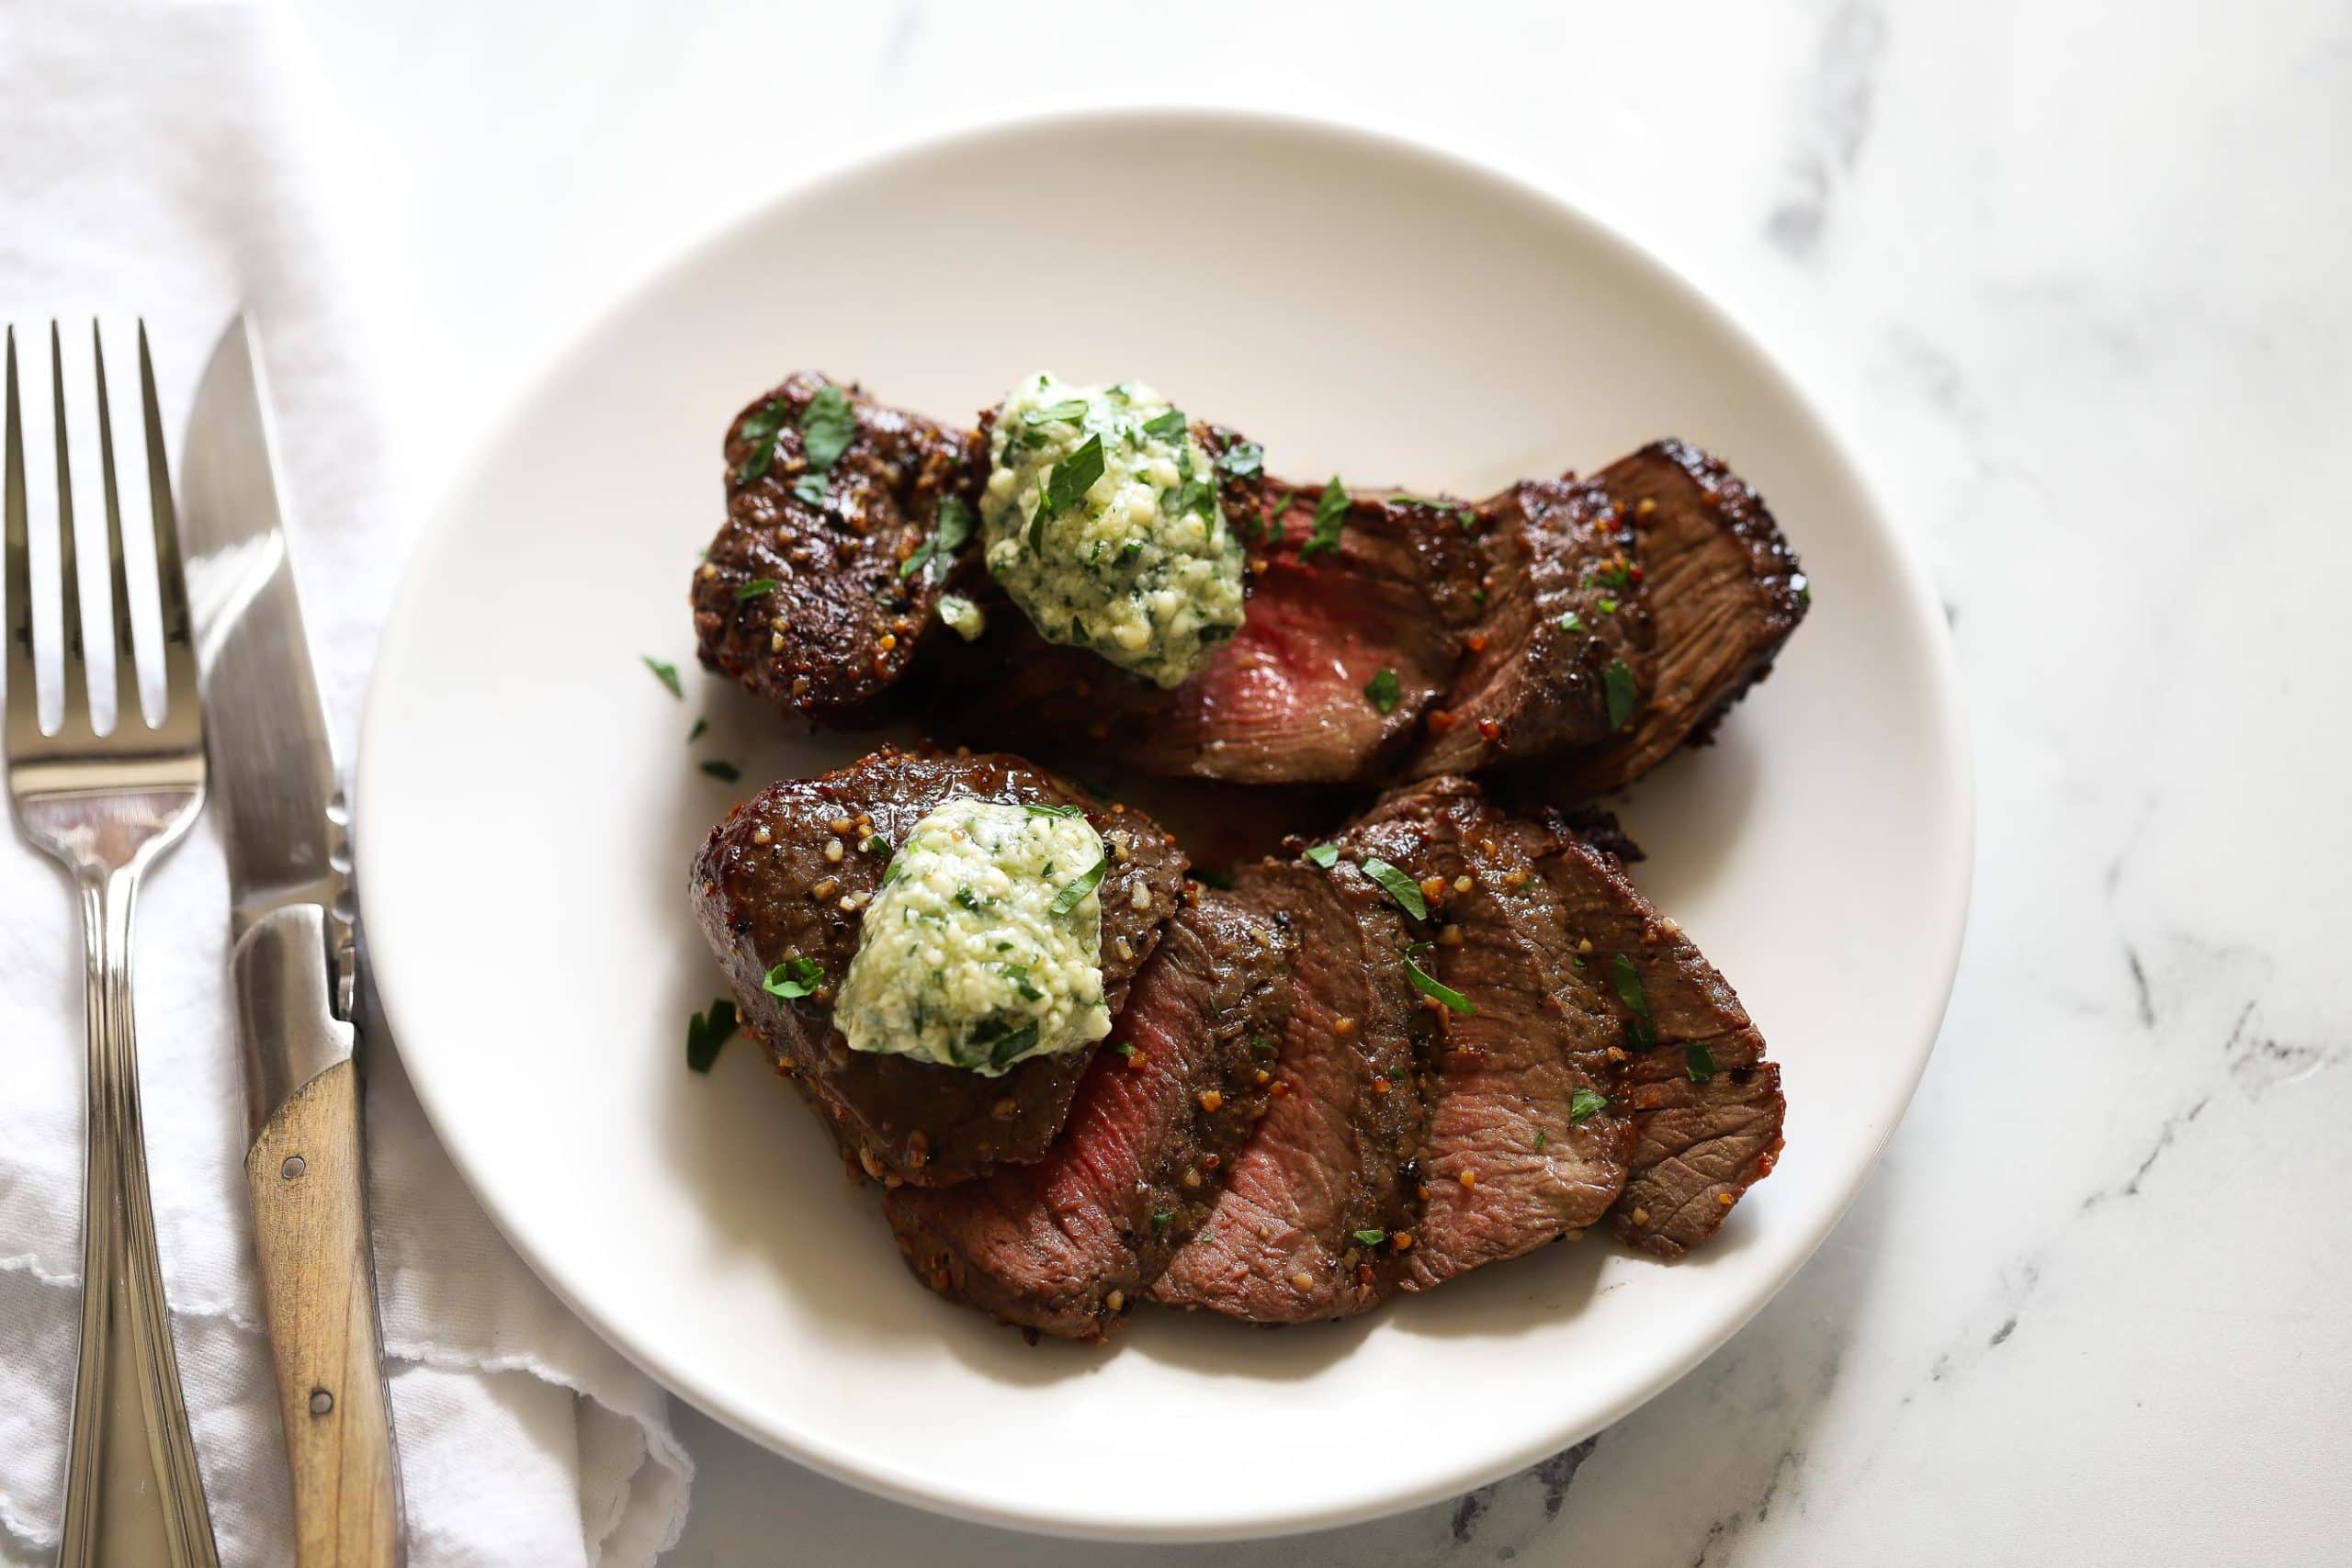
Unlocking the Deliciousness: Roast Cooking with Ninja Foodi
Preparing a succulent roast can seem like a daunting task. However, with the revolutionary Ninja Foodi, you can achieve a mouthwatering roast that will have your family and friends raving about your culinary skills. In this guide, we will walk you through the step-by-step process of cooking a roast in the Ninja Foodi, transforming any cut of meat into a tender and flavorful masterpiece.
Gather Your Ingredients
Before you begin, ensure you have all the necessary ingredients handy. Here’s what you’ll need:
- A quality cut of roast (beef, pork, or lamb)
- Seasonings and herbs of your choice
- Olive oil or cooking spray
- Vegetables for added flavor (carrots, potatoes, onions, etc.)
- Beef, vegetable, or chicken broth (optional)
Preparation is Key
Properly preparing your roast is essential for achieving optimal flavor and tenderness. Here’s what you need to do:
- Start by seasoning your meat generously with salt, pepper, and any other herbs or spices you prefer. Don’t be afraid to get creative!
- Preheat your Ninja Foodi by selecting the “Roast” function and adjusting the temperature as recommended for your chosen meat.
- Add a drizzle of olive oil or use cooking spray to lightly coat the bottom of the pot to prevent sticking.
- Now, it’s time to sear the roast. Brown each side of the meat for a few minutes until a beautiful crust forms. This will lock in the juices and enhance the overall flavor.
Pressure Cooking Masterpiece
Once your roast is perfectly seared, it’s time to pressure cook it to perfection. Follow these steps:
- Place your seared roast back into the Ninja Foodi pot. Add your choice of vegetables around the meat for extra flavor and a complete meal.
- Secure the lid of the Ninja Foodi and set the pressure valve to the sealing position.
- Select the “Pressure Cook” function and set the timer based on the weight and desired level of doneness for your particular cut of meat.
- Take a moment to savor the aromas filling your kitchen as the Ninja Foodi works its magic.
- Once the cooking time is complete, allow the pressure to release naturally for a few minutes, then carefully switch the valve to the venting position to release any remaining pressure.
- Open the lid and marvel at the tender and delicious roast that awaits you.
Optional Finishing Touches
If desired, you can take your roast to the next level with some additional steps:
- Remove the meat and vegetables from the Ninja Foodi and let the roast rest for a few minutes before slicing.
- While the meat is resting, you can use the Ninja Foodi’s “Sauté” function to reduce the cooking juices and create a rich, flavorful gravy.
- Serve your perfectly cooked roast with the vegetables and drizzle the delicious gravy over the top.
Now that you’re armed with the knowledge of how to cook a roast in the Ninja Foodi, it’s time to put it into action and impress your loved ones with your culinary finesse. Remember to experiment with different seasonings, herbs, and vegetables to create unique flavor profiles. Enjoy your roast-cooking adventure with the incredible Ninja Foodi!
Explore More Delicious Recipes and Uses for Your Ninja Foodi
Having mastered the basics of using your Ninja Foodi for roasts, why not broaden your culinary repertoire with a selection of diverse recipes? From the robust flavors of a Classic Beef Pot Roast Recipe to the zesty notes of a Caribbean Jerk Pork Roast Recipe, there’s a dish to suit every palate. We highly recommend trying the Greek-Style Lemon Roast Lamb Recipe for its bright, Mediterranean flavors that are both refreshing and hearty. Additionally, the Coffee-Crusted Beef Roast Recipe offers a unique twist on a traditional roast, incorporating the rich, deep tones of coffee to enhance the meat’s natural flavors. These recipes not only allow you to practice and perfect your roasting skills but also bring a world of flavors right to your dining table.
Was this page helpful?
Read Next: How To Cook Dry Beans In Ninja Foodi
Related Articles
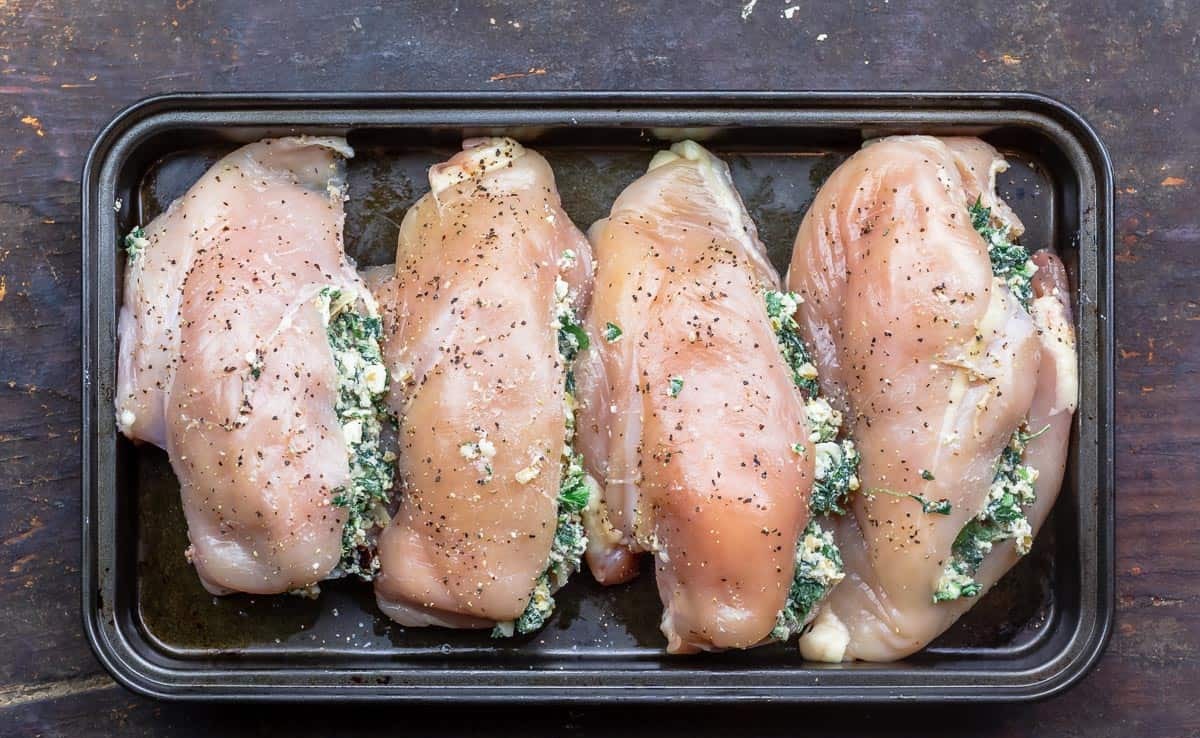
How To Cook Pre Stuffed Chicken Breast
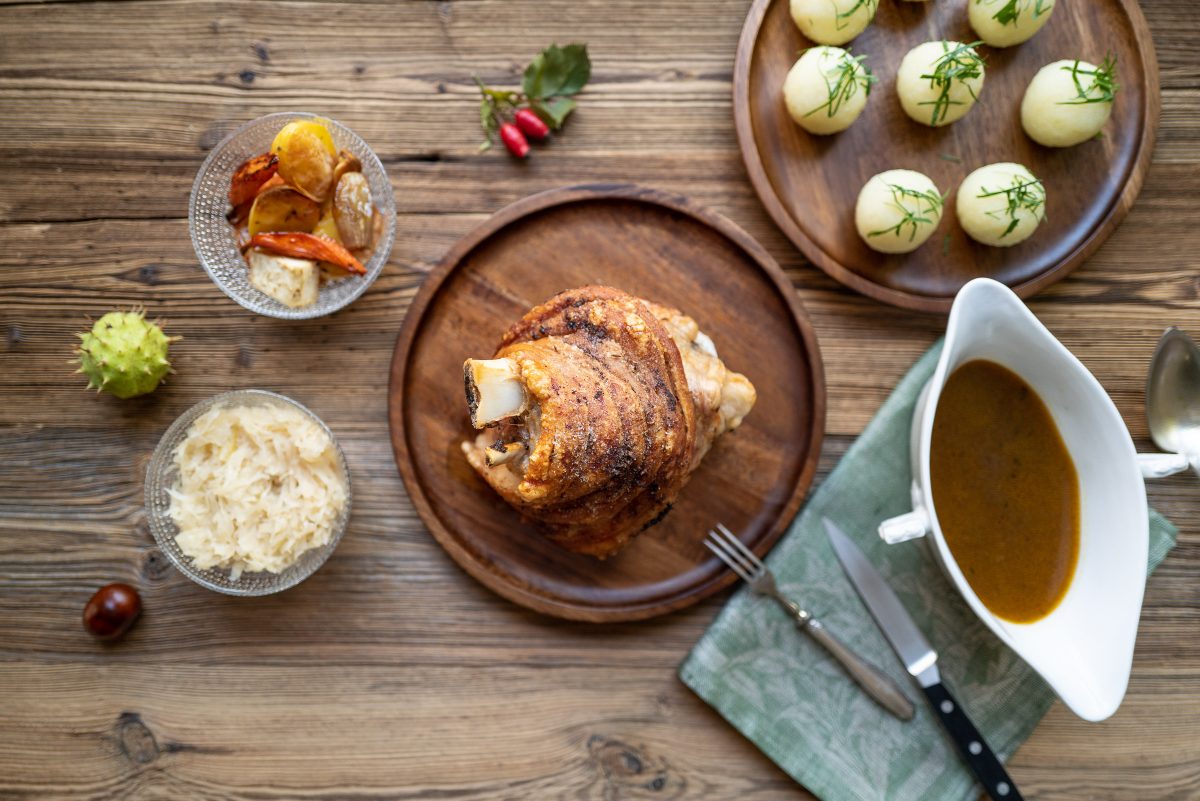
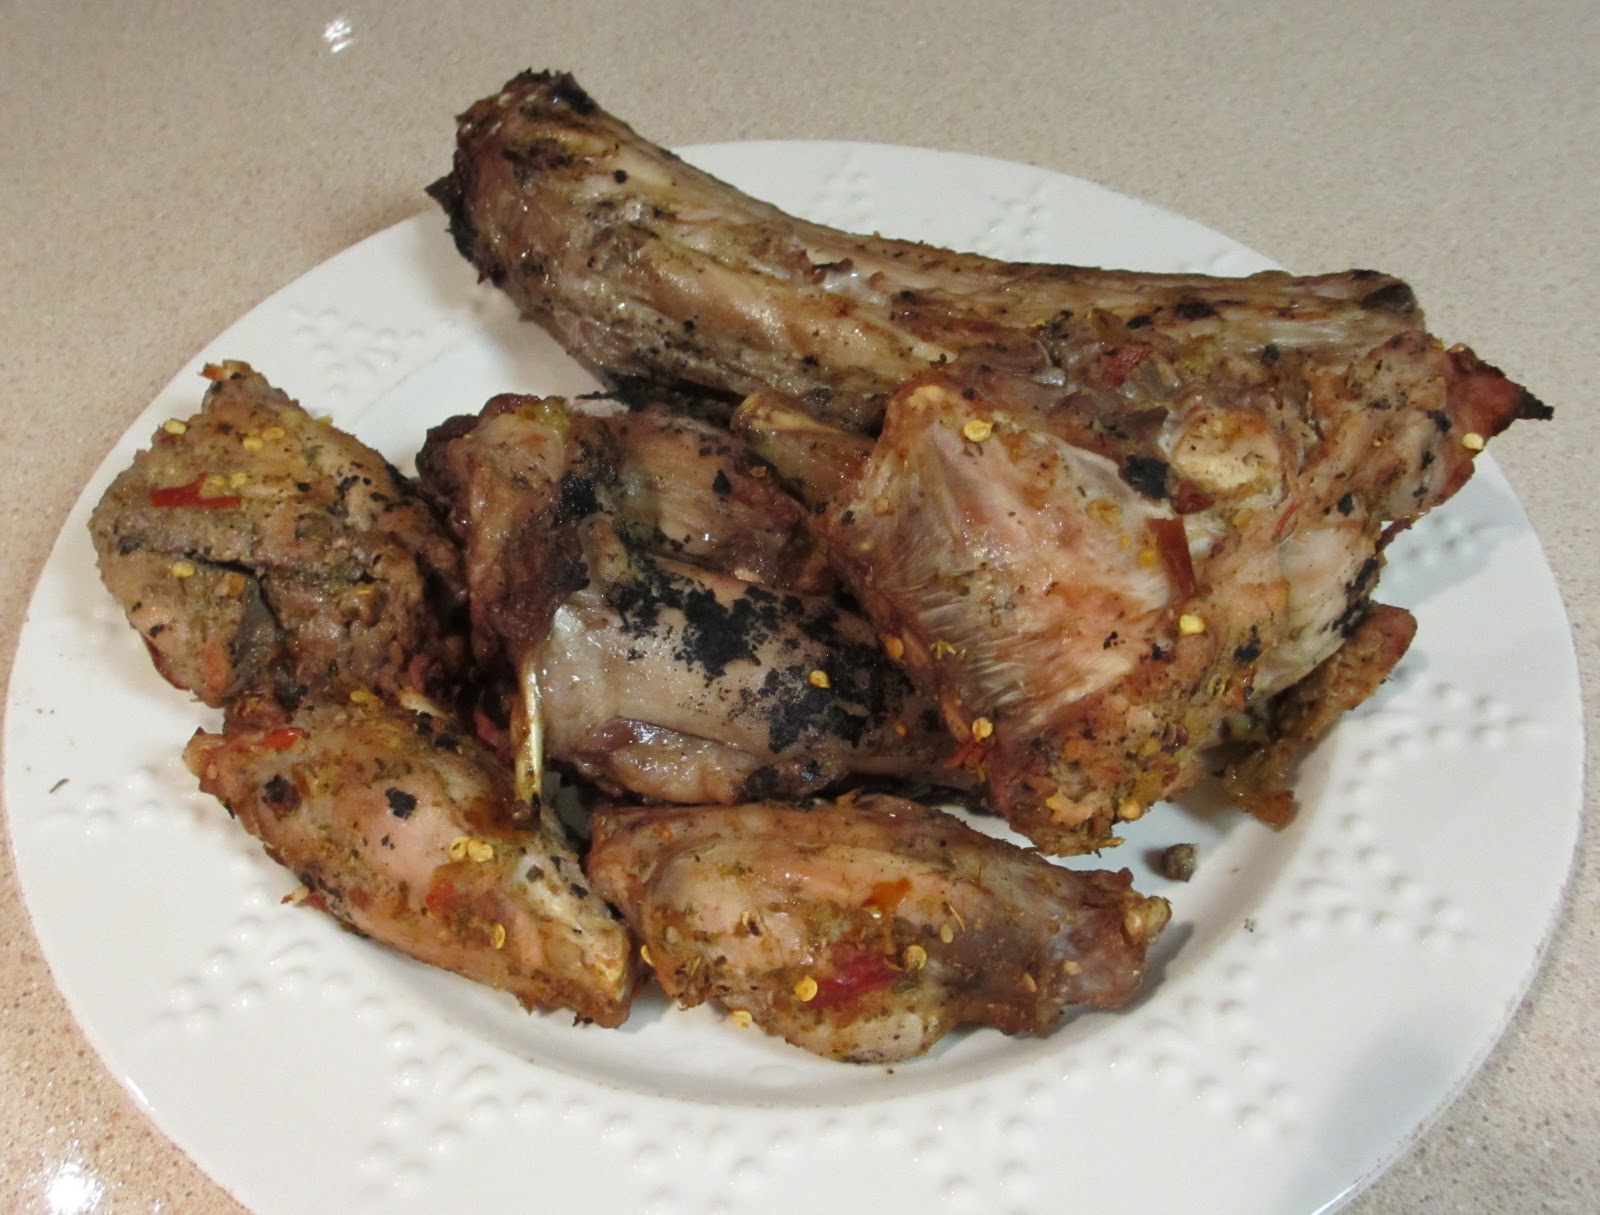
How To Cook Pork Knuckle
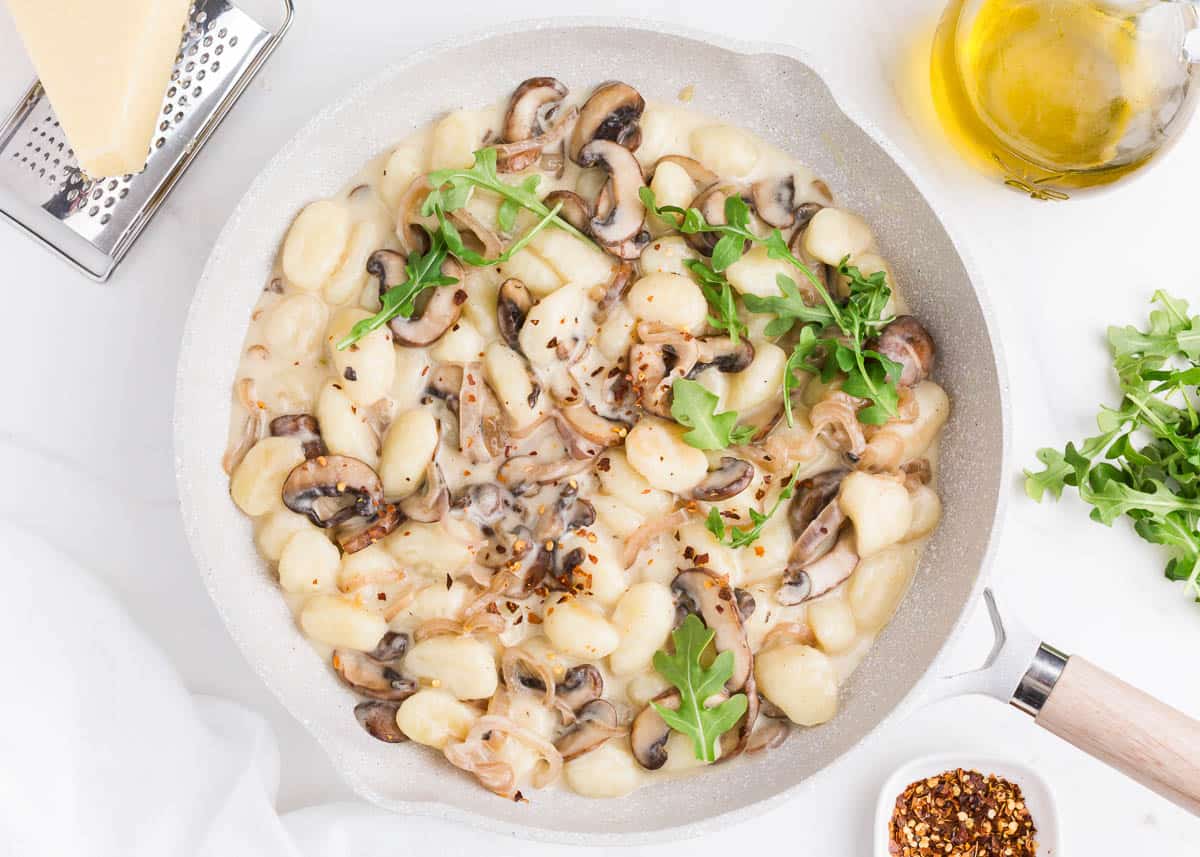
How To Cook Store Bought Gnocchi
How To Cook Iguana Meat
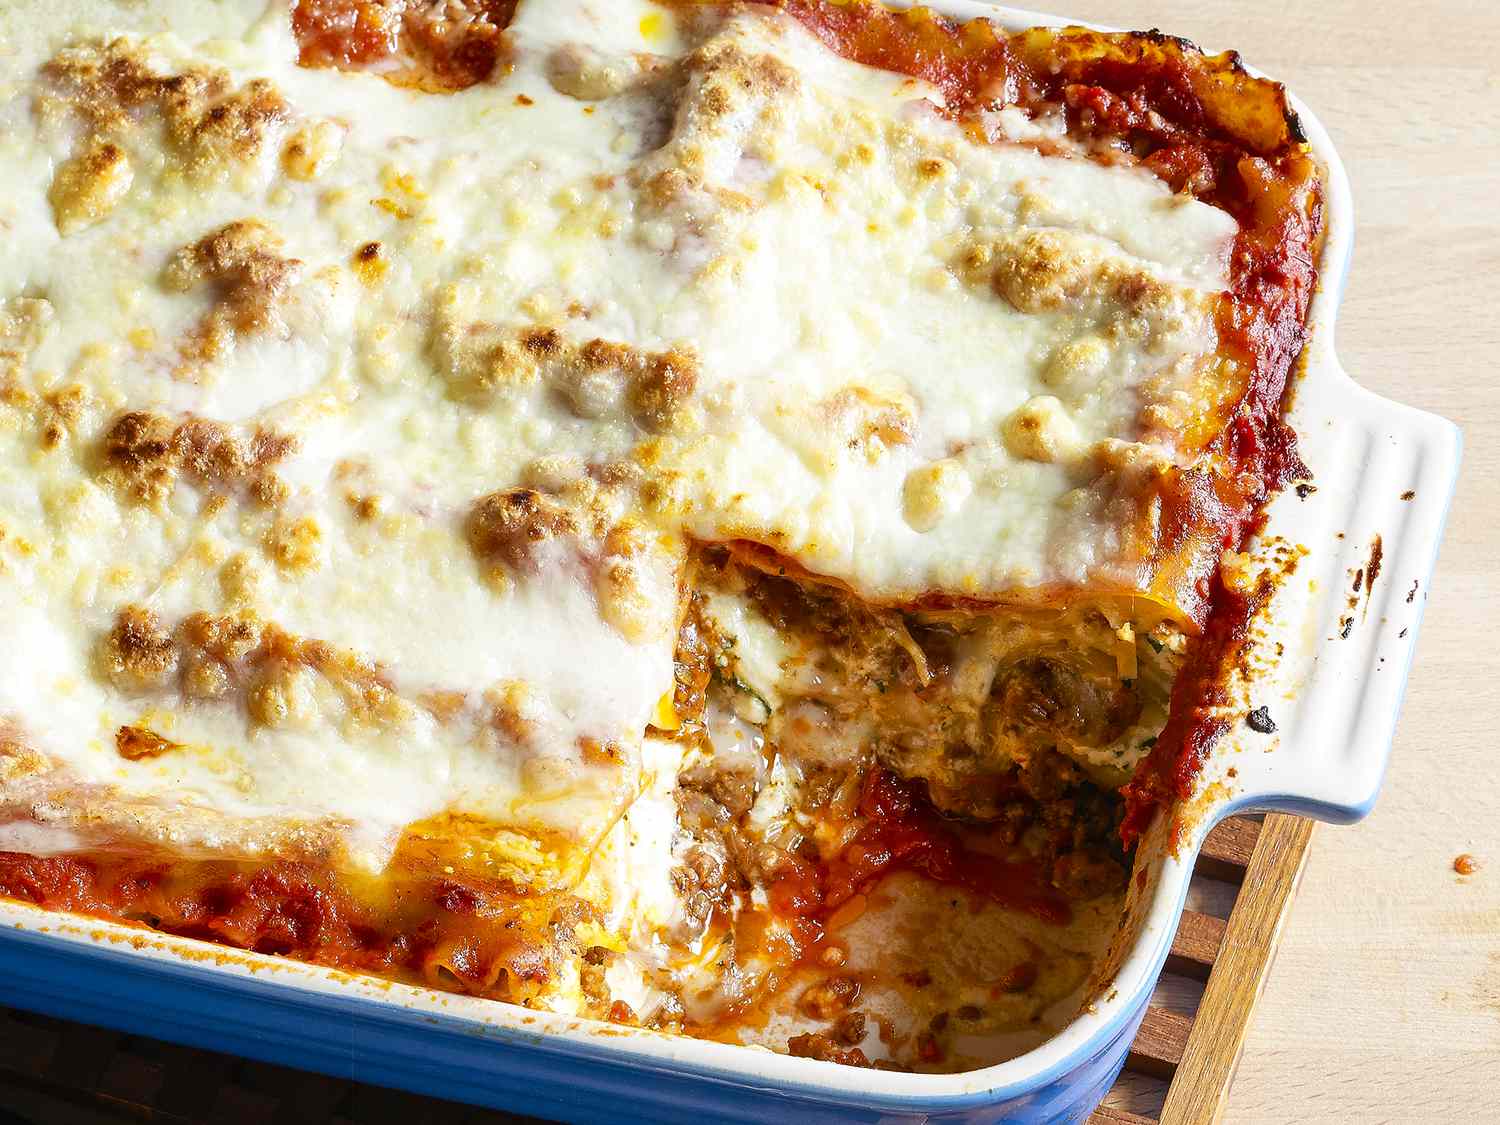
How To Cook Lasagna In An Electric Roaster
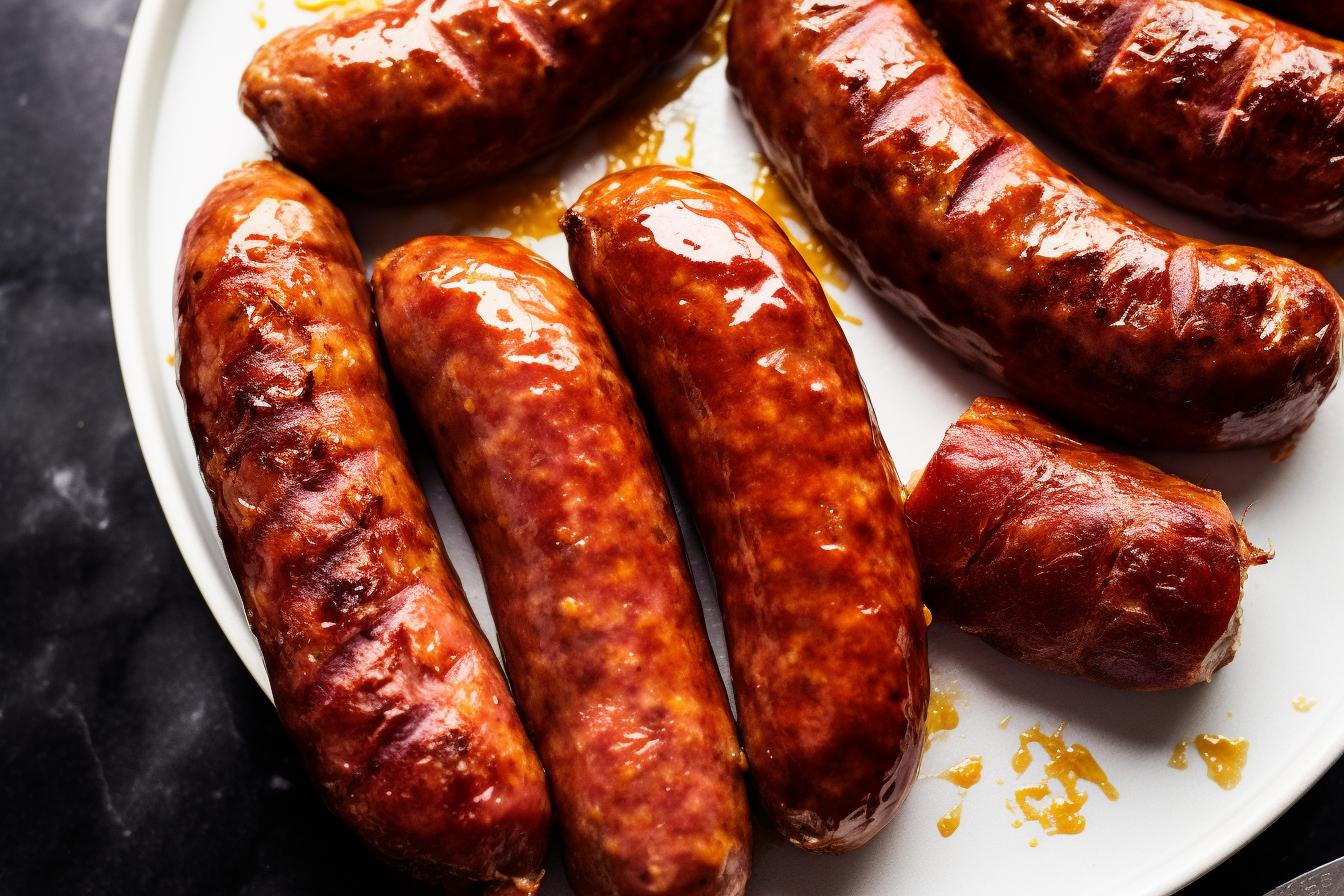
How To Cook Smoked Sausage In Microwave
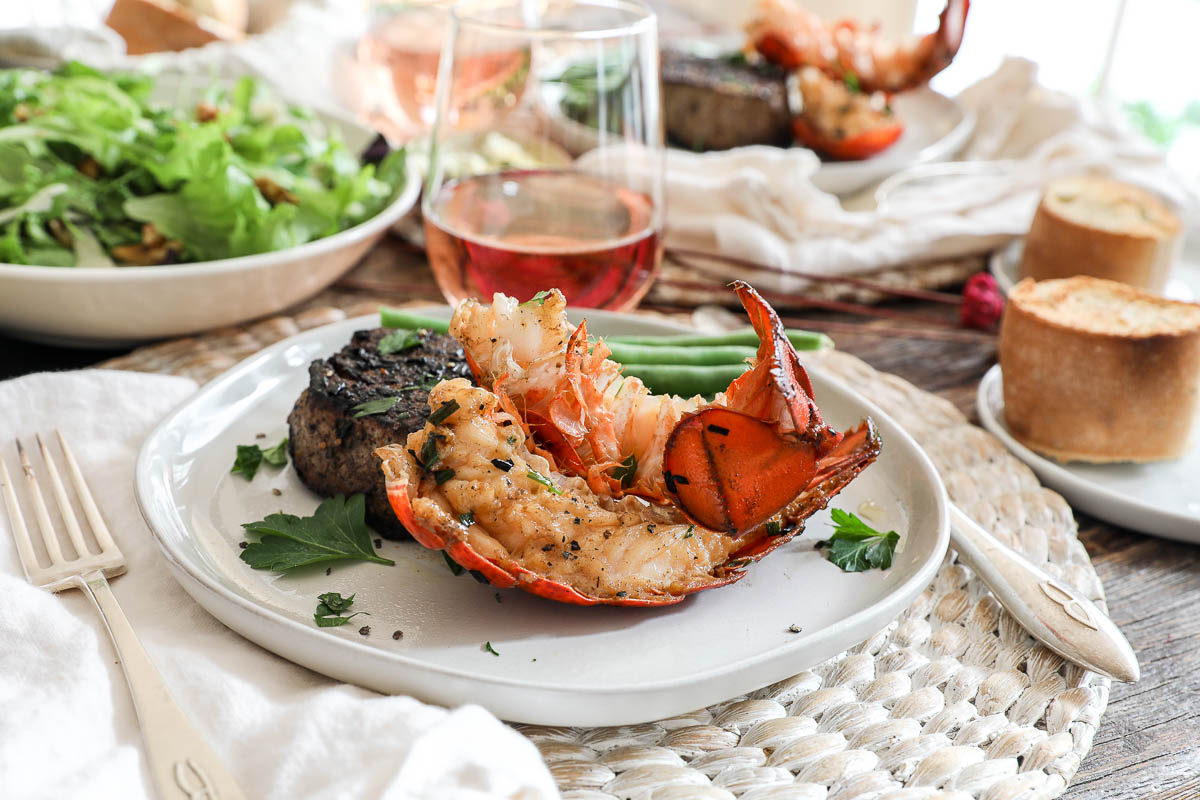
How To Cook Lobster Tail In Cast Iron Skillet

How To Cook Pork For Cats
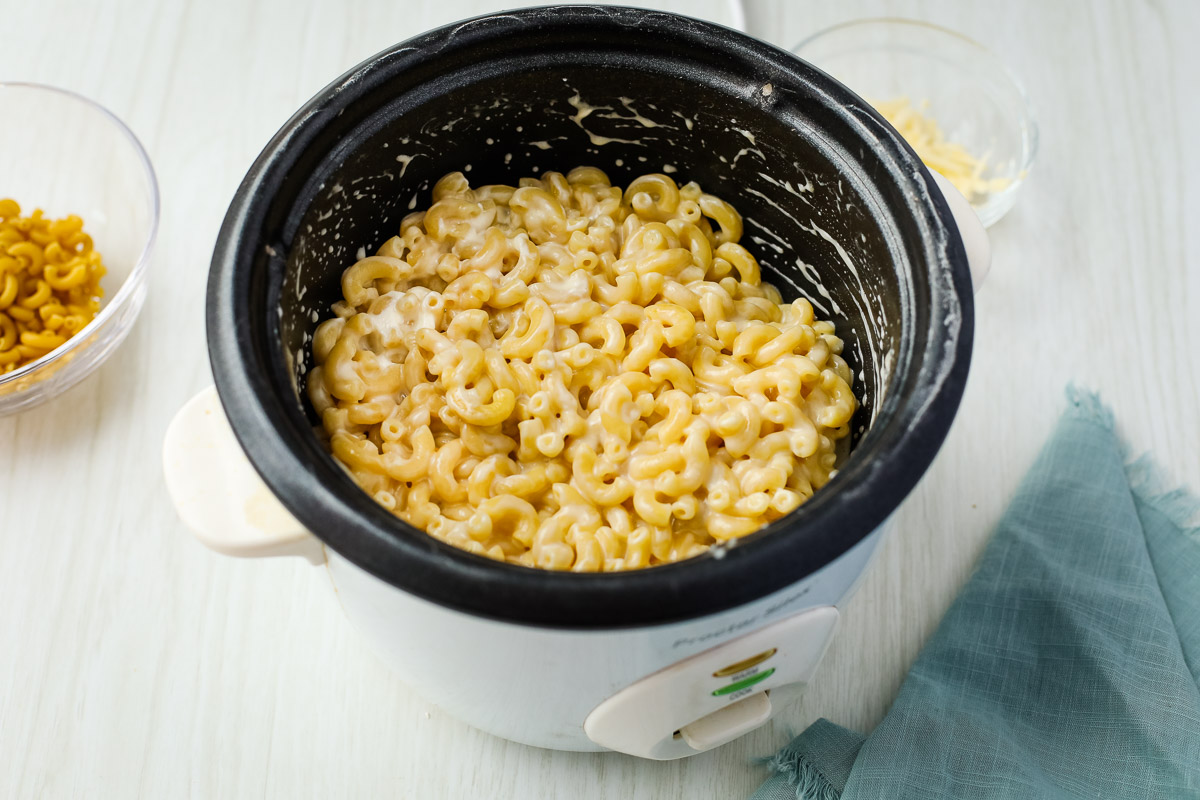
How To Cook Pasta In Aroma Rice Cooker
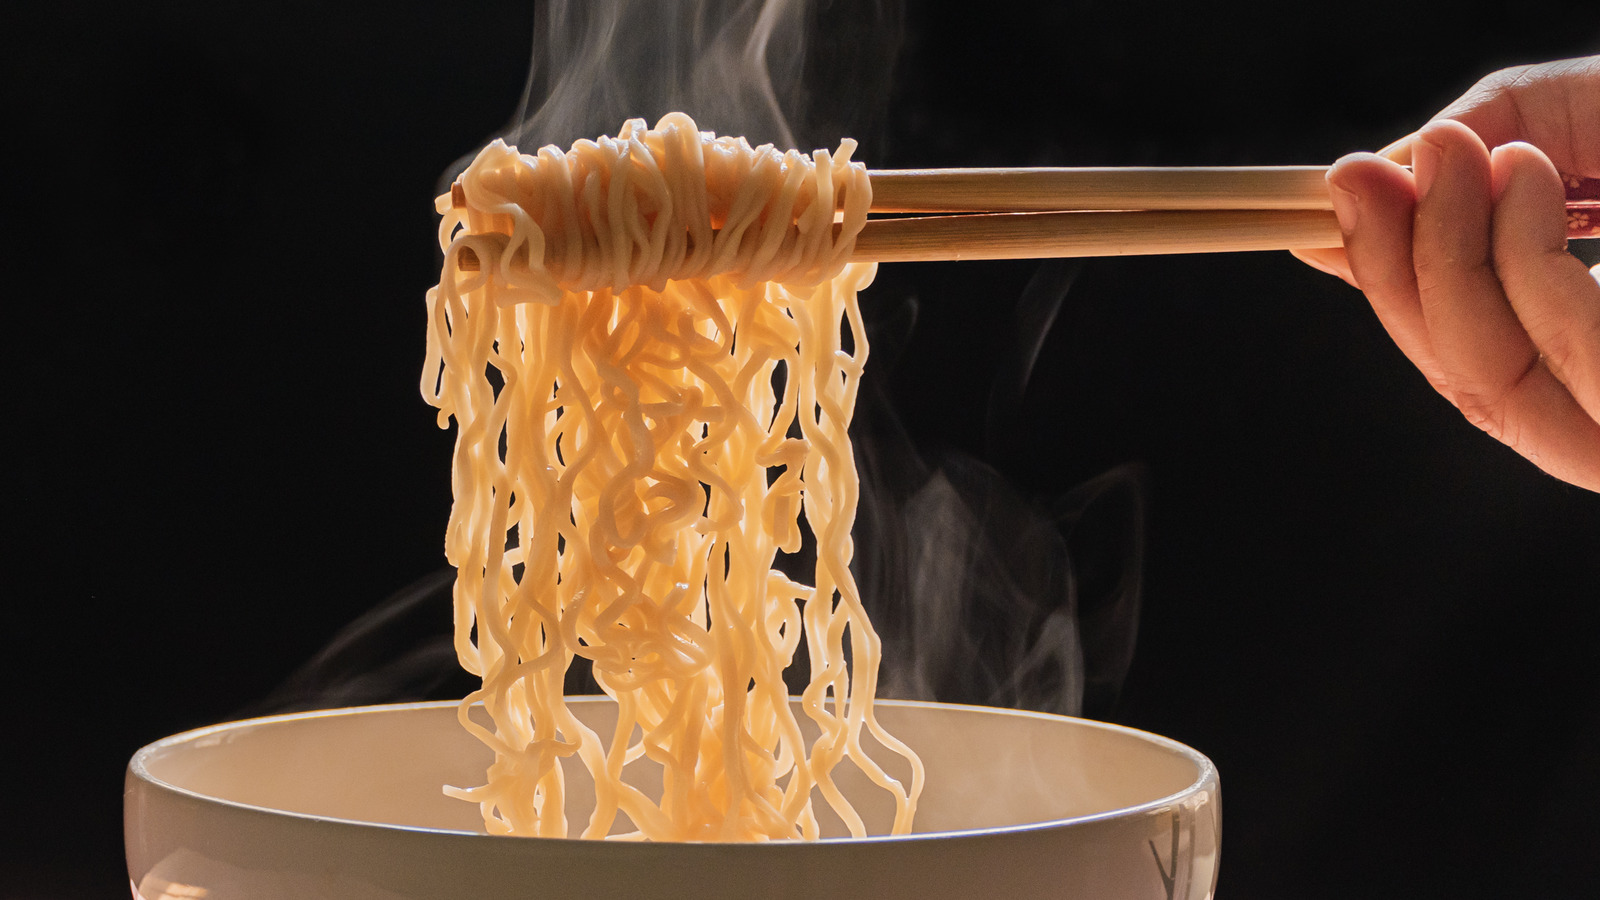
How To Cook Frozen Ramen Noodles
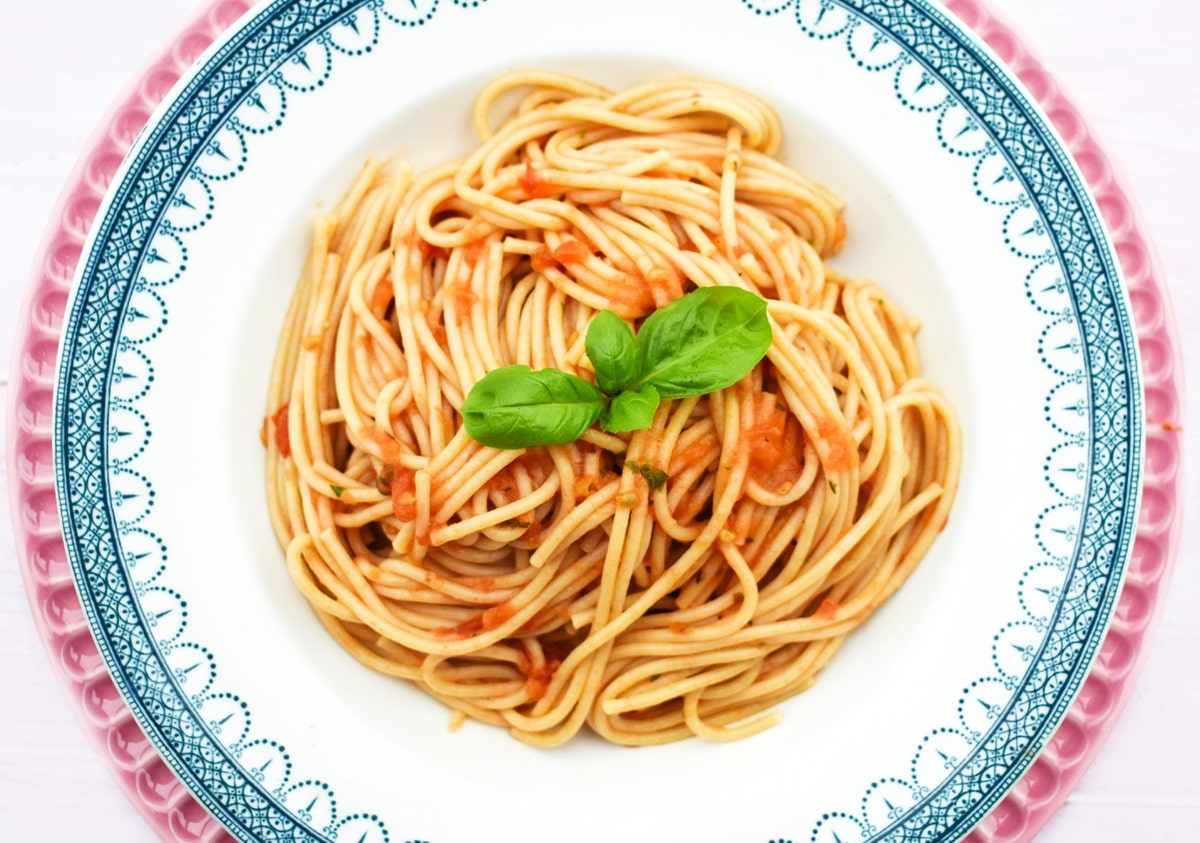
How To Cook Spaghetti In Air Fryer