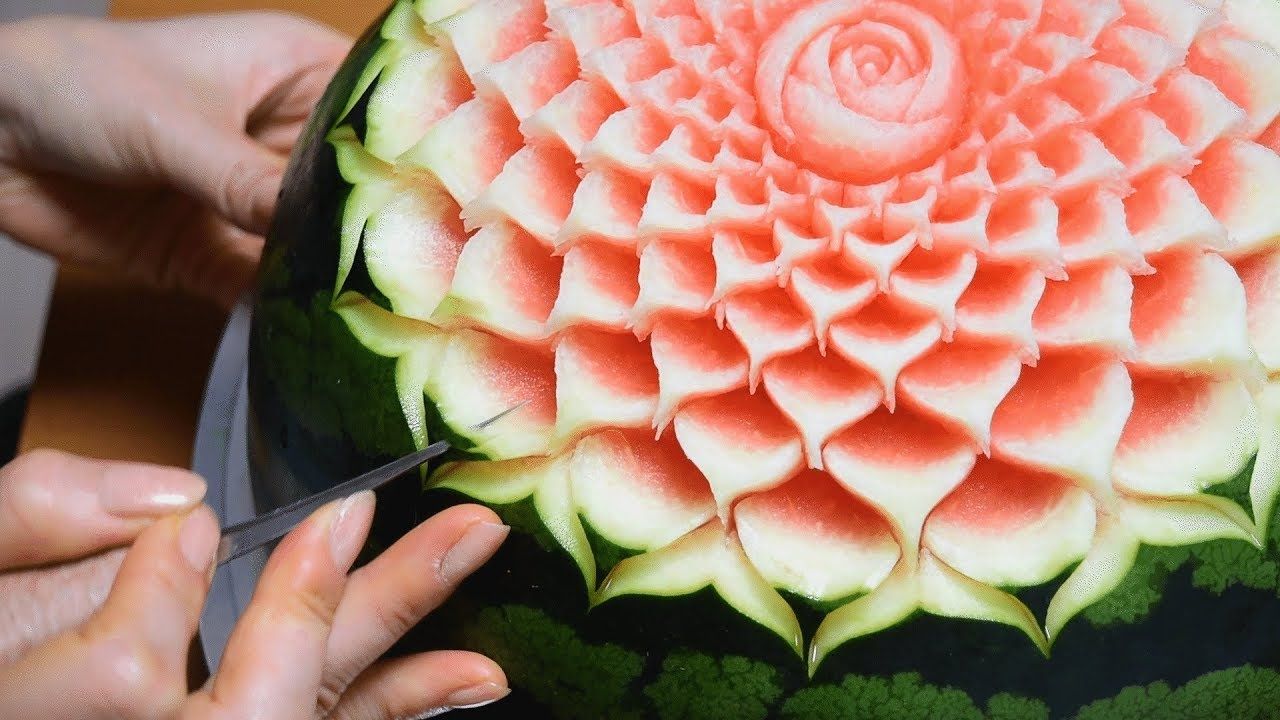
How to Carve Watermelon for a Baby Shower
Welcome to the wonderful world of baby showers! If you’re planning a baby shower and want to impress your guests with a fun and creative fruit display, carving a watermelon can be a fantastic way to add a touch of whimsy to your event. Not only is it a visually appealing addition to your party, but it’s also a healthy and delicious treat for everyone to enjoy. In this article, we’ll walk you through the steps to carve a watermelon for a baby shower, so you can create a stunning centerpiece that will leave a lasting impression on your guests.
Step 1: Choose the Right Watermelon
When it comes to carving a watermelon, selecting the right one is key. Look for a watermelon that is symmetrical and free of bruises or blemishes. A ripe, firm watermelon will make the carving process much easier and ensure that your creation looks its best.
Step 2: Gather Your Tools
Before you begin carving, make sure you have the right tools on hand. You’ll need a sharp knife, a large spoon or scoop, and some small, sharp carving tools if you want to add intricate details to your design.
Step 3: Choose a Design
There are countless ways to carve a watermelon, so take some time to decide on a design that suits the theme of your baby shower. Whether you opt for a simple pattern, such as polka dots or stripes, or a more elaborate design, like a baby carriage or a stork, the key is to choose something that will delight your guests and complement the overall aesthetic of your event.
Step 4: Prepare the Watermelon
Once you’ve chosen a design, it’s time to prepare the watermelon for carving. Start by washing the watermelon thoroughly to remove any dirt or debris from the rind. Then, use a sharp knife to cut off the top third of the watermelon, creating a lid that can be easily removed. Use a large spoon or scoop to hollow out the watermelon, removing the flesh and seeds and leaving behind a clean, empty shell.
Step 5: Carve Your Design
With your watermelon prepared, it’s time to start carving! Use a pencil to lightly sketch your design onto the watermelon’s rind, then carefully carve away the outer layer of the rind to reveal the white flesh beneath. Take your time and work slowly and methodically to ensure that you achieve the desired result.
Step 6: Add the Finishing Touches
Once you’ve finished carving your watermelon, take a moment to add any finishing touches that will make your creation truly special. You might want to add details like carved flowers, leaves, or other decorative elements to enhance the overall look of your design.
Step 7: Display Your Masterpiece
With your watermelon carved and ready to go, it’s time to display your masterpiece at the baby shower. Consider placing it on a decorative platter or tray, surrounded by fresh fruit or flowers, to create a stunning centerpiece that will wow your guests.
Carving a watermelon for a baby shower is a fun and creative way to add a special touch to your event. Whether you’re a seasoned pro or a first-time carver, following these steps will help you create a beautiful and memorable centerpiece that will be the talk of the party. So, roll up your sleeves, grab a watermelon, and get ready to impress your guests with your amazing carving skills!
Was this page helpful?
Read Next: How To Carve Bunny Cantaloupe
Related Articles
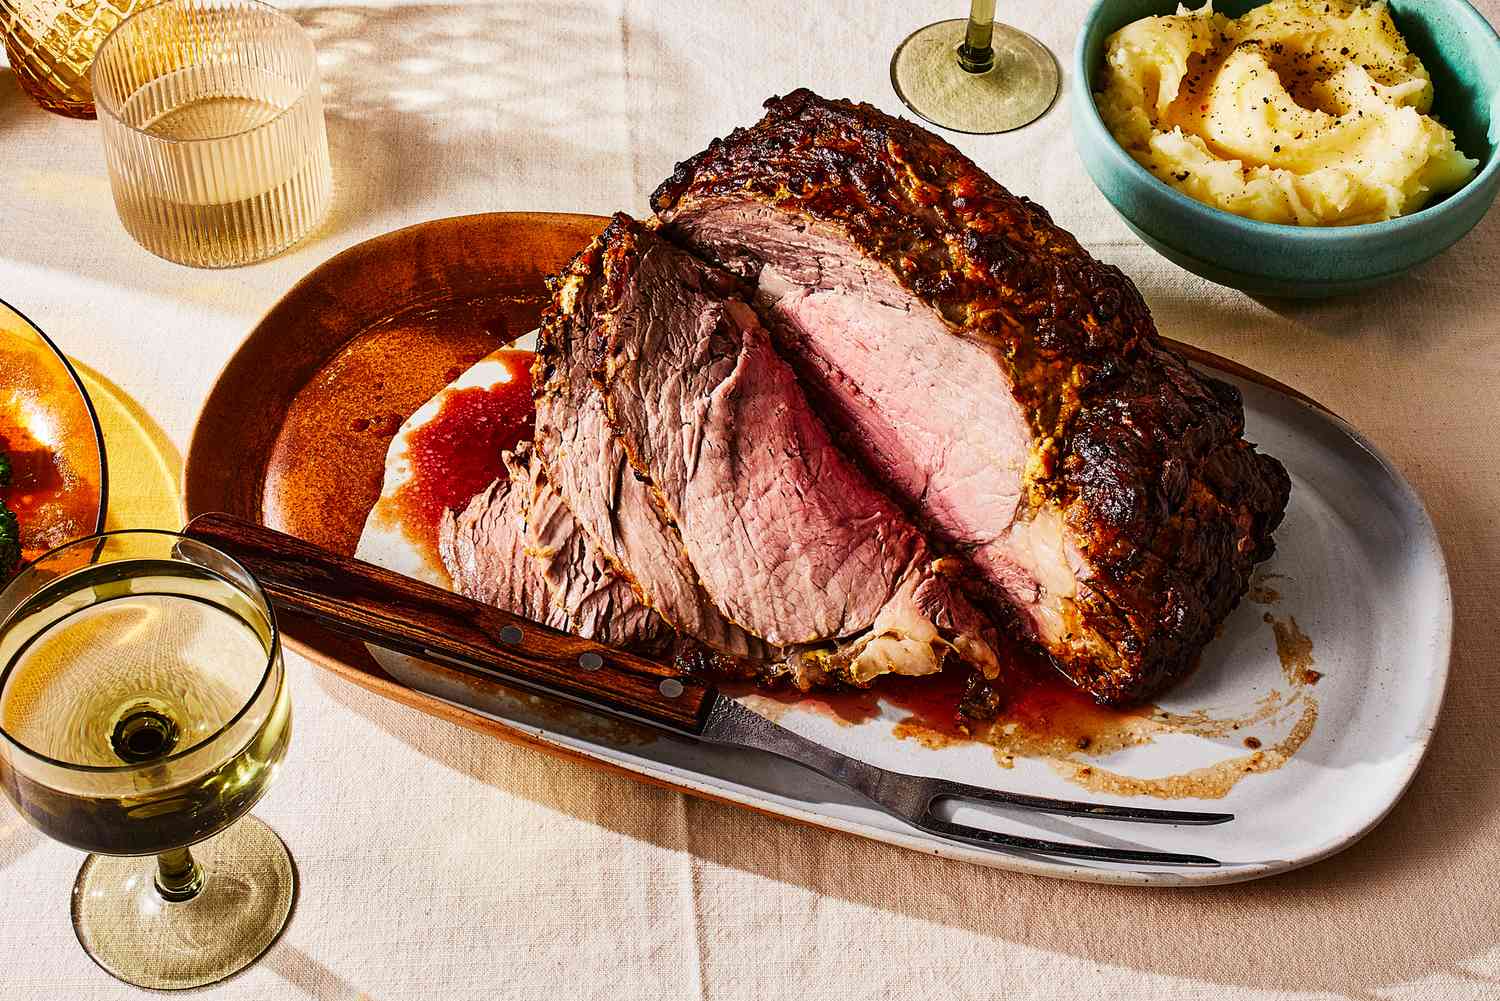
How To Carve Bone-In Rib Eye Roast

How To Carve A Pineapple For Halloween
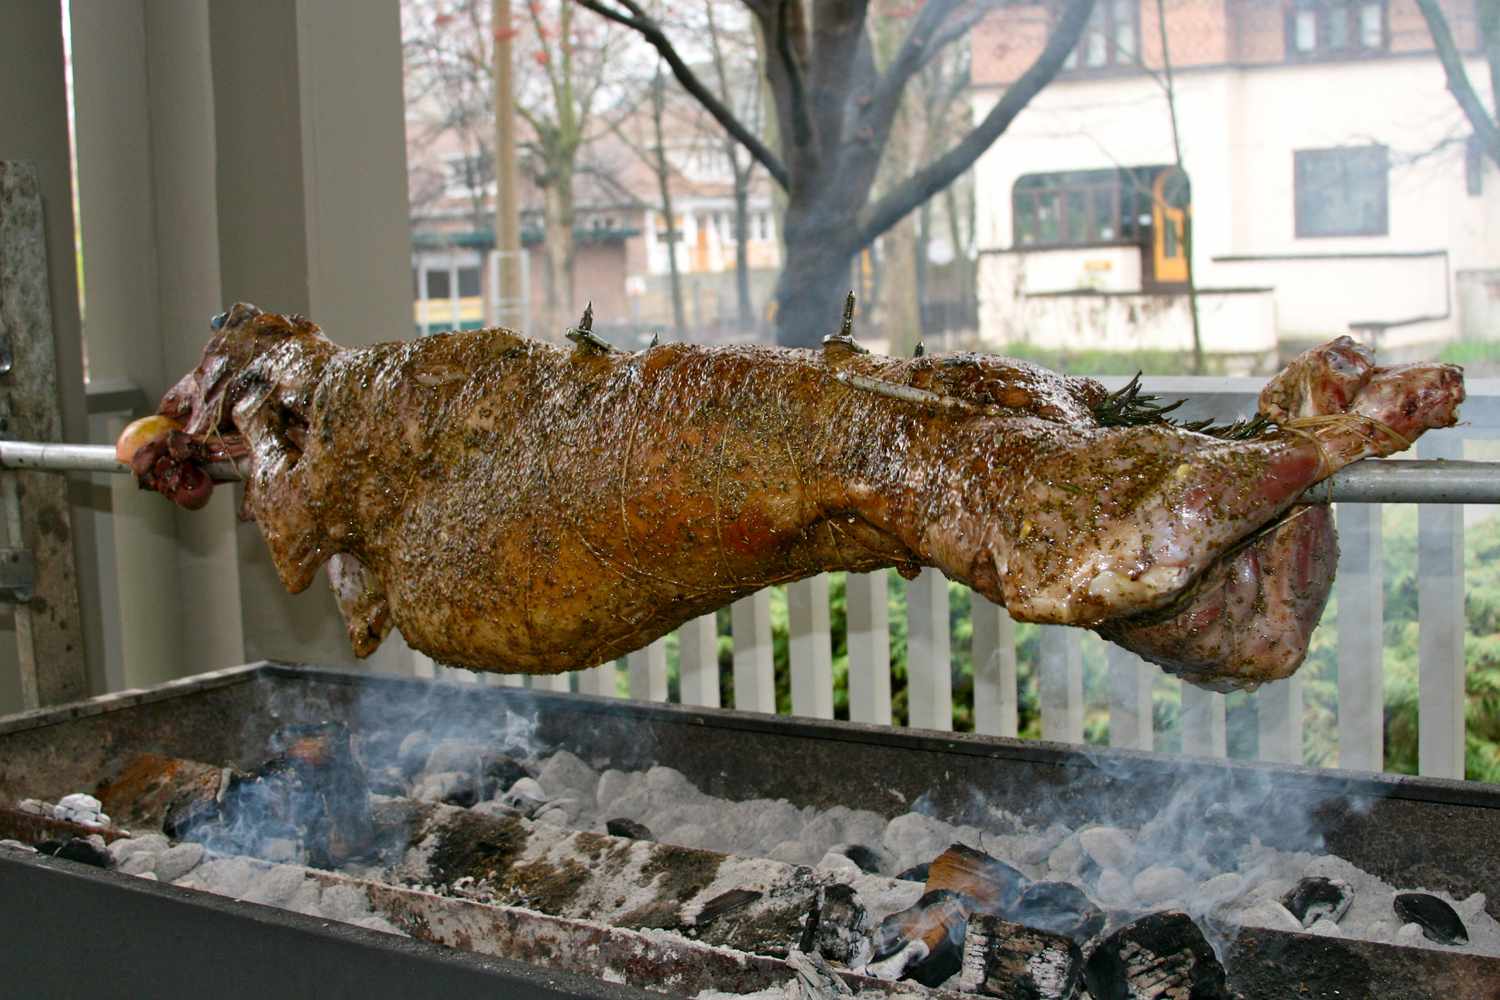
How To Carve A Whole Lamb On A Spit
How To Carve Watermelon Flowers
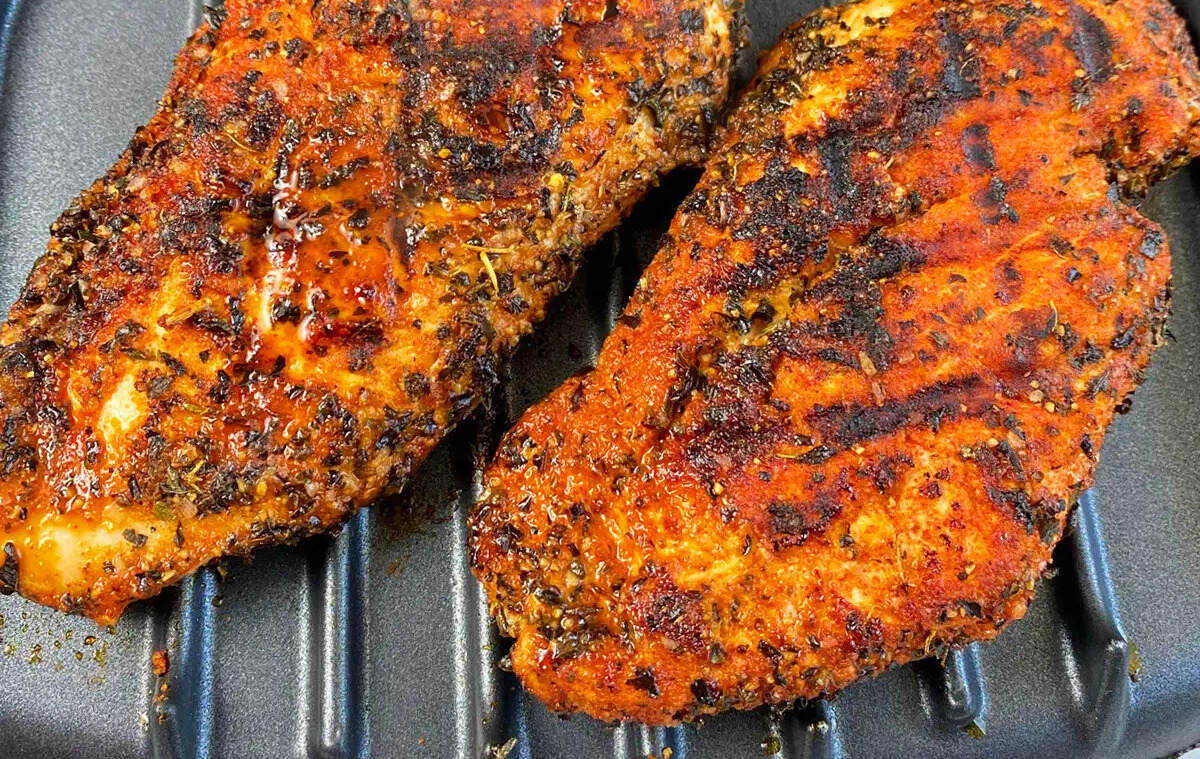
How To Grill Chicken Thighs On George Foreman

How To Grill Burgers And Hotdogs
How To Grill Asparagus On A George Foreman
How To Roast Chicken In Cooker
How To Roast A Small Chicken In A Large Roasting Pan

How To Grill Hot Dogs On A George Foreman Grill
How To Roast Papad On Glass Cooktop