Carving a Half Ham Bone-In: A Step-by-Step Guide
Carving a half ham bone-in can seem like a daunting task, but with the right technique, it can be a simple and rewarding experience. Whether you’re preparing for a holiday feast or a special gathering, knowing how to carve a half ham bone-in will impress your guests and ensure that everyone gets a perfect slice of delicious ham. Follow these step-by-step instructions to carve a half ham bone-in like a pro.
What You’ll Need
Before you begin, gather the following tools:
- Sharp carving knife
- Cutting board
- Carving fork
- Serving platter
Step 1: Prepare Your Work Area
Start by setting up a clean and spacious work area. Place a non-slip cutting board on the surface to provide a stable base for carving. Make sure you have easy access to your tools and the serving platter.
Step 2: Position the Ham
Place the half ham bone-in on the cutting board with the cut side facing down. This will provide a stable base for carving and make it easier to slice the ham evenly.
Step 3: Locate the Bone
Identify the bone running through the center of the ham. This will serve as a guide for carving and help you determine the direction of the grain.
Step 4: Start Carving
Using a sharp carving knife, make a diagonal cut along the natural seam where the ham meets the bone. This will create the first slice of ham and make it easier to continue carving.
Step 5: Follow the Bone
Continue to slice along the bone, using it as a guide to create even slices of ham. Keep the knife close to the bone to maximize the amount of meat you can carve from the ham.
Step 6: Transfer Slices to the Platter
As you carve, use a carving fork to transfer the slices of ham to a serving platter. Arrange the slices neatly to create an appealing presentation.
Step 7: Serve and Enjoy
Once you have carved the entire half ham bone-in, it’s time to serve and enjoy the delicious results of your hard work. Whether you’re serving a holiday meal or a casual gathering, your perfectly carved ham will be a hit with your guests.
Tips for Success
Here are a few additional tips to ensure that your half ham bone-in carving experience goes smoothly:
- Keep your carving knife sharp to make clean and precise cuts.
- Take your time and focus on creating even slices for the best presentation.
- Consider saving the bone for making flavorful soups or stocks.
With these simple steps and tips in mind, you’ll be well-equipped to carve a half ham bone-in with confidence and skill. Whether you’re a seasoned home cook or a beginner in the kitchen, mastering the art of carving ham will elevate your culinary repertoire and impress your guests.
So, the next time you’re faced with a half ham bone-in, embrace the opportunity to showcase your carving skills and treat your friends and family to a delicious and beautifully presented dish.
Was this page helpful?
Read Next: How To Carve A Bone-In Turkey Breast
Related Articles
How To Carve Cantaloupe Melon
How To Carve A Tri-Tip
How To Carve Peach
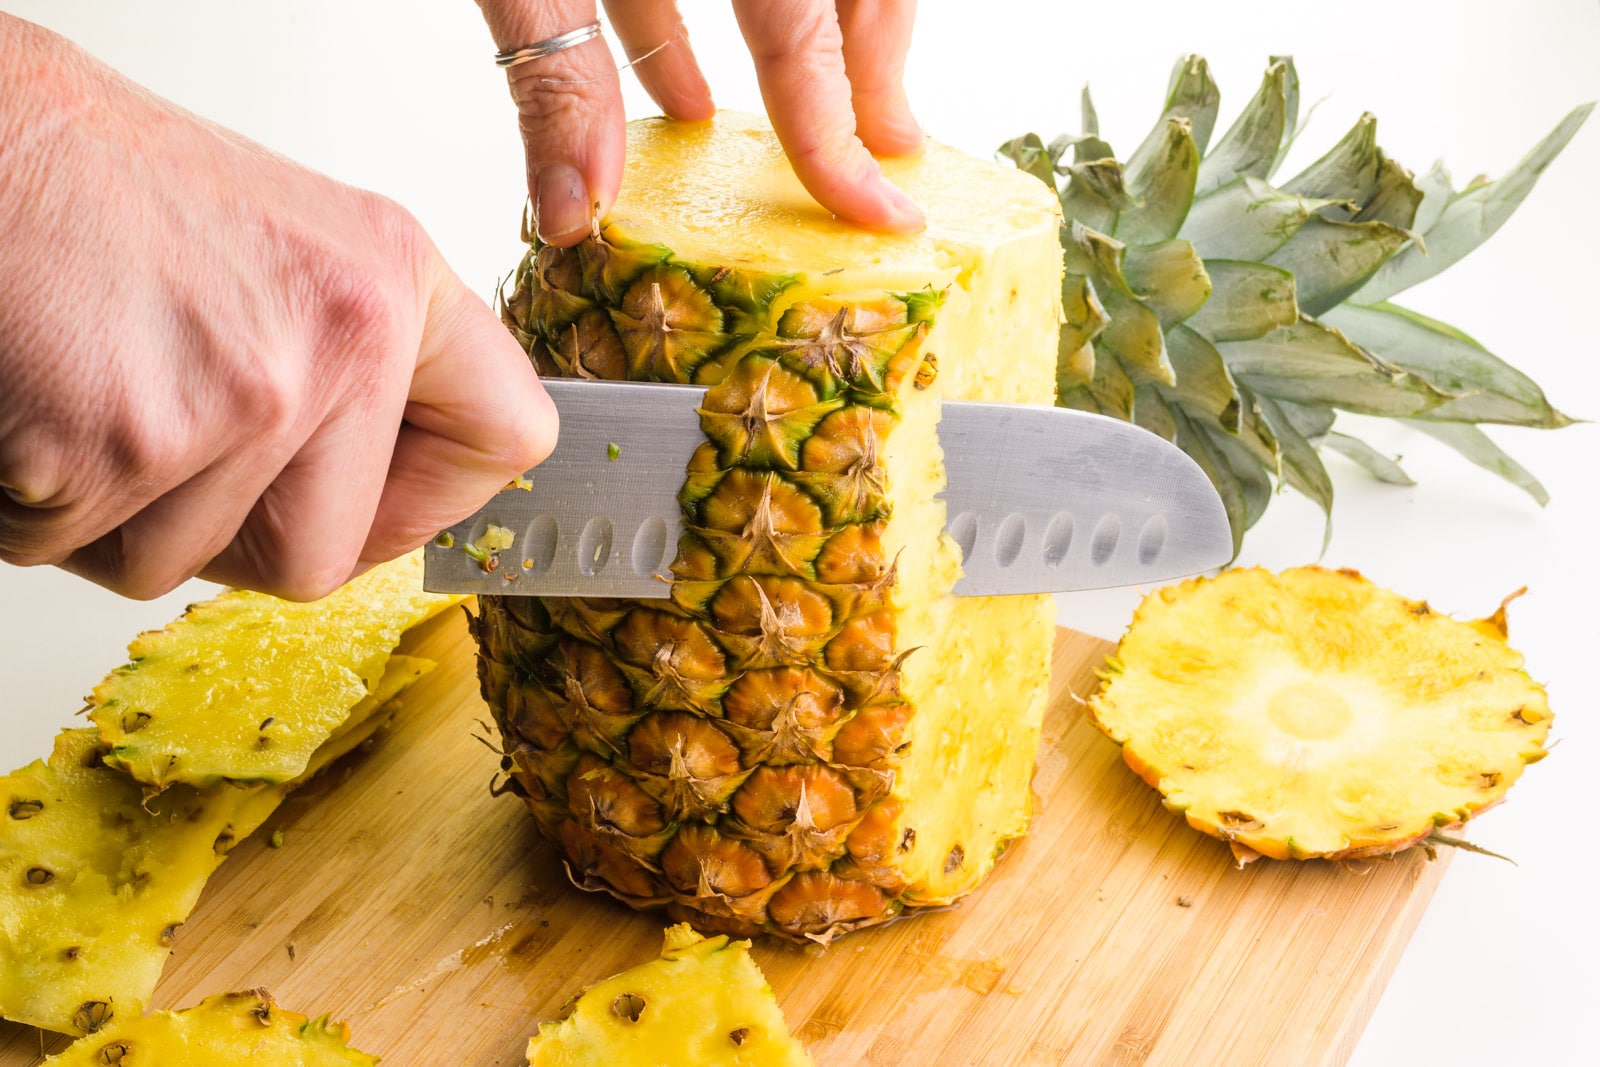
How To Carve Pineapple
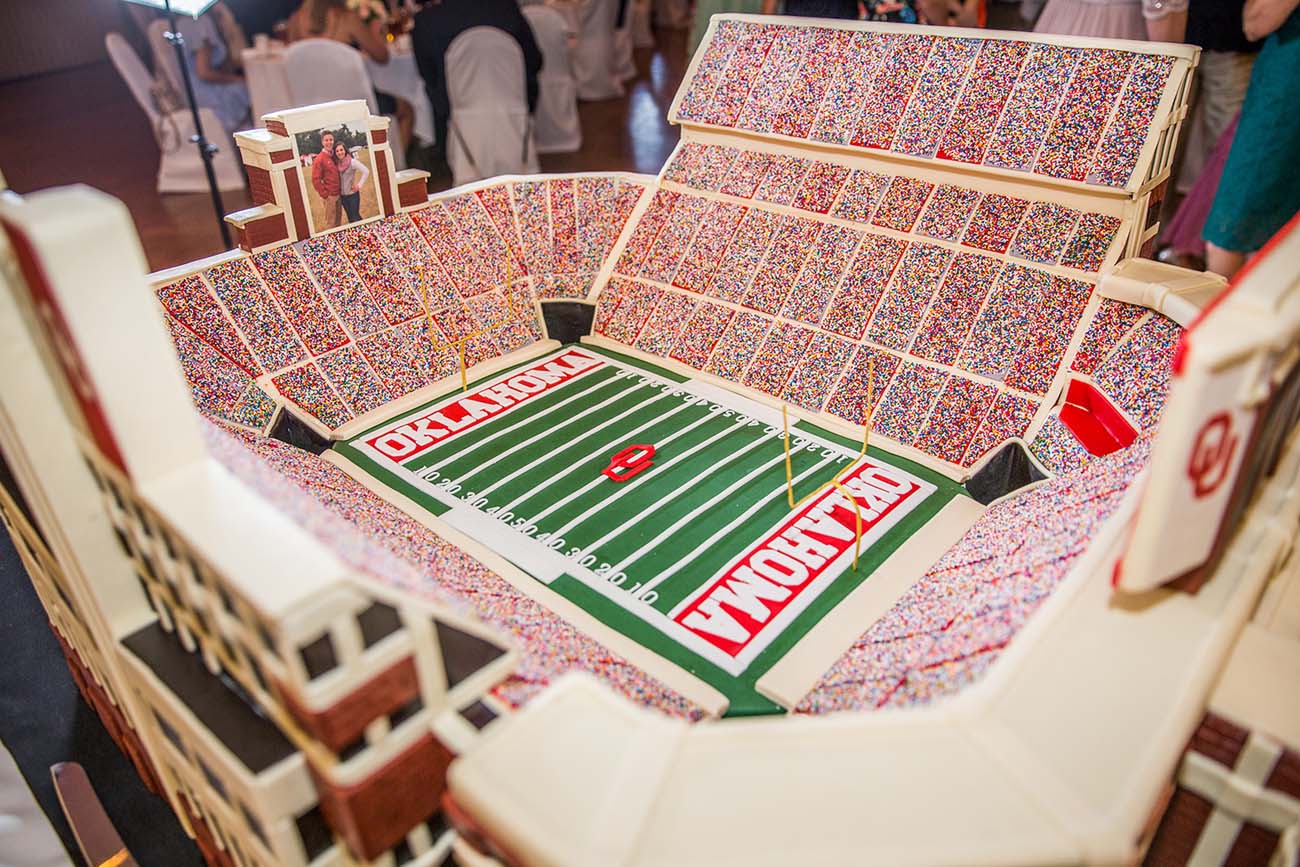
How To Carve A Stadium Cake

How To Carve Papaya Steak
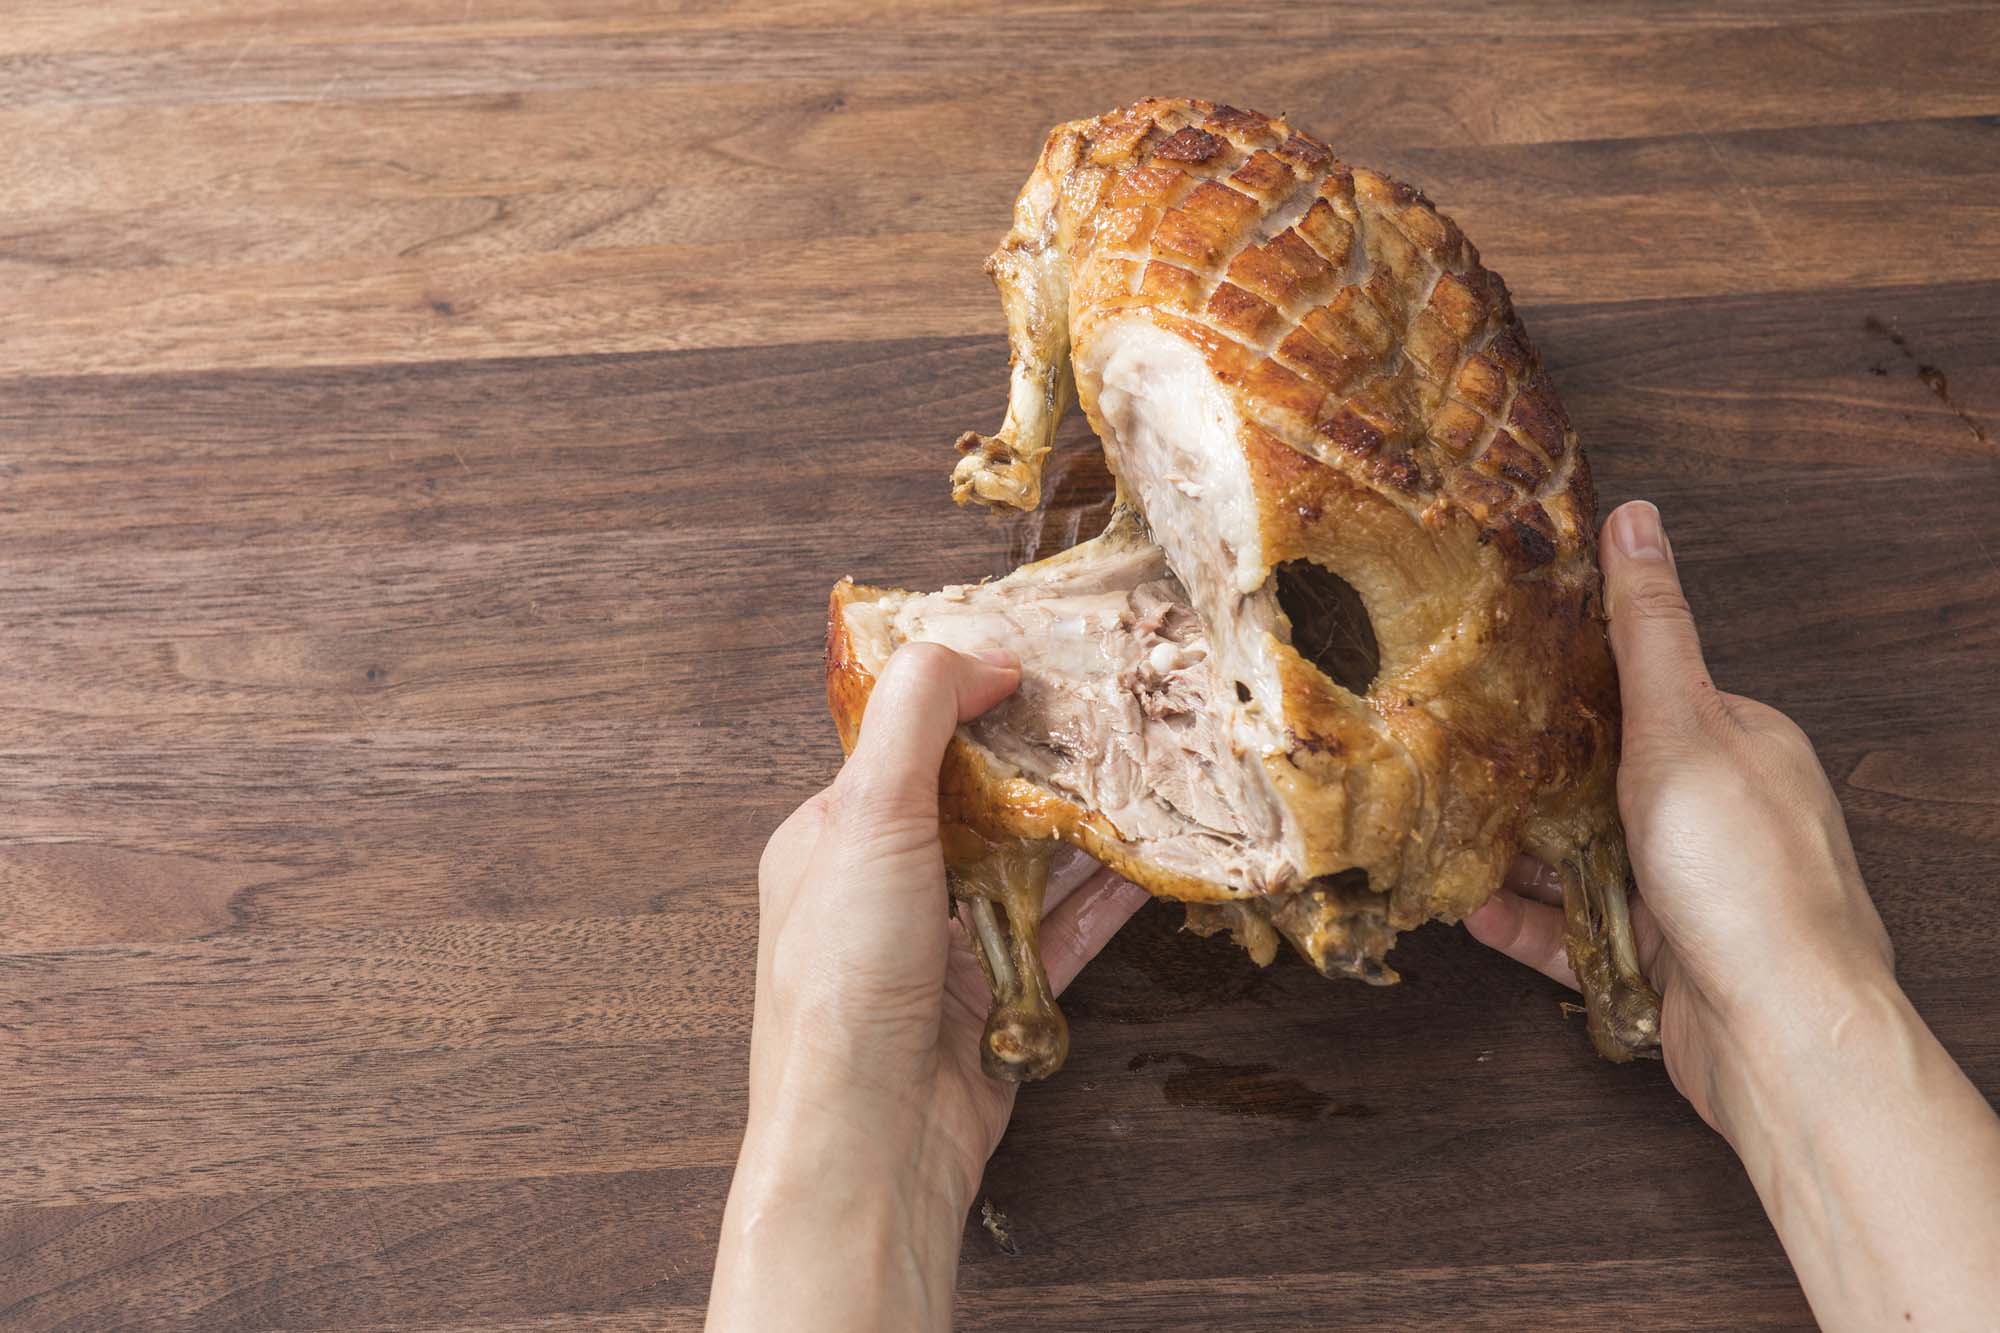
How To Carve A Roast Duck
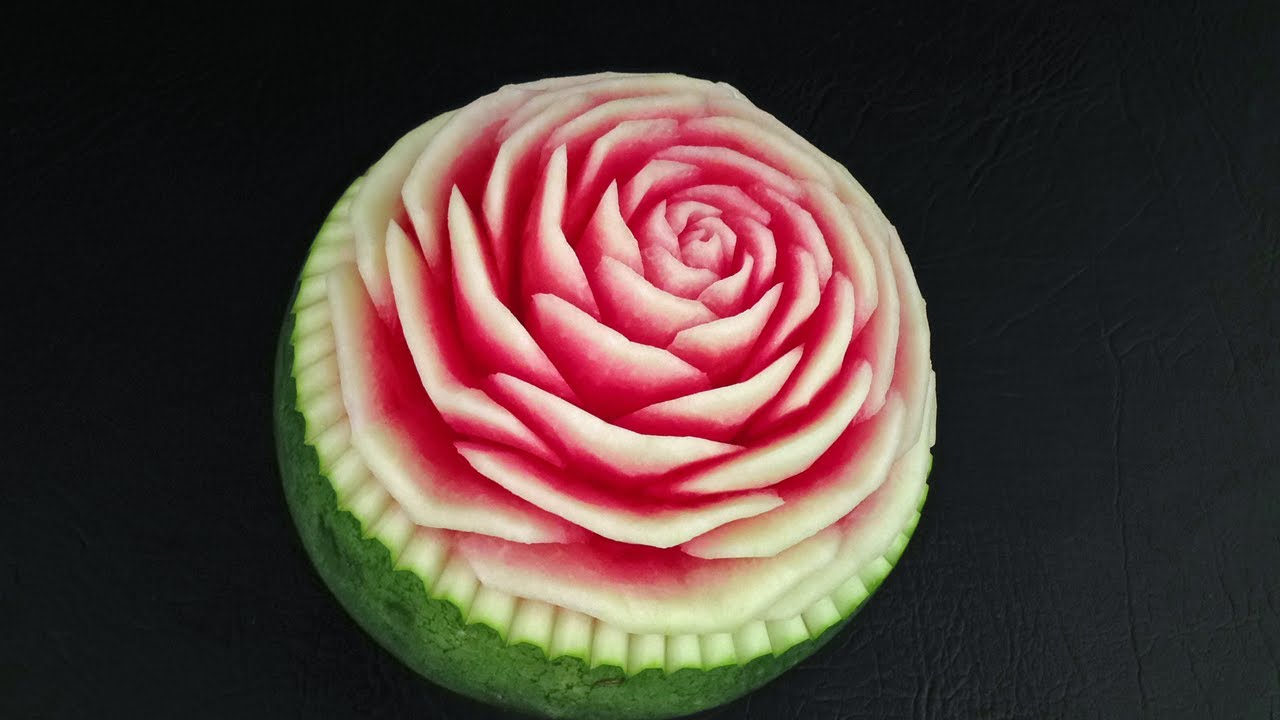
How To Carve A Rose Into Watermelon
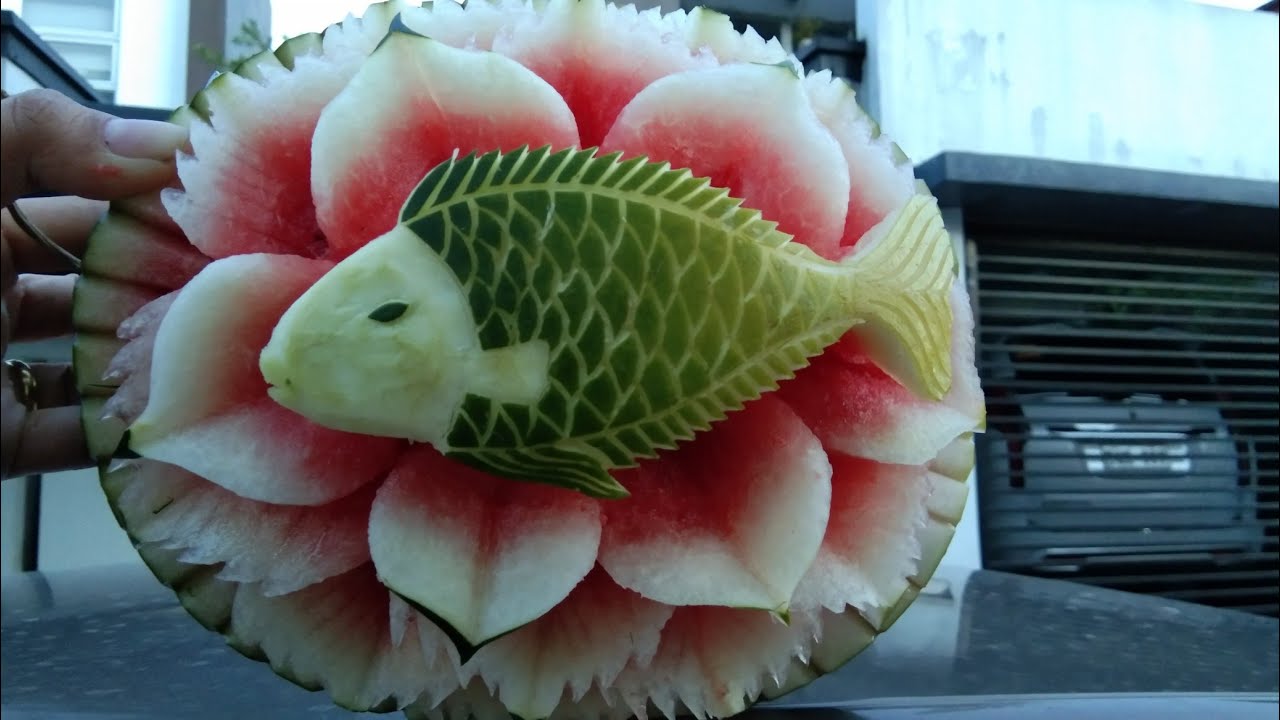
How To Carve A Melon Into A Fish
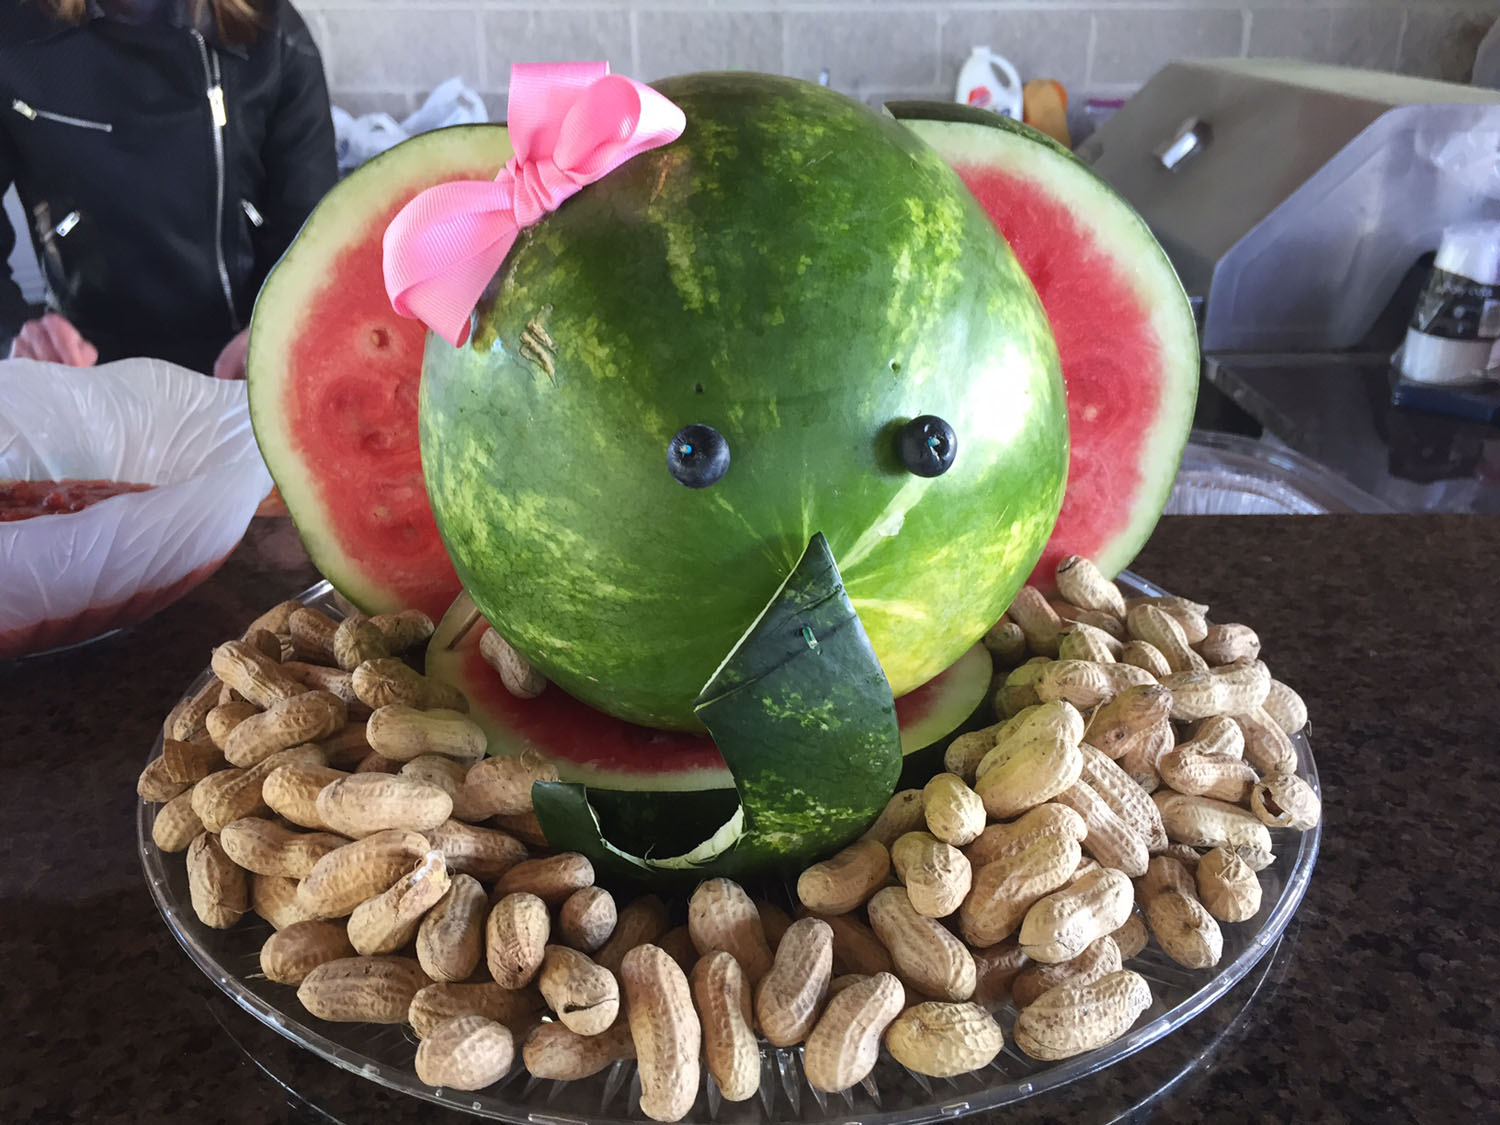
How To Carve A Watermelon Elephant
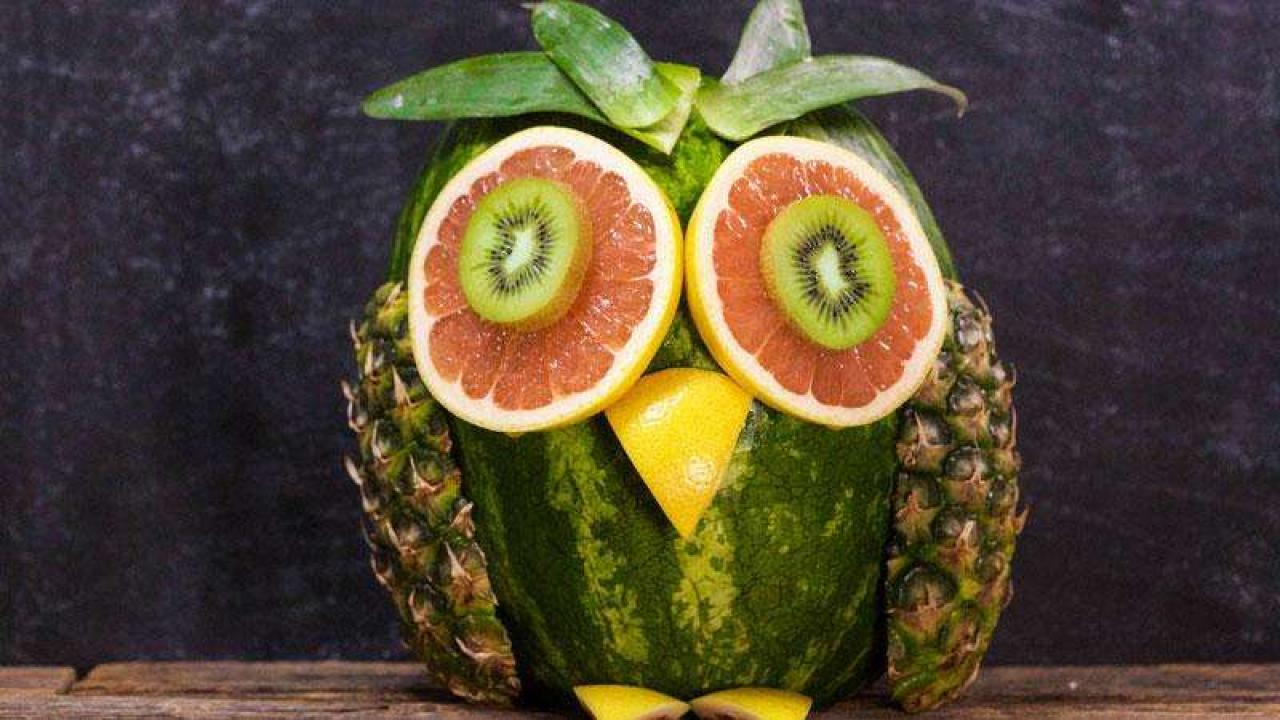
How To Carve Owl In Watermelon