Mastering the Art of Carving Tri-Tip
Tri-tip is a delicious and flavorful cut of beef that is perfect for grilling or roasting. However, carving a tri-tip can be a bit tricky if you’re not familiar with the process. Whether you’re a seasoned chef or a novice cook, mastering the art of carving tri-tip is essential for serving up perfect slices of this delectable meat. In this guide, we’ll walk you through the steps to carve a tri-tip like a pro.
What You’ll Need
Before you begin carving your tri-tip, make sure you have the following tools on hand:
- Sharp carving knife
- Cutting board
- Meat fork or tongs
Step 1: Let the Tri-Tip Rest
After cooking your tri-tip, it’s crucial to let it rest for about 10-15 minutes before carving. This allows the juices to redistribute, ensuring a moist and flavorful end result.
Step 2: Identify the Grain
Before you start carving, take a moment to identify the direction of the grain in the meat. The grain refers to the natural lines or fibers running through the meat. Slicing against the grain will result in tender, easy-to-chew pieces.
Step 3: Carve Against the Grain
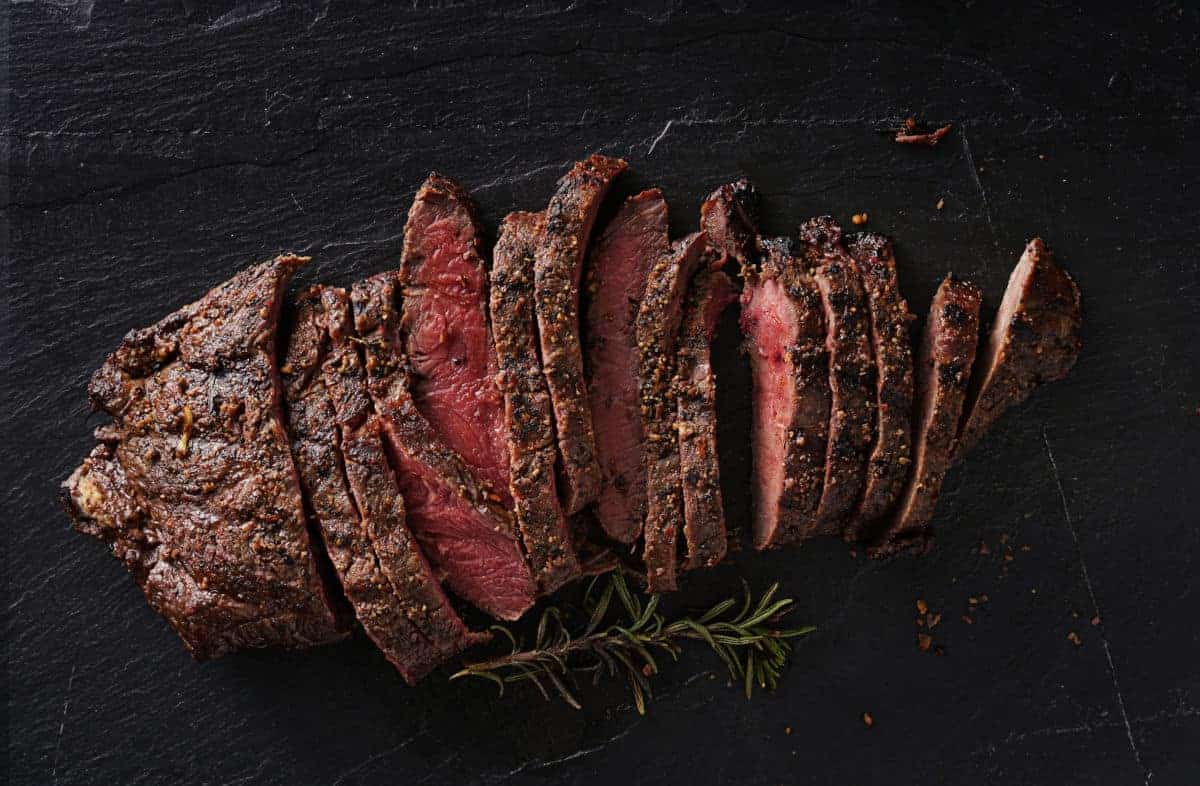
Using your sharp carving knife, begin slicing the tri-tip against the grain. This means cutting perpendicular to the direction of the grain. Cutting against the grain helps break up the muscle fibers, resulting in more tender and flavorful slices.
Step 4: Slice Thinly
For the best texture and mouthfeel, aim to slice the tri-tip thinly, about 1/4 inch thick. This allows for even cooking and a more enjoyable eating experience.
Step 5: Serve and Enjoy
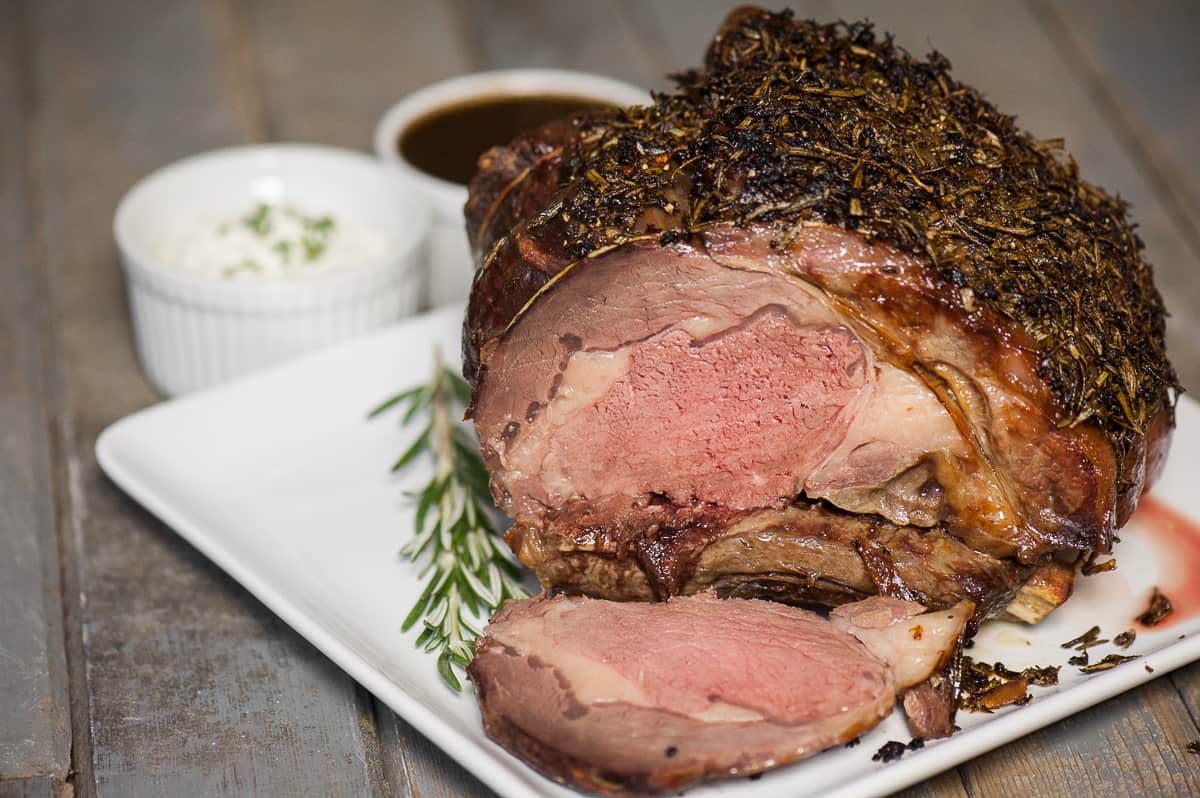
Once you’ve carved the tri-tip, arrange the slices on a platter and serve them up to your eager guests. Whether you’re enjoying the tri-tip on its own or using it in sandwiches or tacos, your perfectly carved slices are sure to be a hit.
Tips for Success
Here are a few additional tips to keep in mind as you carve your tri-tip:
- Use a sharp knife: A sharp carving knife will make the carving process much easier and safer.
- Practice makes perfect: If you’re new to carving tri-tip, don’t be discouraged if your first few attempts aren’t perfect. With practice, you’ll become more confident and skilled at carving this delicious cut of meat.
- Consider the presentation: When arranging the slices on a platter, think about the visual appeal. A well-presented platter of tri-tip slices is sure to whet the appetite.
With these simple steps and tips, you’ll be well on your way to mastering the art of carving tri-tip. Whether you’re cooking for a crowd or simply enjoying a family meal, perfectly carved tri-tip is a surefire way to impress your guests and elevate your culinary skills.
Was this page helpful?
Read Next: How To Carve Watermelon Designs

