Get Creative with Your Fruit: Carving a Melon into a Fish
Are you looking for a fun and creative way to impress your friends and family at your next gathering? Carving a melon into a fish is a unique and eye-catching way to serve fruit that will surely make a splash! With a little bit of practice and the right tools, you can create a stunning centerpiece that will have everyone talking. In this guide, we’ll walk you through the steps to carve a melon into a fish, so you can add a touch of artistry to your next meal.
What You’ll Need
Before you get started, make sure you have the following tools and ingredients on hand:
- A ripe melon (such as a cantaloupe or honeydew)
- A sharp knife
- A melon baller
- A cutting board
- Small, round fruit for the fish’s eye (such as a blueberry or grape)
- Toothpicks
- Optional: other fruits for garnish, such as berries or kiwi
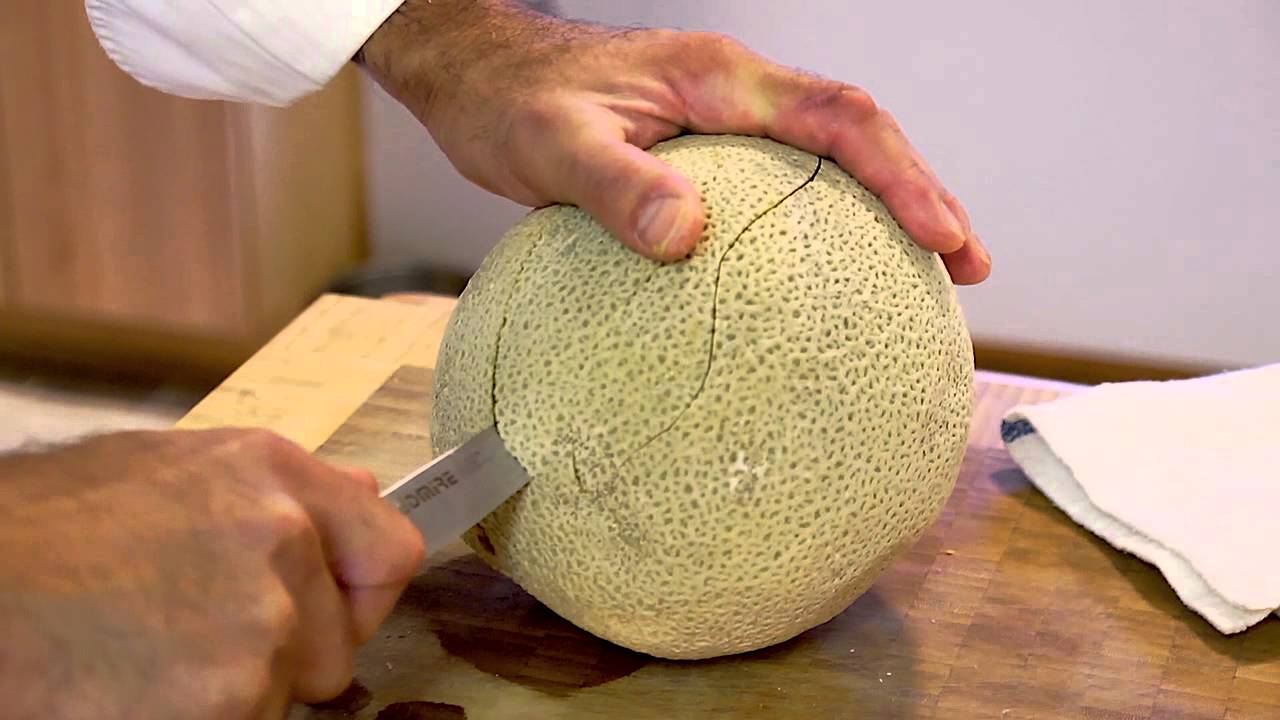
Step 1: Prepare Your Melon
Start by washing the outside of the melon to remove any dirt or debris. Once it’s clean, place it on a cutting board and use a sharp knife to carefully slice off the top and bottom to create a flat surface on each end. This will make it easier to work with and provide a stable base for your fish carving.
Step 2: Carve the Body
Using a sharp knife, carefully slice off a small portion of the bottom of the melon to create a flat base so it can stand upright. Then, make a vertical cut about one-third of the way from the top of the melon. This will be the fish’s tail. Next, make a diagonal cut from the top of the melon to the top of the vertical cut to create the fish’s body. Be sure to leave enough space at the top for the fish’s head.
Step 3: Create the Scales
Now it’s time to add some detail to your fish. Use a melon baller to carefully scoop out small, round sections of the melon’s flesh to create the fish’s scales. Start at the tail and work your way up to the head, overlapping the scales slightly as you go. This will give your fish a realistic and textured appearance.
Step 4: Add the Fin and Tail
Using the excess melon that you trimmed off earlier, carve out a small triangular piece to create the fish’s fin. Attach the fin to the top of the fish’s body using toothpicks to secure it in place. Then, take the piece you cut off to create the tail and attach it to the back of the fish using toothpicks as well.
Step 5: Add the Eye and Garnish
For the finishing touch, use a small, round fruit such as a blueberry or grape to create the fish’s eye. Secure it in place near the top of the fish’s body using a toothpick. If desired, you can also add additional fruits such as berries or kiwi around the base of the fish to create a decorative and colorful display.
Step 6: Serve and Enjoy!
Once your melon fish masterpiece is complete, place it on a serving platter and watch as your guests marvel at your creativity. Not only is it a visually stunning addition to any table, but it’s also a delicious and healthy treat that everyone will love. So go ahead, get creative, and have fun carving a melon into a fish for your next gathering!
With these simple steps and a bit of practice, you can easily master the art of carving a melon into a fish. So the next time you’re looking for a unique way to serve fruit, consider trying your hand at this fun and impressive technique. Your friends and family will be amazed by your creativity, and you’ll have a beautiful and delicious centerpiece to enjoy together.
So, what are you waiting for? Grab a melon and some carving tools, and let your imagination run wild as you create your very own melon fish masterpiece!
Was this page helpful?
Read Next: How To Carve A Rose Into Watermelon
Related Articles
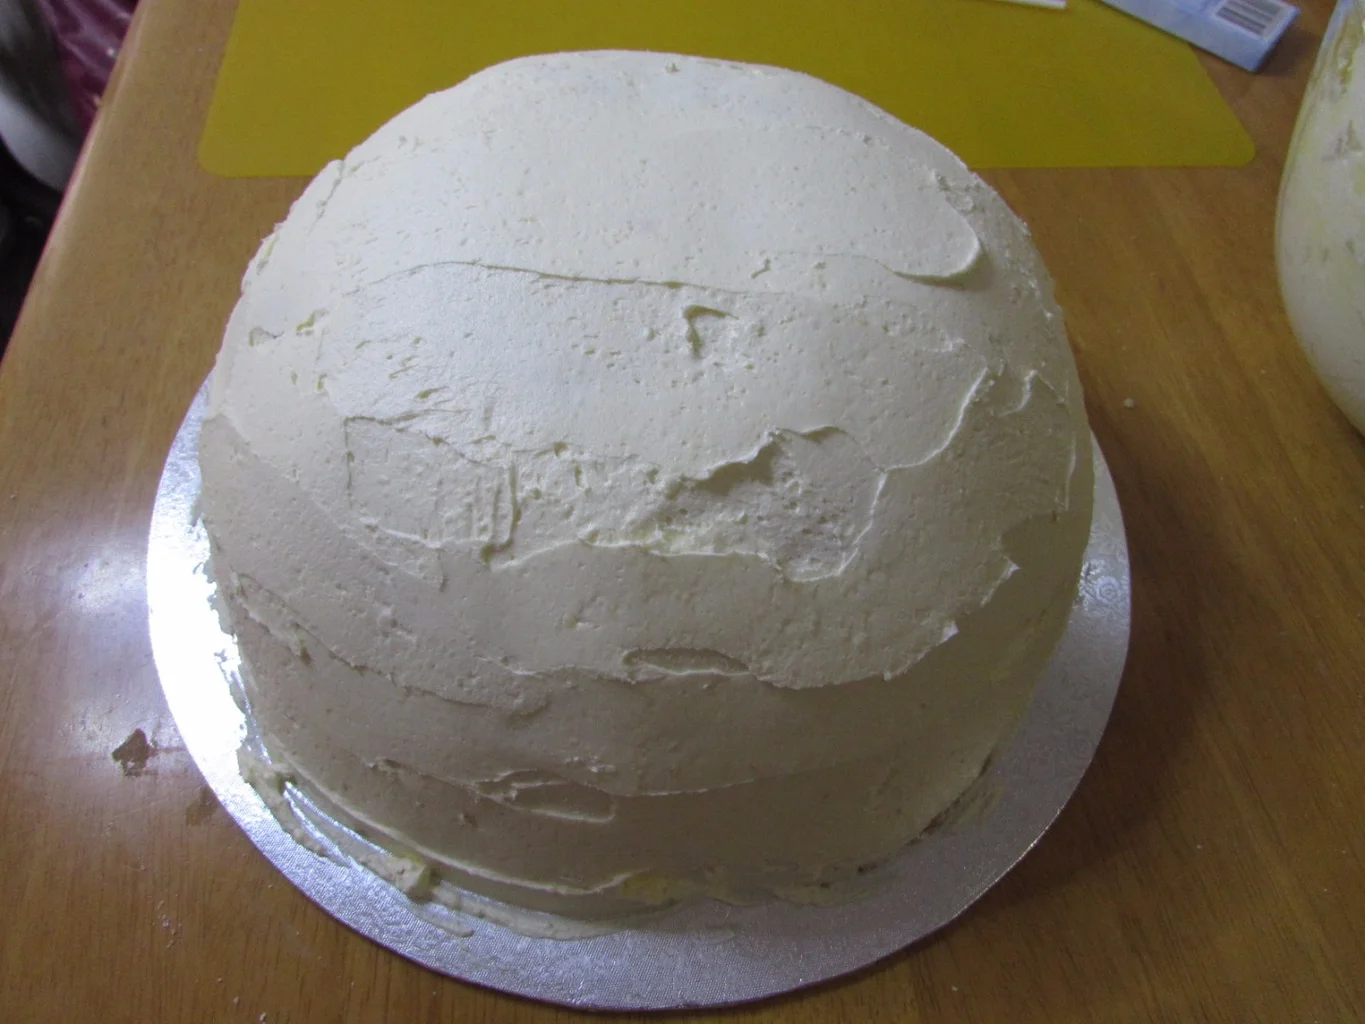
How To Carve A Sphere Cake
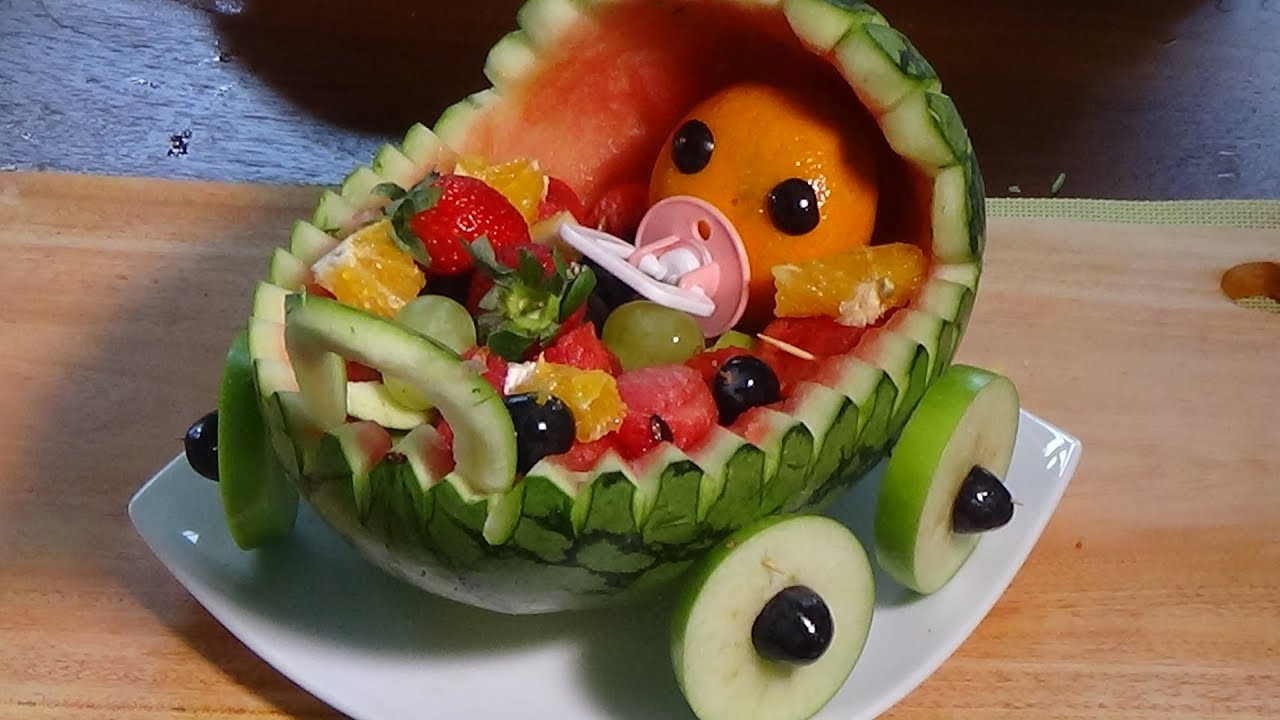
How To Carve Watermelon For Baby Shower
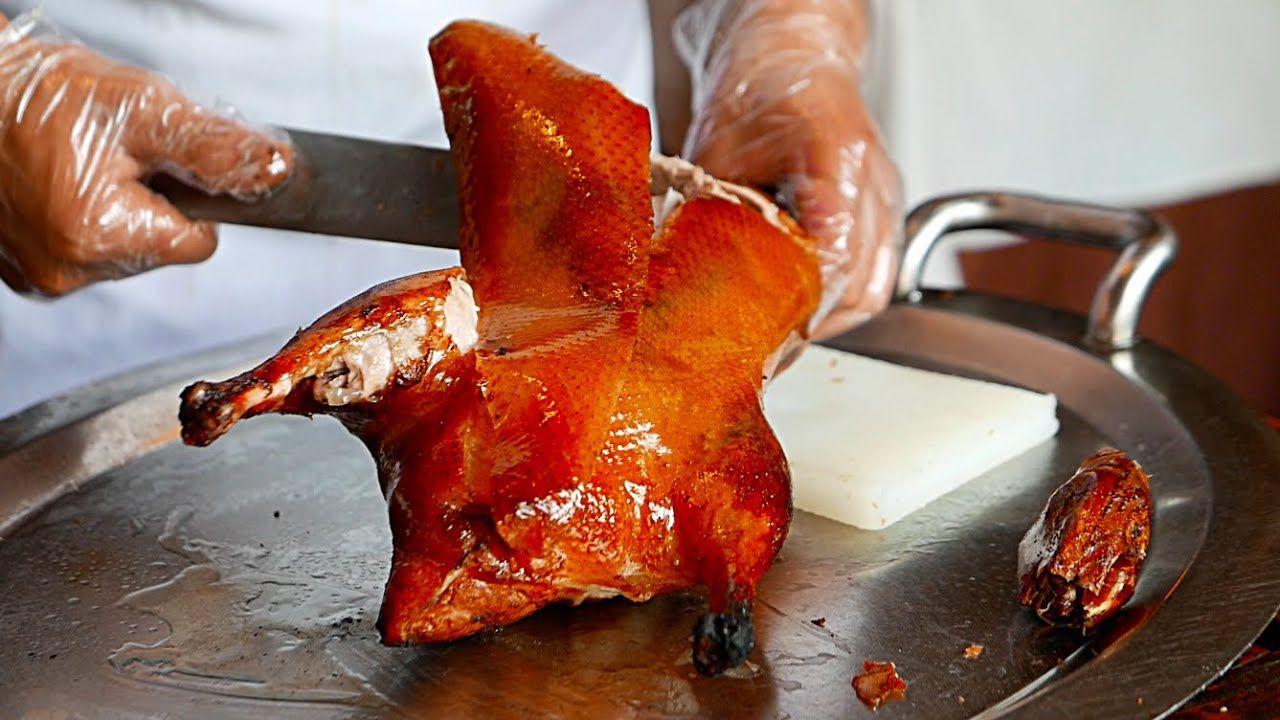
How To Carve Chinese Roast Duck
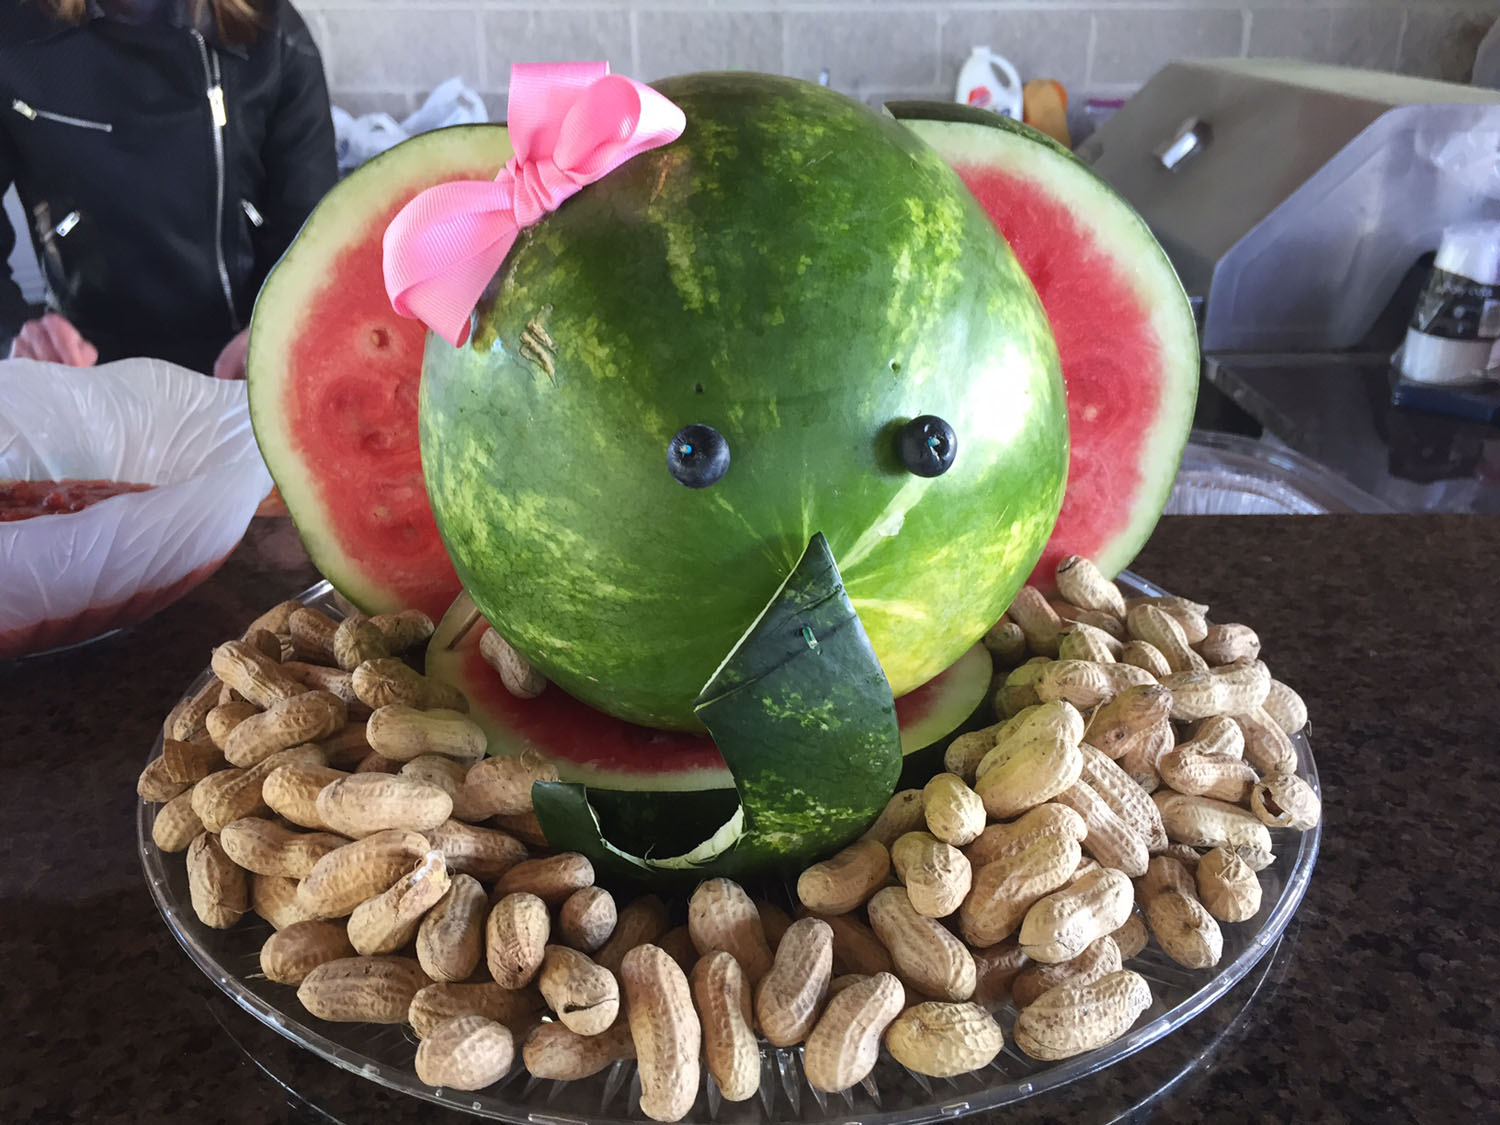
How To Carve A Watermelon Elephant
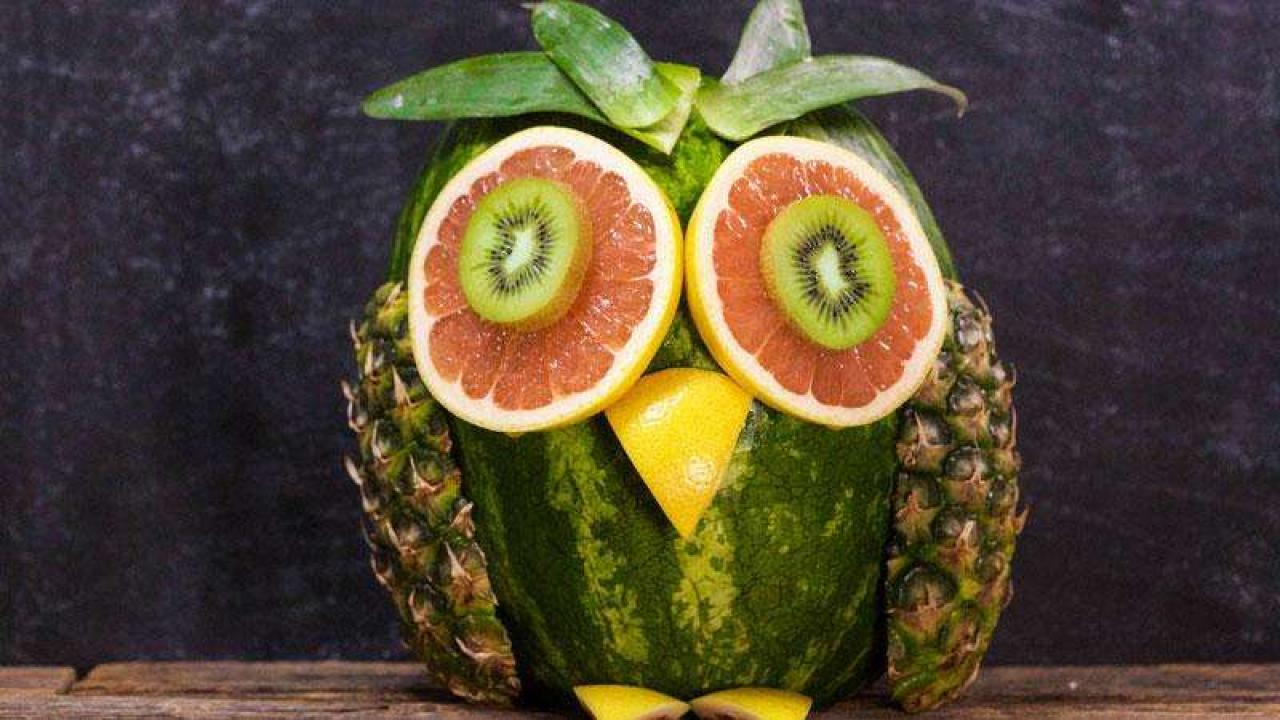
How To Carve Owl In Watermelon
How To Carve Bunny Cantaloupe
How To Carve Chinese Roast Duck
How To Carve Watermelon For Baby Shower
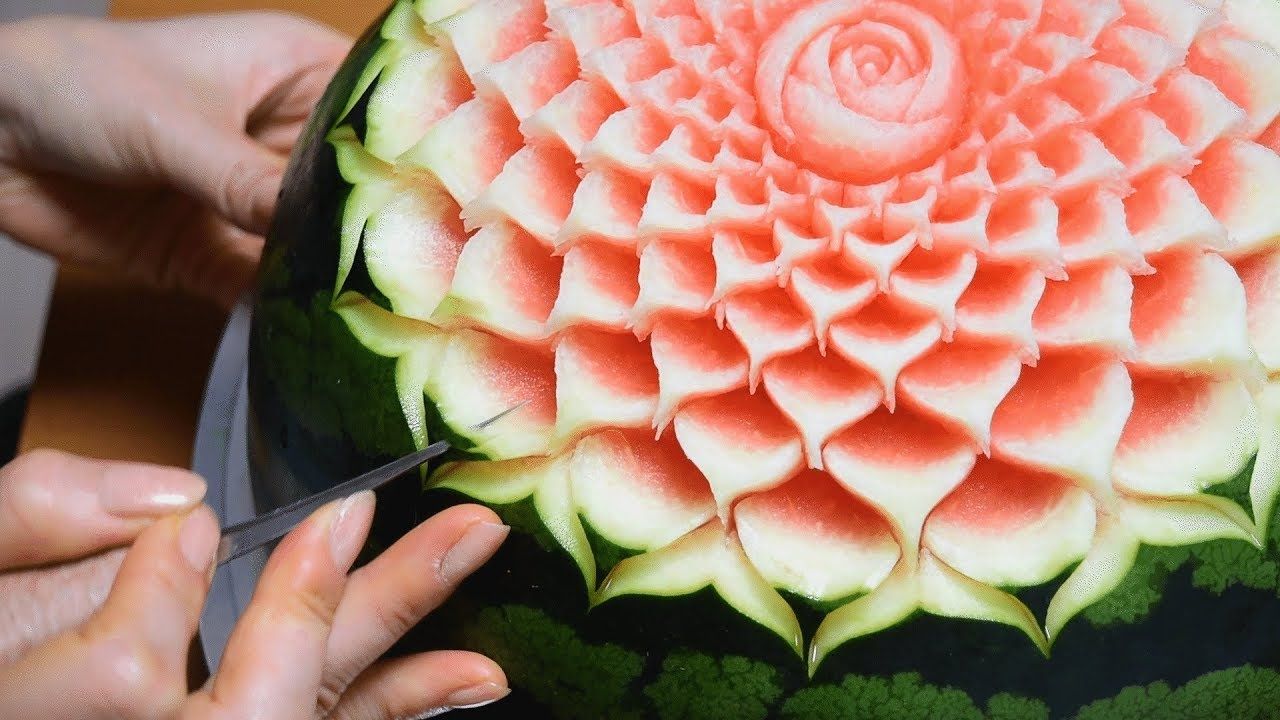
How To Carve Watermelon Flowers
How To Grill Chicken Thighs On George Foreman

How To Grill Burgers And Hotdogs