Mastering the Art of Pouring Caramels at Candy Shops
Creating delicious, melt-in-your-mouth caramels is a true art form, and one of the most crucial steps in the process is pouring the caramel mixture. Whether you’re a seasoned confectioner or a novice candy maker, mastering the pour is essential for achieving the perfect texture and flavor in your caramels. In this guide, we’ll explore the steps and techniques that candy shops use to pour caramels, so you can replicate their success in your own kitchen.
Choosing the Right Equipment
Before you begin pouring caramels, it’s important to have the right equipment on hand. Here’s what you’ll need:
- Heavy-bottomed saucepan
- Candy thermometer
- Wooden spoon or heat-resistant spatula
- Heat-resistant silicone molds or a parchment-lined baking dish
Having the proper equipment will ensure that your caramel pouring process goes smoothly and yields the best results.
Preparing the Caramel Mixture
Once you have your equipment ready, it’s time to prepare the caramel mixture. This typically involves heating a combination of sugar, butter, cream, and sometimes corn syrup in a saucepan over medium heat. As the mixture cooks, it’s important to stir it constantly to prevent scorching and ensure even heating.
Using a candy thermometer, monitor the temperature of the caramel mixture. Most recipes call for cooking the caramel to a specific temperature, such as 245°F (118°C) for a soft caramel or 320°F (160°C) for a hard caramel. Achieving the correct temperature is crucial for the desired texture of the caramels.
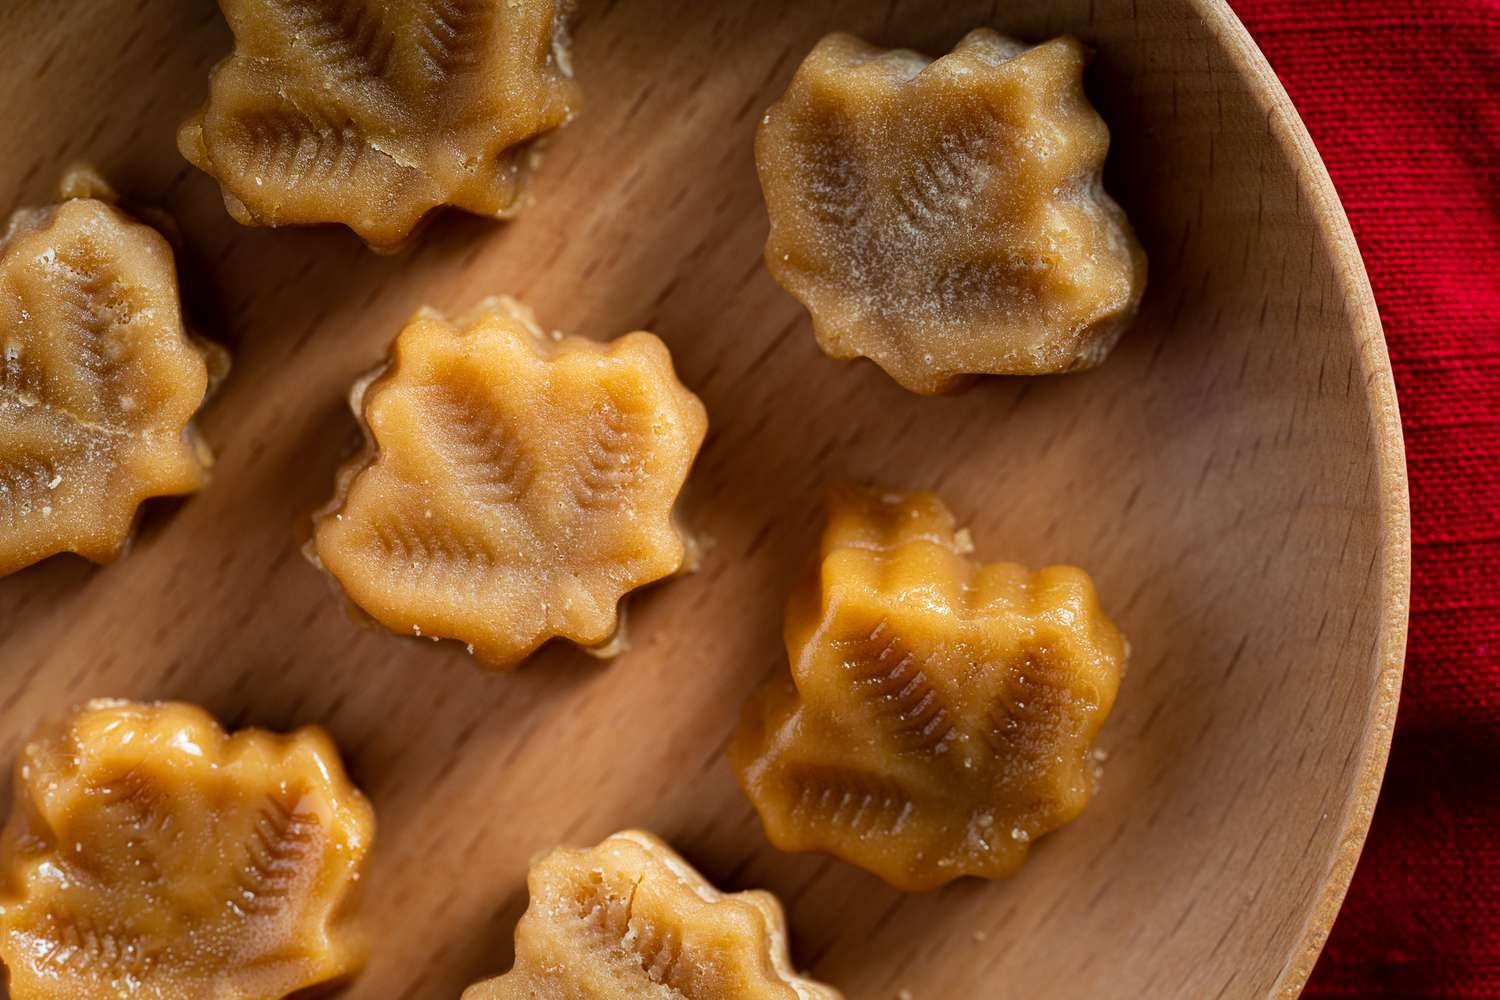
The Pouring Process
Once the caramel mixture has reached the desired temperature, it’s time to pour it into your molds or baking dish. Here are the steps to follow:
- Carefully remove the saucepan from the heat and place it on a heat-resistant surface.
- Using a heat-resistant spatula, quickly and carefully pour the hot caramel mixture into the molds or baking dish. Work swiftly, as the caramel will begin to set as it cools.
- If using molds, gently tap them on the countertop to release any air bubbles and ensure the caramel settles evenly.
- Allow the caramels to cool at room temperature until they are fully set, typically for a few hours or overnight.
It’s important to exercise caution during the pouring process, as the hot caramel can cause severe burns if it comes into contact with your skin. Always use heat-resistant gloves or utensils when handling hot caramel.
Perfecting Your Technique
Pouring caramels may seem straightforward, but it takes practice to perfect the technique. Here are a few tips to help you achieve the best results:
- Work quickly but carefully to pour the caramel before it begins to set.
- Ensure that your molds or baking dish are prepared in advance, so you can pour the caramel without delay.
- Practice controlling the flow of the caramel as you pour, aiming for even distribution in the molds or dish.
- Pay attention to the temperature of the caramel, as different textures require different pouring techniques.
With time and experience, you’ll develop a keen sense for the perfect caramel pouring technique that yields consistently delicious results.
Conclusion
Pouring caramels is a fundamental step in the candy-making process, and with the right equipment and technique, you can achieve professional-quality caramels in your own kitchen. By understanding the nuances of the pouring process and practicing your skills, you’ll be well on your way to creating delectable caramels that rival those found in the finest candy shops.
So, roll up your sleeves, gather your ingredients, and get ready to pour your way to caramel perfection!
Was this page helpful?
Read Next: How To Candy Dried Mangoes
Related Articles
How To Candy Fruit Slices
How To Candy Mandarin Oranges
How To Candy Maple Syrup
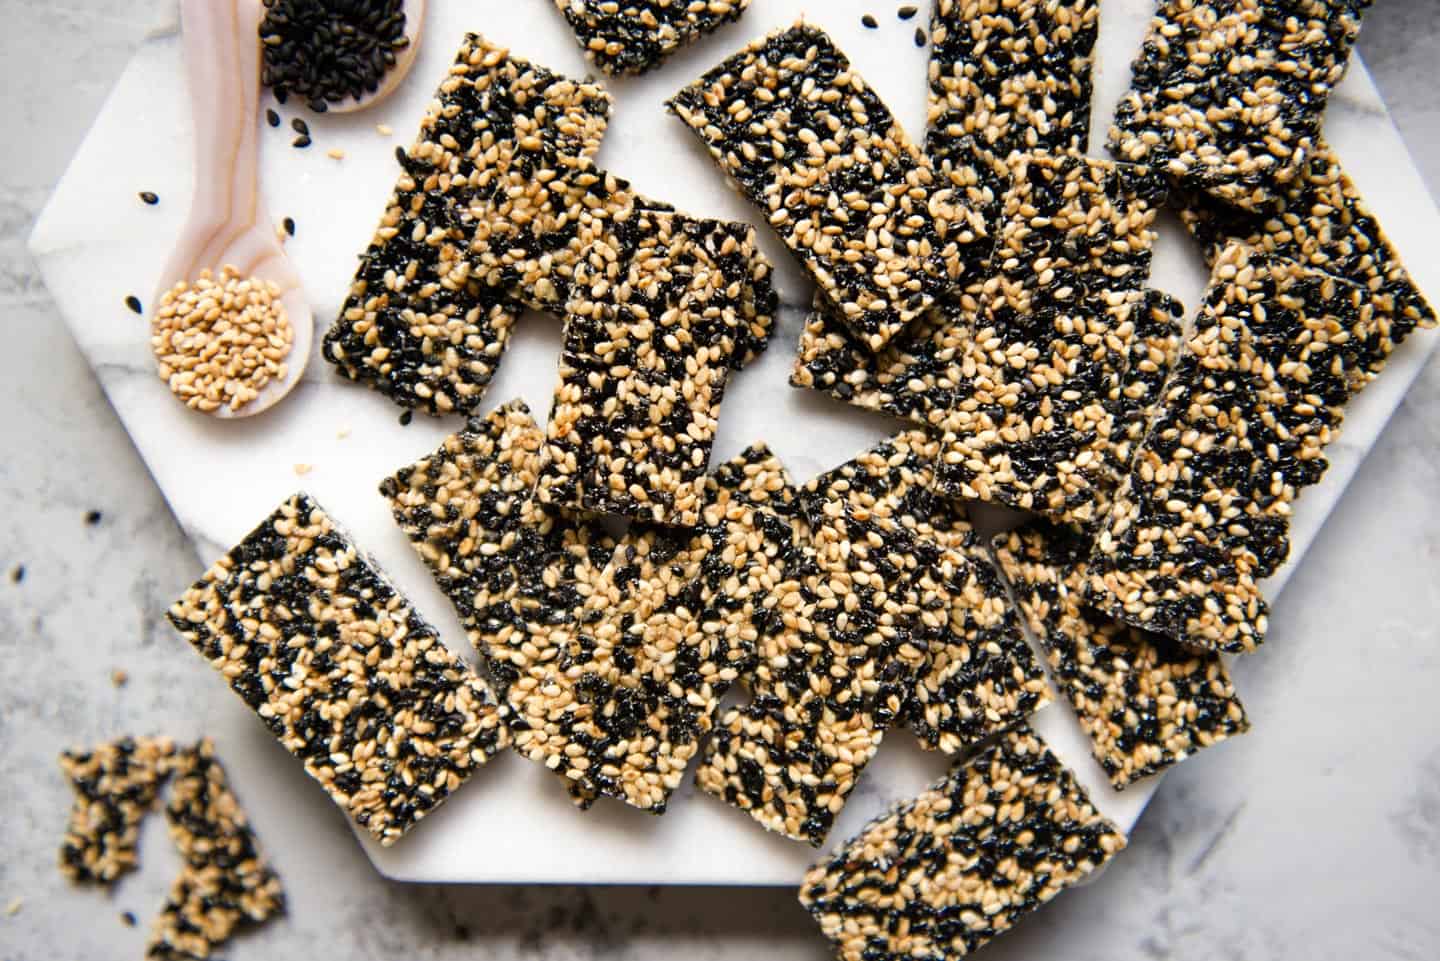
How To Candy Seeds
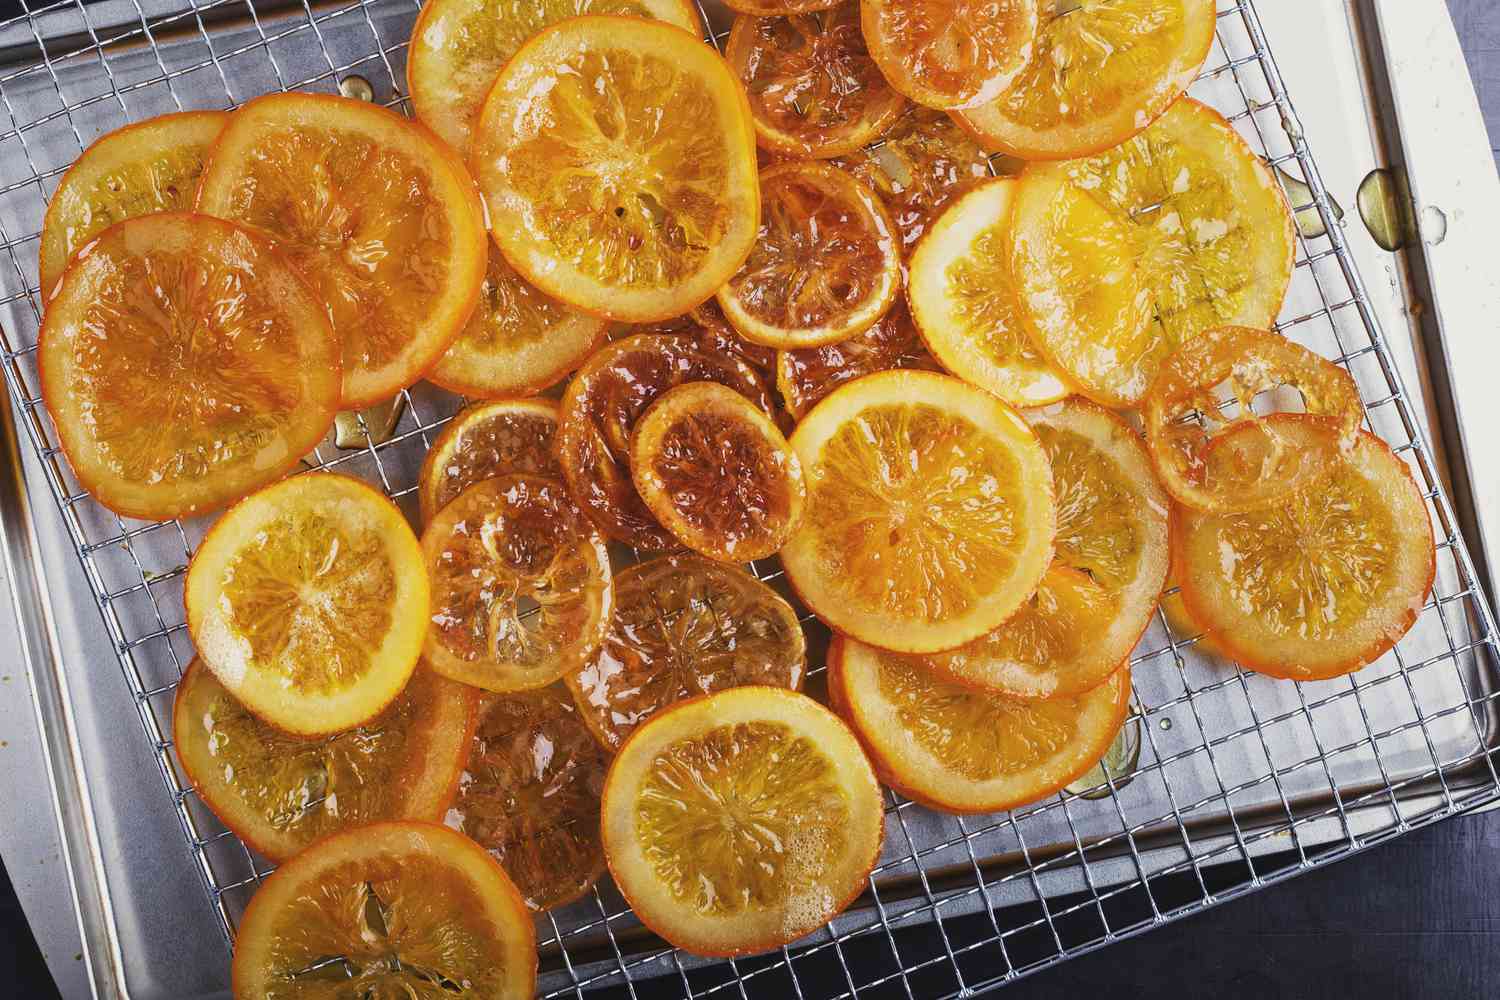
How To Candy Lemon Slices On The Oven
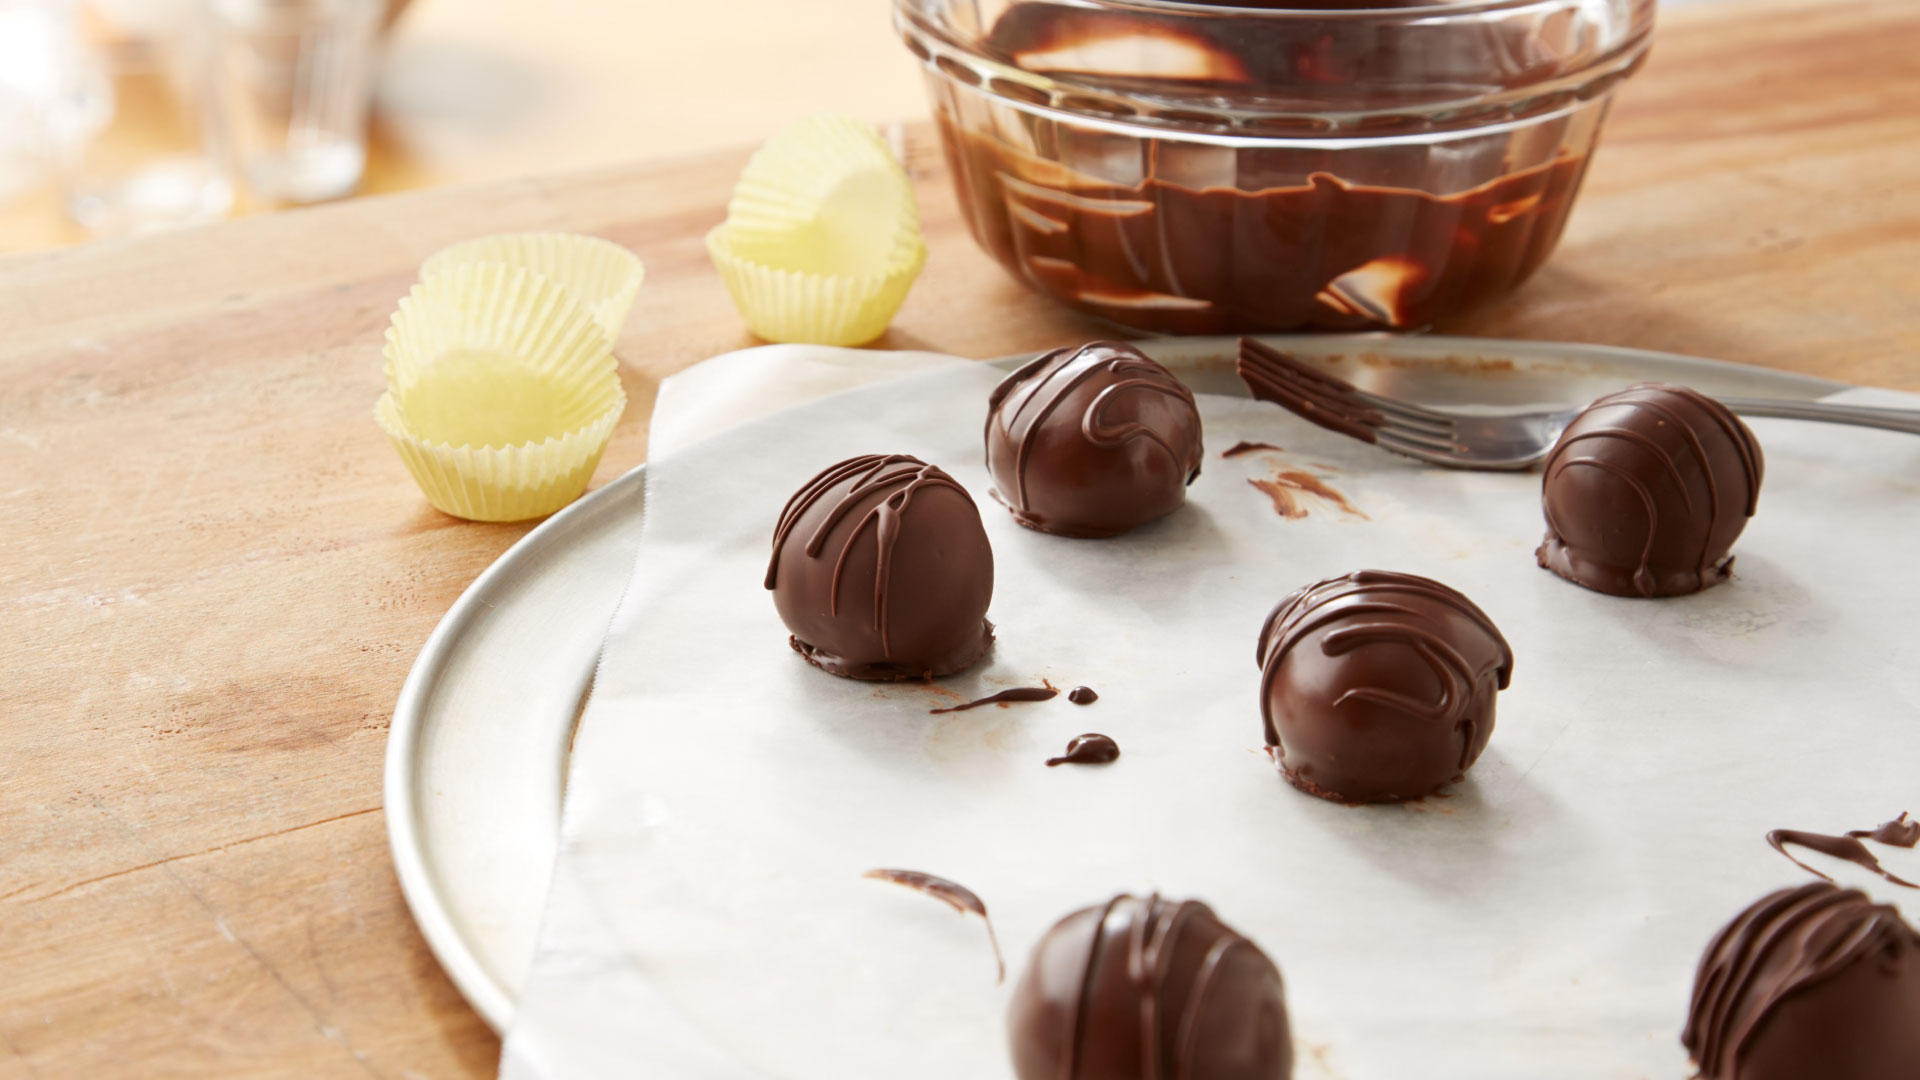
How To Candy Coat Chocolate
How To Candy Boquets

How To Candy Rosemary And Thyme
How To Candy Nuts Without Egg Whites
How To Candy Maple Syrup
How To Candy Cherries For Chocolate Covered