Preserving the Freshness: How to Blanch Cooking Apples for Freezing
As the fall season approaches, many of us find ourselves with an abundance of cooking apples. Whether you’ve picked them from an orchard or received a surplus from a neighbor, you may be wondering how to preserve their freshness for future use. One popular method for extending the shelf life of cooking apples is by blanching and freezing them. In this article, we’ll guide you through the simple process of blanching cooking apples for freezing, so you can enjoy their delicious flavor all year round.
What You’ll Need
Before you begin blanching your cooking apples, gather the following supplies:
- Fresh cooking apples
- Sharp knife
- Cutting board
- Lemon juice (optional)
- Bowls for ice water bath
- Freezer-safe containers or bags
- Marker for labeling
Step-by-Step Guide to Blanching Cooking Apples
Follow these simple steps to blanch and freeze your cooking apples:
- Prepare the Apples: Wash the apples thoroughly and remove any blemishes or bruises. If desired, you can peel and core the apples, although this step is optional.
- Cut the Apples: Using a sharp knife and cutting board, slice the apples into uniform pieces. If you notice the apples beginning to brown, you can toss them in a bowl of water with a splash of lemon juice to prevent discoloration.
- Blanch the Apples: Bring a pot of water to a boil and carefully add the apple slices. Allow them to blanch for 3-5 minutes, depending on the size of the pieces. Blanching helps to preserve the color, texture, and flavor of the apples.
- Cool in Ice Water: After blanching, quickly transfer the apple slices to a bowl of ice water to halt the cooking process. This will help the apples retain their crispness and prevent them from becoming mushy.
- Drain and Dry: Once the apples have cooled, drain them from the ice water and pat them dry with a clean kitchen towel or paper towels.
- Package for Freezing: Place the blanched and dried apple slices into freezer-safe containers or bags. Be sure to leave some headspace to account for expansion during freezing. Label the containers with the date and contents for easy identification.
- Freeze: Place the containers of blanched apples in the freezer, where they can be stored for up to 10-12 months.
Benefits of Blanching Cooking Apples
Blanching cooking apples before freezing offers several benefits:
- Preserves Freshness: Blanching helps to lock in the natural flavors and nutrients of the apples, ensuring that they maintain their quality during freezing.
- Prevents Browning: By blanching the apples, you can minimize enzymatic browning, which occurs when the fruit is exposed to air.
- Convenient Storage: Once blanched and frozen, the apples are ready to be used in pies, crisps, sauces, and other recipes whenever you need them.
Enjoying Your Frozen Apples
Now that you’ve blanched and frozen your cooking apples, you have a versatile ingredient ready for use in a variety of recipes. Whether you’re craving a comforting apple pie in the middle of winter or want to whip up a batch of applesauce, having a supply of frozen apples on hand makes it easy to enjoy the flavors of fall throughout the year. Simply thaw the frozen apples in the refrigerator before using them in your favorite dishes.
By following these simple steps for blanching cooking apples for freezing, you can savor the taste of fresh apples long after the harvest season has passed. With a little preparation and the right storage techniques, you can enjoy the delicious flavor of cooking apples whenever the craving strikes.
Blanching cooking apples for freezing is a handy skill that can be applied to a variety of recipes. After mastering this technique, readers can try making Classic Apple Pie for a traditional dessert that never disappoints. Apple Sauce is another versatile option, great for snacks or as a side dish. For breakfast, Apple Cinnamon Pancakes offer a delightful start to the day. If you're looking for something savory, Apple and Pork Chops makes for a hearty meal. Lastly, Apple Chutney provides a sweet and tangy addition to any cheese platter or roasted meat. These recipes showcase the versatility of blanched apples and are sure to impress.
Was this page helpful?
Related Articles
How To Blanch And Freeze Bok Choy
How To Blanch Brussels Sprouts For Freezing
How To Blanch Eggplant For Freezing
How To Blanch Turnips
How To Blanch Swede
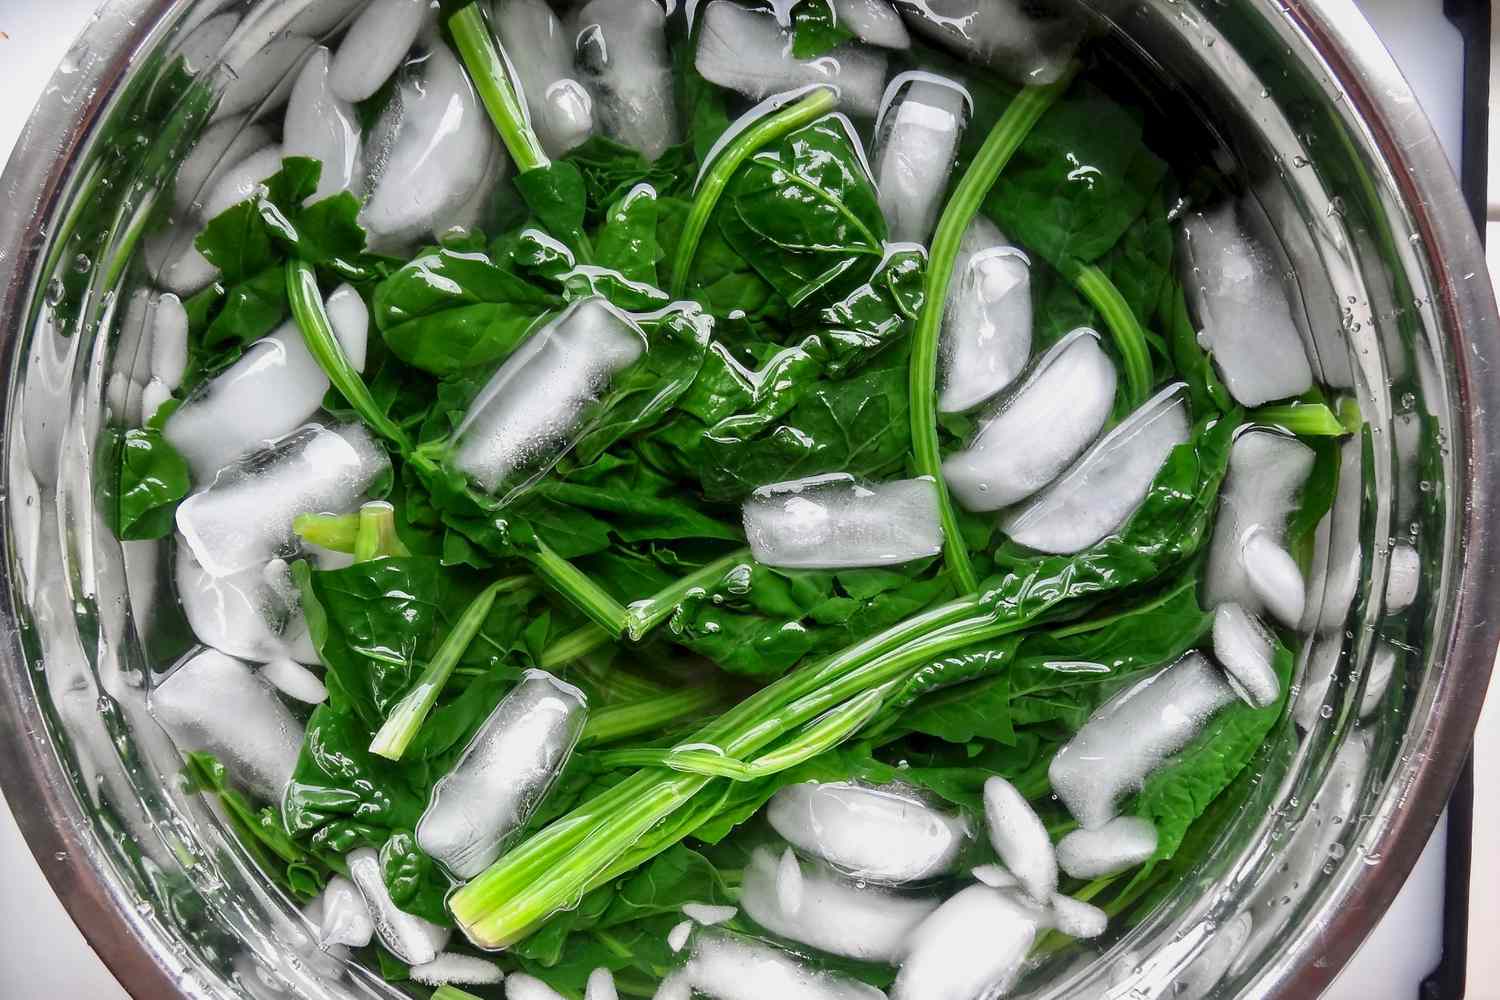
How To Blanch Spinach For Mystery Snail
How To Blanch Shrimp

How To Blanch Cucumber
How To Blanch Romaine Lettuce
How To Blanch Button Mushrooms
How To Blanch Chicken Wings
