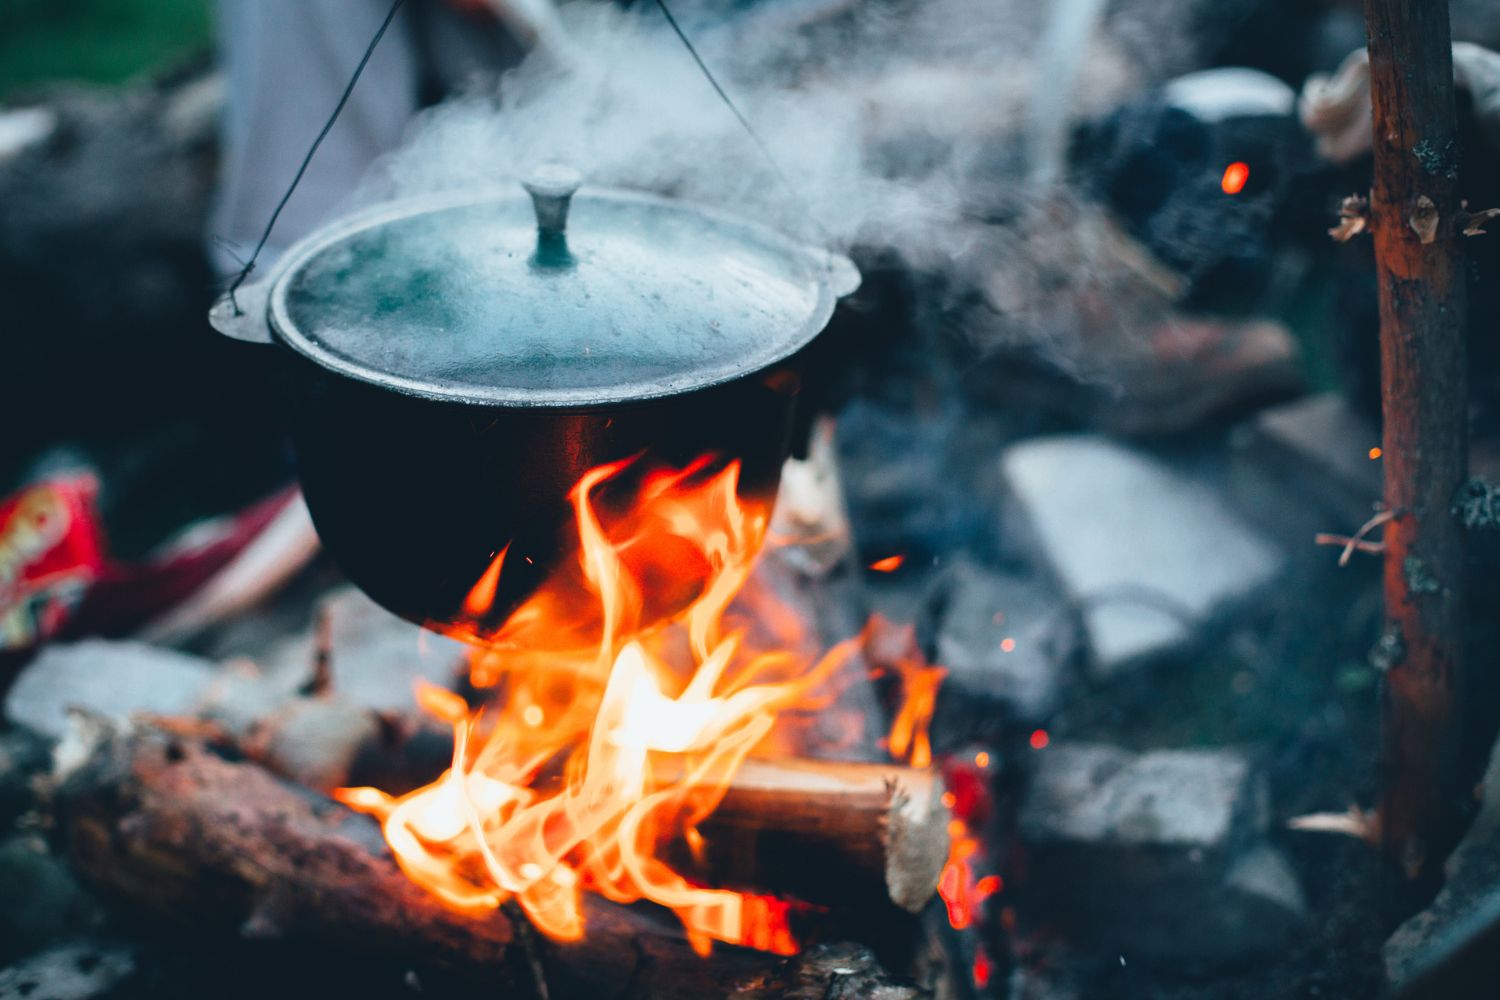
Wood-fired cooking brings a unique flavor to food that can't be replicated by other methods. Using a wood-fired oven or grill can seem challenging, but with some practice, anyone can master it. This technique involves controlling the fire, understanding heat zones, and using the right type of wood. Whether you're baking pizza, roasting vegetables, or grilling meat, wood-fired cooking adds a smoky, rich taste. In this guide, we'll explore essential tips and tricks to help you become confident in using wood-fired methods, making your meals delicious and memorable. Get ready to elevate your cooking game with these timeless techniques.
Essential Ingredients for Wood-Fired Cooking
- Hardwood logs (oak, hickory, or apple for best flavors)
- Kindling (smaller pieces of wood to help start the fire)
- Matches or a lighter
- Your choice of meat (steak, chicken, fish)
- Vegetables (bell peppers, onions, asparagus)
- Seasonings (salt, pepper, herbs)
- Cooking oil (olive oil or canola oil)
- Cast iron skillet (for items not directly grilled)
- Metal tongs
- Meat thermometer
- Aluminum foil (optional, for wrapping vegetables or fish)
- Grill grate (if not already part of your wood-fired setup)
- Basting brush
Must-Have Tools for Mastering Wood-Fired Cooking Techniques
Tools Needed for Mastering Wood-Fired Cooking Techniques
- Wood-Fired Oven: Essential for authentic wood-fired flavors.
- Pizza Peel: Helps transfer pizzas and bread in and out of the oven.
- Firewood: Hardwood like oak, hickory, or maple works best.
- Fire Starters: Natural fire starters or kindling to ignite the wood.
- Infrared Thermometer: Measures the oven's temperature accurately.
- Heat-Resistant Gloves: Protects hands from high temperatures.
- Cast Iron Skillet: Perfect for cooking meats, vegetables, and more.
- Baking Stone: Ensures even cooking for pizzas and bread.
- Long-Handled Tongs: Useful for turning food and managing the fire.
- Wire Brush: Cleans the oven floor and removes ash.
- Ash Shovel: Helps remove ash and embers safely.
- Oven Door: Controls airflow and maintains consistent heat.
- Chimney Cap: Regulates smoke and heat flow.
- Thermocouple: Monitors internal food temperatures.
- Wood Splitter: Prepares firewood into manageable pieces.
- Pizza Cutter: Slices pizzas easily after cooking.
- Basting Brush: Applies sauces or oils to food.
- Grill Grate: Adds versatility for grilling meats and vegetables.
- Oven Rake: Adjusts wood and embers inside the oven.
- Cooking Timer: Keeps track of cooking times.
Wood-fired cooking imparts a unique smoky flavor, enhancing dishes. For best results, maintain consistent temperature, use hardwoods like oak or cherry, and preheat the oven to ensure even cooking.
Why Mastering Wood-Fired Cooking Techniques is Important
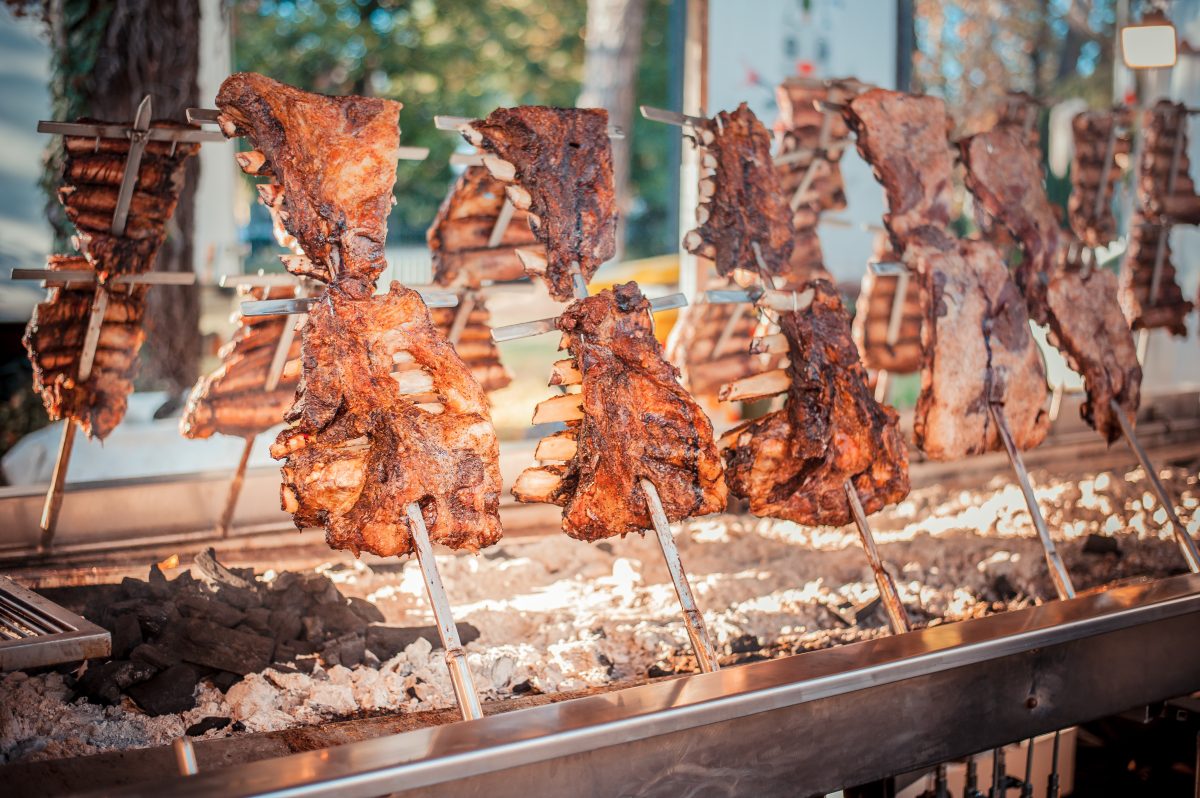
Wood-fired cooking brings out unique flavors in food. The smoky aroma and charred texture can't be replicated by other methods. Using wood as a heat source connects us to traditional cooking practices, making meals more authentic and satisfying. This method also encourages outdoor gatherings and social interactions around the fire.
Step-by-Step Guide to Wood-Fired Cooking
Mastering Wood-Fired Cooking Techniques
-
Choosing the Right Wood
- Hardwoods like oak, hickory, and maple burn hotter and longer.
- Avoid softwoods such as pine; they produce more smoke and can impart a bitter taste.
-
Preparing the Fire
- Start with kindling and small pieces of wood.
- Use a fire starter or crumpled newspaper to ignite.
- Gradually add larger logs once the fire is established.
-
Building the Fire
- Arrange logs in a crisscross or teepee pattern.
- Ensure proper airflow to keep the fire burning efficiently.
- Maintain a steady flame without excessive smoke.
-
Managing Heat Zones
- Create direct and indirect heat zones.
- Push hot coals to one side for high heat cooking.
- Use the other side for low heat or slow cooking.
-
Preheating the Cooking Surface
- Place a grill grate or stone over the fire.
- Allow it to preheat for at least 15 minutes.
- Test the temperature by holding your hand above the surface.
-
Controlling Temperature
- Adjust the air vents to regulate airflow.
- Add more wood for higher temperatures.
- Spread out coals or reduce wood for lower temperatures.
-
Cooking Techniques
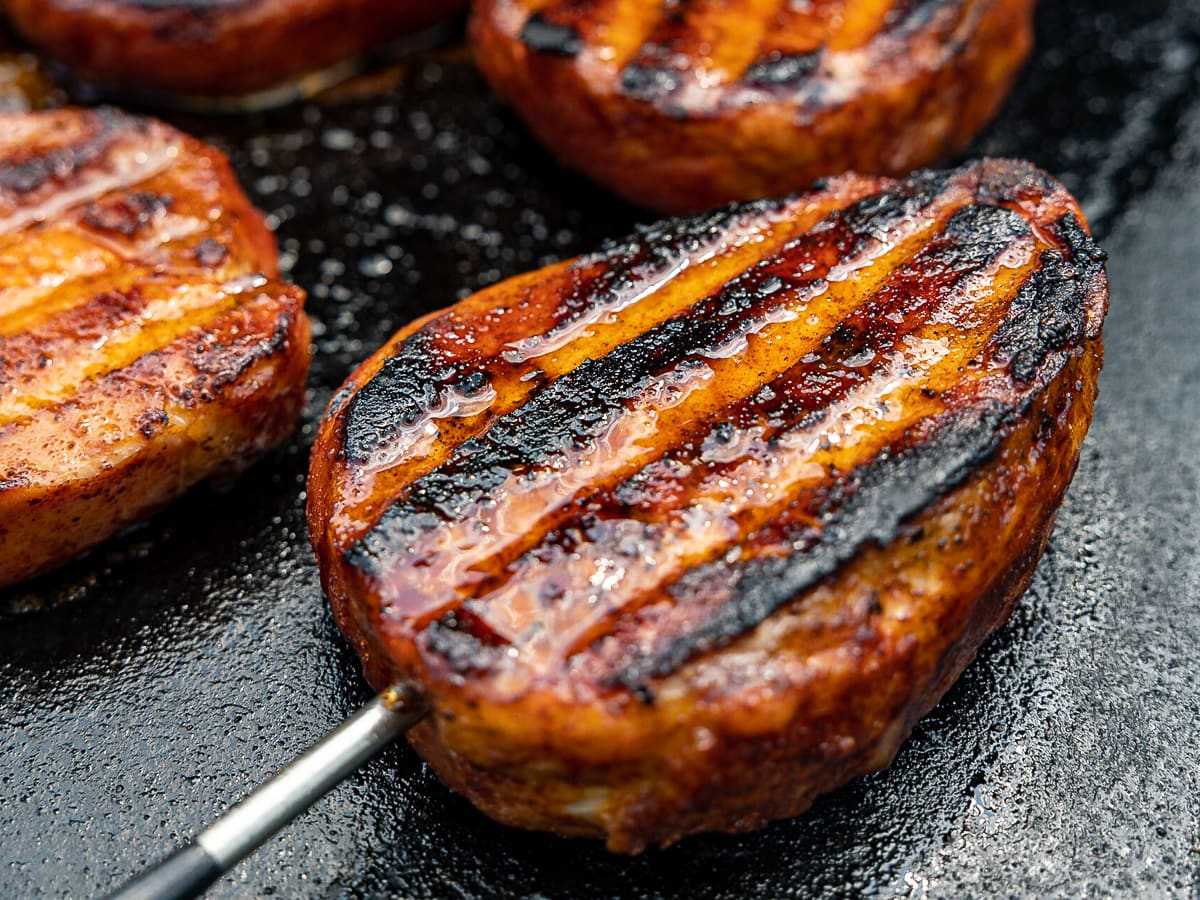
- Grilling: Place food directly over the flames for a charred exterior.
- Roasting: Use indirect heat for even cooking.
- Smoking: Add wood chips to the fire for a smoky flavor.
-
Monitoring Food
- Use a meat thermometer to check internal temperatures.
- Turn food regularly to ensure even cooking.
- Keep a spray bottle handy to manage flare-ups.
-
Maintaining the Fire
- Add small amounts of wood to keep a consistent temperature.
- Remove excess ash to maintain airflow.
- Stir coals occasionally to redistribute heat.
-
Cleaning Up
- Let the fire burn down naturally.
- Remove ashes once they are completely cool.
- Clean the cooking surface with a wire brush.
-
Safety Tips
- Always have a fire extinguisher or water source nearby.
- Wear heat-resistant gloves when handling hot items.
- Never leave the fire unattended.
-
Storing Wood
- Keep wood in a dry, ventilated area.
- Stack wood off the ground to prevent moisture.
- Cover with a tarp if stored outside.
Bringing It All Together
Mastering wood-fired cooking techniques opens up a world of flavor and texture that’s hard to beat. By understanding the basics of temperature control, wood selection, and cooking methods, you can elevate your dishes to new heights. Remember to always start with a clean grill or oven, use the right wood for the flavor profile you’re aiming for, and keep an eye on your temperature. Practice makes perfect, so don’t be afraid to experiment and find what works best for you. Whether you’re cooking pizza, meat, or vegetables, the smoky and charred results will be worth the effort. So, fire up that wood-fired oven or grill, and get ready to impress your friends and family with your newfound skills. Happy cooking!
Common Questions About Mastering Wood-Fired Cooking Techniques
How do I choose the right wood for wood-fired cooking?
Opting for hardwoods like oak, hickory, or maple is your best bet. These types of wood burn hotter and longer, giving your food that perfect smoky flavor without overpowering it. Avoid softwoods like pine; they can impart a resinous taste and aren't suitable for cooking.
What's the secret to maintaining the right temperature in a wood-fired oven?
Mastering temperature control is all about managing your fire size and placement. For high heat, keep a robust fire going towards the back of the oven. For lower temperatures, let the fire die down and spread the coals evenly. Always have a good infrared thermometer handy to keep tabs on the heat.
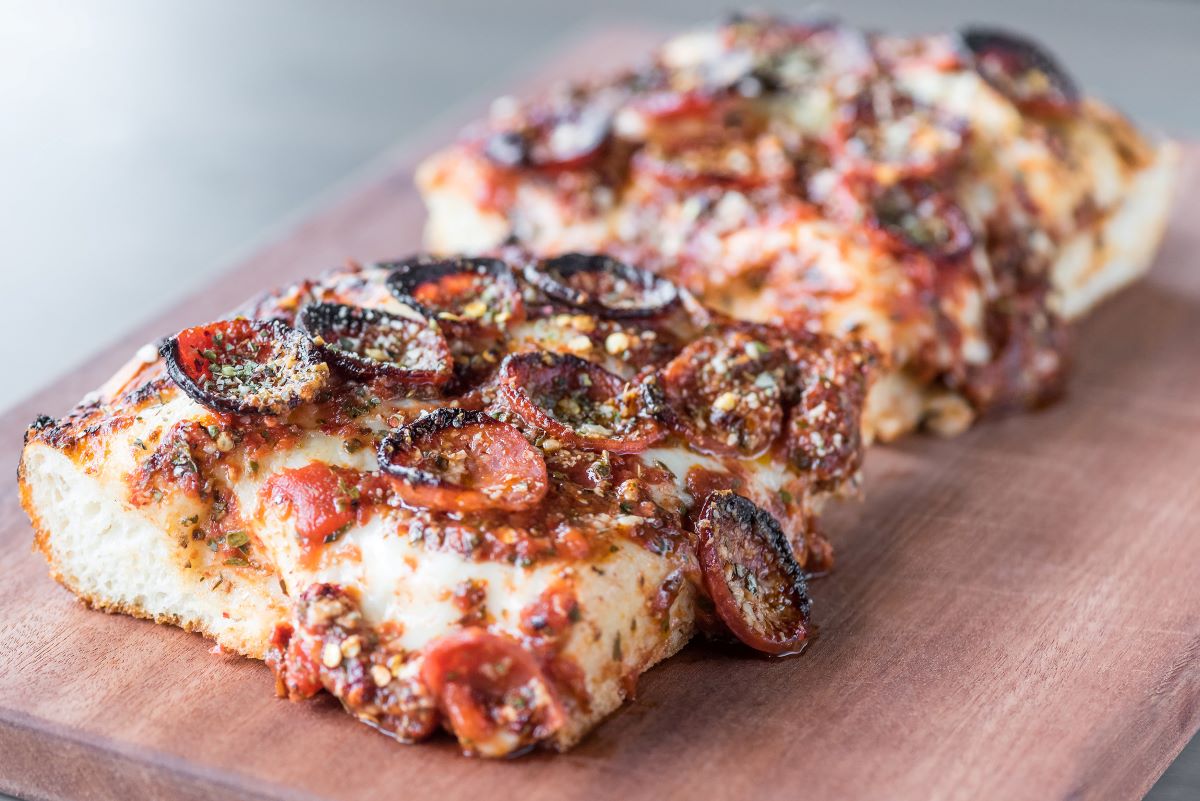
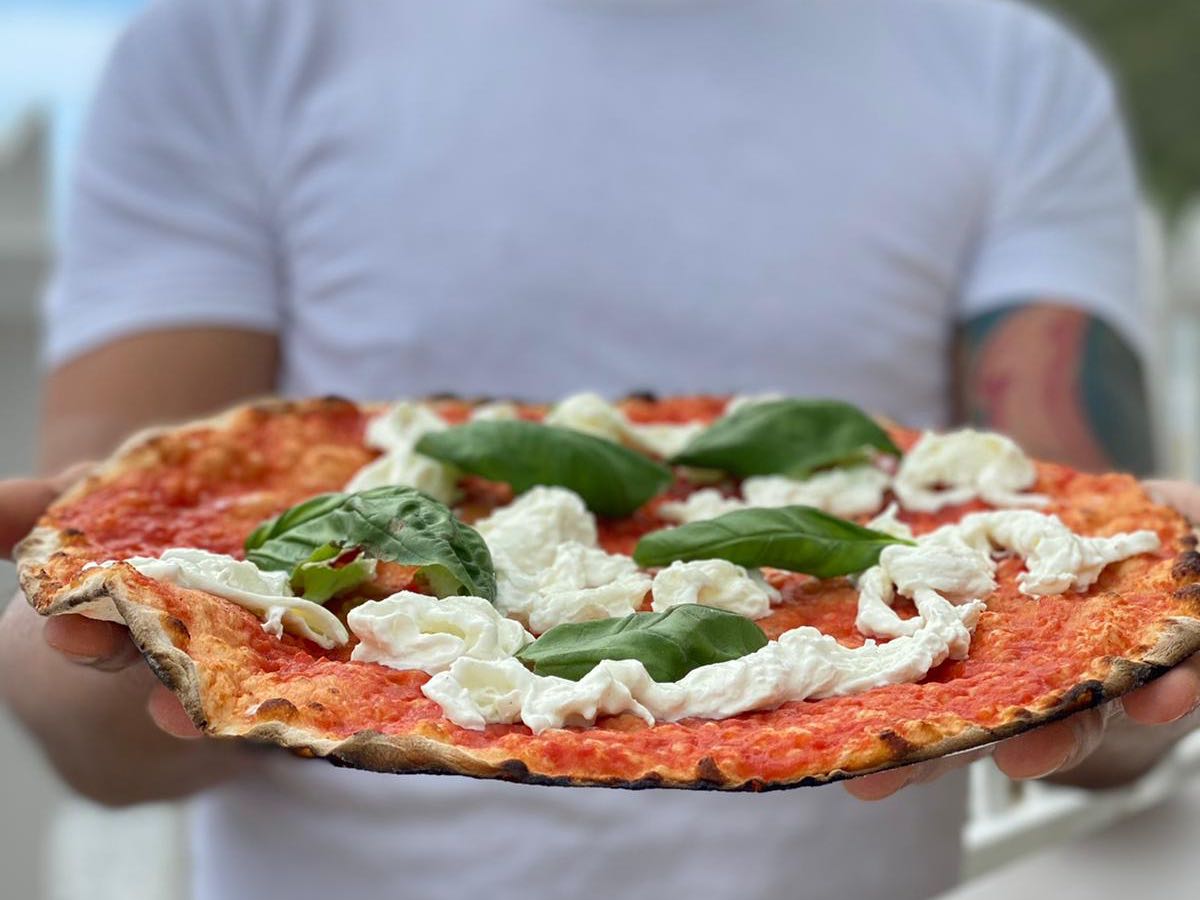
Can I cook anything in a wood-fired oven besides pizza?
Absolutely! Your oven isn't just for pizzas. Try roasting vegetables, baking bread, or even slow-cooking meats. The key is experimenting with different heat zones within your oven. You'll find that some areas are perfect for searing meats while others are ideal for gentle baking.
How long does it take to preheat a wood-fired oven?
Preheating times can vary, but generally, you're looking at about 30 minutes to an hour to reach optimal cooking temperatures. This can depend on your oven's size, the wood you're using, and the outside temperature. Patience here is crucial; a properly heated oven makes all the difference.
What's the best way to clean my wood-fired oven?
After cooking, when the oven has cooled down but is still warm, brush out the ash and food residue. For tougher spots, a damp cloth can help, but avoid using water directly on hot surfaces. Regularly removing soot from the oven's roof and walls will also maintain better heat reflection.
How do I prevent food from burning in a wood-fired oven?
Keeping food from meeting a charred fate is all about rotation and vigilance. Due to hot spots, you'll want to rotate your dishes periodically to ensure even cooking. Using tools like long-handled pizza peels and oven brushes can help manage this without risking a singe.
Can I use a wood-fired oven in any weather?
Sure, but extreme conditions require adjustments. In cold weather, your oven might need more time to preheat and more wood to maintain temperature. Rain or snow can affect your fire, so a cover or shelter is recommended to keep the elements at bay and your cooking consistent.
Was this page helpful?
Related Articles

How To Cook In A Wood Fired Pizza Oven

How To Grill On A Green Egg

How To Bake In A Wood Stove
What Is A Nonna Pizza?
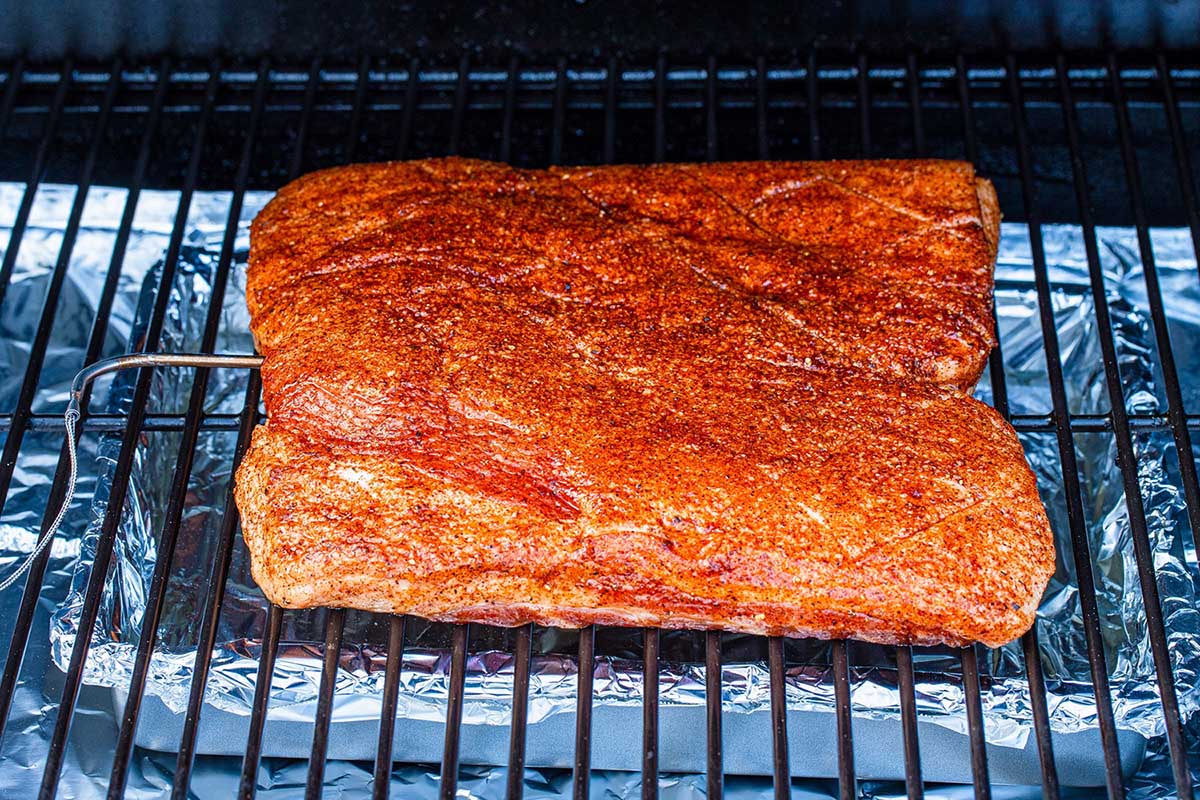
How To Cook Pork Belly On A Pellet Grill
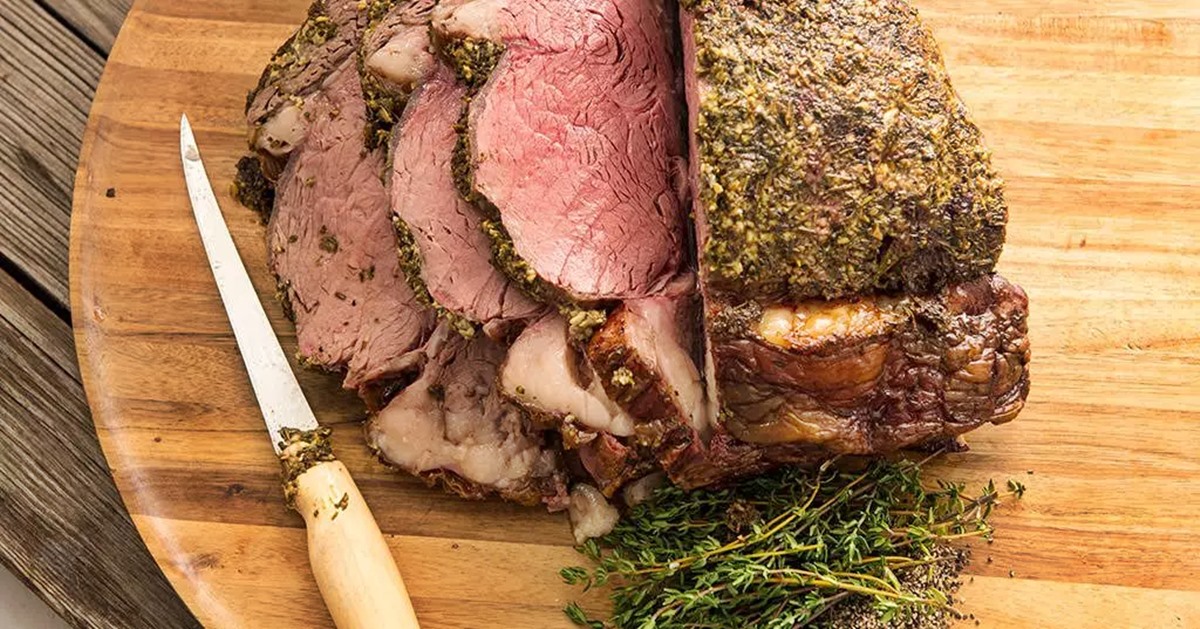
How To Cook A Boneless Prime Rib On A Traeger
How To Grill Like An Argentinian

What Is Asado?
7 Of America’s Most-Authentic Neapolitan-Style Pizzerias
How To Cook A Spiral Ham On A Traeger Grill
How To Grill Pork Chops On The Traeger Grill