Vegetable carving transforms ordinary produce into stunning works of art. This skill, rooted in ancient traditions, adds flair to any dish or event. Whether crafting a simple radish rose or an intricate melon sculpture, mastering this art requires patience, practice, and creativity. Beginners can start with basic tools like a paring knife and gradually explore specialized equipment. Not only does vegetable carving enhance presentation, but it also impresses guests and elevates dining experiences. Ready to turn your kitchen into an art studio? Let’s dive into the colorful world of vegetable carving and discover how to make your meals visually spectacular.
Essential Ingredients for Vegetable Carving
- Fresh cucumbers
- Carrots
- Small sharp knife
- Melon baller
- Toothpicks
- Radishes
- Zucchini
- Cherry tomatoes
- Peeler
- Cutting board
Tools You Need for Mastering the Art of Vegetable Carving
Tools Needed for Mastering the Art of Vegetable Carving
-
Paring Knife
- Small, sharp blade for intricate cuts.
-
Peeler
- Removes skin smoothly, creating a clean surface.
-
Carving Knife
- Longer blade for larger vegetables.
-
Melon Baller
- Scoops out round shapes from fruits and veggies.
-
Channel Knife
- Cuts grooves and channels for decorative patterns.
-
Cutting Board
- Provides a stable surface for carving.
-
Toothpicks
- Holds pieces together during assembly.
-
Tweezers
- Helps place small details precisely.
-
Vegetable Slicer
- Creates uniform slices for consistent designs.
-
Cookie Cutters
- Shapes vegetables into fun forms.
-
Bowl of Water
- Keeps carved pieces fresh and prevents browning.
-
Paper Towels
- Dries vegetables before carving.
-
Marker or Pen
- Draws guidelines on vegetables before cutting.
-
Brushes
- Cleans off small bits and adds finishing touches.
-
Storage Containers
- Keeps finished carvings fresh until use.
Use sharp, small knives for precision. Start with simple designs like flowers or leaves. Practice on firm vegetables like carrots or cucumbers. Keep your hands steady and work slowly.
Why Learn Vegetable Carving?
Vegetable carving transforms ordinary produce into stunning artwork. This practice enhances presentation, making dishes more appealing. It also showcases creativity and skill, impressing guests at gatherings. Additionally, it encourages mindfulness and patience, as the process requires precision and focus. This unique art form adds a personal touch to any meal.
Step-by-Step Guide to Mastering the Art of Vegetable Carving
Mastering the Art of Vegetable Carving
-
Gather Your Tools
- Sharp Knife: Essential for precise cuts.
- Peeler: Helps remove skin smoothly.
- Carving Tools: Specialized tools for intricate designs.
- Cutting Board: Provides a stable surface.
- Bowl of Water: Keeps vegetables fresh.
-
Choose Fresh Vegetables
- Carrots: Firm texture, vibrant color.
- Cucumbers: Smooth skin, easy to carve.
- Radishes: Small, perfect for detailed work.
- Zucchini: Versatile, holds shape well.
-
Prepare Vegetables
- Wash Thoroughly: Remove dirt and pesticides.
- Peel if Necessary: Some designs require peeled vegetables.
- Cut to Size: Trim to manageable pieces.
-
Basic Cuts and Shapes
- Slices: Thin, even slices for petals.
- Strips: Long, narrow strips for leaves.
- Cubes: Uniform cubes for geometric designs.
- Rounds: Circular shapes for flowers.
-
Simple Flower Design
- Carrot Flower:
- Cut carrot into 2-inch pieces.
- Slice thin rounds.
- Make small V-shaped cuts around the edge.
- Fan out slices to form petals.
- Carrot Flower:
-
Leaf Design
- Cucumber Leaf:
- Cut cucumber lengthwise.
- Slice thin strips.
- Use knife to carve leaf veins.
- Arrange strips to resemble leaves.
- Cucumber Leaf:
-
Advanced Techniques
- Radish Rose:
- Cut radish in half.
- Make thin, overlapping cuts around the edge.
- Gently spread cuts to form petals.
- Zucchini Spiral:
- Use peeler to create long, thin strips.
- Roll strips tightly.
- Secure with toothpick.
- Radish Rose:
-
Practice Precision
- Steady Hands: Keep hands steady for clean cuts.
- Slow Movements: Take time to ensure accuracy.
- Consistent Pressure: Apply even pressure for uniform cuts.
-
Assemble Your Creation
- Arrange Pieces: Place carved pieces on a plate.
- Add Garnishes: Use herbs or small vegetables for accents.
- Create a Theme: Design a cohesive display.
-
Preserve Your Work
- Spray with Water: Keeps vegetables hydrated.
- Refrigerate: Store in a cool place.
- Cover with Plastic Wrap: Prevents drying out.
-
Clean Your Tools
- Wash Immediately: Prevents residue buildup.
- Dry Thoroughly: Avoids rust on metal tools.
- Store Safely: Keep tools in a safe place.
-
Experiment and Innovate
- Try New Vegetables: Experiment with different textures.
- Combine Techniques: Mix basic and advanced methods.
- Personalize Designs: Add your unique touch.
Crafting Edible Art
Vegetable carving isn't just about making food look pretty. It's a skill that can transform any dish into a visual masterpiece. With a bit of practice and patience, anyone can master this art. Start with simple designs like flowers or leaves. As you get more comfortable, try more intricate patterns. Remember, the right tools make a big difference. Invest in a good set of carving knives. Also, keep your vegetables fresh and firm for the best results.
Don't be afraid to experiment. Mix different colors and textures to create stunning displays. Whether it's for a special occasion or just to impress your family, vegetable carving adds a unique touch to your meals. So grab your tools, pick out some fresh veggies, and start carving. Your culinary creations will never be the same!
Common Questions About Vegetable Carving
What tools do I need for vegetable carving?
You'll need a sharp paring knife, peeler, melon baller, and some toothpicks. Specialized tools like carving knives and garnishing tools can make intricate designs easier.
Which vegetables are best for carving?
Carrots, cucumbers, radishes, and zucchinis are great for beginners. Pumpkins and watermelons work well for larger, more detailed projects.
How do I keep my carved vegetables fresh?
To keep them fresh, store your carvings in a bowl of cold water in the fridge. You can also spritz them with a bit of lemon juice to prevent browning.
Can I eat the vegetables after carving them?
Absolutely! Carved vegetables are still edible and can be used in salads, garnishes, or even as snacks.
How long does it take to learn vegetable carving?
With practice, you can get the hang of basic designs in a few weeks. More complex patterns might take a few months to master.
Are there any safety tips I should follow?
Always use a sharp knife to avoid slipping. Cut away from your body and keep your fingers out of the knife's path. Work slowly and take breaks if you feel tired.
Can kids try vegetable carving?
Kids can definitely try, but they should use kid-friendly tools and be supervised by an adult. Start with simple shapes to build their confidence.
Was this page helpful?
Related Articles
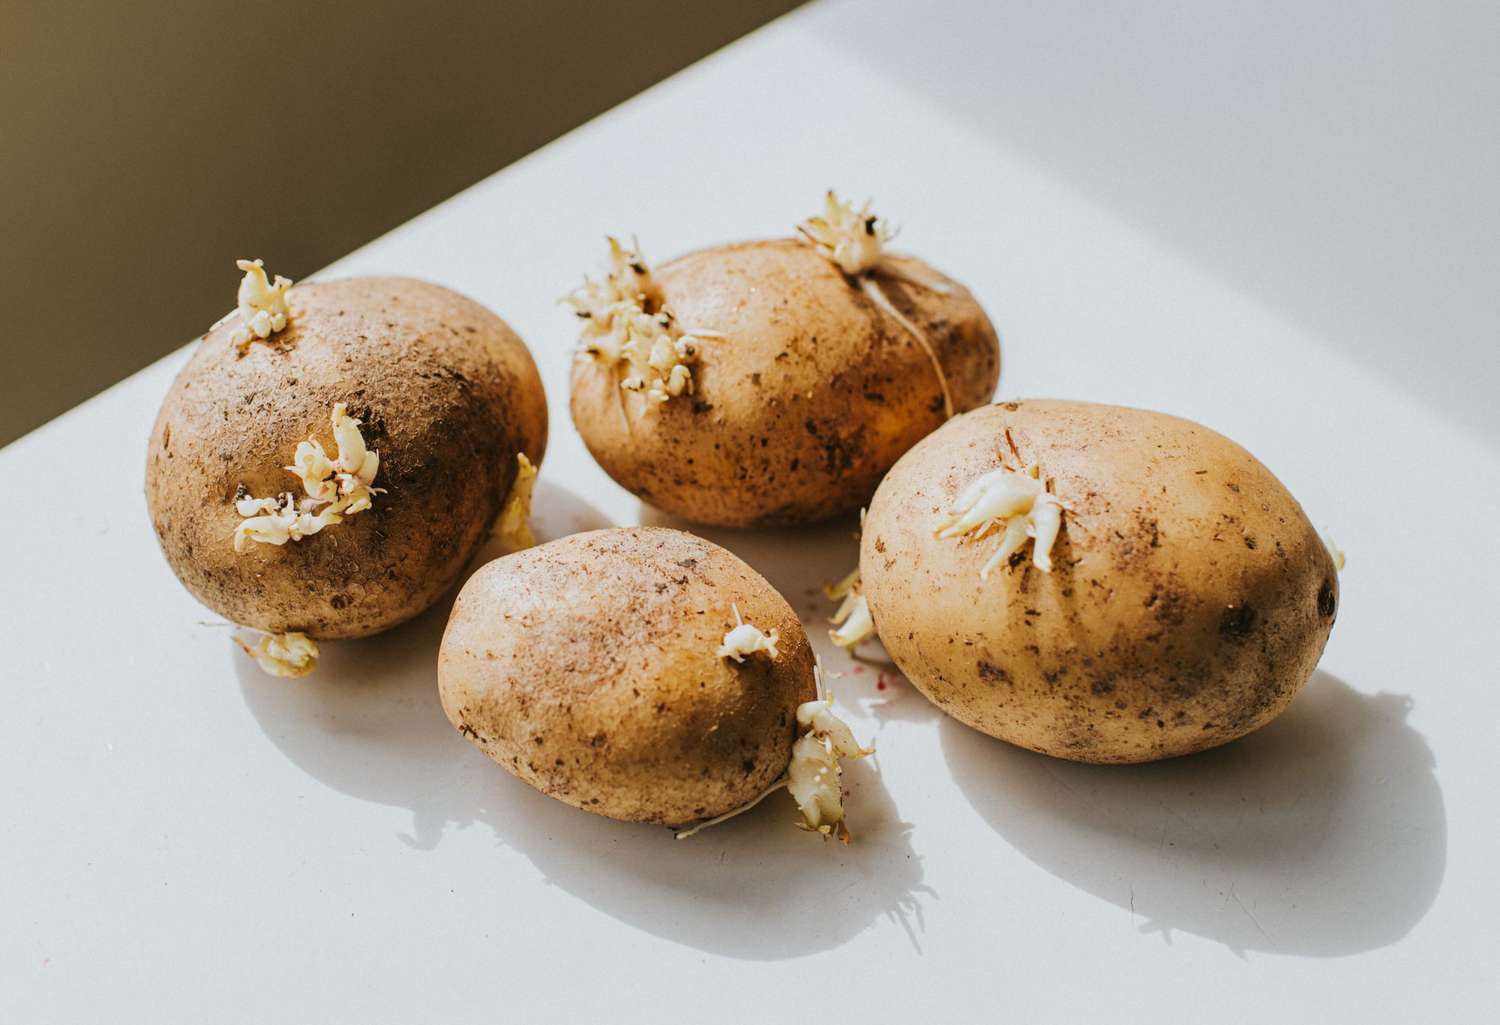
How To Carve A Potato
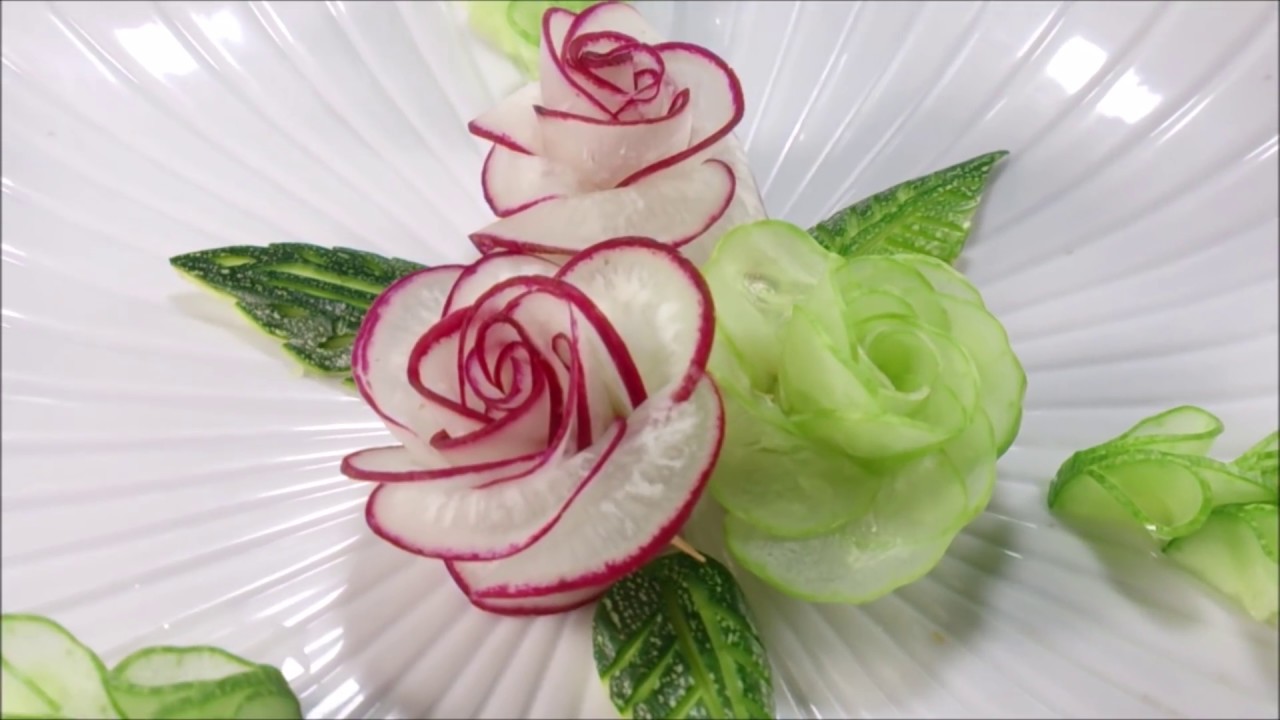
How To Carve A Flower In A Radish
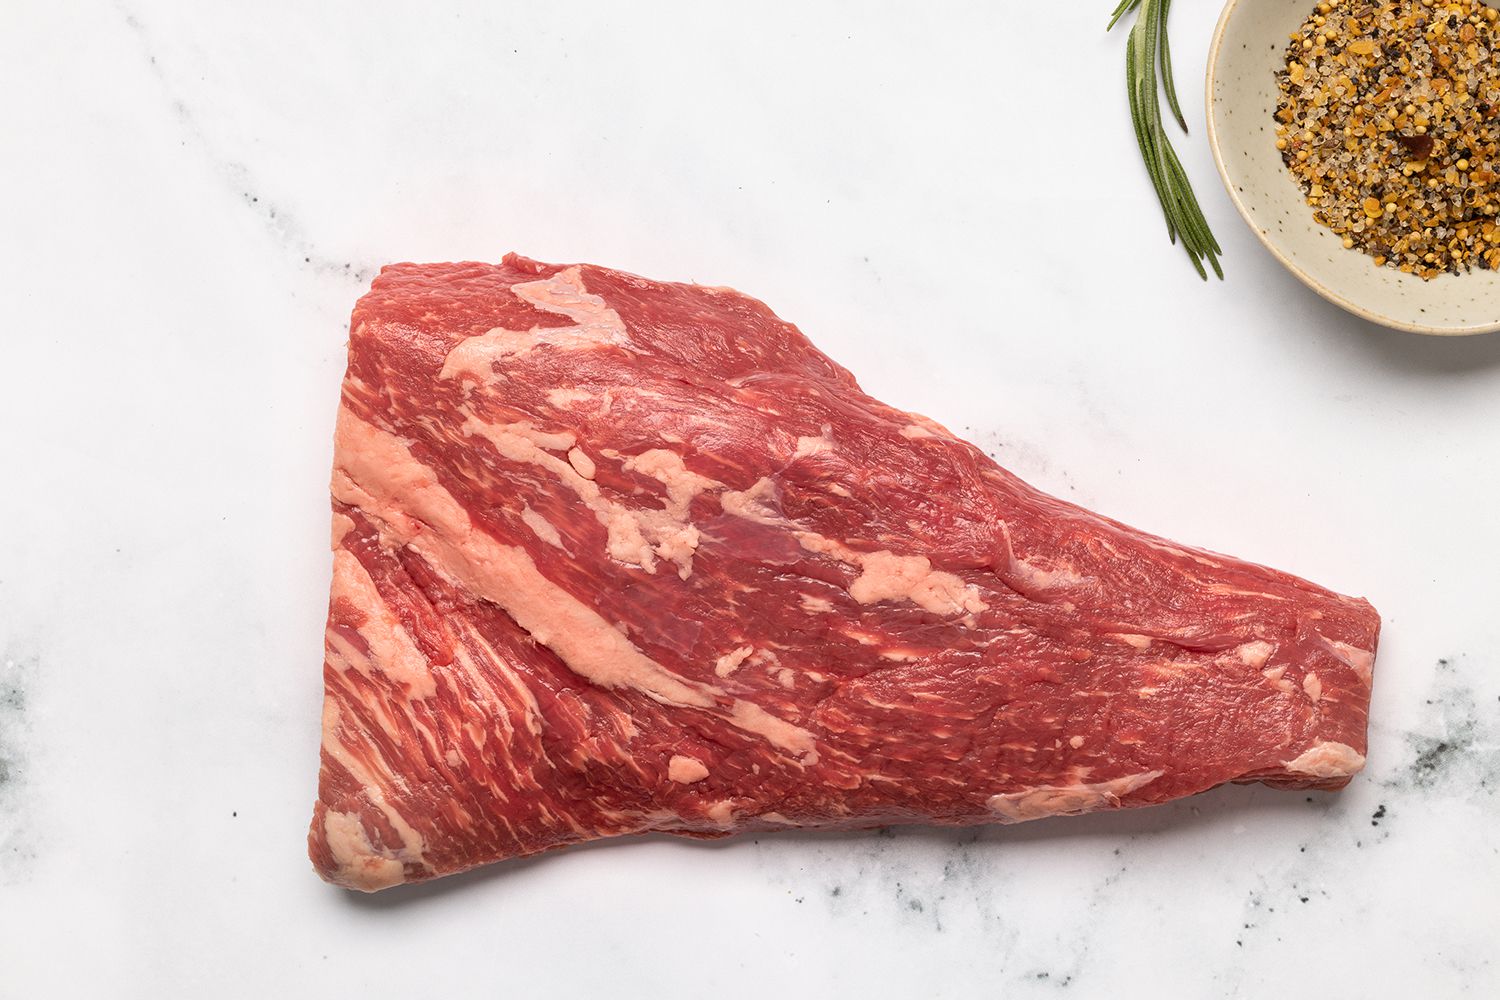
How To Carve A Tri-Tip
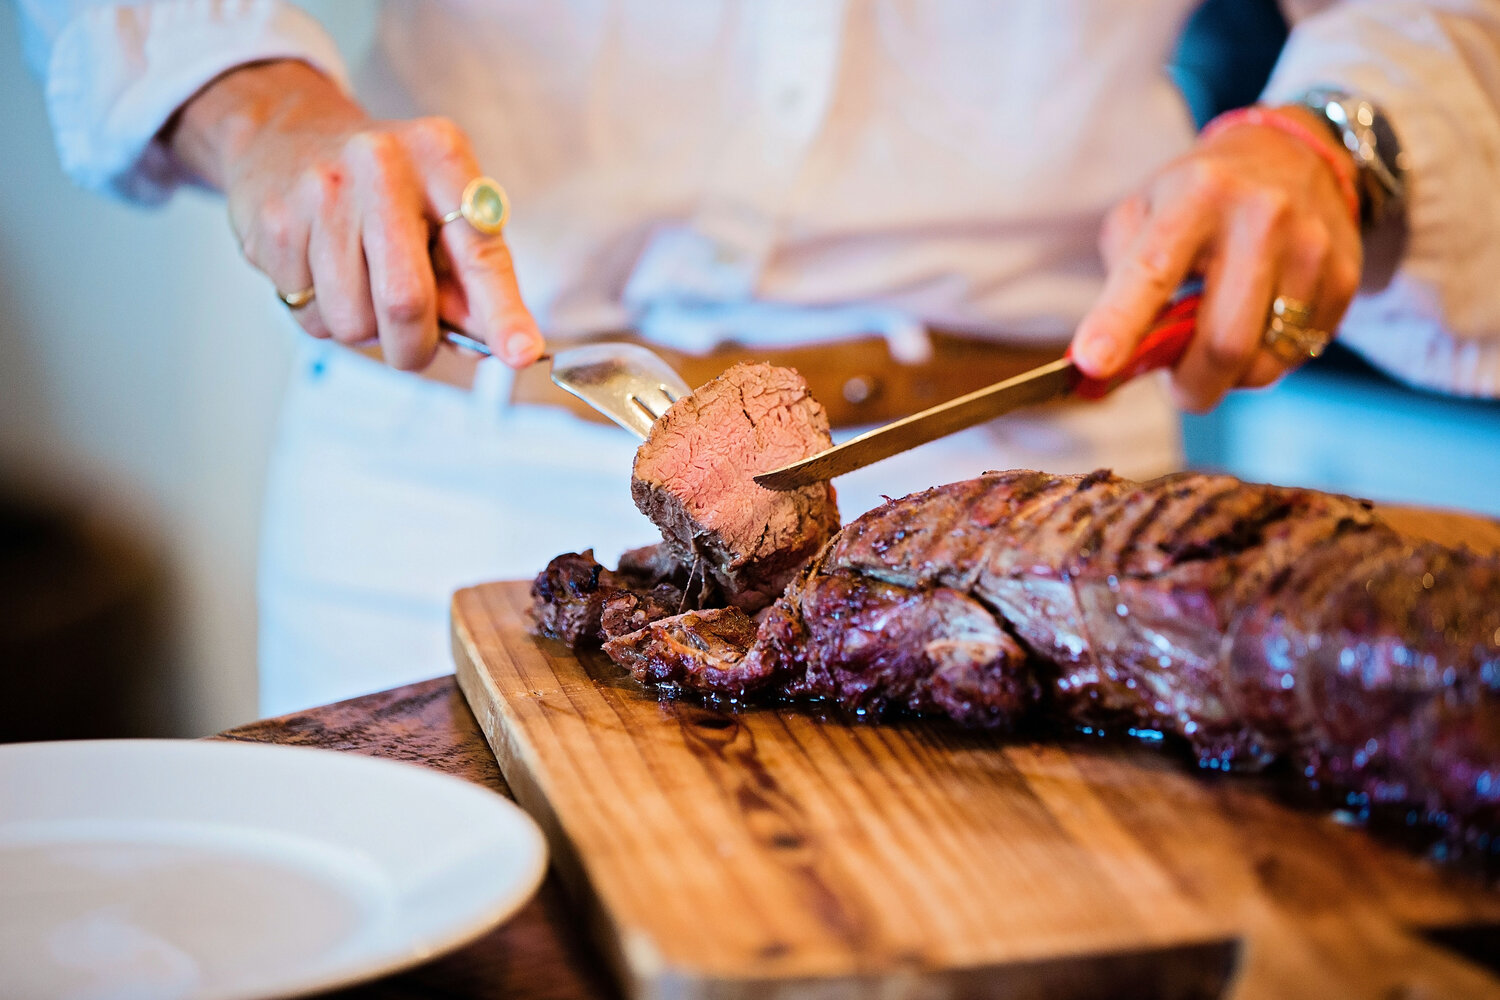
How To Carve A Filet Mignon
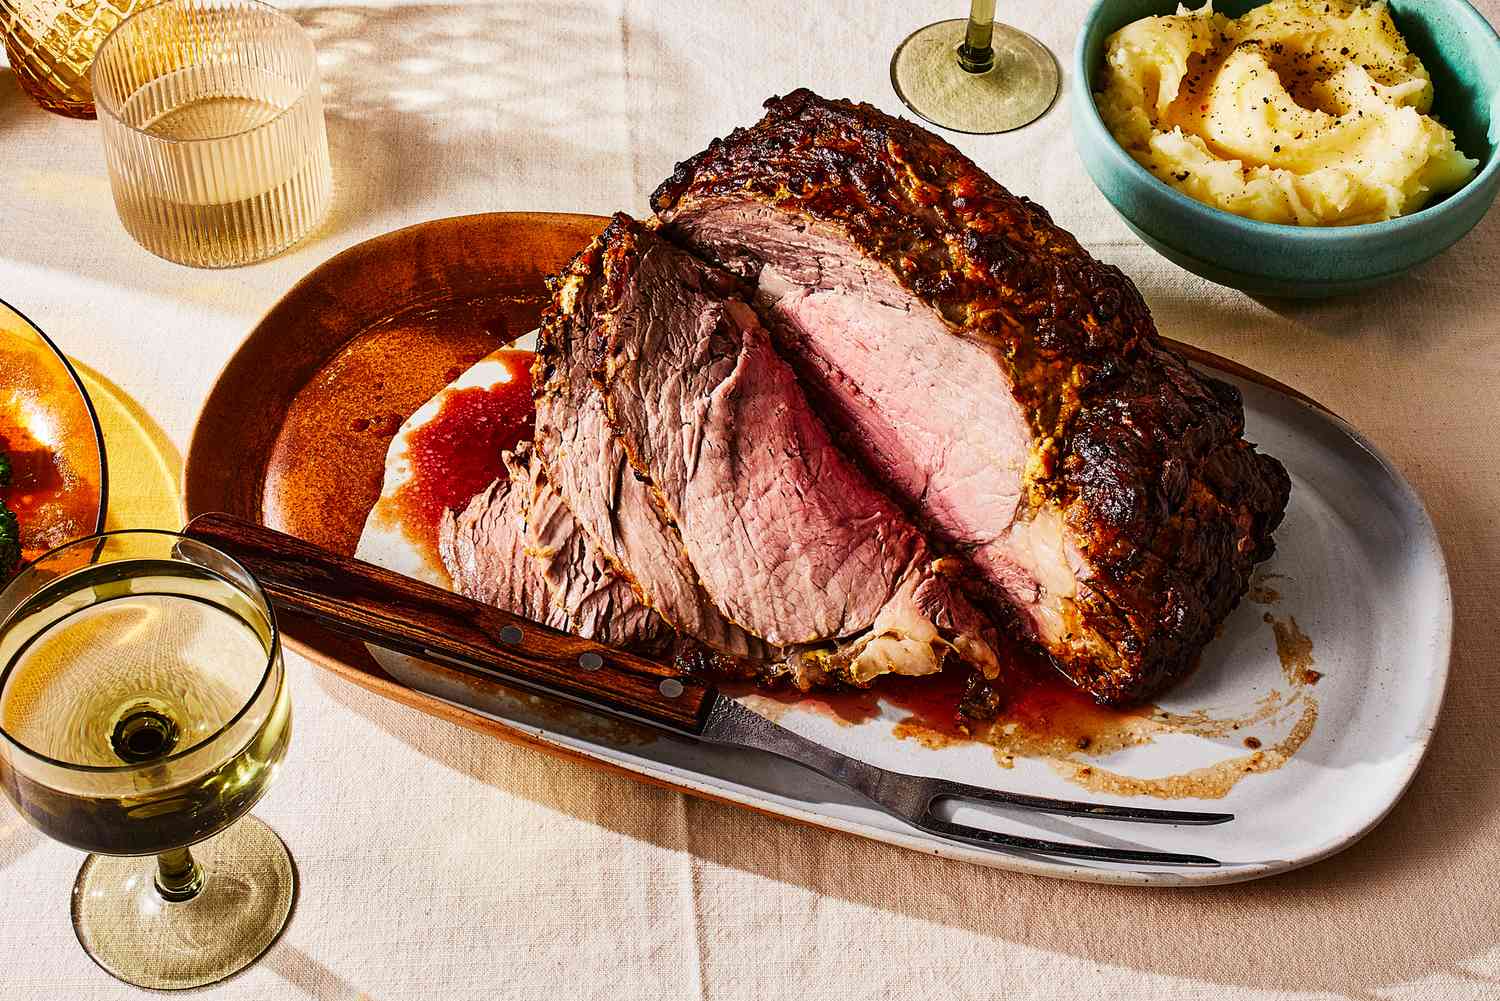
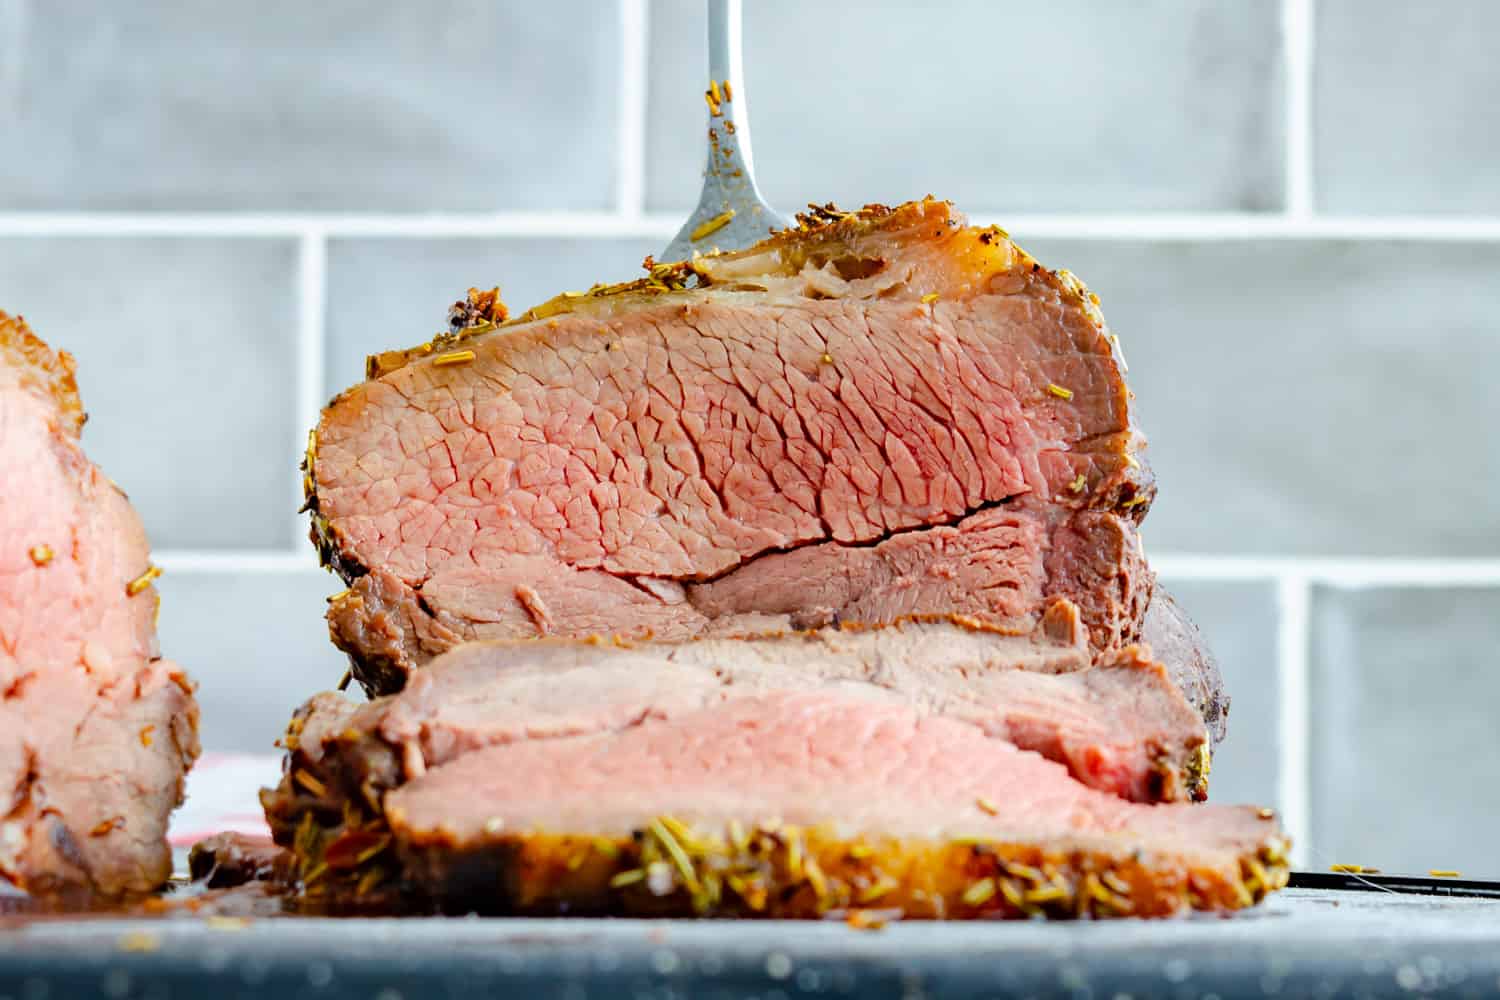
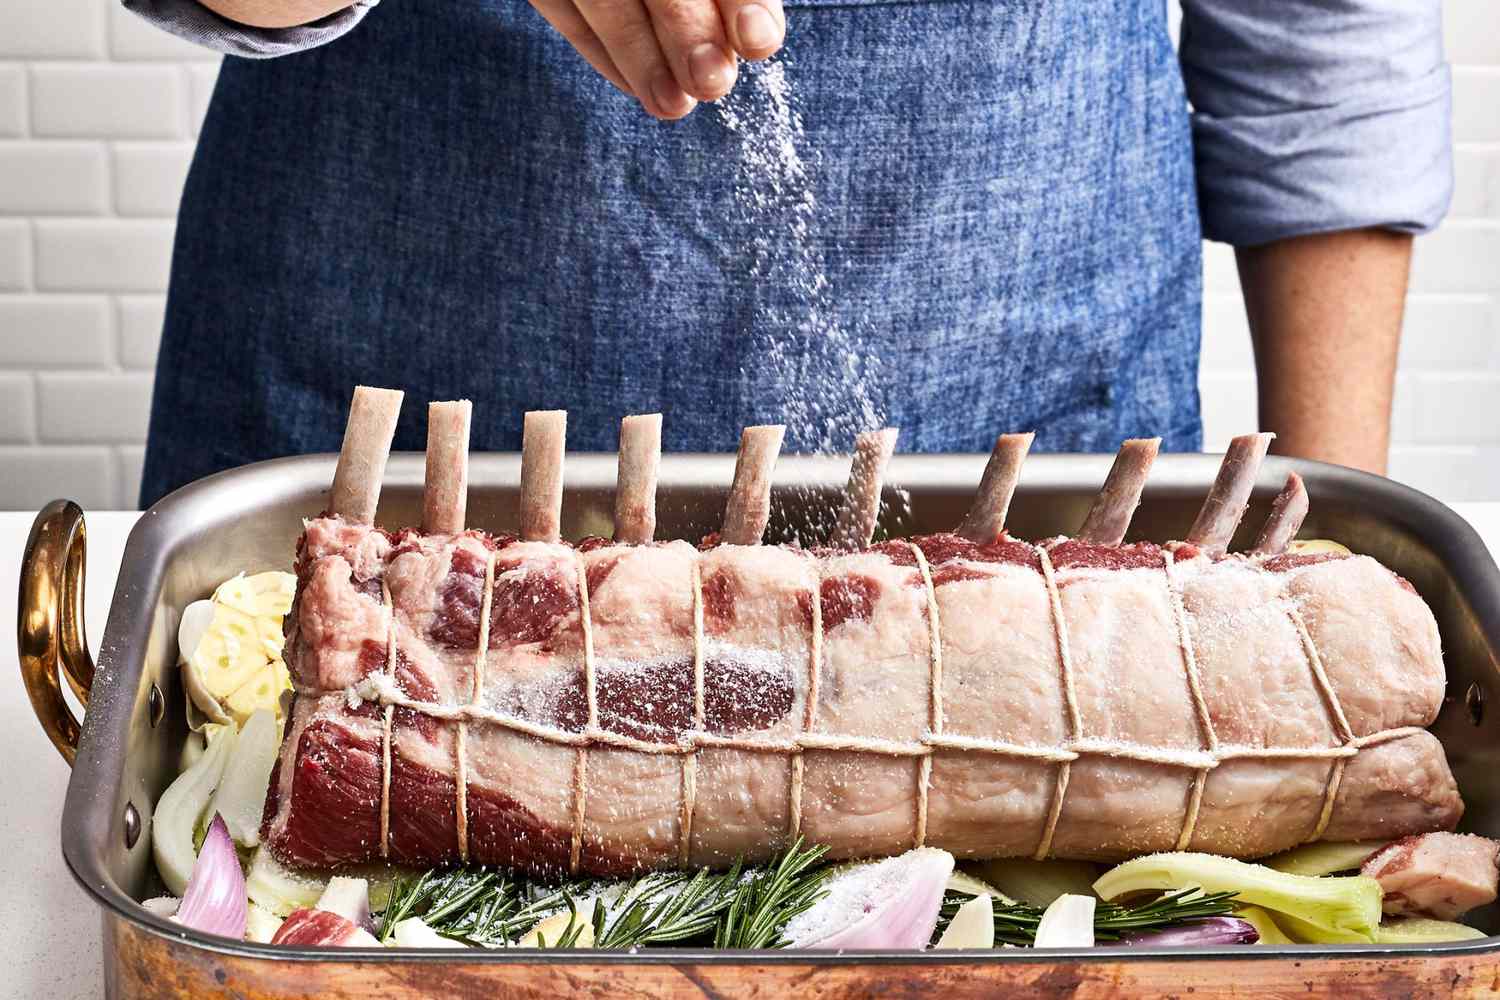
How To Carve Bone-In Rib Eye Roast
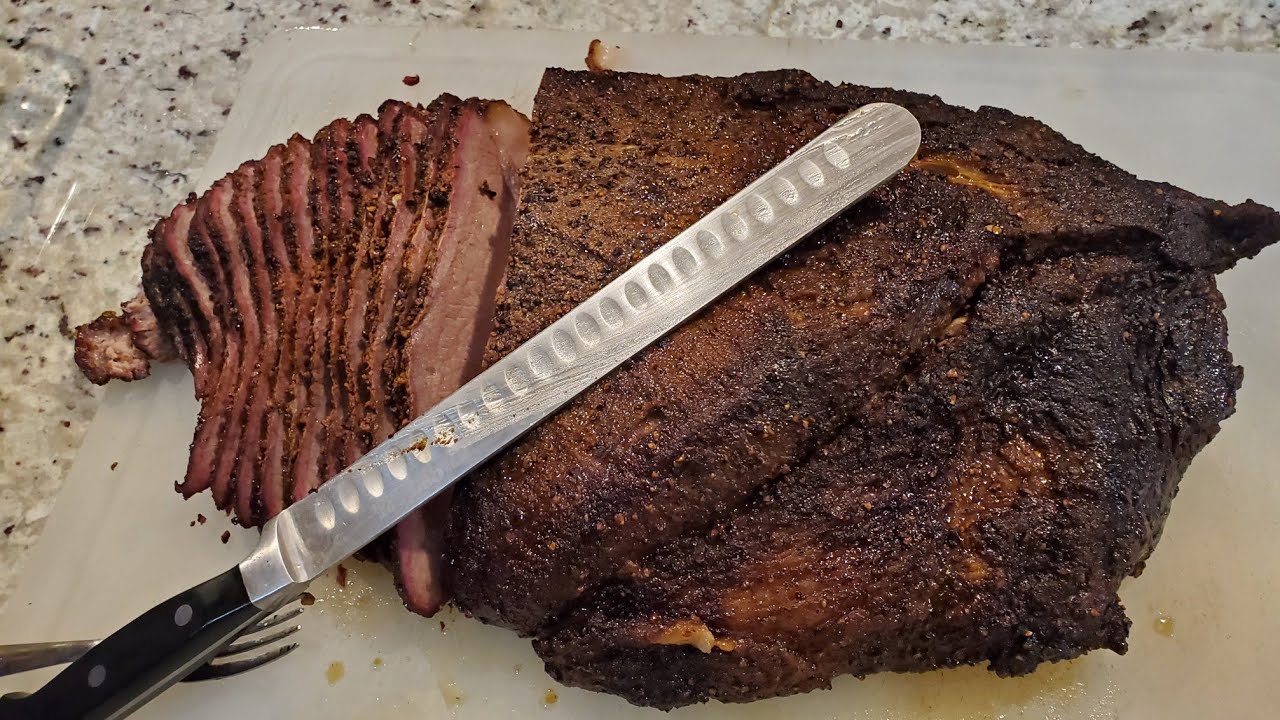
How To Carve Brisket Point
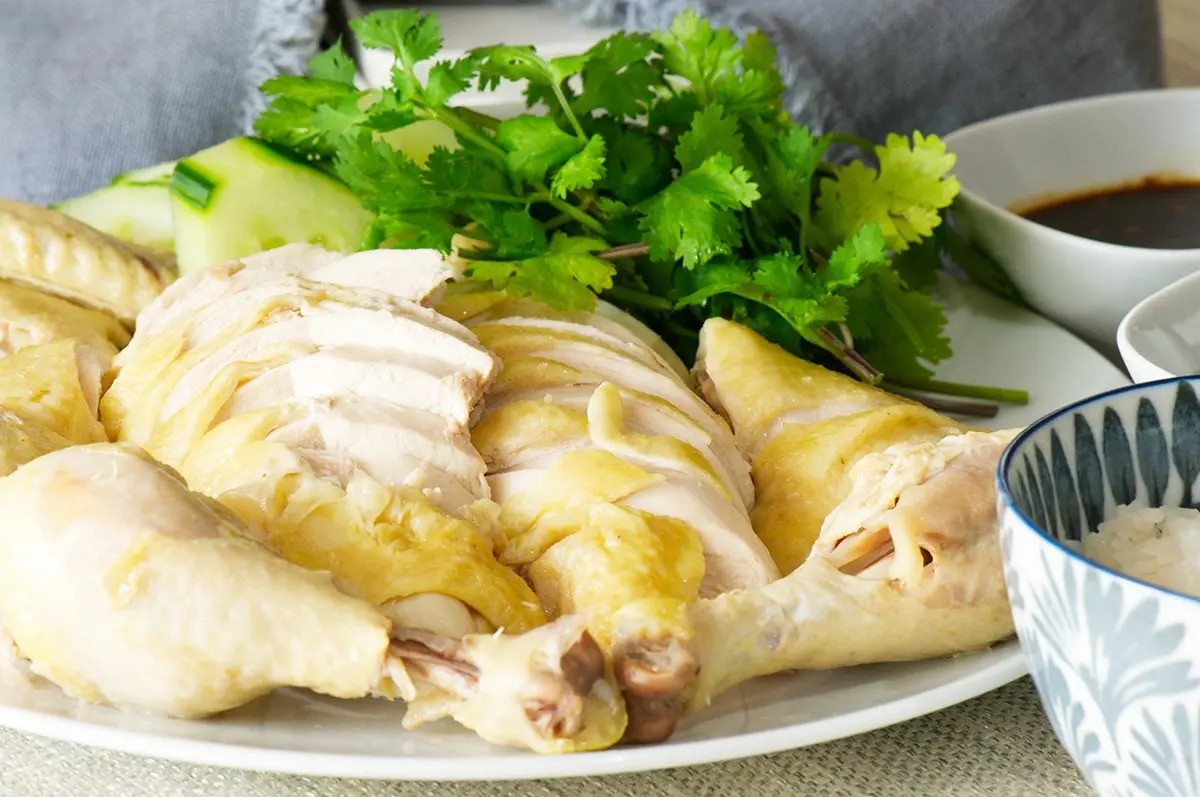
How To Carve Hainanese Chicken
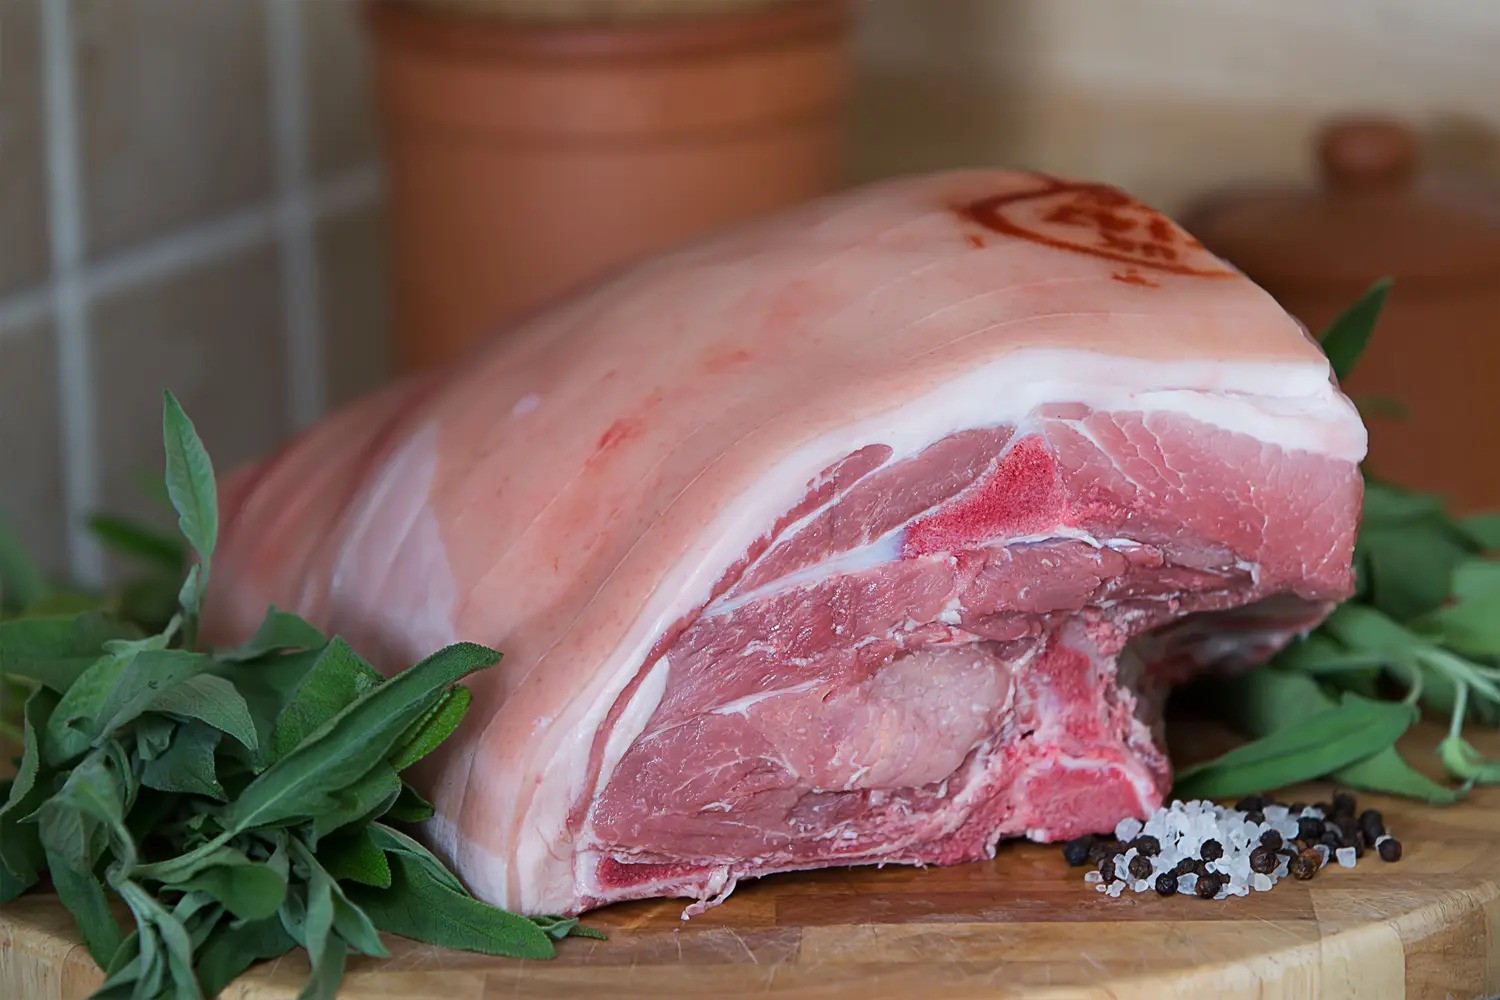
How To Carve Pork Shoulder
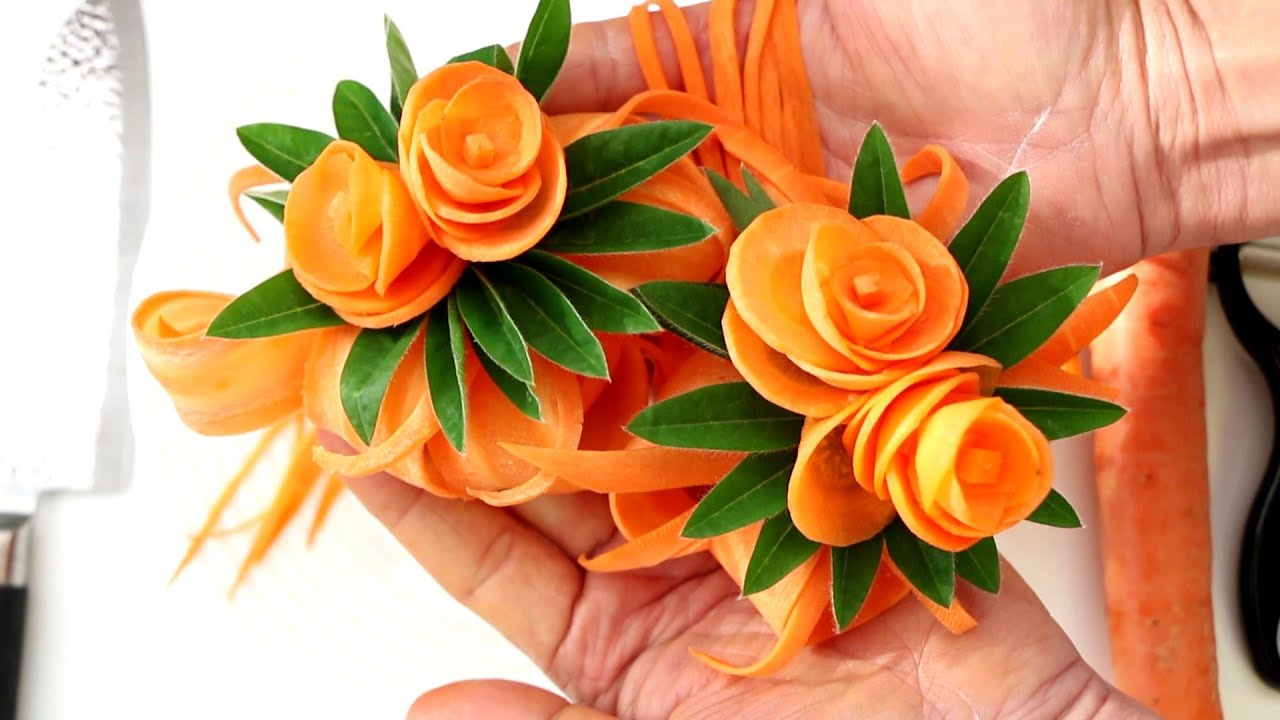
How To Carve A Flower Out Of A Carrot
How To Carve Bone-In Pork Loin

How To Carve Papaya Steak