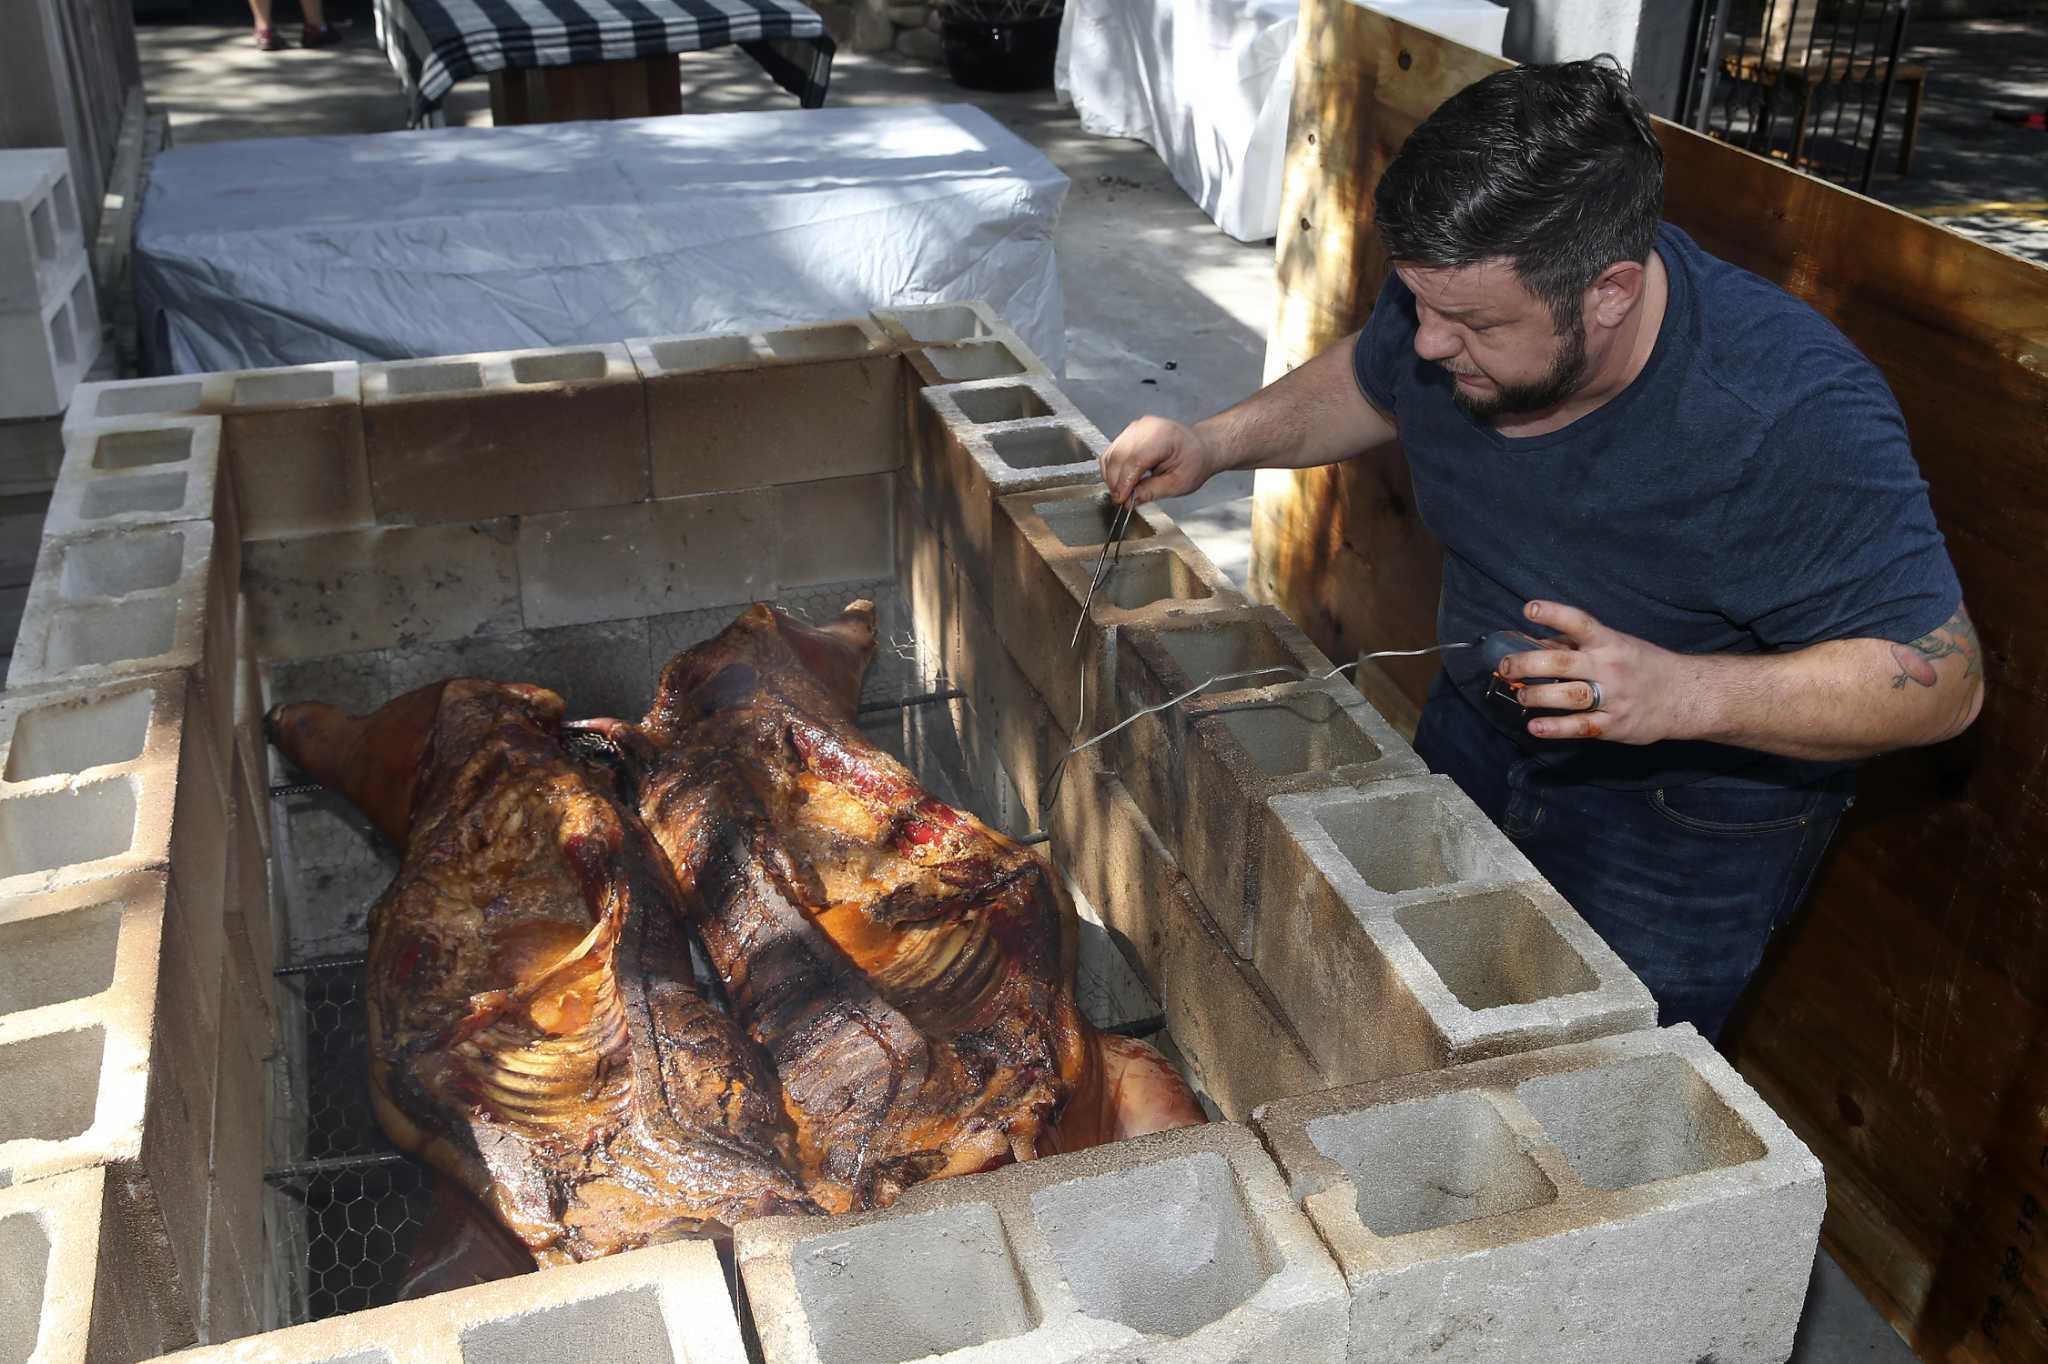
Mastering the Art of Carving Pork Shoulder
Carving a pork shoulder can seem like a daunting task, but with the right technique and a little practice, you can become a pro in no time. Whether you’re preparing a Sunday roast or getting ready for a backyard barbecue, knowing how to properly carve a pork shoulder is essential for serving up delicious and tender meat. Follow these simple steps to master the art of carving pork shoulder like a pro.
What You’ll Need
- Sharp carving knife
- Cutting board
- Meat fork or tongs
- Patience and a steady hand
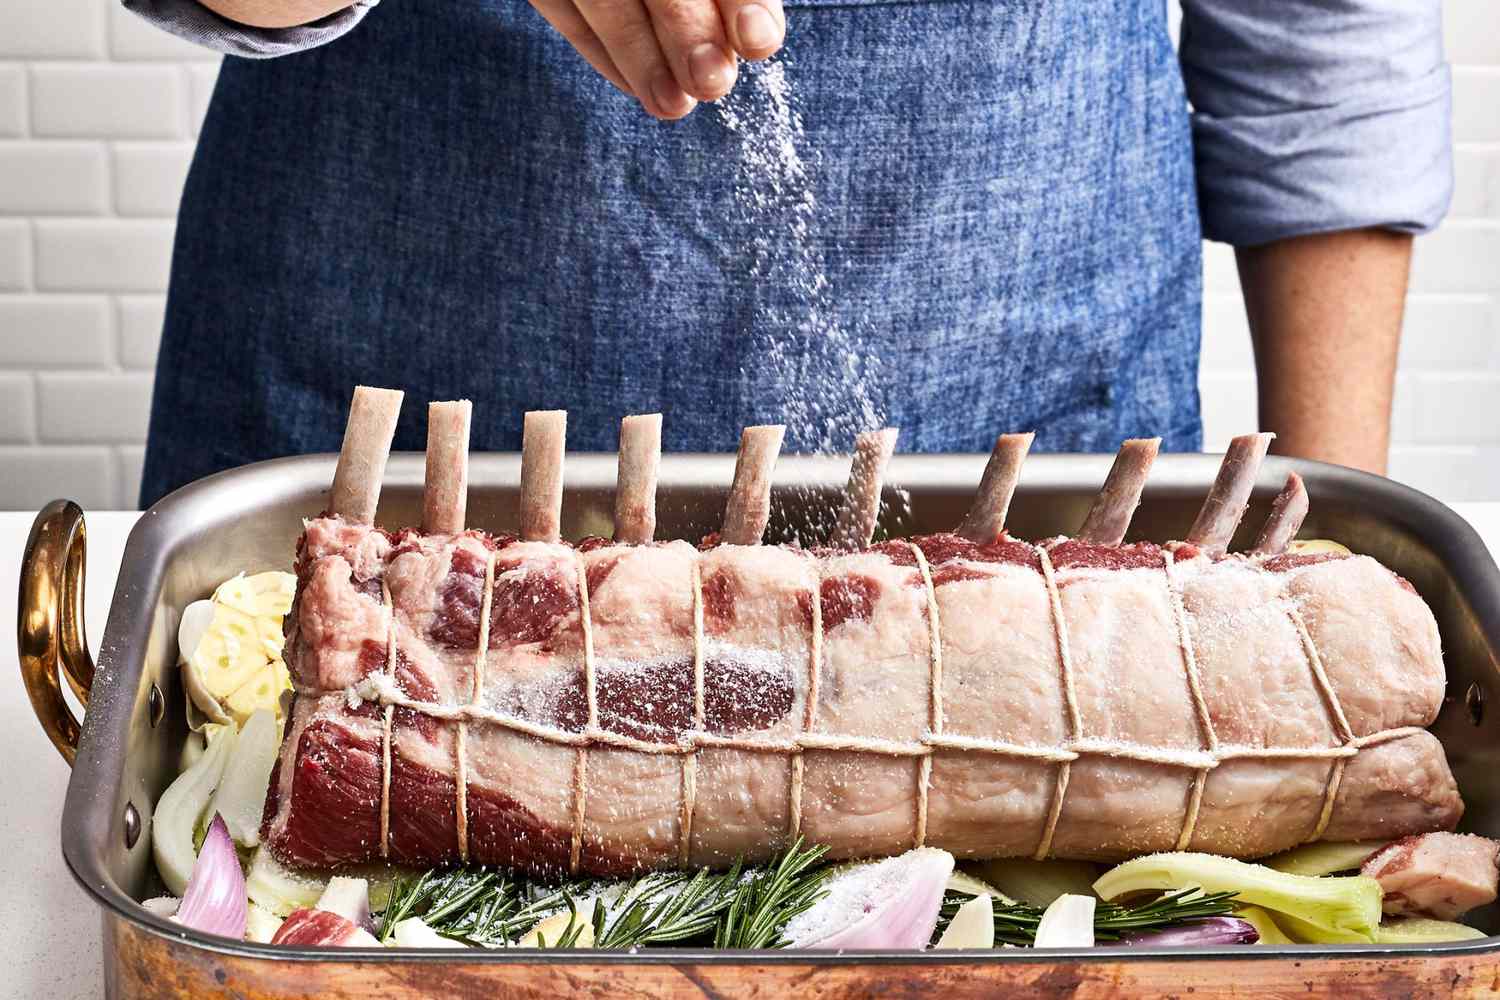
Step 1: Let the Pork Shoulder Rest
Before you start carving, it’s important to let the pork shoulder rest for at least 15 minutes after it comes out of the oven or off the grill. This allows the juices to redistribute, ensuring that the meat stays moist and tender.
Step 2: Find the Grain
Identifying the grain of the meat is crucial for carving pork shoulder. The grain refers to the direction in which the muscle fibers run. Look for the lines that run across the surface of the meat – this is the grain.
Step 3: Start Slicing
Using a sharp carving knife, begin slicing the pork shoulder against the grain. This means cutting perpendicular to the direction of the muscle fibers. Slicing against the grain helps to shorten the muscle fibers, resulting in a more tender and easier-to-chew bite.
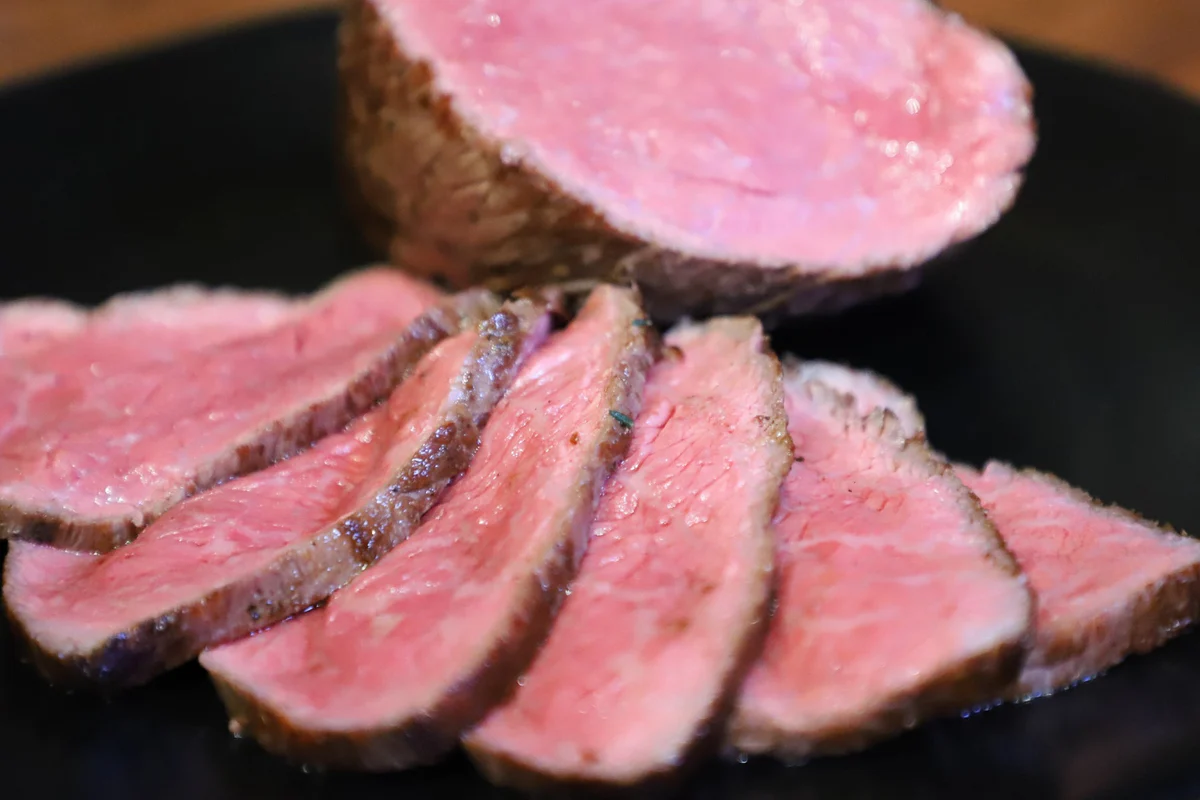
Step 4: Slice and Serve
Continue slicing the pork shoulder into thin, even pieces. As you slice, use a meat fork or tongs to hold the meat in place and make it easier to transfer to a serving platter. Arrange the slices neatly on the platter, and you’re ready to serve up a delicious meal.
Tips for Success
- Use a sharp knife: A sharp carving knife will make the slicing process much easier and more precise.
- Take your time: Rushing through the carving process can result in uneven slices and a less appealing presentation.
- Practice makes perfect: Don't be discouraged if your first attempt isn't perfect. With practice, you'll become more confident in your carving skills.
Now that you’ve mastered the art of carving pork shoulder, you can impress your friends and family with perfectly sliced, tender meat at your next gathering. With the right technique and a little patience, you’ll be carving pork shoulder like a pro in no time.
Was this page helpful?
Read Next: How To Carve A Boneless Leg Of Lamb
Related Articles

How To Carve A Watermelon Into A Baby Carriage
How To Carve A Bottom Round Rump Roast
How To Carve Bone-In Pork Loin

How To Carve A Pineapple Into A Cup Without A Corer

How To Carve A Mountain Out Of Cake
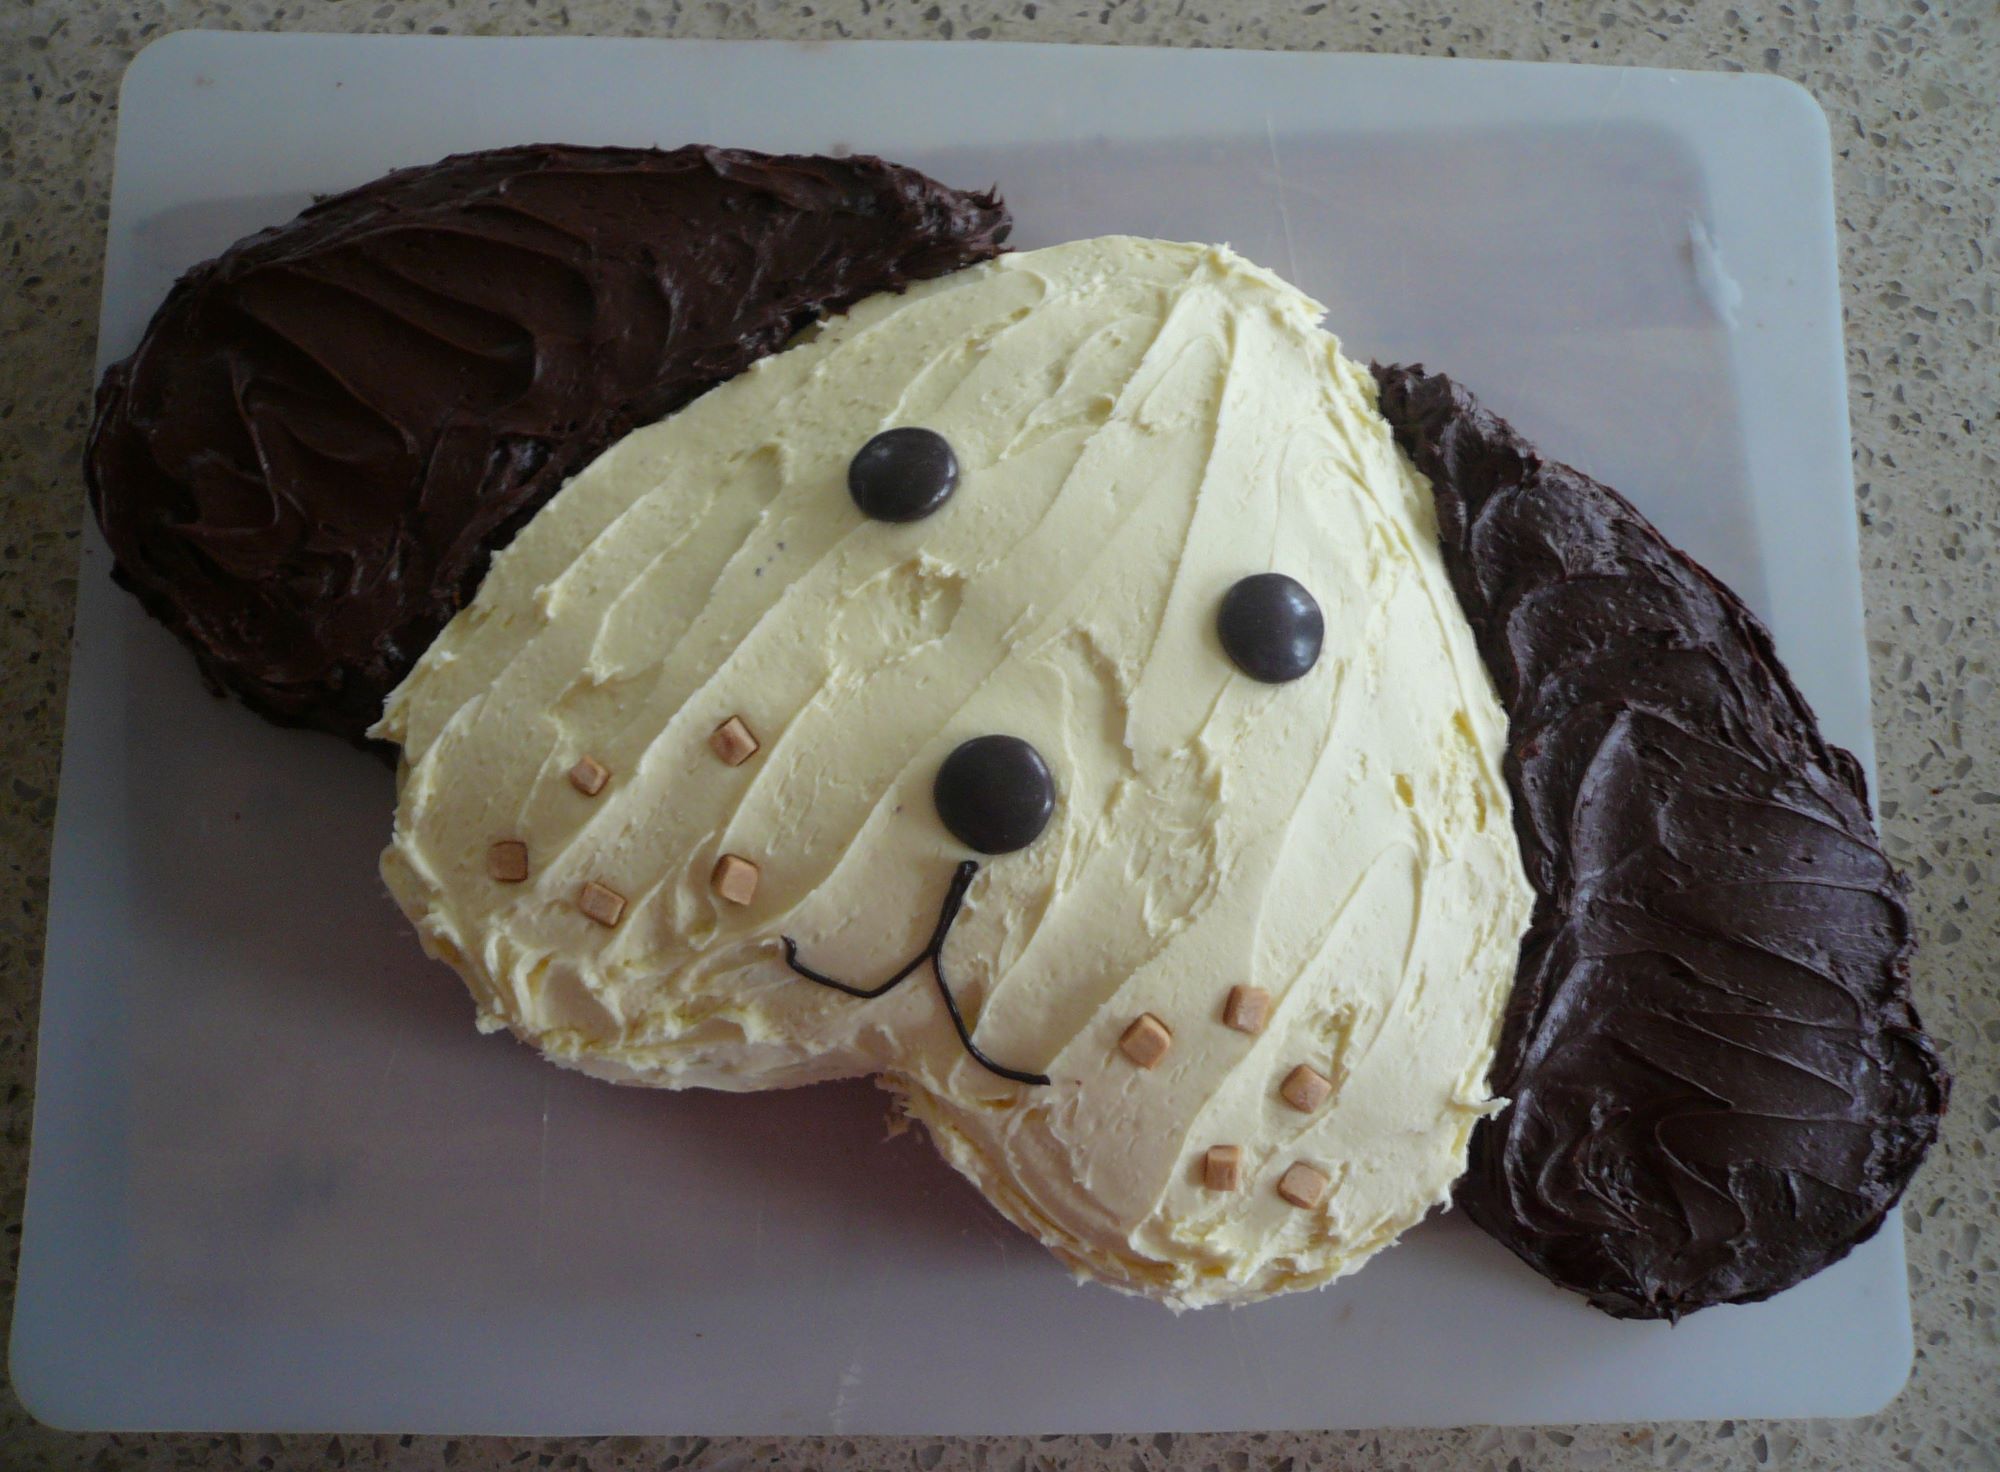
How To Carve A Dog Cake Beginner
How To Carve A Bottom Round Rump Roast
How To Carve Bone-In Pork Loin
How To Carve Apple Roses
How To Pit A Rambutan

How To Pit A Strawberry