Carving the Perfect Back of Rump Roast
Carving a back of rump roast can seem like a daunting task, but with the right technique, it can be a breeze. Whether you’re preparing a special dinner or simply want to impress your guests, mastering the art of carving a back of rump roast is a valuable skill to have. Follow these simple steps to carve the perfect back of rump roast every time.
Preparation
Before you begin carving, it’s important to let the roast rest for at least 10-15 minutes after removing it from the oven. This allows the juices to redistribute, ensuring a moist and flavorful roast. Additionally, make sure you have a sharp carving knife and a sturdy cutting board to work on.
Carving Technique
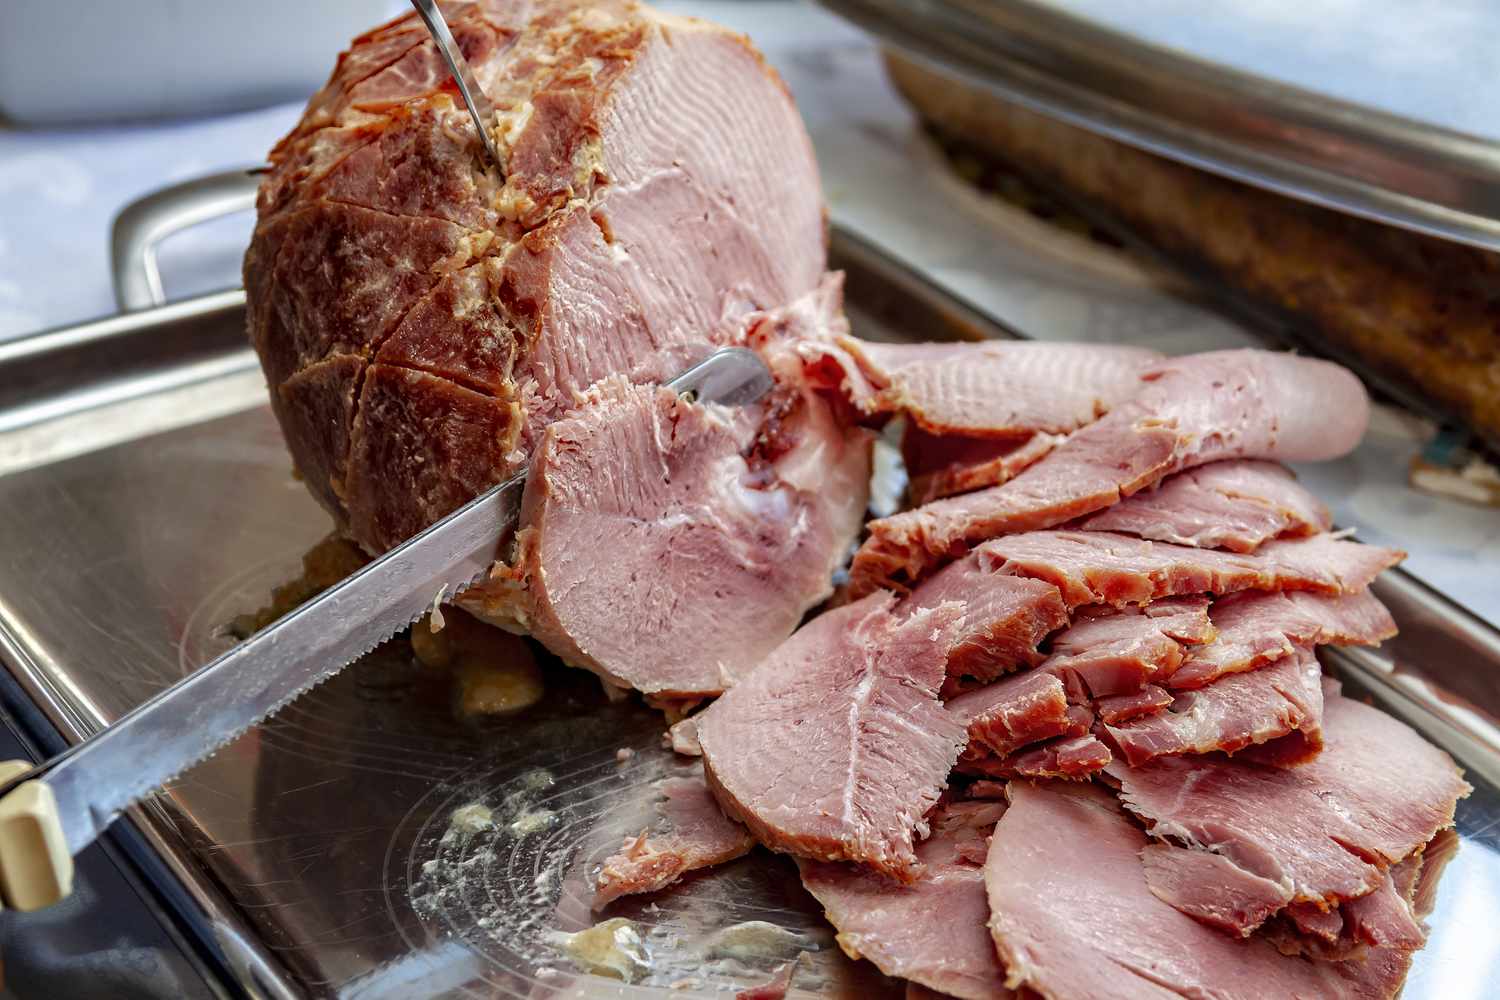
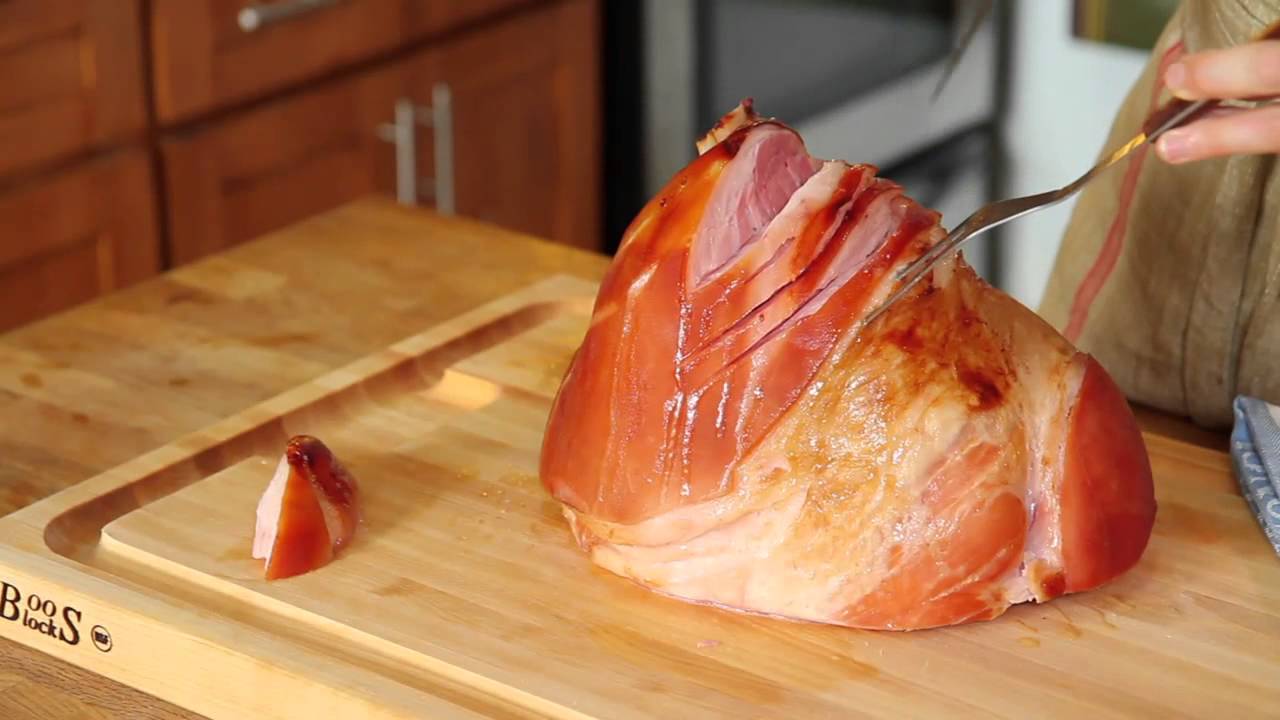
When carving a back of rump roast, it’s essential to carve against the grain to ensure tenderness. Follow these steps for the perfect carve:
- Identify the grain: Before making any cuts, take a moment to identify the direction of the grain. The grain of the meat runs in one direction, and it’s important to carve against it for the most tender slices.
- Start at the top: Begin by slicing the roast horizontally at the top, creating thin, even slices. Use a gentle sawing motion to ensure clean cuts.
- Carve against the grain: As you work your way down the roast, be sure to carve against the grain with each slice. This will result in tender, easy-to-chew pieces of meat.
- Adjust thickness: Depending on your preference, you can adjust the thickness of each slice. Thicker slices are great for those who enjoy a heartier portion, while thinner slices are perfect for a lighter meal.
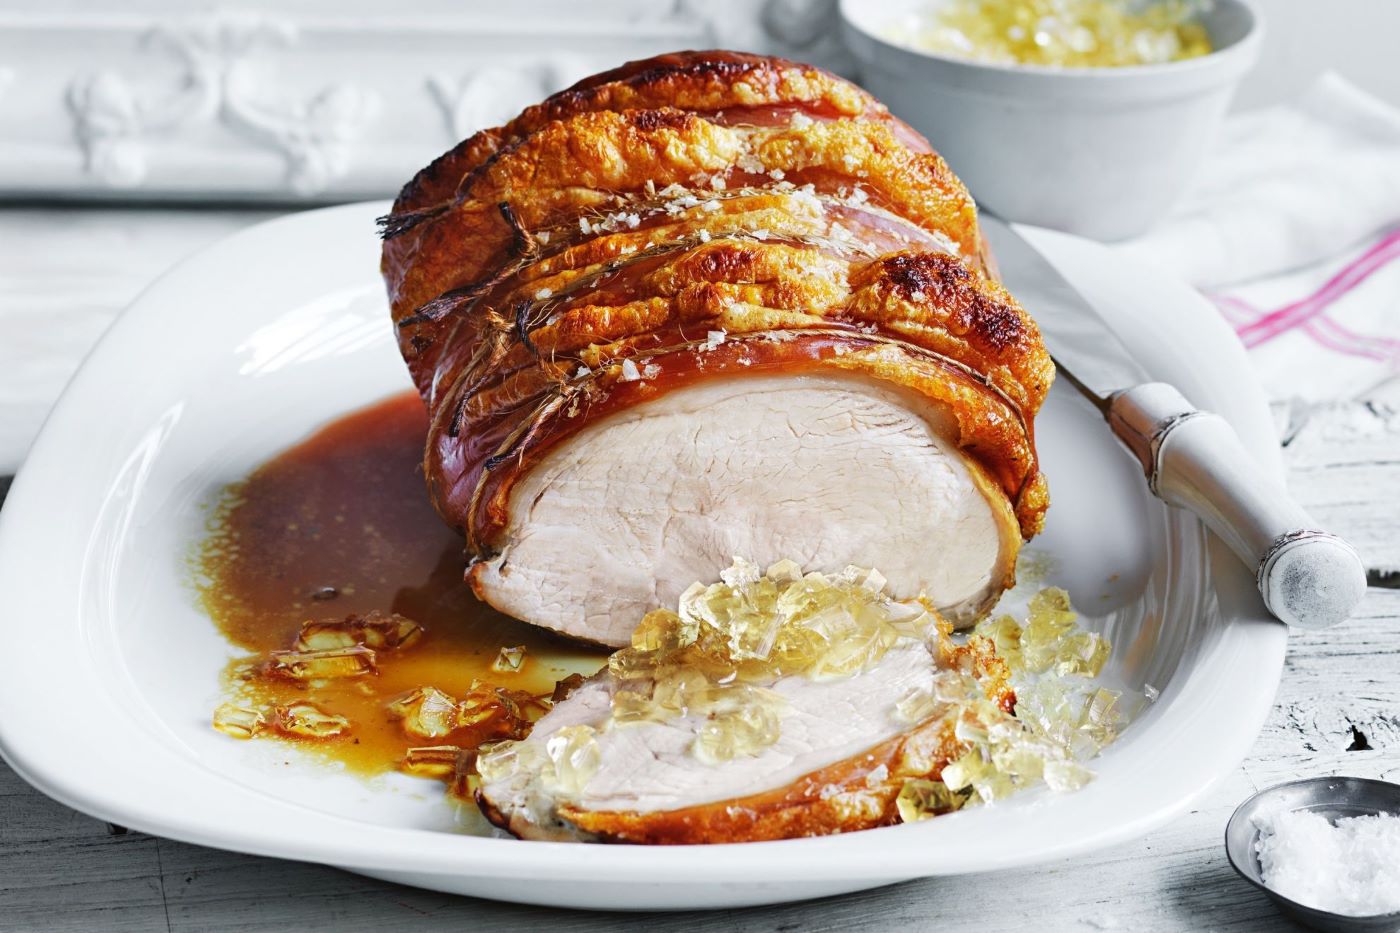
Serving Suggestions
Once you’ve carved the back of rump roast, it’s time to serve it up. Consider pairing it with delicious sides such as roasted vegetables, mashed potatoes, or a fresh garden salad. A flavorful gravy or sauce can also complement the roast beautifully.
Practice Makes Perfect
Carving a back of rump roast may take a bit of practice, but with time and patience, you’ll become a pro. Don’t be discouraged if your first attempt isn’t perfect – the more you practice, the better you’ll become at achieving those beautiful, succulent slices.
Now that you’ve mastered the art of carving a back of rump roast, you can impress your family and friends with your newfound skills. With the right technique and a bit of practice, you’ll be carving perfect slices of roast in no time.
Was this page helpful?
Read Next: How To Carve A Bell Pepper
Related Articles