Whipping Egg Whites Without a Hand Mixer
Whipping egg whites to stiff peaks without a hand mixer may seem like a daunting task, but with the right technique and a bit of patience, it can be easily achieved. Whether you’re out of a hand mixer or simply prefer the old-fashioned method, here’s a step-by-step guide on how to whip egg whites to perfection without a hand mixer.
Tools You’ll Need
Before you start, gather the following tools:
- A large mixing bowl
- A whisk
- A pinch of salt
- Granulated sugar (if making meringue)
Step 1: Prep Your Bowl and Whisk
Start by ensuring that your mixing bowl and whisk are completely clean and free of any grease or residue. Any impurities can prevent the egg whites from reaching their full volume.
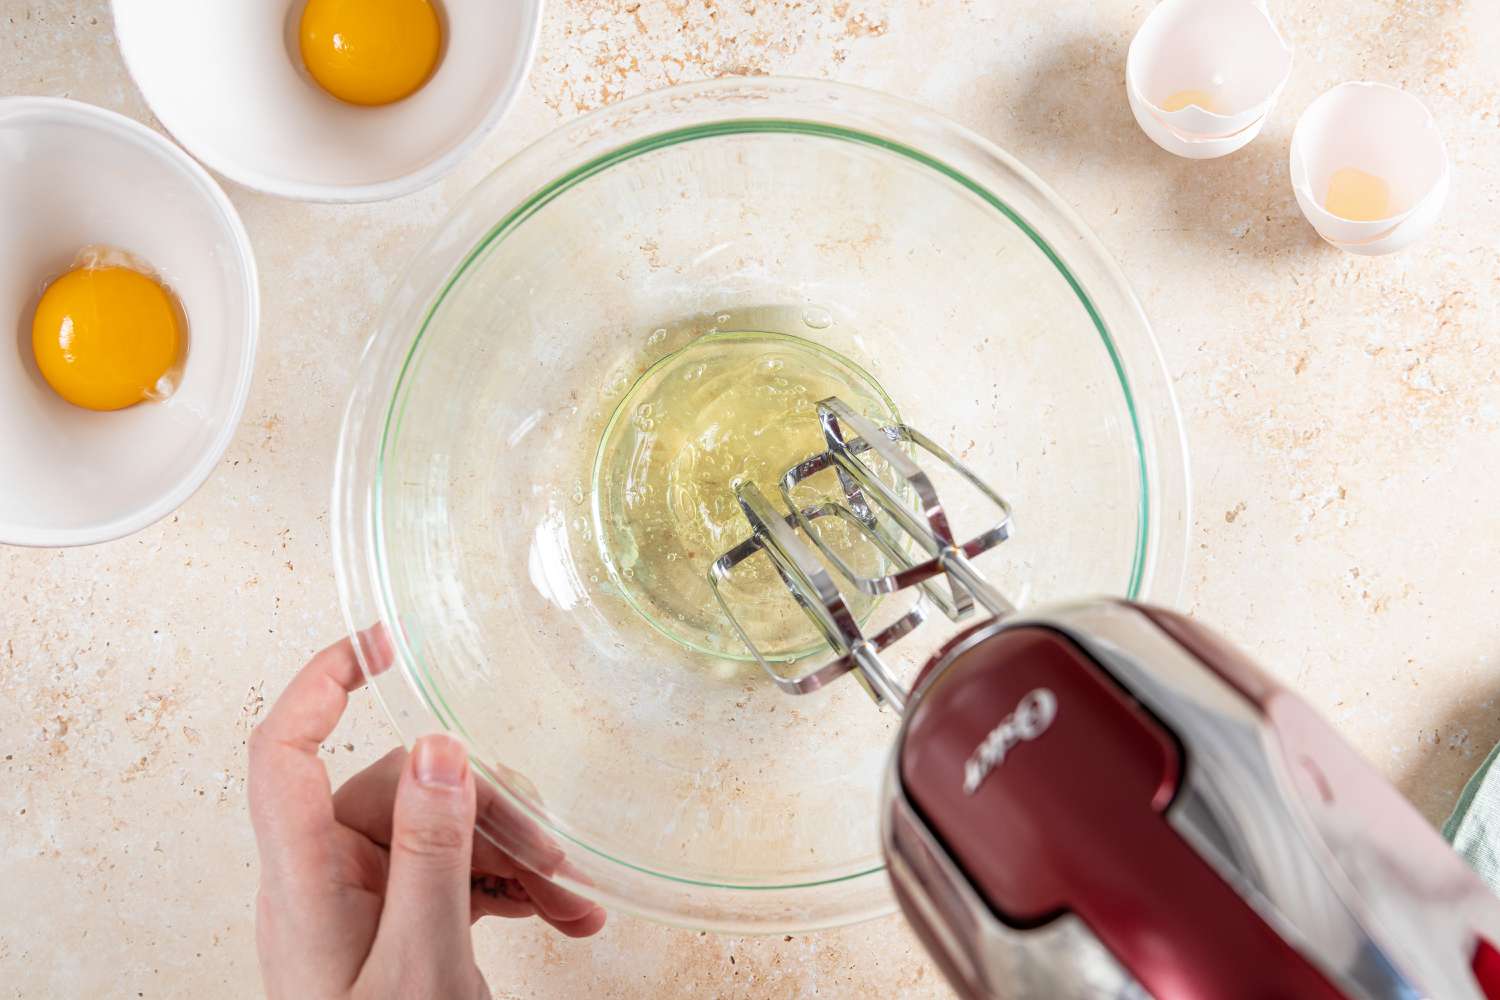
Step 2: Crack and Separate the Eggs
Carefully crack the eggs and separate the whites from the yolks. It’s crucial to avoid getting any traces of yolk in the whites, as even a small amount of fat can hinder the whipping process.
Step 3: Begin Whisking
Place the egg whites in the clean mixing bowl and add a pinch of salt. The salt helps stabilize the egg whites and allows them to whip up to a greater volume. Using a whisk, begin beating the egg whites vigorously in a circular motion.
Step 4: Incorporate Air
Continue whisking the egg whites, gradually increasing your speed as they begin to foam. The goal is to incorporate as much air as possible, which will create volume and stability in the whipped egg whites.
Step 5: Add Sugar (If Making Meringue)
If you’re making meringue, gradually add granulated sugar to the whipped egg whites once they reach soft peaks. Continue to beat the mixture until stiff, glossy peaks form.
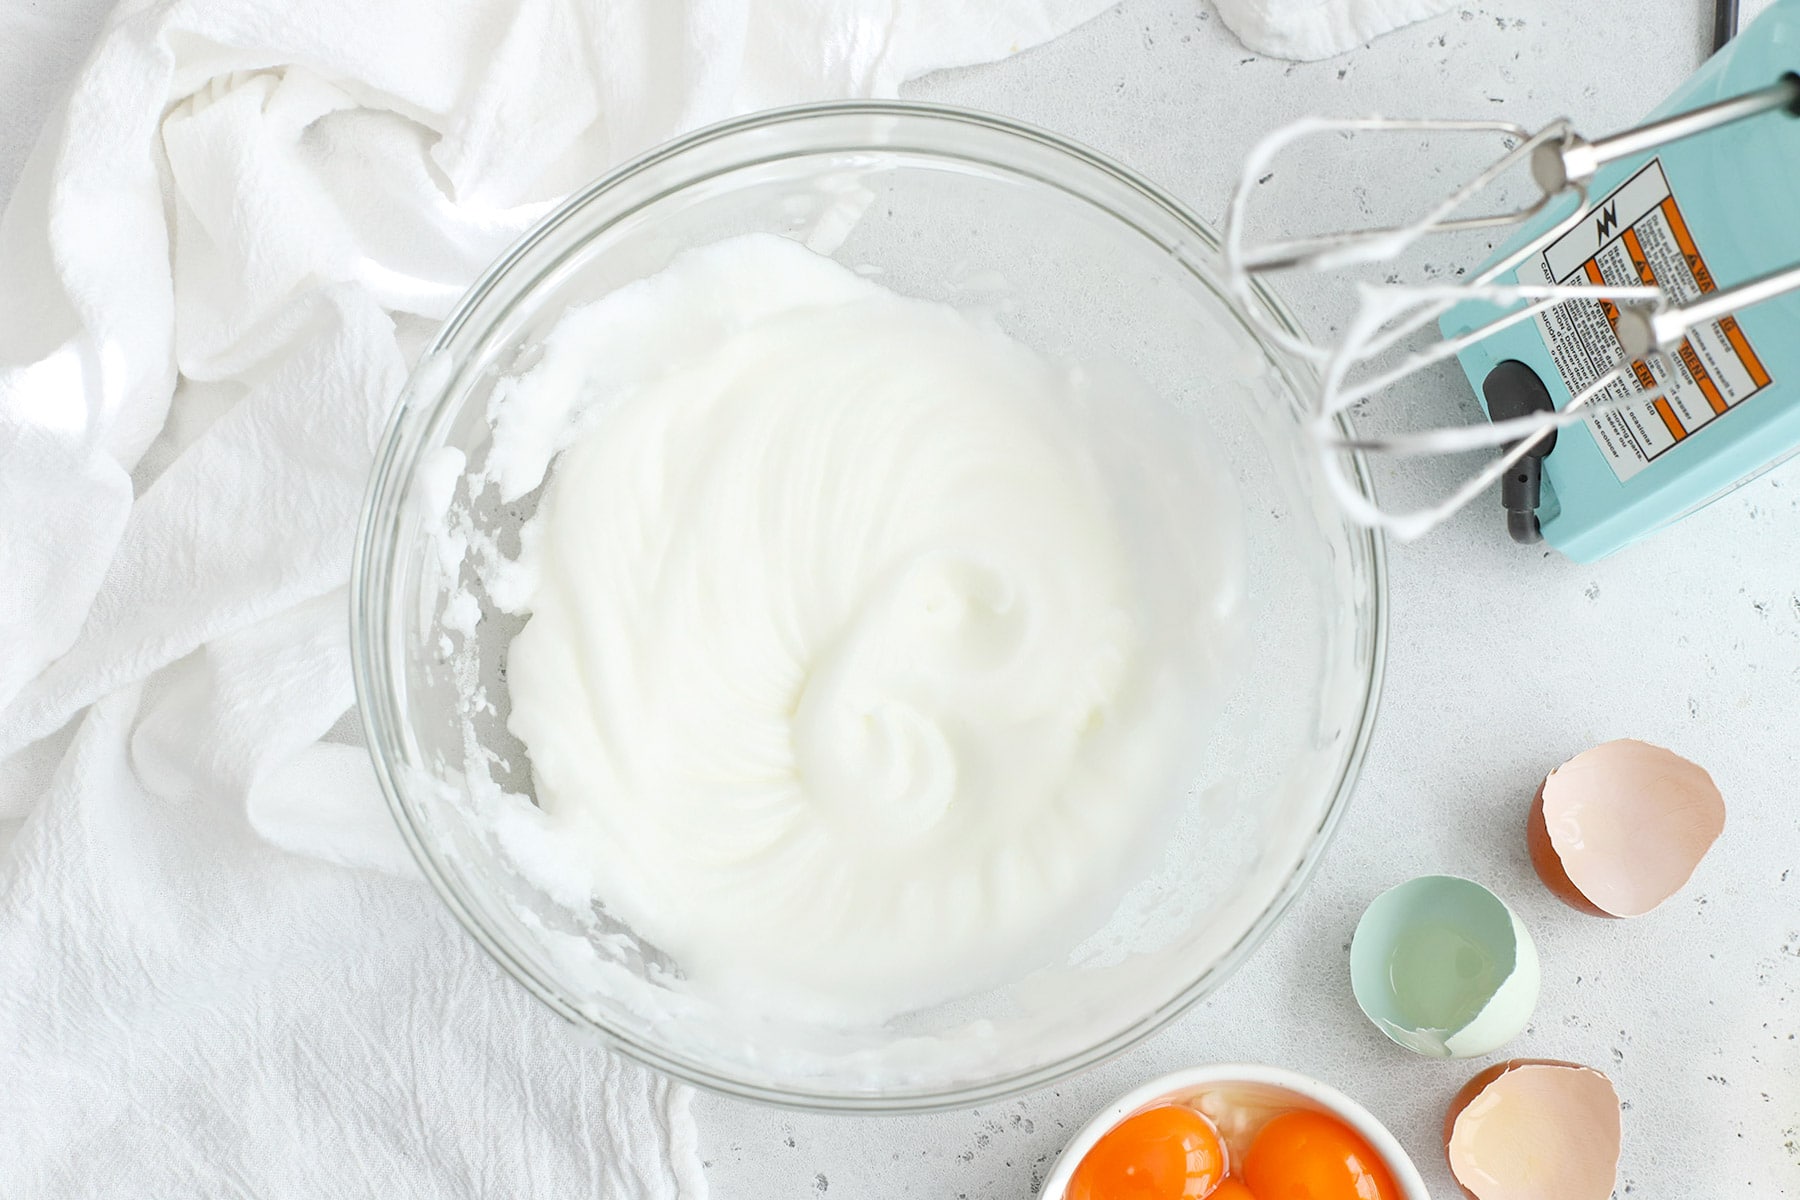
Step 6: Test for Stiff Peaks
To check if the egg whites have been whipped to the correct consistency, lift the whisk from the mixture. The peaks should stand upright and hold their shape without collapsing.
Step 7: Use as Desired
Once you’ve achieved stiff peaks, your whipped egg whites are ready to be used in your recipe. Whether you’re making a light and airy mousse or a delicate soufflé, your hand-whipped egg whites will add the perfect touch of fluffiness and structure to your dish.
Whipping egg whites without a hand mixer may require a bit of elbow grease, but the end result is well worth the effort. With these simple steps and a bit of practice, you can achieve beautifully whipped egg whites using just a whisk and a bowl.
So next time you find yourself without a hand mixer, don’t fret. You now have the know-how to whip up those egg whites with ease, creating delectable treats that are sure to impress!
More Delicious Recipes Featuring Whipped Egg Whites
Mastering the art of whipping egg whites by hand not only enhances your kitchen skills but also opens up a world of culinary possibilities. Among the vast array of recipes you can explore, Chocolate Soufflé Recipe, Pavlova Recipe, and Angel Food Cake Recipe stand out as ideal starting points. These recipes are selected not only for their popularity but also for their ability to beautifully showcase the light, airy texture that perfectly whipped egg whites can achieve. For a delightful dessert, try the Fruit Tart Recipe, which relies on the fluffiness of whipped egg whites to balance its rich, fruity filling. Additionally, adventurous home chefs might enjoy the challenge and impressive results of Japanese Cheesecake Recipe. Each recipe provides a delicious opportunity to apply and perfect your new skill while impressing guests with your culinary prowess.
Was this page helpful?
Read Next: How To Whip Egg Yolks
Related Articles
How To Whip Olive Oil Into Cream
How To Whip Light Cream
How To Whip Aloe Vera Gel
How To Whip Egg Whites In A Blender
How To Whip Egg Whites And Sugar
How To Smoke Pistachios In Traeger
How To Smoke With Oklahoma Joe Grill
How To Smoke Bone-In Pork Butt In An Electric Smoker
How To Smoke Cheese On A GMG Pellet Smoker
How To Smoke Chicken Thighs Without Rubbery Skin
How To Smoke A Whole Chicken On A Weber Smokey Mountain