Poaching eggs can seem like a tricky task, but with a Ninja Foodi, it becomes surprisingly simple. This versatile kitchen gadget combines pressure cooking and air frying capabilities, making it a game-changer for egg enthusiasts. Whether you're aiming for a runny yolk to drizzle over toast or a firmer set for a salad topping, mastering the art of poaching eggs in your Ninja Foodi will elevate your breakfast game. Let's walk through the steps to achieve perfectly poached eggs every time, turning your kitchen into a brunch hotspot without the fuss of traditional methods.
Gather Your Ingredients
- Eggs
- Water
- White vinegar (optional)
Essential Tools for the Perfect Poached Eggs
- Ninja Foodi Pressure Cooker
- Trivet or Steamer Basket (that fits inside your Ninja Foodi)
- Small Bowls (for cracking eggs into before poaching)
- Slotted Spoon (for removing eggs from the Ninja Foodi)
- Measuring Cup (for adding water to the Ninja Foodi)
- Plate (lined with paper towels, for draining eggs after poaching)
Poaching eggs in a Ninja Foodi involves using the steam function. Fill pot with water, set trivet inside, place eggs on trivet, and steam for about 5-7 minutes for soft yolks.
The Art of Poaching Eggs in Your Ninja Foodi
Poaching eggs in a Ninja Foodi offers a simple, efficient method to enjoy perfectly cooked eggs without the hassle of traditional poaching techniques. This innovative approach leverages the appliance's unique capabilities, ensuring eggs come out tender and delicious every time, making breakfast preparations quicker and more enjoyable for egg enthusiasts.
Utilizing the Ninja Foodi for poaching eggs not only streamlines the cooking process but also minimizes cleanup, making it an ideal choice for busy mornings. This method provides a foolproof way to achieve the desired doneness, enhancing the overall culinary experience for both novices and seasoned cooks alike.
Your Step-by-Step Poaching Guide
- Fill Ninja Foodi with 1 cup of water.
- Place the trivet or steam rack inside.
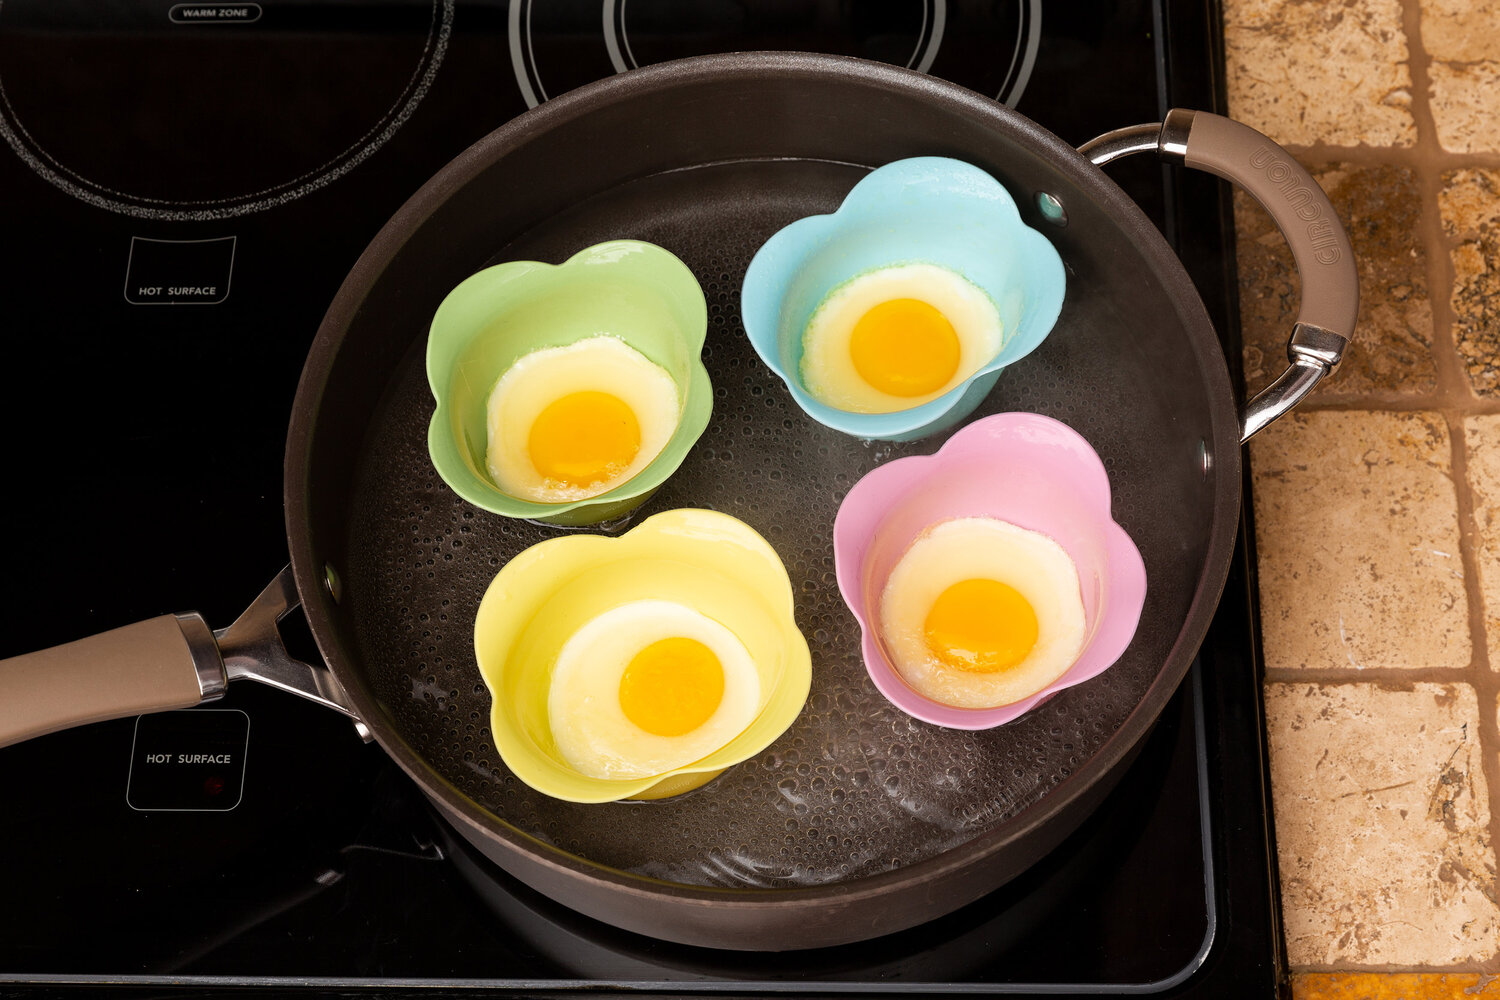
- Spray a heat-safe small bowl or ramekin with non-stick cooking spray.
- Crack an egg into the bowl or ramekin without breaking the yolk.
- Set the bowl on the trivet or steam rack.
- Close Ninja Foodi's lid securely.
- Select the 'Steam' function.
- Adjust time to 5 minutes for a soft poached egg or 8 minutes for firmer yolks.
- Press start to begin the cooking process.
- Wait for Ninja Foodi to finish and release the pressure naturally for 2 minutes.
- Release any remaining pressure manually before opening the lid.
- Remove the bowl or ramekin carefully using tongs or oven mitts.
- Run a small knife or spatula around the egg to loosen it.
- Gently tip the egg out onto a plate or atop your chosen dish.
Mastering Egg Poaching in Your Ninja Foodi
Poaching eggs in a Ninja Foodi is a game-changer for breakfast routines. With this method, you've learned that precision and simplicity go hand in hand. Remember, using fresh eggs and cold water is key to achieving that perfect poach. Adjusting cooking times based on your preferred doneness ensures every egg comes out just right. This technique not only simplifies cooking but also opens up a world of healthy, delicious breakfast options. From classic eggs Benedict to a simple poached egg on toast, your Ninja Foodi is the secret to nailing this breakfast staple every time. So, give it a try, experiment with different recipes, and enjoy the ease and versatility of poached eggs made in your Ninja Foodi. Happy cooking!
Explore More Delicious Recipes and Uses for Your Ninja Foodi
Now that you've mastered the art of poaching eggs with your Ninja Foodi, it's time to explore the myriad of dishes that can benefit from this technique. From breakfast classics to international favorites, the poached egg is a versatile ingredient. Consider trying the Mastering Eggs Benedict for a traditional brunch option, or the Explore Shakshuka Variations for a taste of Middle Eastern cuisine. For a healthy twist, the Green Goddess Salad Delight offers a refreshing meal with a punch of protein. Each recipe utilizes poached eggs in a unique way, showing the versatility and enhancement they bring to different dishes.
All Your Questions Answered
Can I really poach eggs in my Ninja Foodi?
Absolutely! Poaching eggs in your Ninja Foodi is not only possible but also incredibly easy. This versatile kitchen gadget simplifies the process, giving you perfectly poached eggs every time.
What do I need to poach eggs in the Ninja Foodi?
You'll need some basic items: fresh eggs, water, and your Ninja Foodi. A small, heat-proof bowl or ramekin is also handy for cracking the eggs into before gently placing them in the water.
How much water should I use for poaching eggs?
Fill the Ninja Foodi pot with about 1 inch of water. This amount is just right for heating quickly yet providing enough moisture for the eggs to poach properly.
What setting do I use on my Ninja Foodi to poach eggs?
Use the steam function on your Ninja Foodi. It's the perfect setting for poaching eggs, as it gently cooks them with steam, ensuring they stay tender and don't overcook.
How long does it take to poach an egg in the Ninja Foodi?
Typically, it takes about 2-3 minutes to poach an egg once the Ninja Foodi has reached the proper steaming temperature. However, you might adjust the time based on how runny or firm you prefer your yolks.
Can I poach multiple eggs at once in the Ninja Foodi?
Sure can! You can poach multiple eggs at once, depending on the size of your Ninja Foodi. Just make sure to place them gently in the pot so they don't touch and stick together.
Any tips for the best poached eggs in the Ninja Foodi?
For starters, use fresh eggs as they hold their shape better. Also, consider adding a little vinegar to the water; it helps the egg whites coagulate faster. Lastly, don't forget to quickly release the pressure after cooking to avoid overcooking the eggs.
Was this page helpful?
Related Articles
How To Bake Cookies In Ninja Foodi
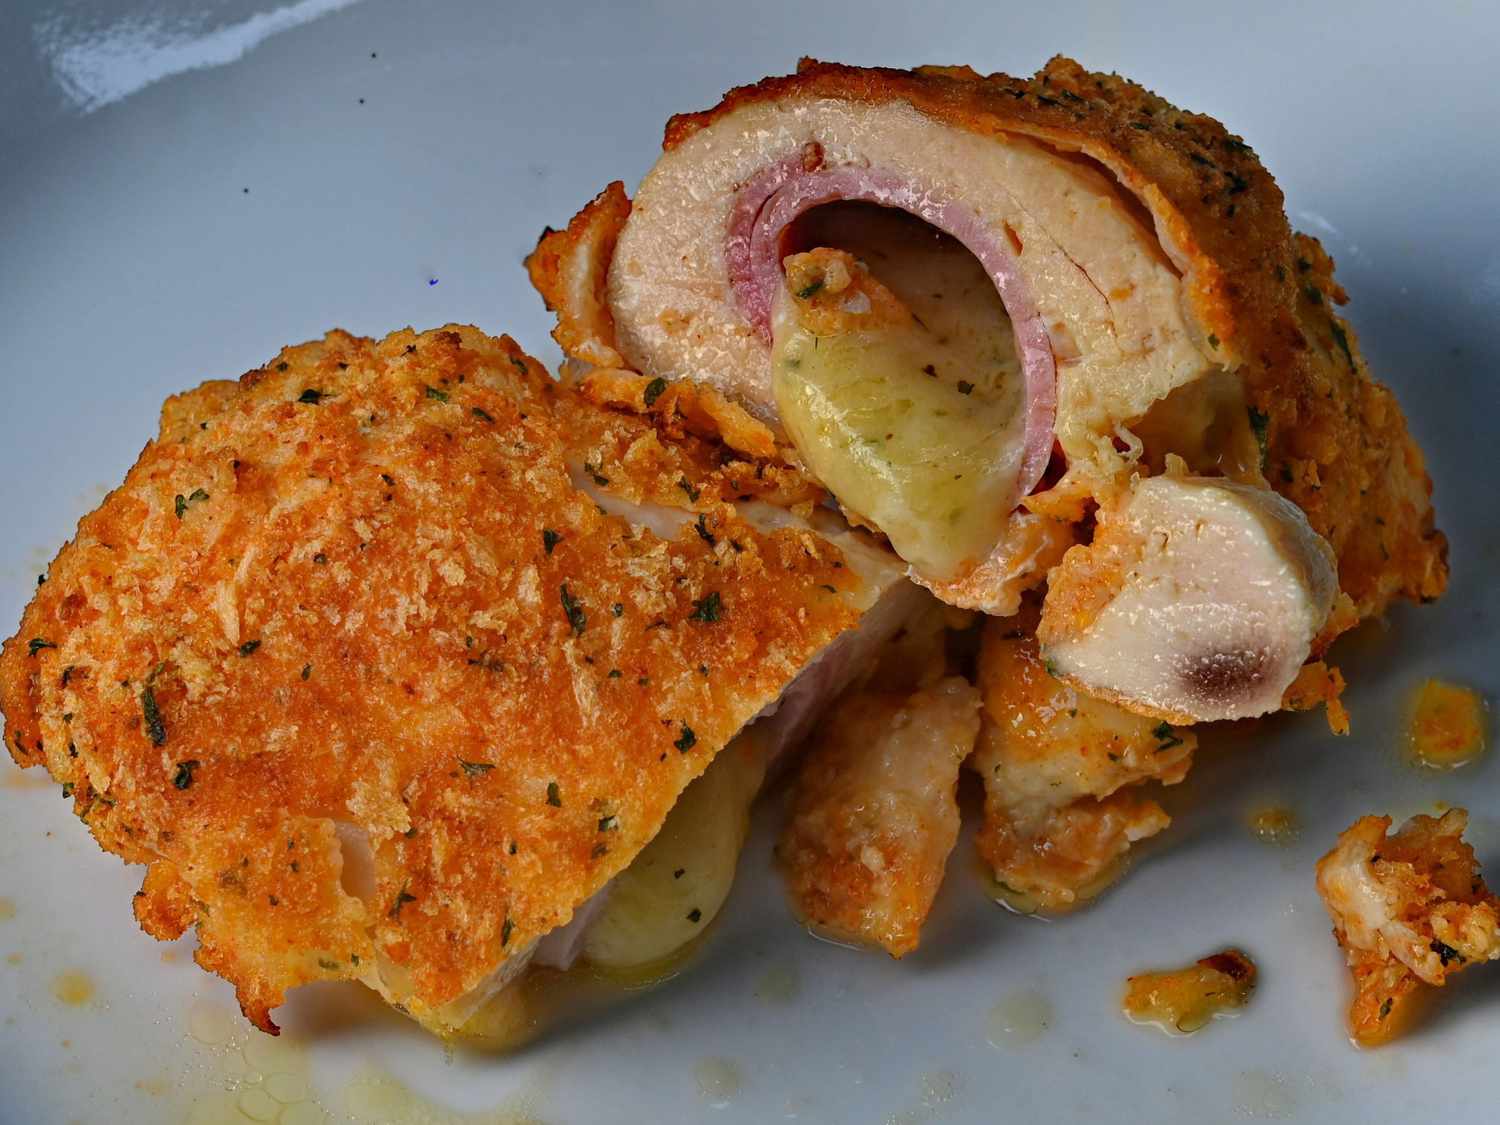
How To Cook Chicken Cordon Bleu In Ninja Foodi Grill
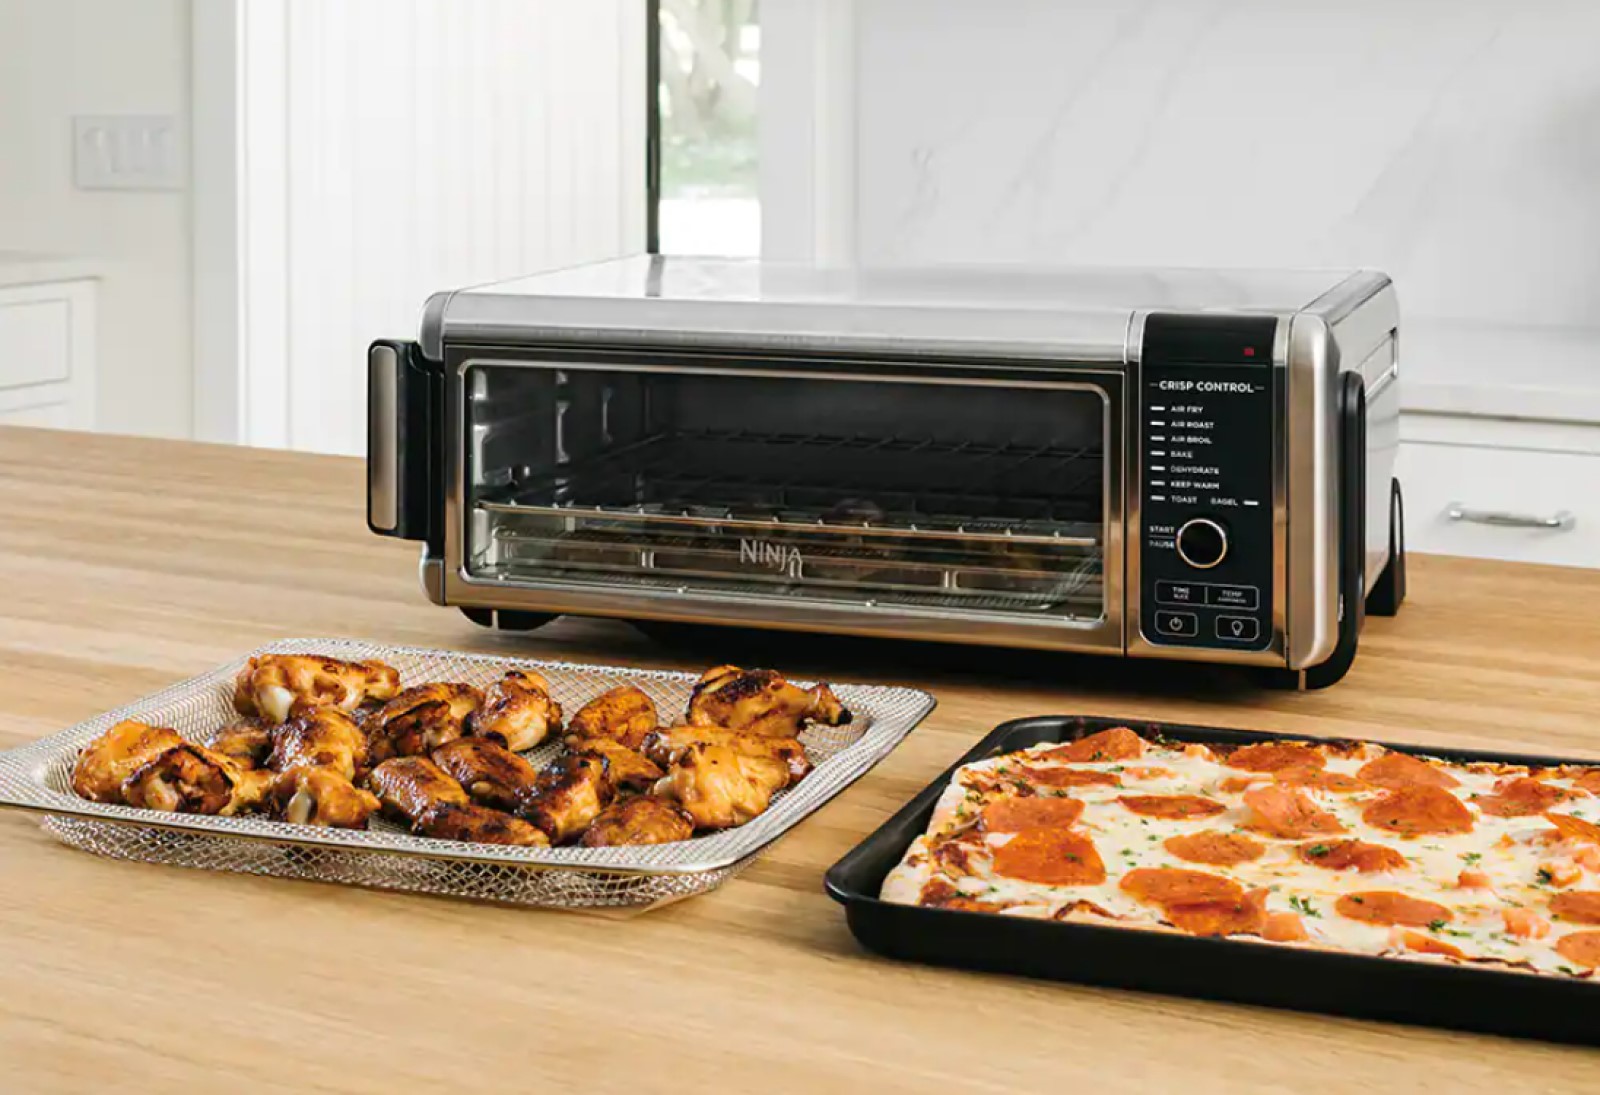
How To Bake With Ninja Foodi
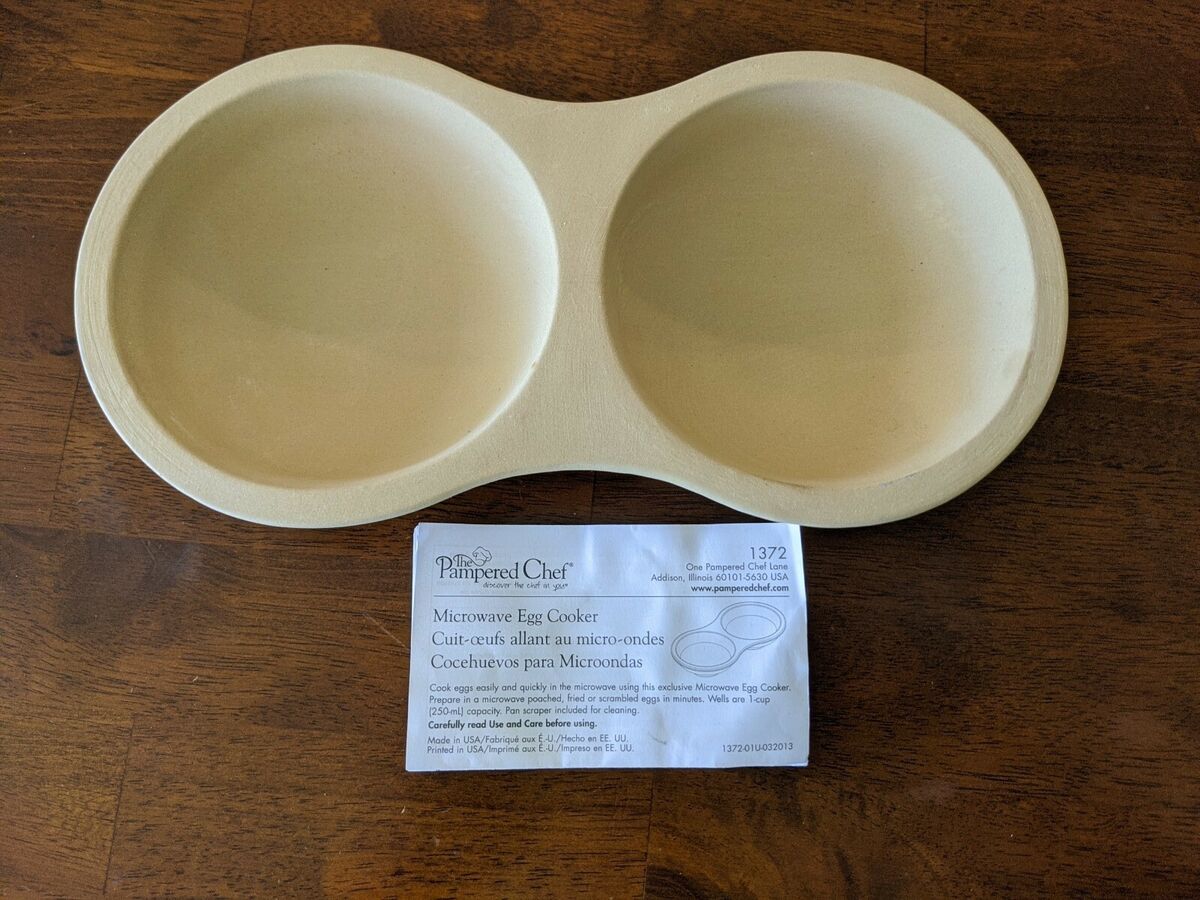
How To Poach Eggs In Pampered Chef Stoneware Egg Cooker
How To Poach An Egg In Silicone Cup
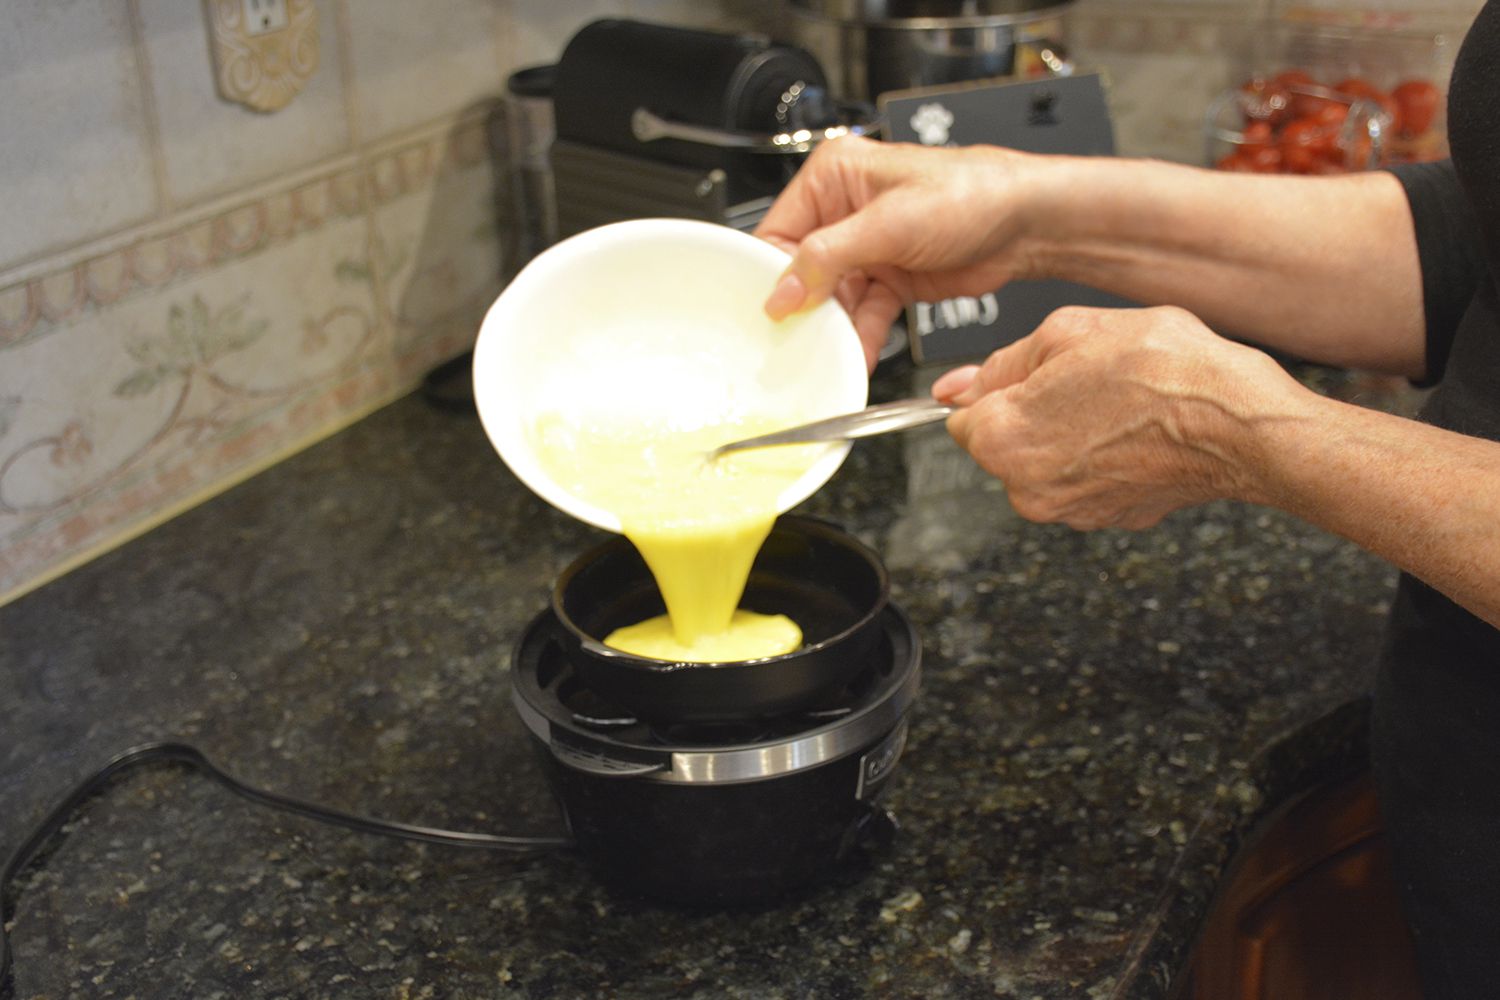
How To Poach Eggs In A Cuisinart Egg Cooker
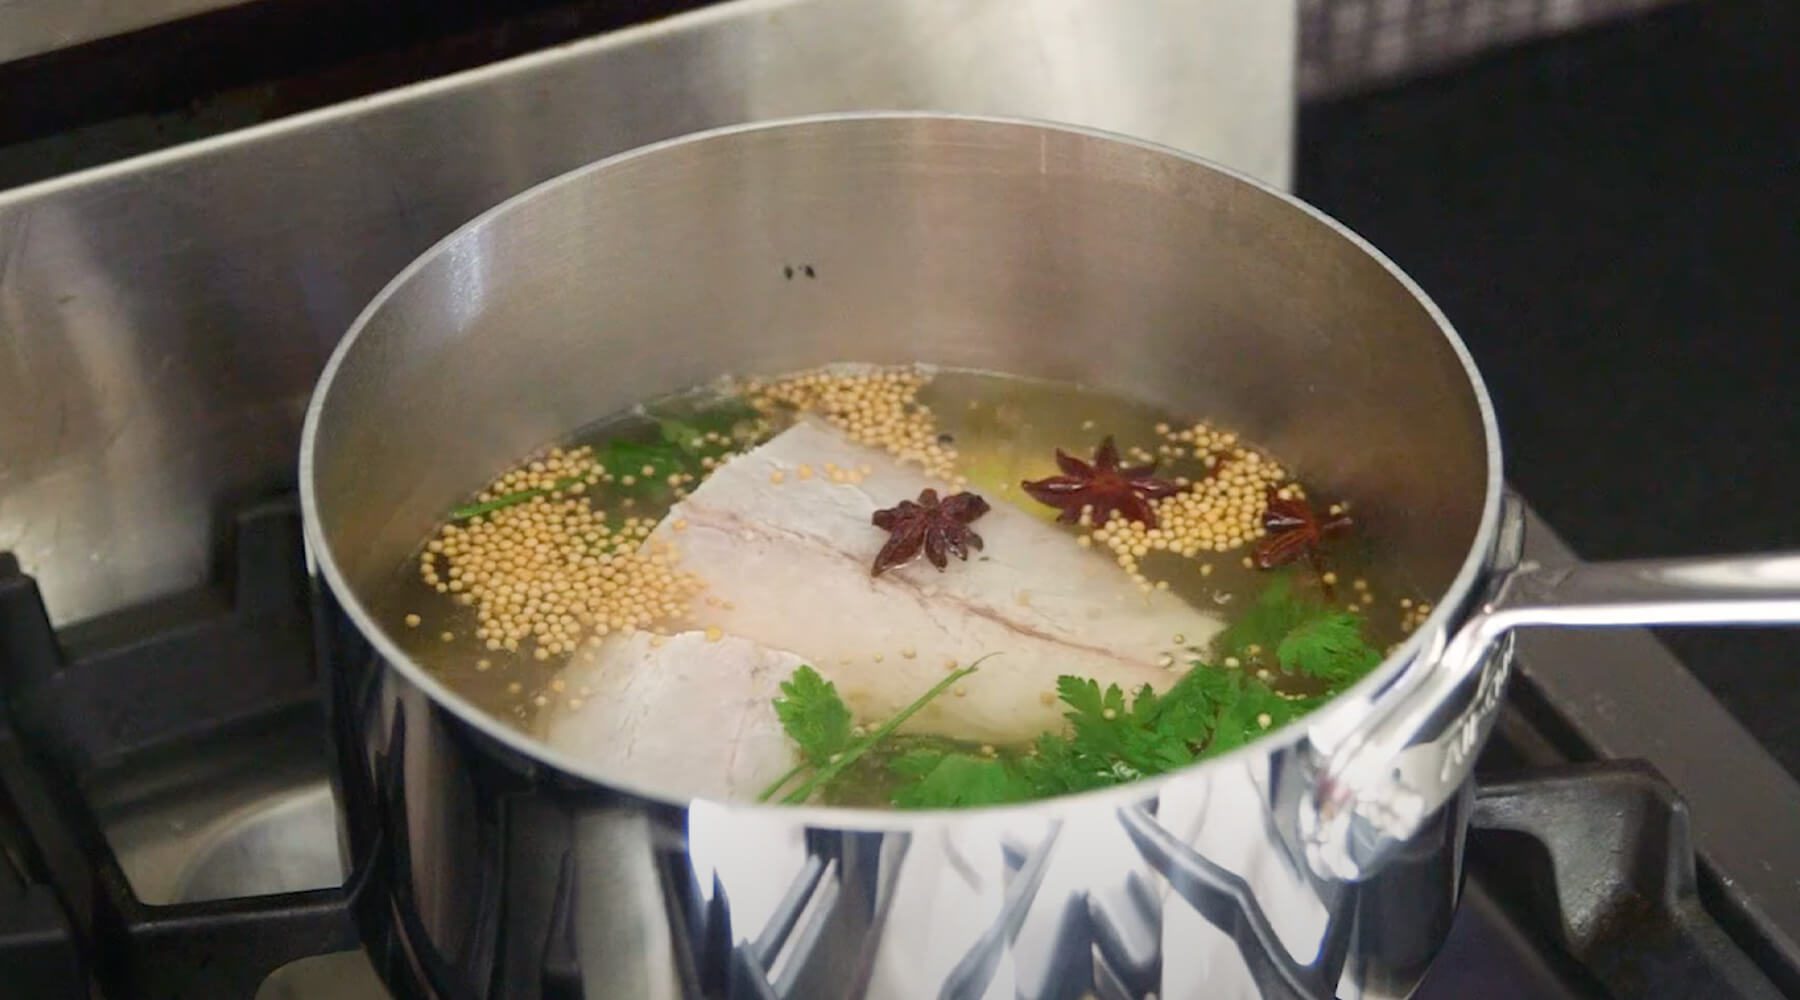
How To Poach Sole Fillets
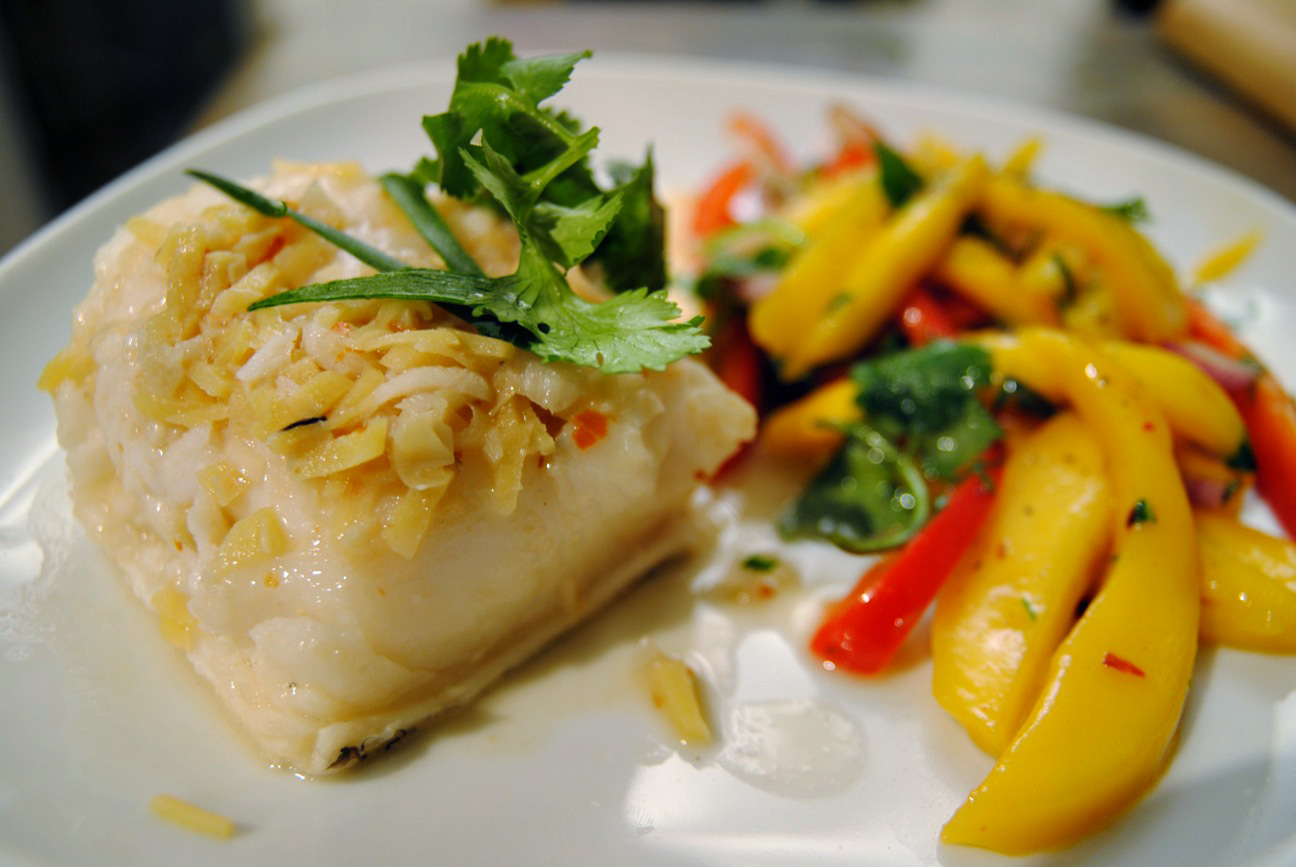
How To Poach Sea Bass Fillets
How To Poach Fish In The Microwave
How To Poach Fish In Milk
How To Poach Cod Loin In Water