How to Grind Coffee Beans with the Ninja Professional 1500
Are you a coffee enthusiast who loves the aroma and flavor of freshly ground coffee beans? If so, you may be considering investing in a high-quality grinder to take your coffee experience to the next level. One popular option among coffee lovers is the Ninja Professional 1500, a powerful and versatile blender that can also be used for grinding coffee beans. In this guide, we’ll walk you through the steps to grind coffee beans with the Ninja Professional 1500 so that you can enjoy a delicious cup of coffee right at home.
Step 1: Gather Your Materials
Before you begin, make sure you have all the necessary materials on hand. You will need:
- Ninja Professional 1500 blender
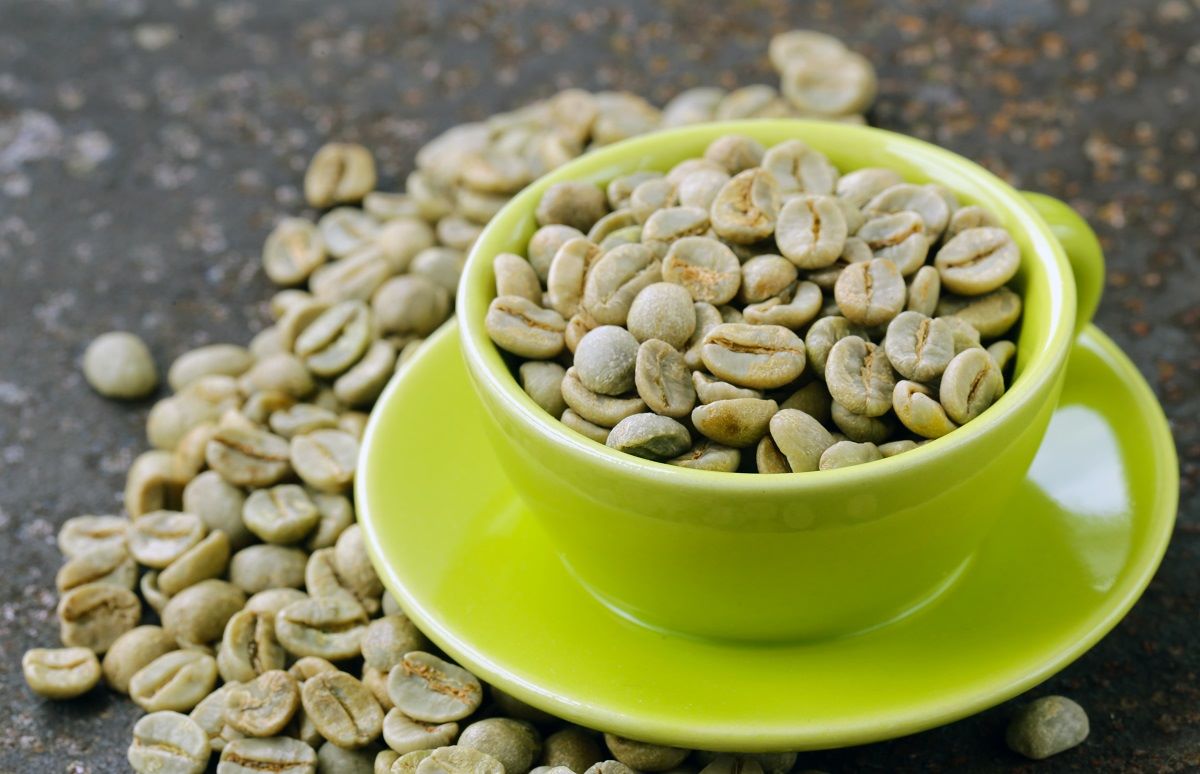
- Coffee beans
- Measuring scoop
Step 2: Measure the Coffee Beans
Start by measuring the amount of coffee beans you want to grind. The Ninja Professional 1500 blender is capable of grinding both small and large quantities of coffee beans, so you can adjust the amount based on your brewing needs.
Step 3: Add the Coffee Beans to the Blender
Once you’ve measured the coffee beans, add them to the blender jar. Make sure the lid is securely in place before proceeding to the next step.
Step 4: Select the Grinding Option
The Ninja Professional 1500 blender offers multiple speed and pulse options for grinding coffee beans. For the best results, start with a low speed and gradually increase it as needed. You can also use the pulse function to achieve a finer grind, depending on your coffee preferences.
Step 5: Start the Blender
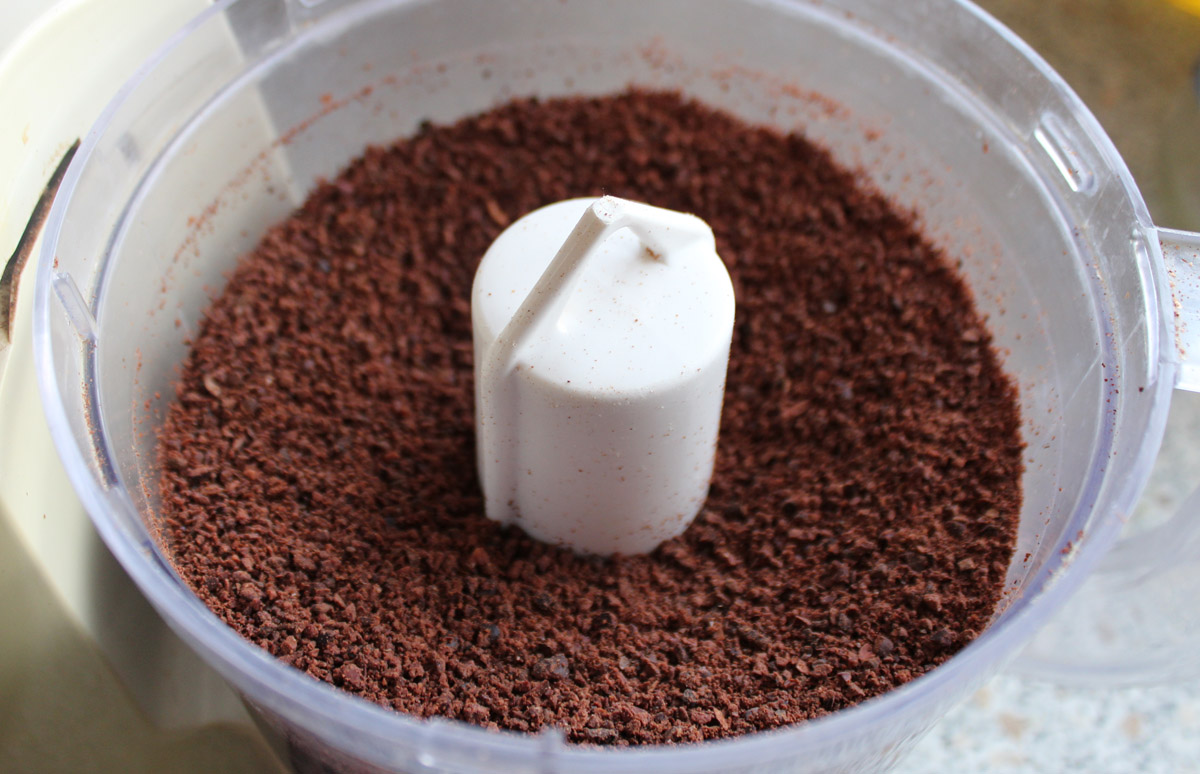
With the coffee beans in the blender jar and the desired grinding option selected, start the blender. Allow it to run for a few seconds, checking the consistency of the grind along the way. If necessary, stop the blender and scrape down any stray coffee grounds from the sides of the jar to ensure an even grind.
Step 6: Check the Consistency
Once you’ve achieved the desired grind consistency, turn off the blender and carefully remove the lid. Take a moment to inspect the ground coffee to ensure it meets your expectations. If you prefer a finer grind, you can continue blending for a few more seconds until you reach the perfect consistency.
Step 7: Transfer the Ground Coffee
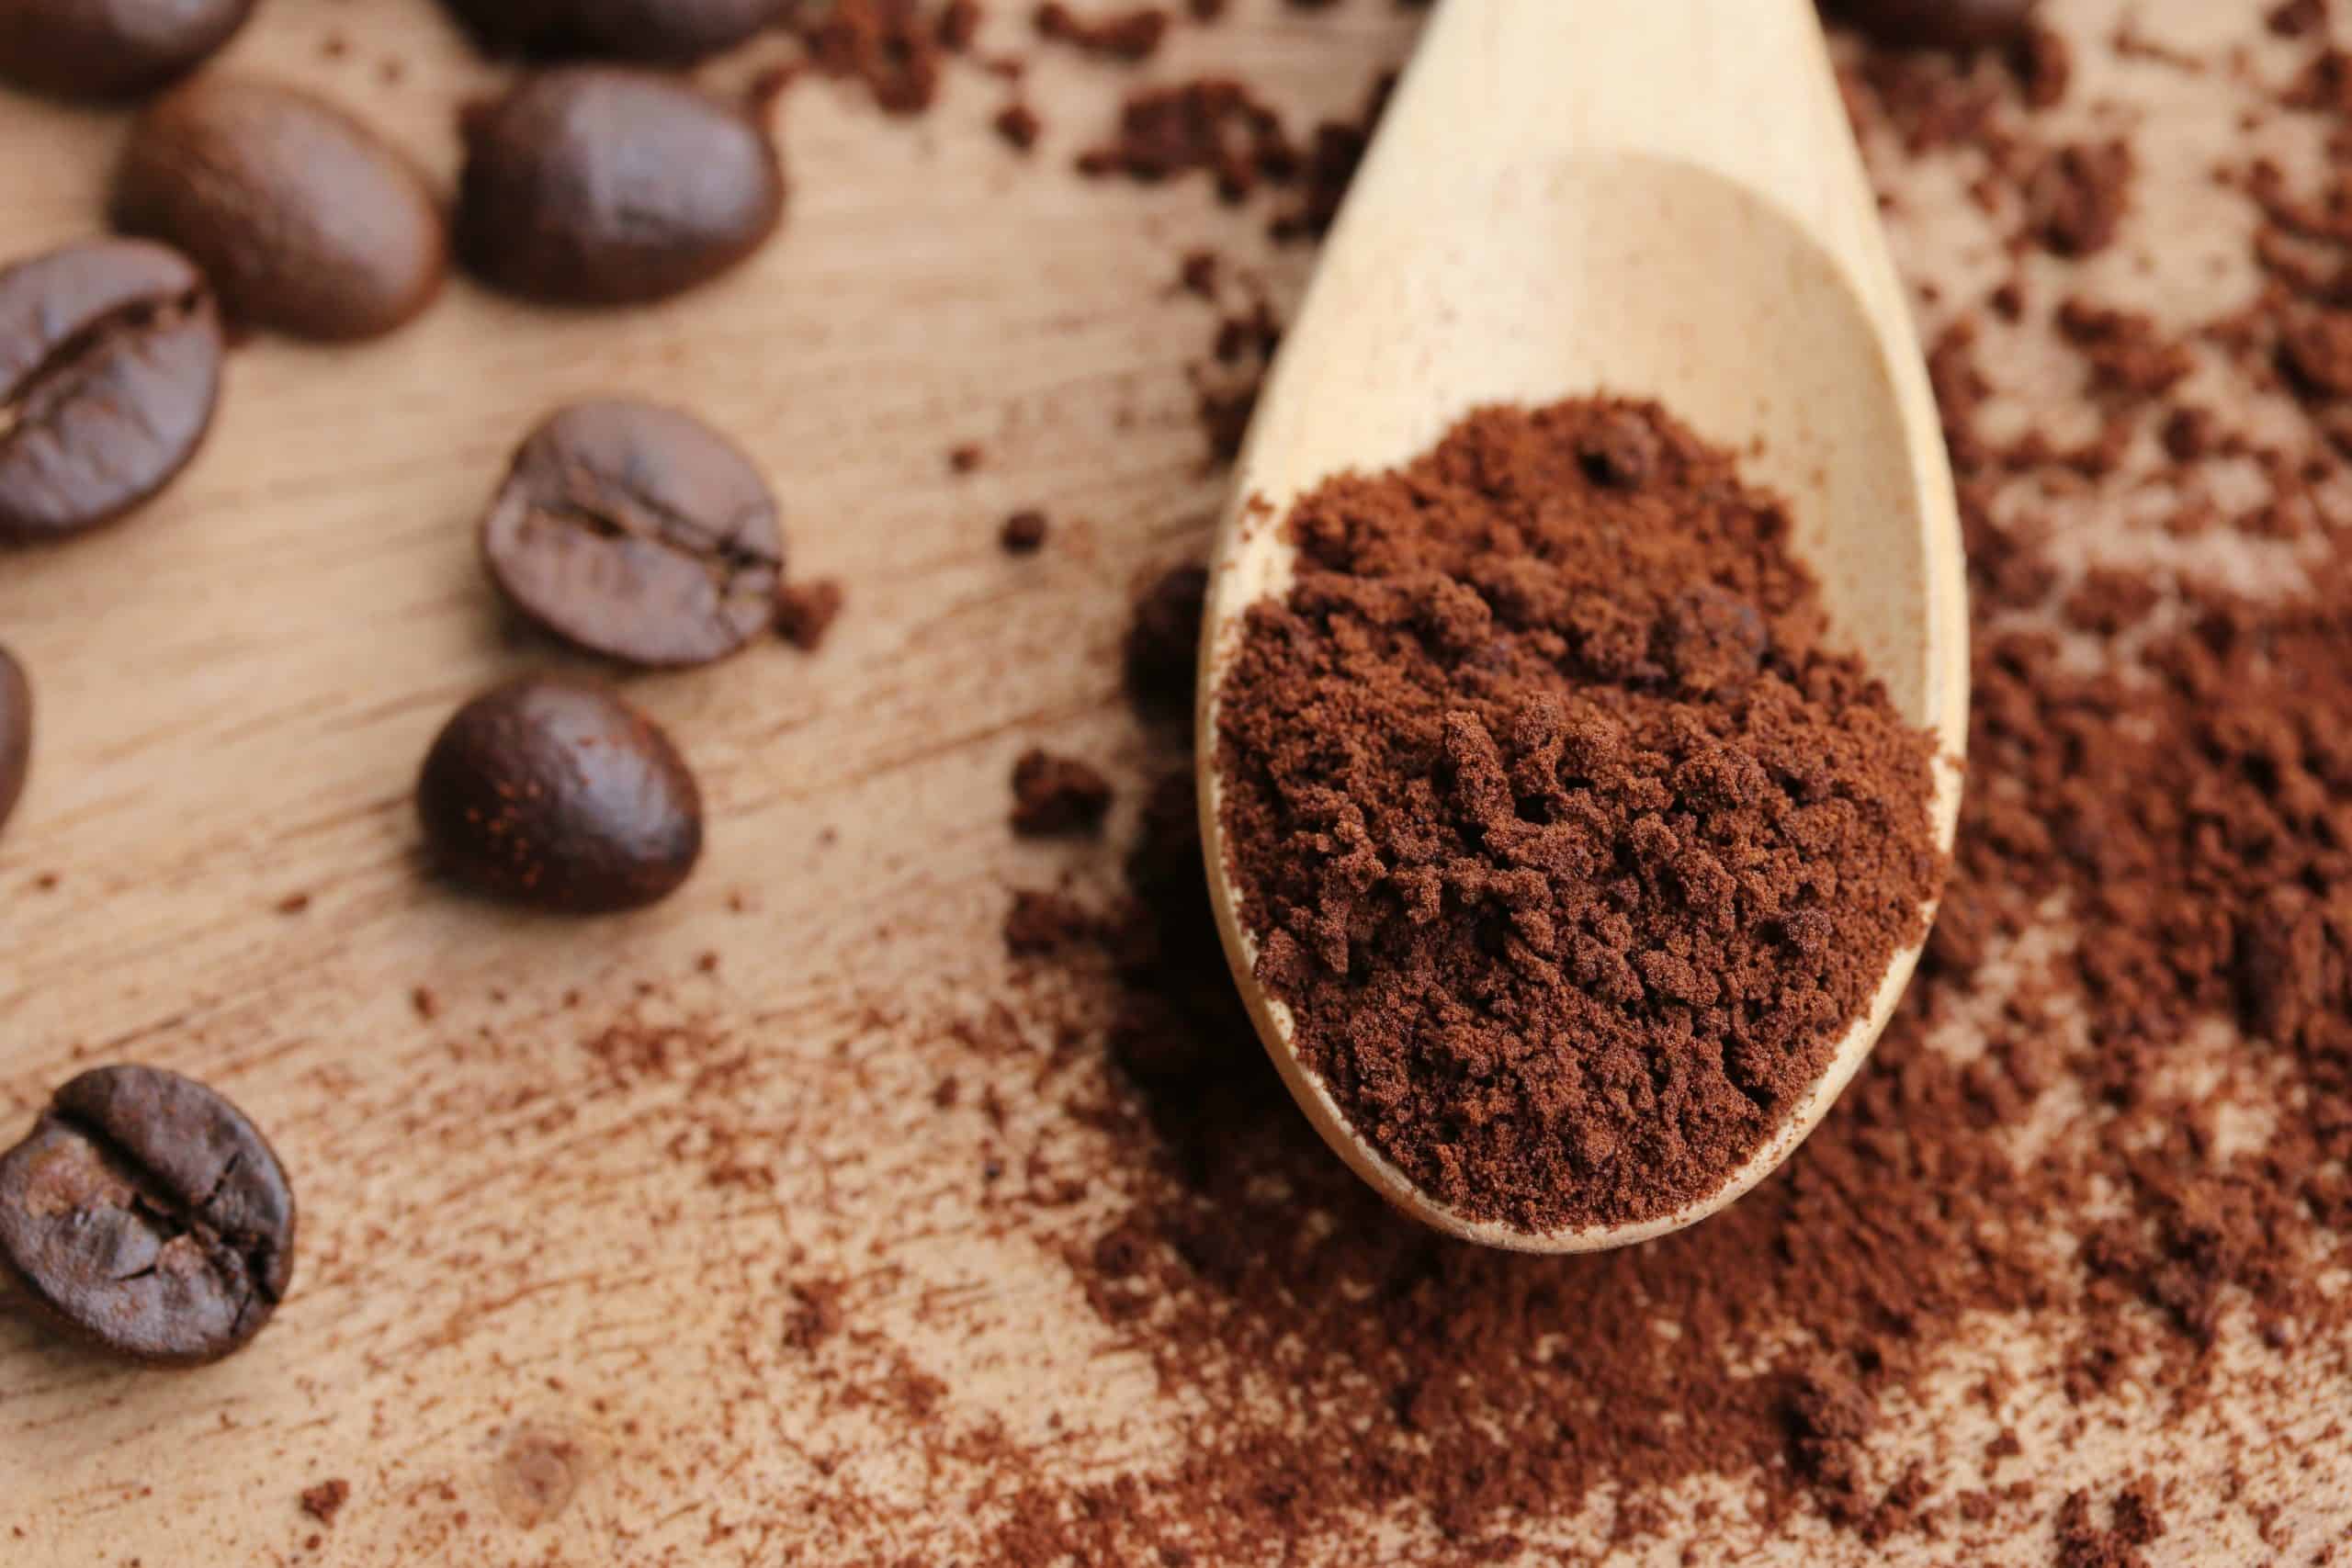
After grinding the coffee beans to perfection, carefully transfer the ground coffee to an airtight container for storage. Be sure to seal the container tightly to preserve the freshness and flavor of the coffee until you’re ready to brew a delicious cup.
With these simple steps, you can easily grind coffee beans with the Ninja Professional 1500 and enjoy the rich, aromatic flavors of freshly ground coffee right at home. Whether you prefer a coarse or fine grind, this powerful blender offers the versatility and precision needed to achieve the perfect coffee grounds for your brewing preferences.
So, the next time you’re craving a cup of coffee, reach for your Ninja Professional 1500 and experience the difference that freshly ground coffee beans can make in your daily coffee routine.
Using the Ninja Professional 1500 to grind coffee beans opens up a world of delicious possibilities. For a perfect start, try the Classic Espresso Recipe to experience the full-bodied flavor that only freshly ground espresso can deliver. If you're in the mood for something smoother, the French Press Coffee Recipe offers a rich and aromatic brew. For a refreshing twist, the Cold Brew Coffee Recipe is a must-try, providing a smooth and less acidic coffee experience. Feeling adventurous? The Turkish Coffee Recipe will transport your taste buds with its unique preparation and robust flavor. And for a delightful dessert, the Affogato Recipe combines the richness of espresso with the creaminess of ice cream, creating a heavenly treat. There's something for everyone, so grab your Ninja Professional 1500 and start brewing!
