Grilling Chicken on a Panini Press: A Quick and Easy Guide
Grilling chicken on a panini press is a convenient and efficient way to cook delicious and juicy chicken. Whether you’re a beginner or a seasoned cook, using a panini press to grill chicken can yield fantastic results. In this guide, we’ll walk you through the steps to achieve perfectly grilled chicken using a panini press.
Preparation
Before you start grilling, it’s essential to prepare the chicken properly. Here are the steps to follow:
- Trim any excess fat from the chicken breasts.
- Season the chicken with your favorite spices and herbs. A simple mix of salt, pepper, and garlic powder works well.
- Preheat the panini press to medium-high heat.
Grilling Process
Once the panini press is heated and the chicken is prepared, it’s time to start grilling:
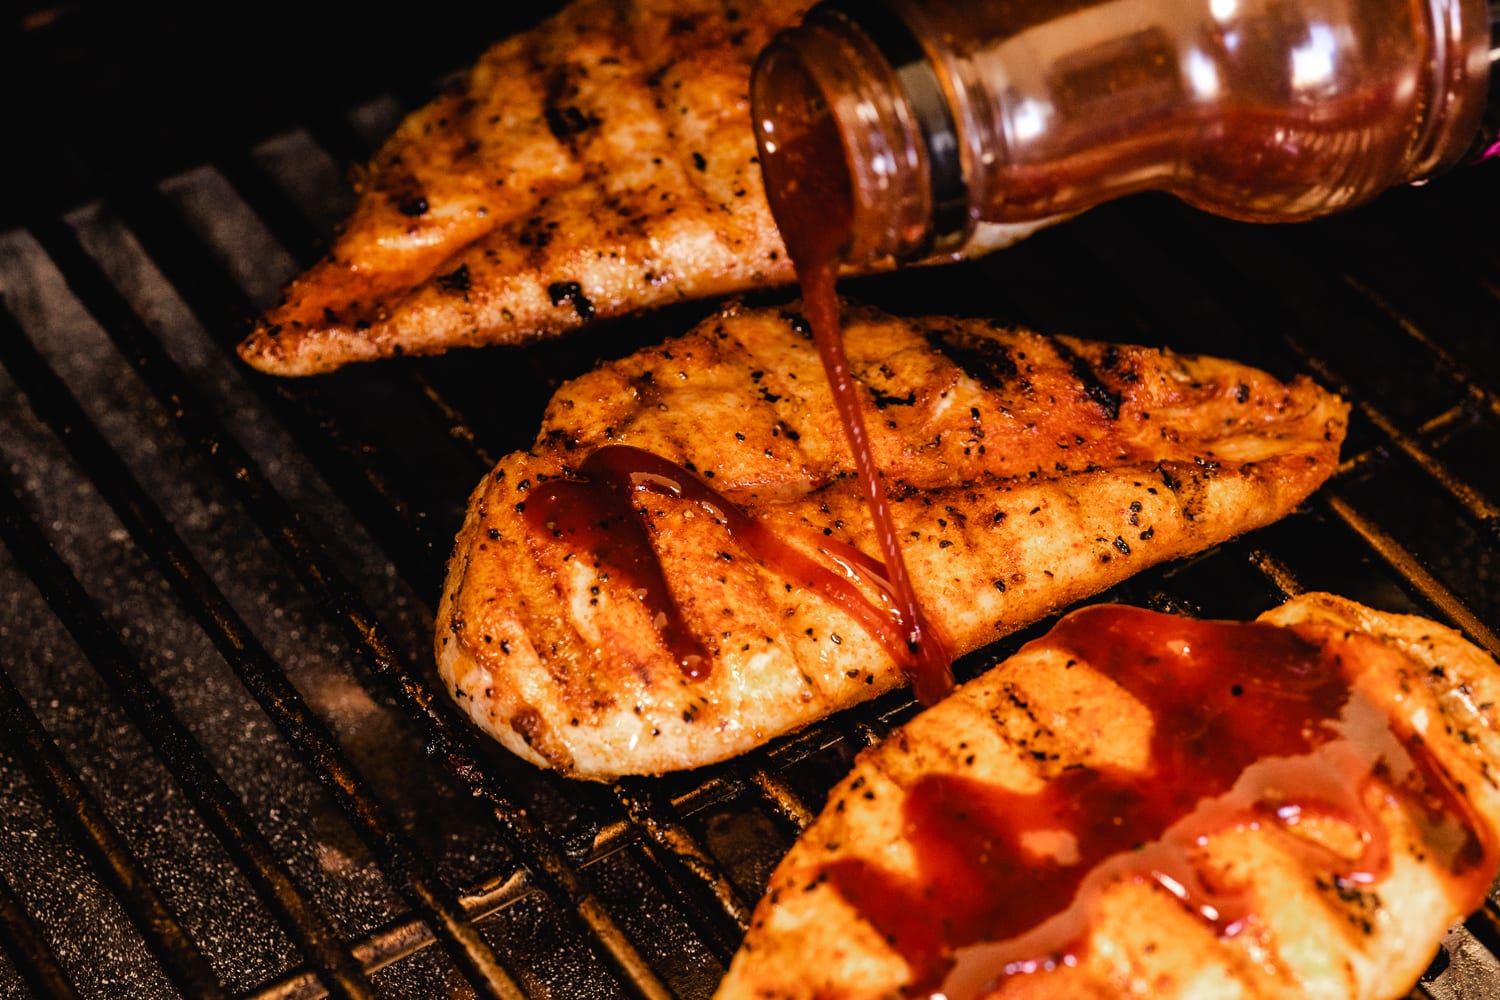
- Place the seasoned chicken breasts on the preheated panini press.
- Close the lid gently to ensure even cooking.
- Let the chicken cook for 6-8 minutes, depending on the thickness of the breasts. It’s essential to avoid overcooking to retain the juiciness of the chicken.
- Check for doneness by using a meat thermometer. The internal temperature of the chicken should reach 165°F (74°C).
Serving Suggestions
Once the chicken is perfectly grilled, there are numerous ways to enjoy it:
- Slice the grilled chicken and serve it on top of a fresh salad for a healthy meal.
- Make a delicious chicken panini by placing the grilled chicken between two slices of bread with your favorite toppings.
- Pair the grilled chicken with roasted vegetables for a wholesome dinner.
Cleaning and Maintenance
After grilling, it’s important to clean the panini press properly to ensure its longevity:
- Allow the panini press to cool down completely.
- Wipe the grill plates with a damp cloth to remove any food residue.
- If the grill plates are removable, wash them with warm, soapy water and dry thoroughly before reattaching them.
Following these simple steps can help you maintain your panini press in excellent condition for future use.
Final Thoughts
Grilling chicken on a panini press is a convenient and versatile cooking method that can be enjoyed by anyone. With the right preparation and grilling techniques, you can achieve juicy and flavorful chicken every time. So, the next time you’re craving grilled chicken, consider using your panini press for a hassle-free cooking experience!
Now that you have the know-how, it’s time to fire up your panini press and grill some delicious chicken!
Was this page helpful?
Read Next: How To Grill A 4 Pound Whole Grouper
Related Articles
How To Grill On Air Fryer
How To Grill Pork Oven
How To Grill A Venison Leg On The Grill
How To Grill Chicken Breast On My Pit Boss Pellet Grill
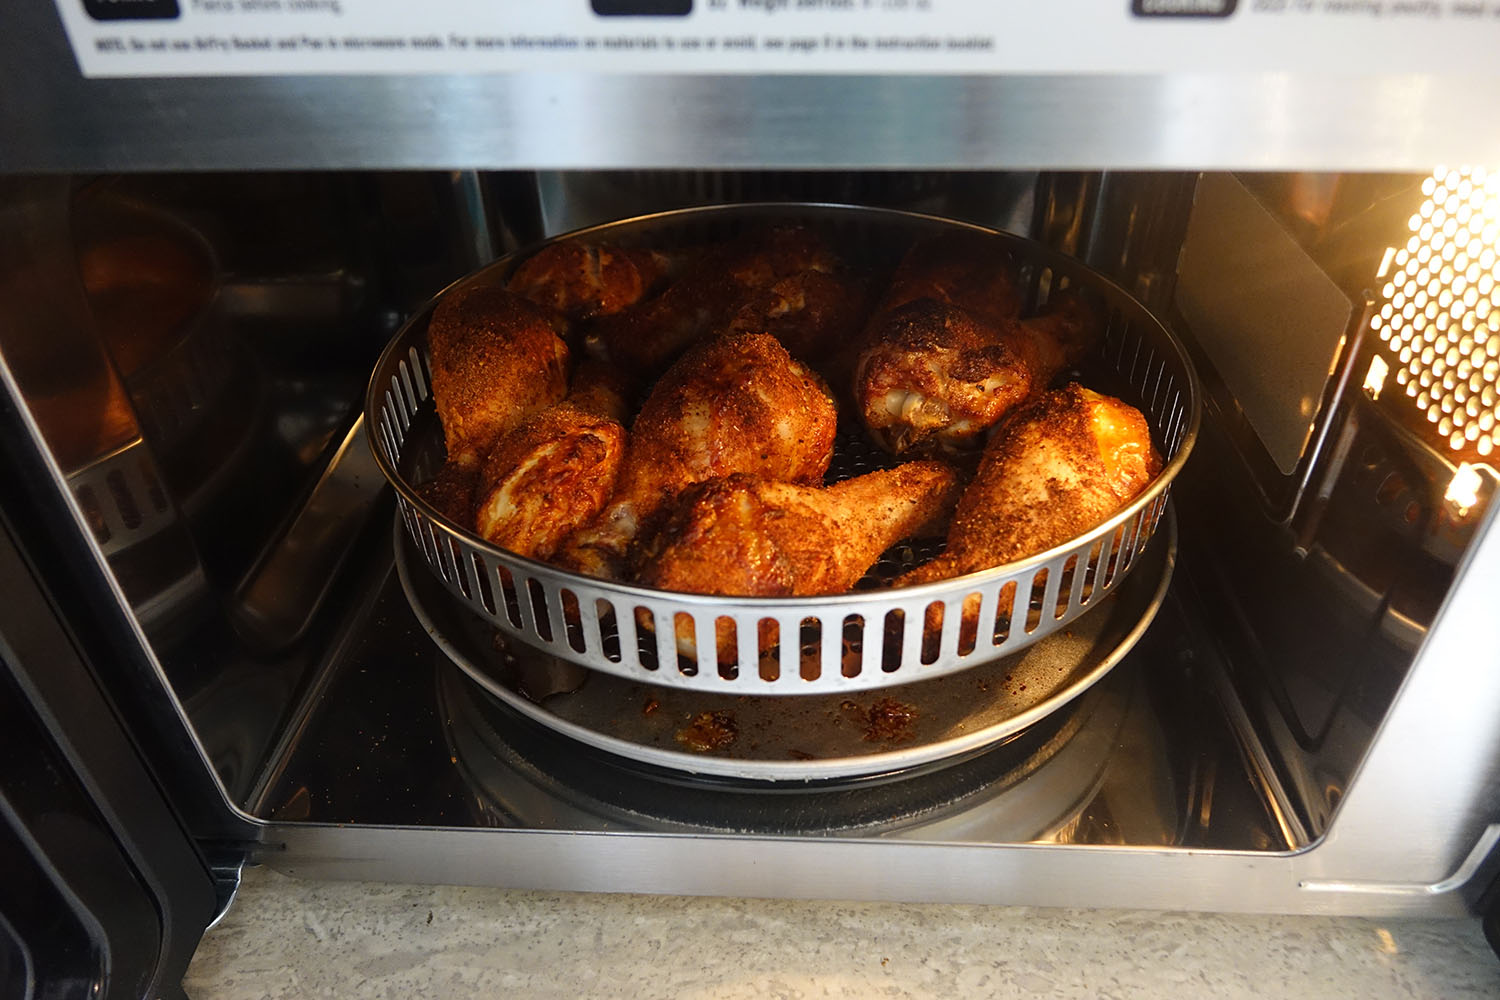
How To Grill Chicken In A Microwave
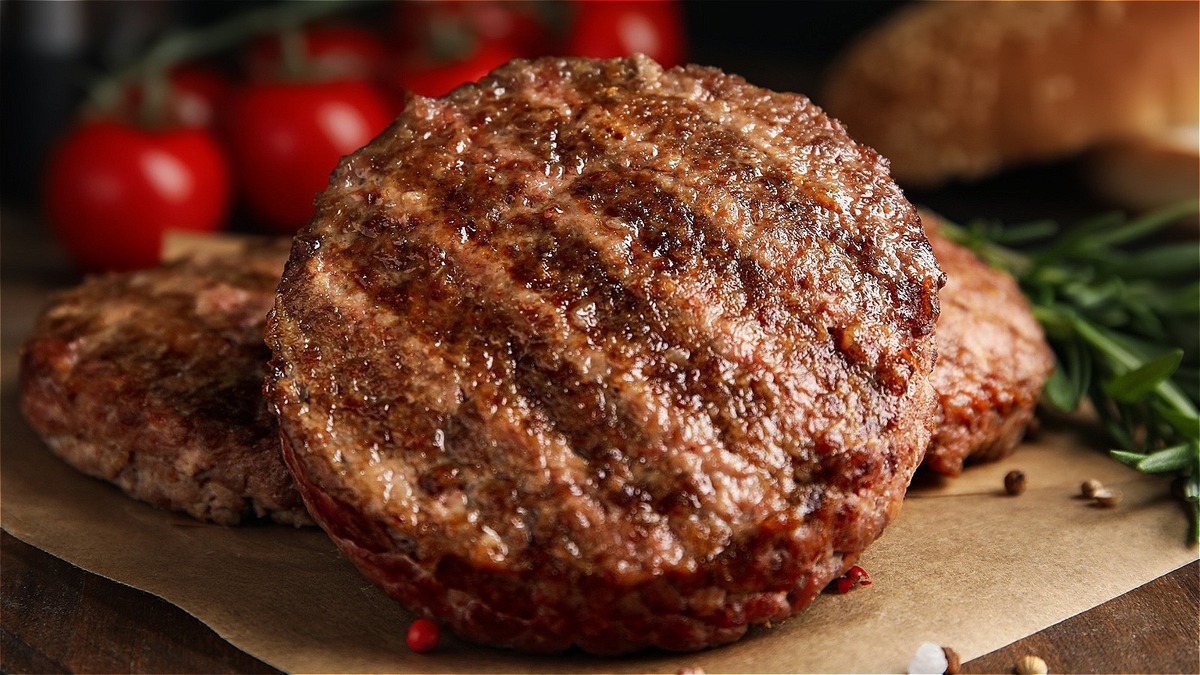
How To Grill Burgers In Ninja Foodi
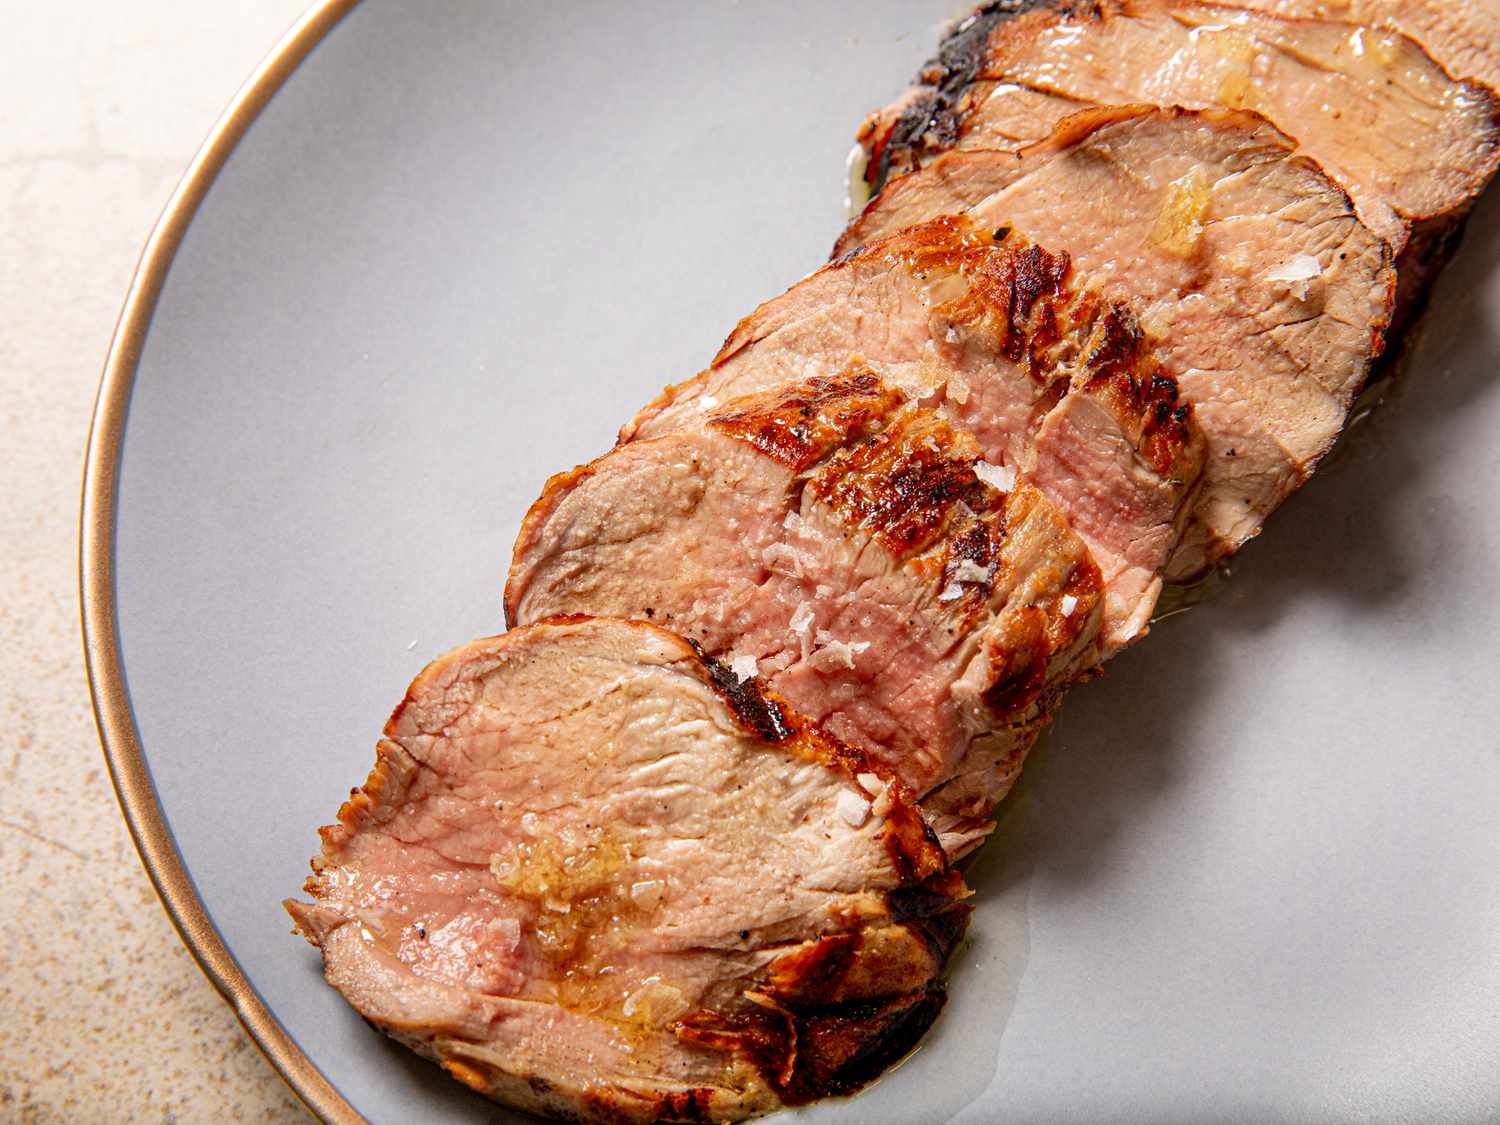
How To Grill A Smithfield Pork Tenderloin
How To Grill A Partially Frozen Pork Roast
How To Grill A Great Thin Burger
How To Grill 2 Inch Thick Steaks On The Grill
How To Grill Spare Ribs After Boiling