Unlocking the Power of Probiotic Fermentation for Your Vegetables
Welcome to the wonderful world of fermenting vegetables with probiotics! Fermentation is an age-old method of preserving food that not only extends its shelf life but also enhances its nutritional value. When you ferment vegetables with probiotics, you’re not only creating delicious, tangy treats but also boosting the beneficial bacteria in your gut. In this guide, we’ll walk you through the process of fermenting vegetables with probiotics, so you can enjoy the health benefits and mouthwatering flavors of homemade fermented veggies.
Why Ferment Vegetables with Probiotics?
Before we delve into the how-to, let’s take a moment to understand the benefits of fermenting vegetables with probiotics. When vegetables undergo fermentation, the natural bacteria present on the veggies or introduced through a starter culture begin to break down the sugars and starches in the vegetables. This process not only preserves the vegetables but also leads to the production of beneficial enzymes, B vitamins, and most importantly, probiotics.
Probiotics are live microorganisms that provide a myriad of health benefits, particularly for gut health. By consuming fermented vegetables rich in probiotics, you can support your digestive system, boost your immune function, and improve nutrient absorption. Plus, fermented vegetables are packed with flavor, adding a zingy, tangy kick to your meals.
Step-by-Step Guide to Fermenting Vegetables with Probiotics
Now that you understand the numerous benefits of fermenting vegetables with probiotics, it’s time to roll up your sleeves and get started. Here’s a step-by-step guide to fermenting your own batch of probiotic-rich vegetables:
- Choose Your Vegetables: Select your favorite vegetables for fermentation. Cabbage, carrots, cucumbers, and bell peppers are popular choices, but feel free to get creative with your selection.
- Prepare the Vegetables: Wash the vegetables thoroughly and chop them into your desired shapes and sizes. You can julienne, slice, or leave them whole, depending on your preference.
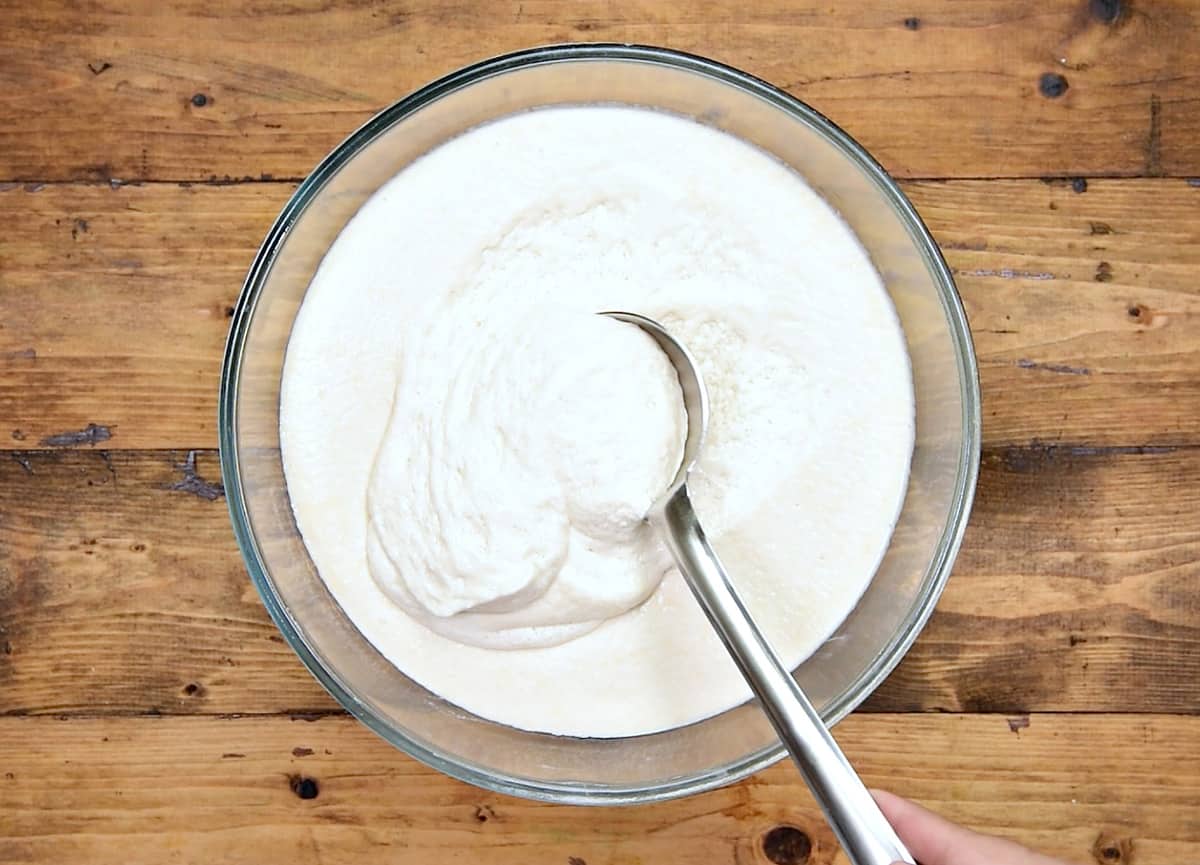
- Create a Brine: Prepare a brine solution using water and salt. The brine will create an environment that promotes the growth of beneficial bacteria while inhibiting the growth of harmful microorganisms.
- Add Probiotic Starter Culture: Introduce a probiotic starter culture to kick-start the fermentation process. This can be in the form of a powdered starter culture or a small amount of liquid from a previous batch of fermented vegetables.
- Combine and Pack: Place the prepared vegetables in a clean, sterilized fermentation vessel and pour the brine over them. Press the vegetables down to remove air pockets and ensure they are fully submerged in the brine.
- Ferment: Seal the fermentation vessel and allow the vegetables to ferment at room temperature for several days to several weeks, depending on your desired level of tanginess and crunchiness.
- Enjoy: Once the vegetables have reached your preferred level of fermentation, transfer them to airtight containers and store them in the refrigerator to slow down the fermentation process. Your probiotic-rich fermented vegetables are now ready to be enjoyed!
Experiment with Flavors and Ingredients
One of the most exciting aspects of fermenting vegetables with probiotics is the opportunity to experiment with different flavors and ingredients. You can customize your fermented vegetables by adding herbs, spices, and aromatics to create unique flavor profiles. Whether you prefer a spicy kimchi or a classic sauerkraut, the possibilities are endless when it comes to fermenting vegetables with probiotics.
Embrace the Art of Fermentation
As you embark on your journey of fermenting vegetables with probiotics, remember that the art of fermentation is as much about patience and experimentation as it is about following a recipe. Each batch of fermented vegetables will have its own distinct characteristics, influenced by factors such as temperature, time, and the natural microorganisms present in your environment. Embrace the unpredictability and enjoy the process of creating your own probiotic-rich, flavor-packed vegetables.
So, are you ready to elevate your vegetable game and harness the power of probiotic fermentation? Get your hands on some fresh produce, a few basic kitchen supplies, and let the transformative process of fermentation begin. Your taste buds and your gut will thank you for it!
Was this page helpful?
Read Next: How To Ferment Vegetables With Vinegar
Related Articles
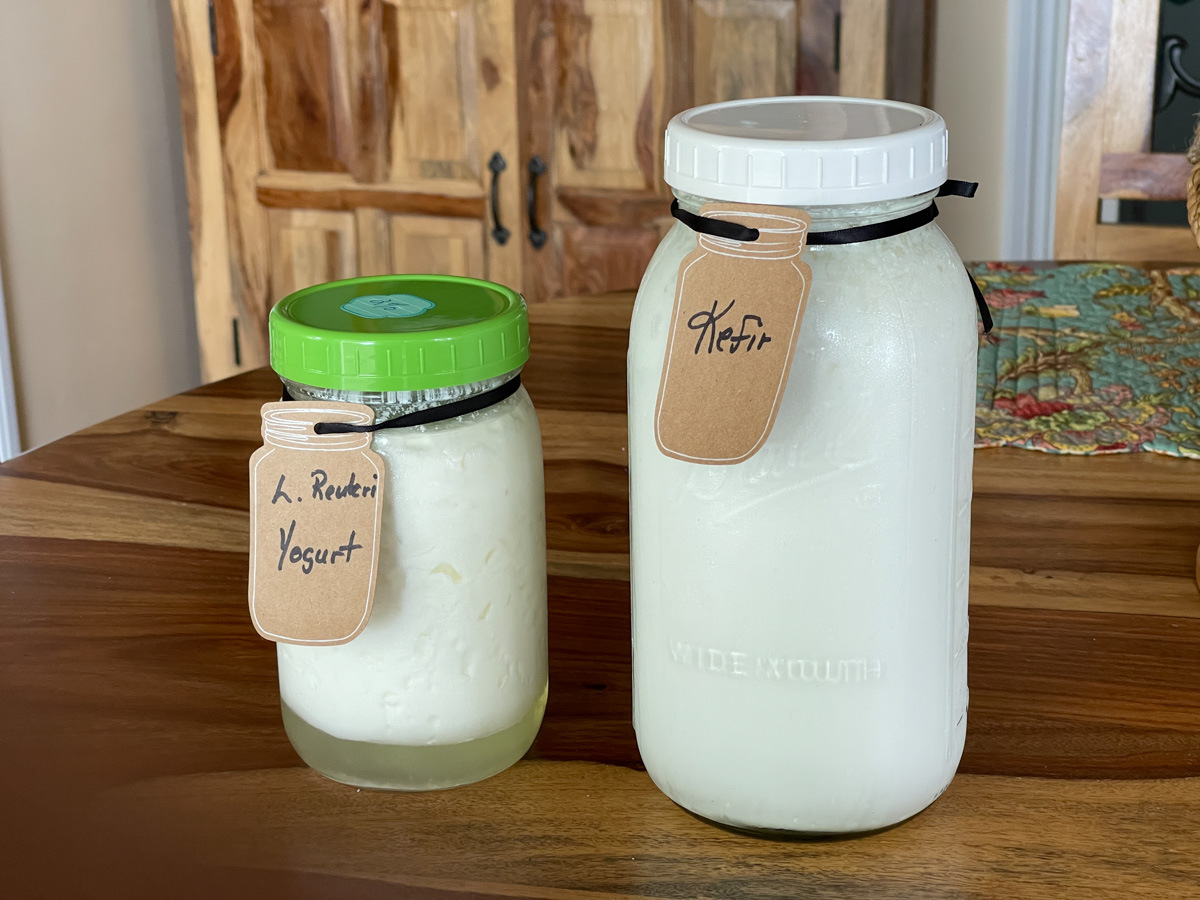
How To Ferment Milk
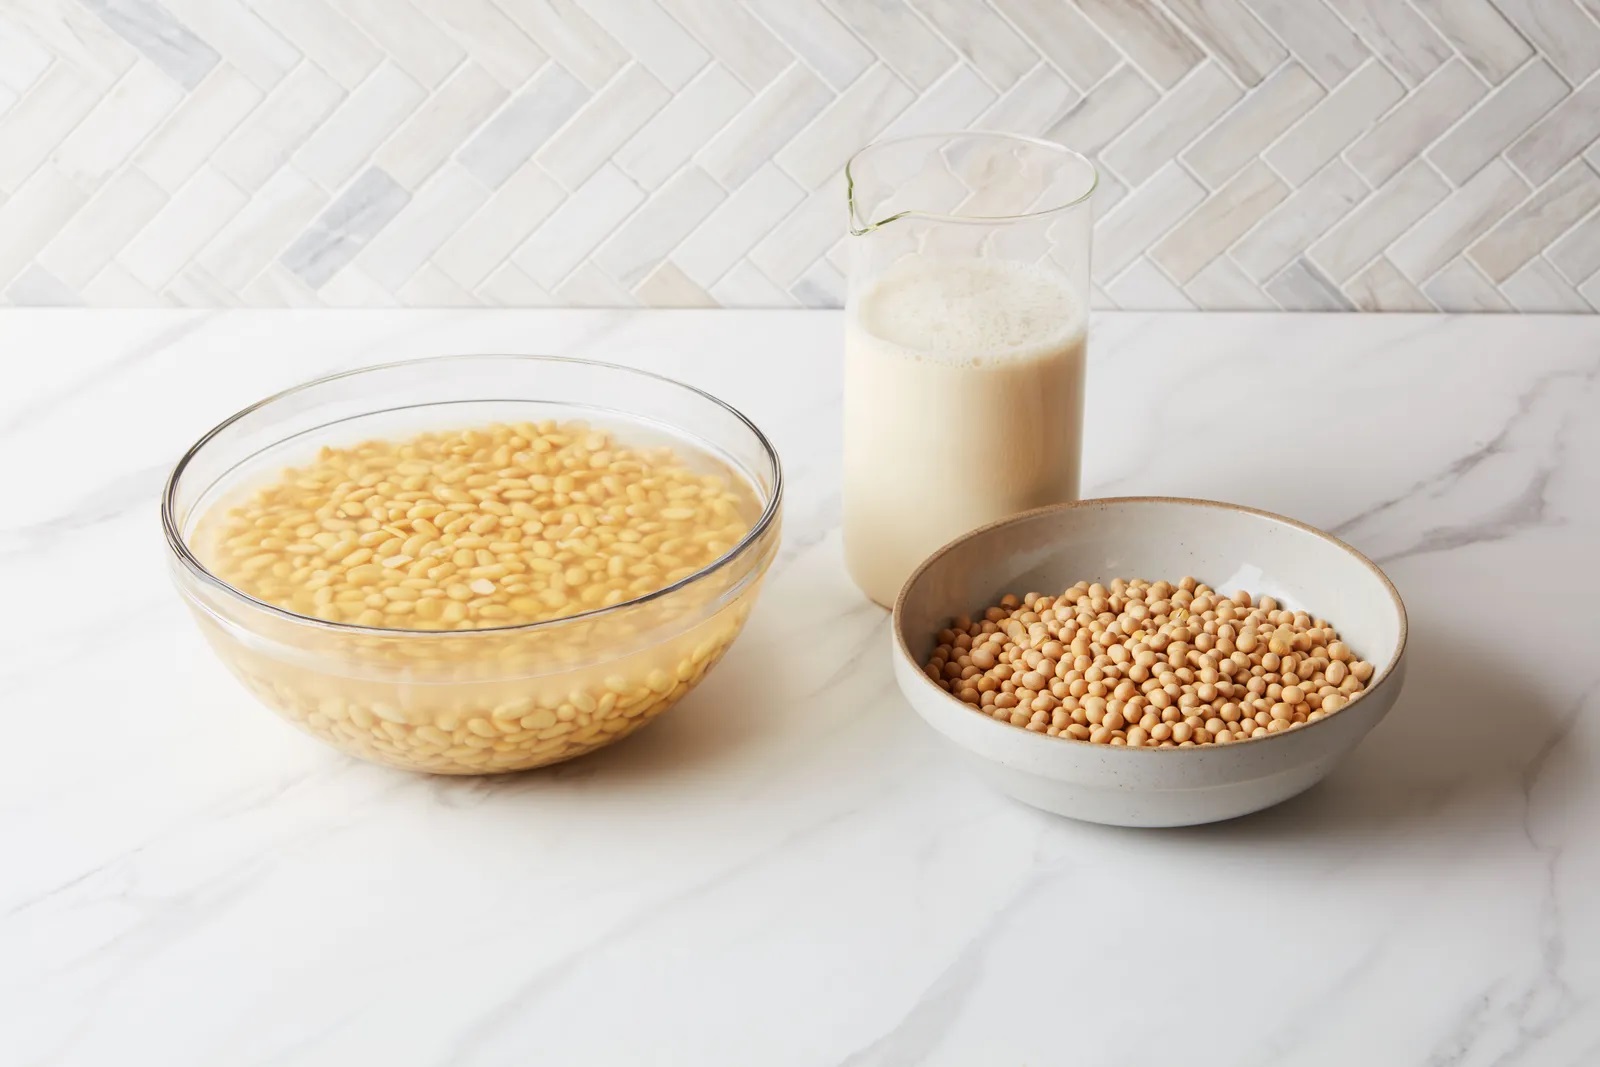
How To Ferment Soy Milk

How To Ferment Meat
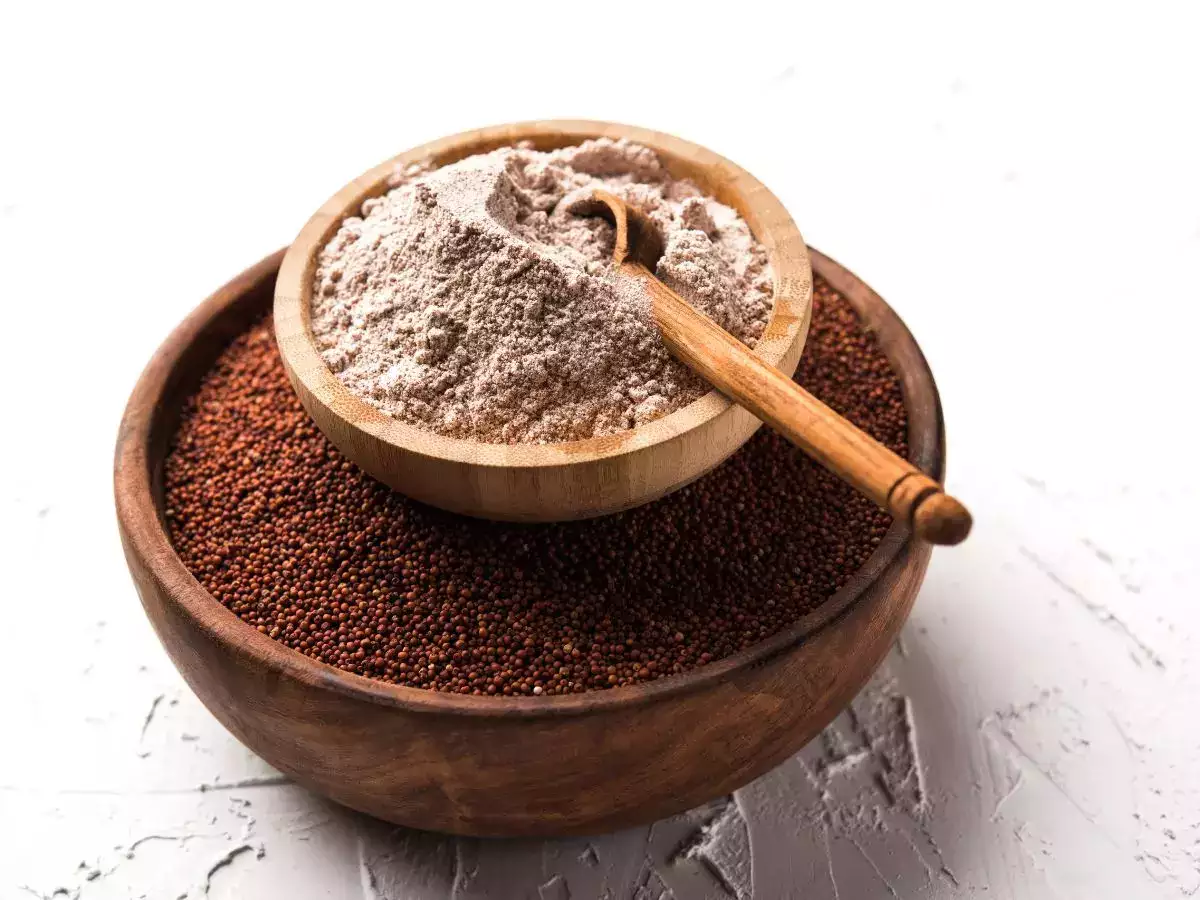
How To Ferment Ragi Flour
How To Ferment Dosa Batter Quickly

How To Ferment Appam Batter Quickly
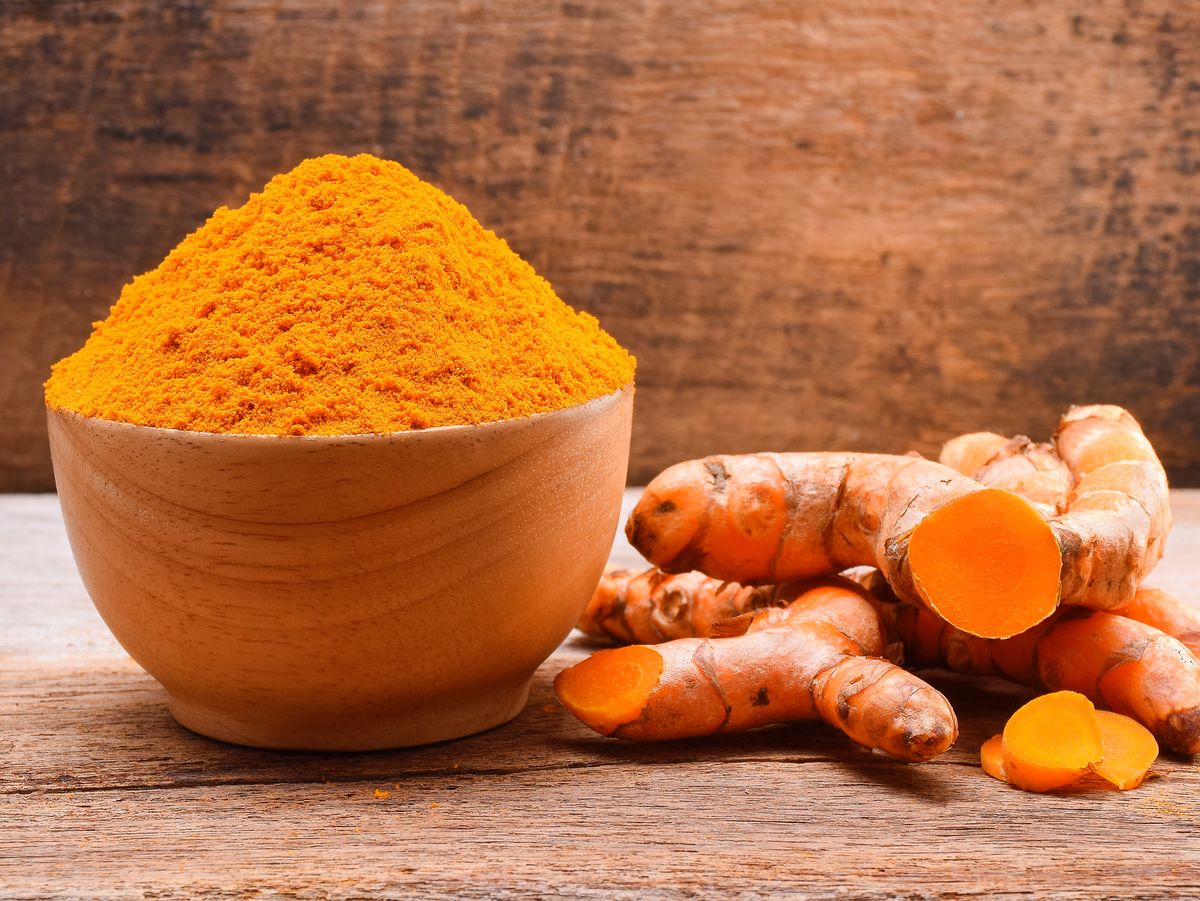
How To Ferment Turmeric At Home

How To Ferment Dog Food

How To Ferment Shiitake
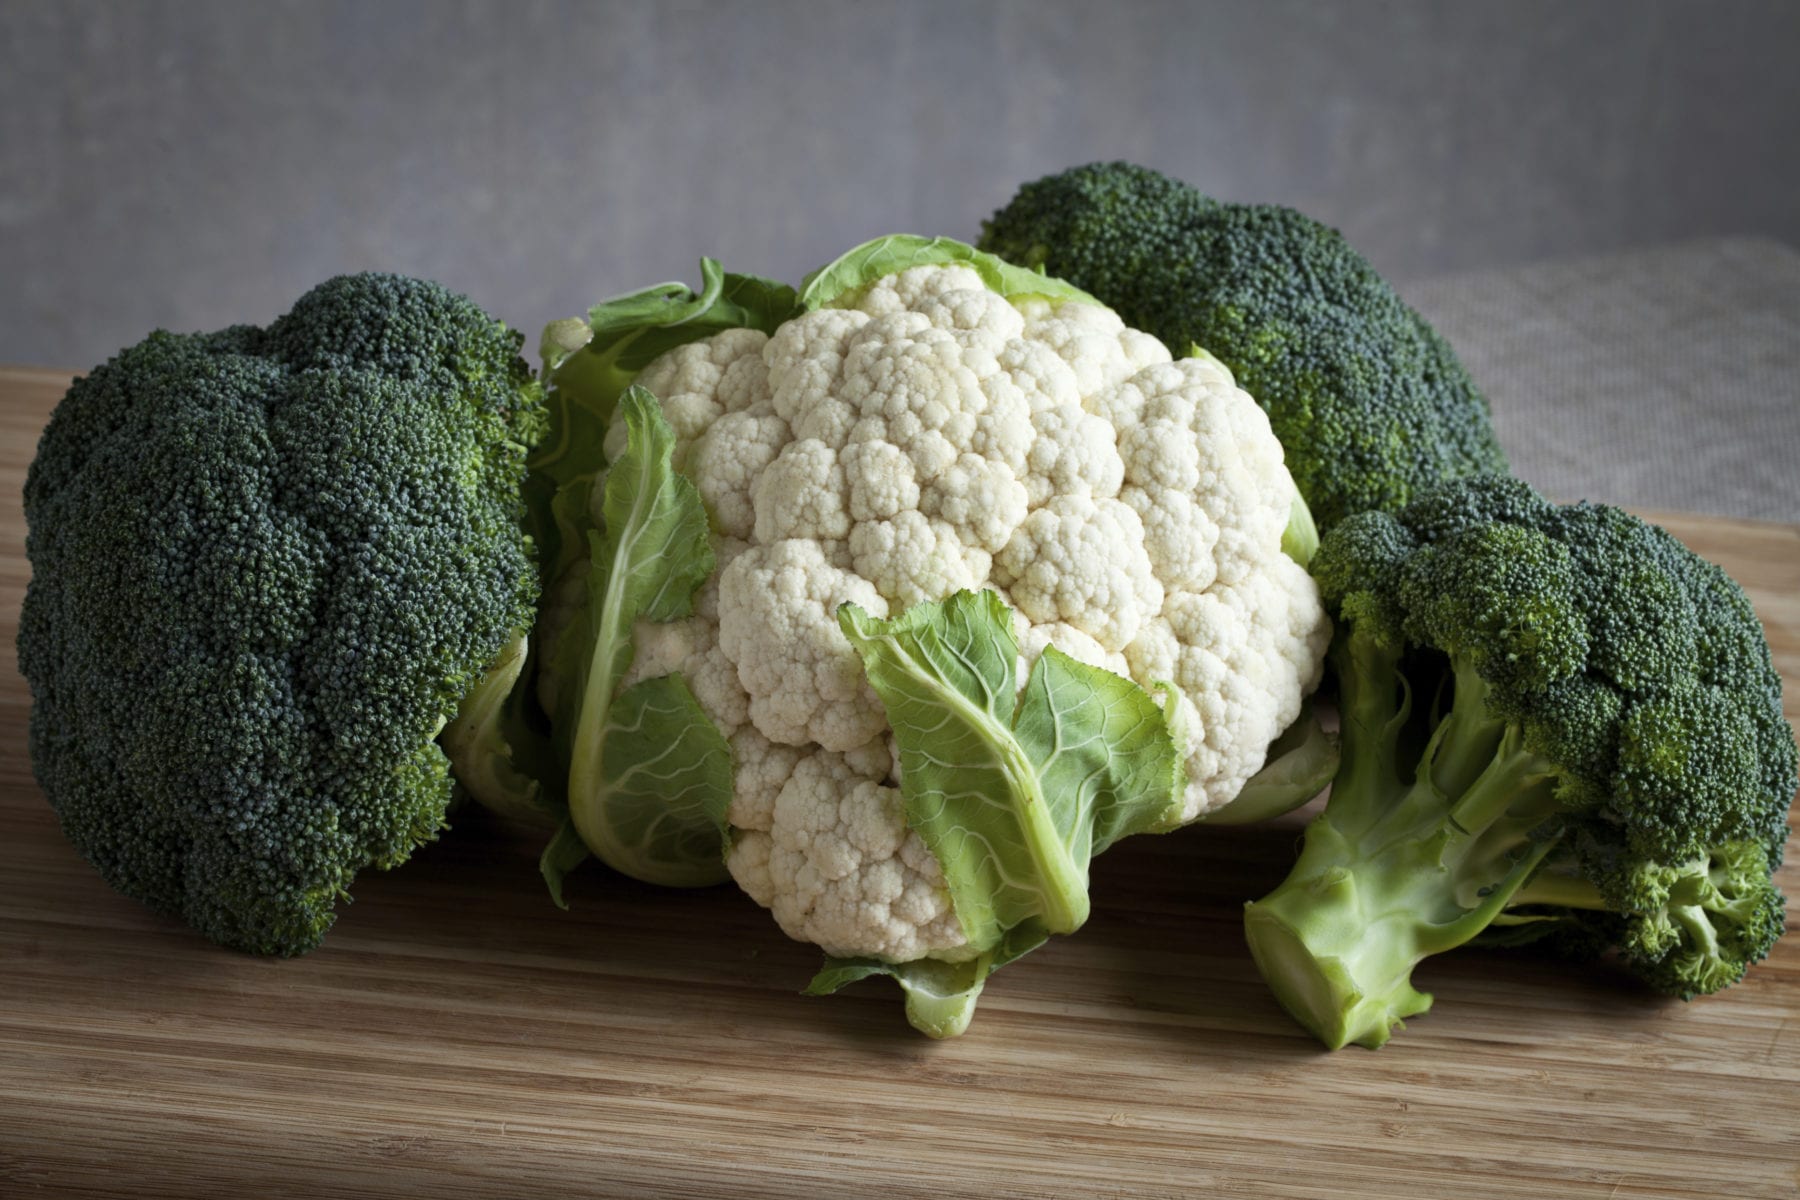
How To Ferment Broccoli And Cauliflower
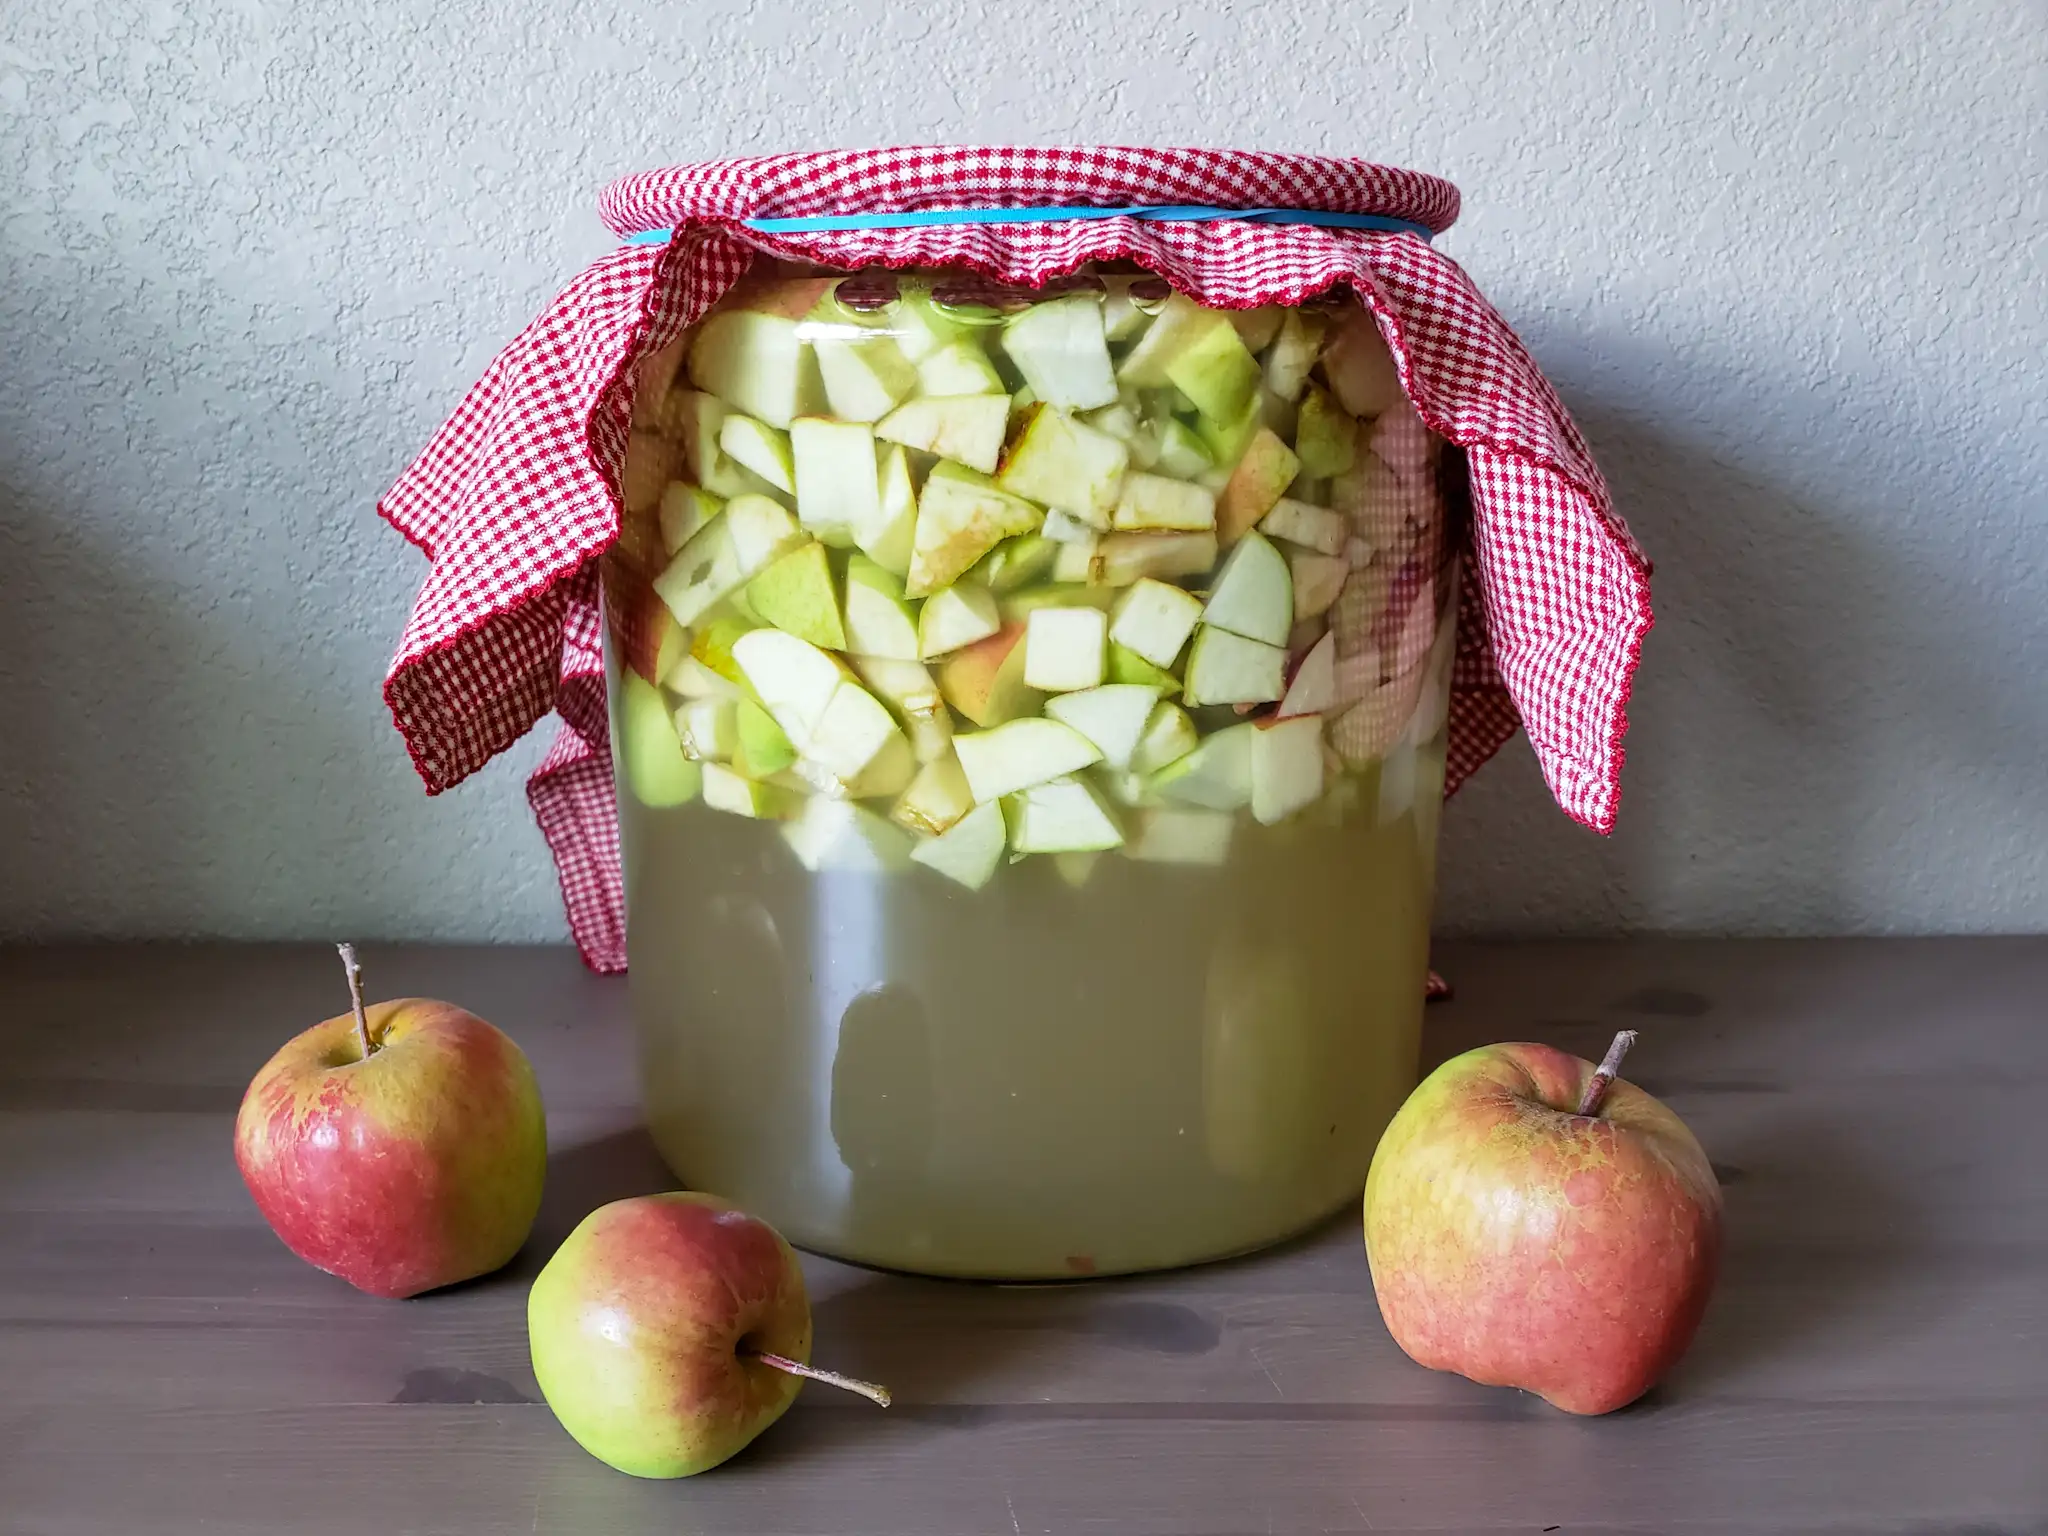
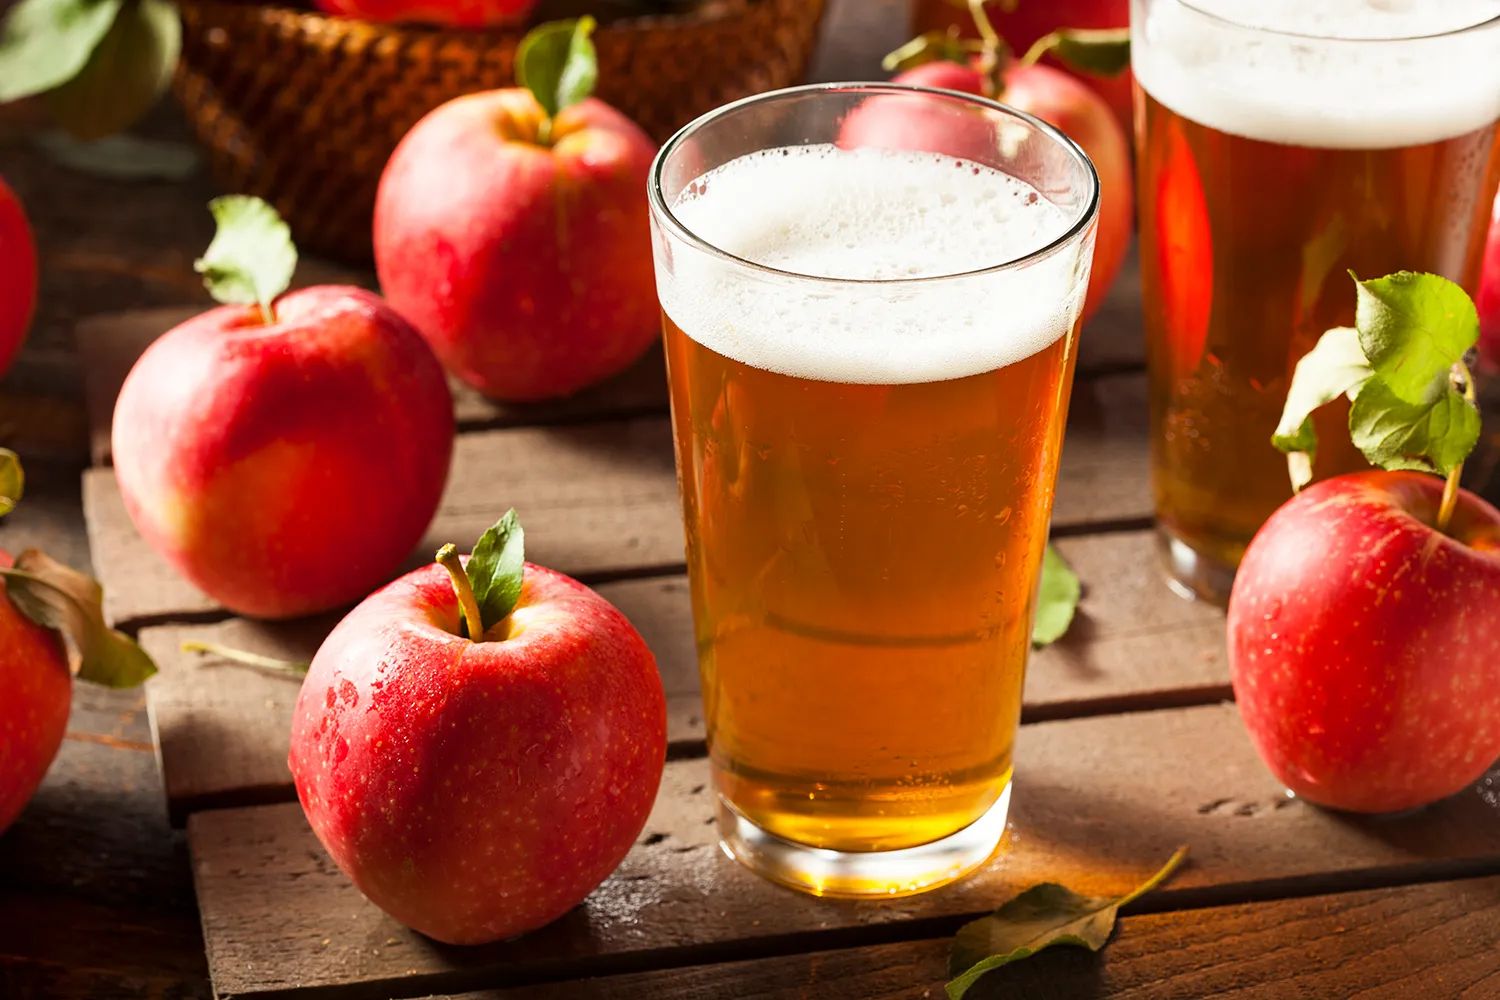
How To Ferment Apples