How To Cut An Orange For Garnish: A Step-by-Step Guide
When it comes to garnishing, a perfectly sliced orange can add a delightful touch to any dish or beverage. Whether you’re looking to enhance the presentation of a cocktail, add a pop of color to a salad, or elevate the taste of a dessert, knowing how to cut an orange for garnish is a skill worth mastering. In this step-by-step guide, we’ll show you the best techniques to achieve beautiful and professional-looking orange garnishes.
1. Choose the Perfect Orange
For garnishing purposes, it’s important to select an orange that is firm and has a vibrant color. Look for oranges with a smooth and evenly textured skin, indicating its freshness. Avoid any oranges that feel mushy or have brown spots.
2. Wash and Dry the Orange
Before you start cutting, give the orange a thorough rinse under cold water to remove any dirt or wax. After washing, make sure to pat it dry with a clean towel to ensure better grip and prevent slipping while cutting.
3. Slice off the Ends
Using a sharp knife, carefully slice off both ends of the orange. This step ensures stability and provides a clean surface for further slicing.
4. Make a Vertical Cut
With one of the flat ends of the orange facing down on the cutting board, make a vertical cut through the peel, just deep enough to expose the flesh. Start at the top and work your way down to the bottom in a smooth motion, following the natural curve of the orange.
5. Remove the Peel
Next, gently slide the knife along the inner curve of the orange, separating the peel from the flesh. Take care not to remove too much of the orange, as you want to focus on creating a thin garnish slice.
6. Slice into Garnish Rounds
Once the peel is removed, lay the orange flat on the cutting board and make thin, even slices perpendicular to the natural segments of the orange. Aim for slices that are approximately 1/8 to 1/4 inch thick.
7. Arrange and Serve
Now that you have your perfectly cut orange garnish rounds, it’s time to get creative! Use them to adorn your cocktails, desserts, or even savory dishes like roasted meats or fish. The vibrant color and refreshing taste of the orange will enhance any presentation and impress your guests.
Extra Tips:
- For an extra touch of elegance, you can use a small, decorative cookie cutter to shape the orange slices into various designs.
- Sprinkle a pinch of sugar on top of the orange slices before serving to add a subtle sweetness.
- Store any unused orange garnish in an airtight container in the refrigerator to keep it fresh until needed.
By mastering the art of cutting an orange for garnish, you’ll be able to add a visually appealing and flavorful element to your culinary creations. So grab a knife, some fresh oranges, and start practicing this essential skill. Your dishes and drinks will never be the same!
Was this page helpful?
Read Next: How To Cut Chayote For Caldo
Related Articles
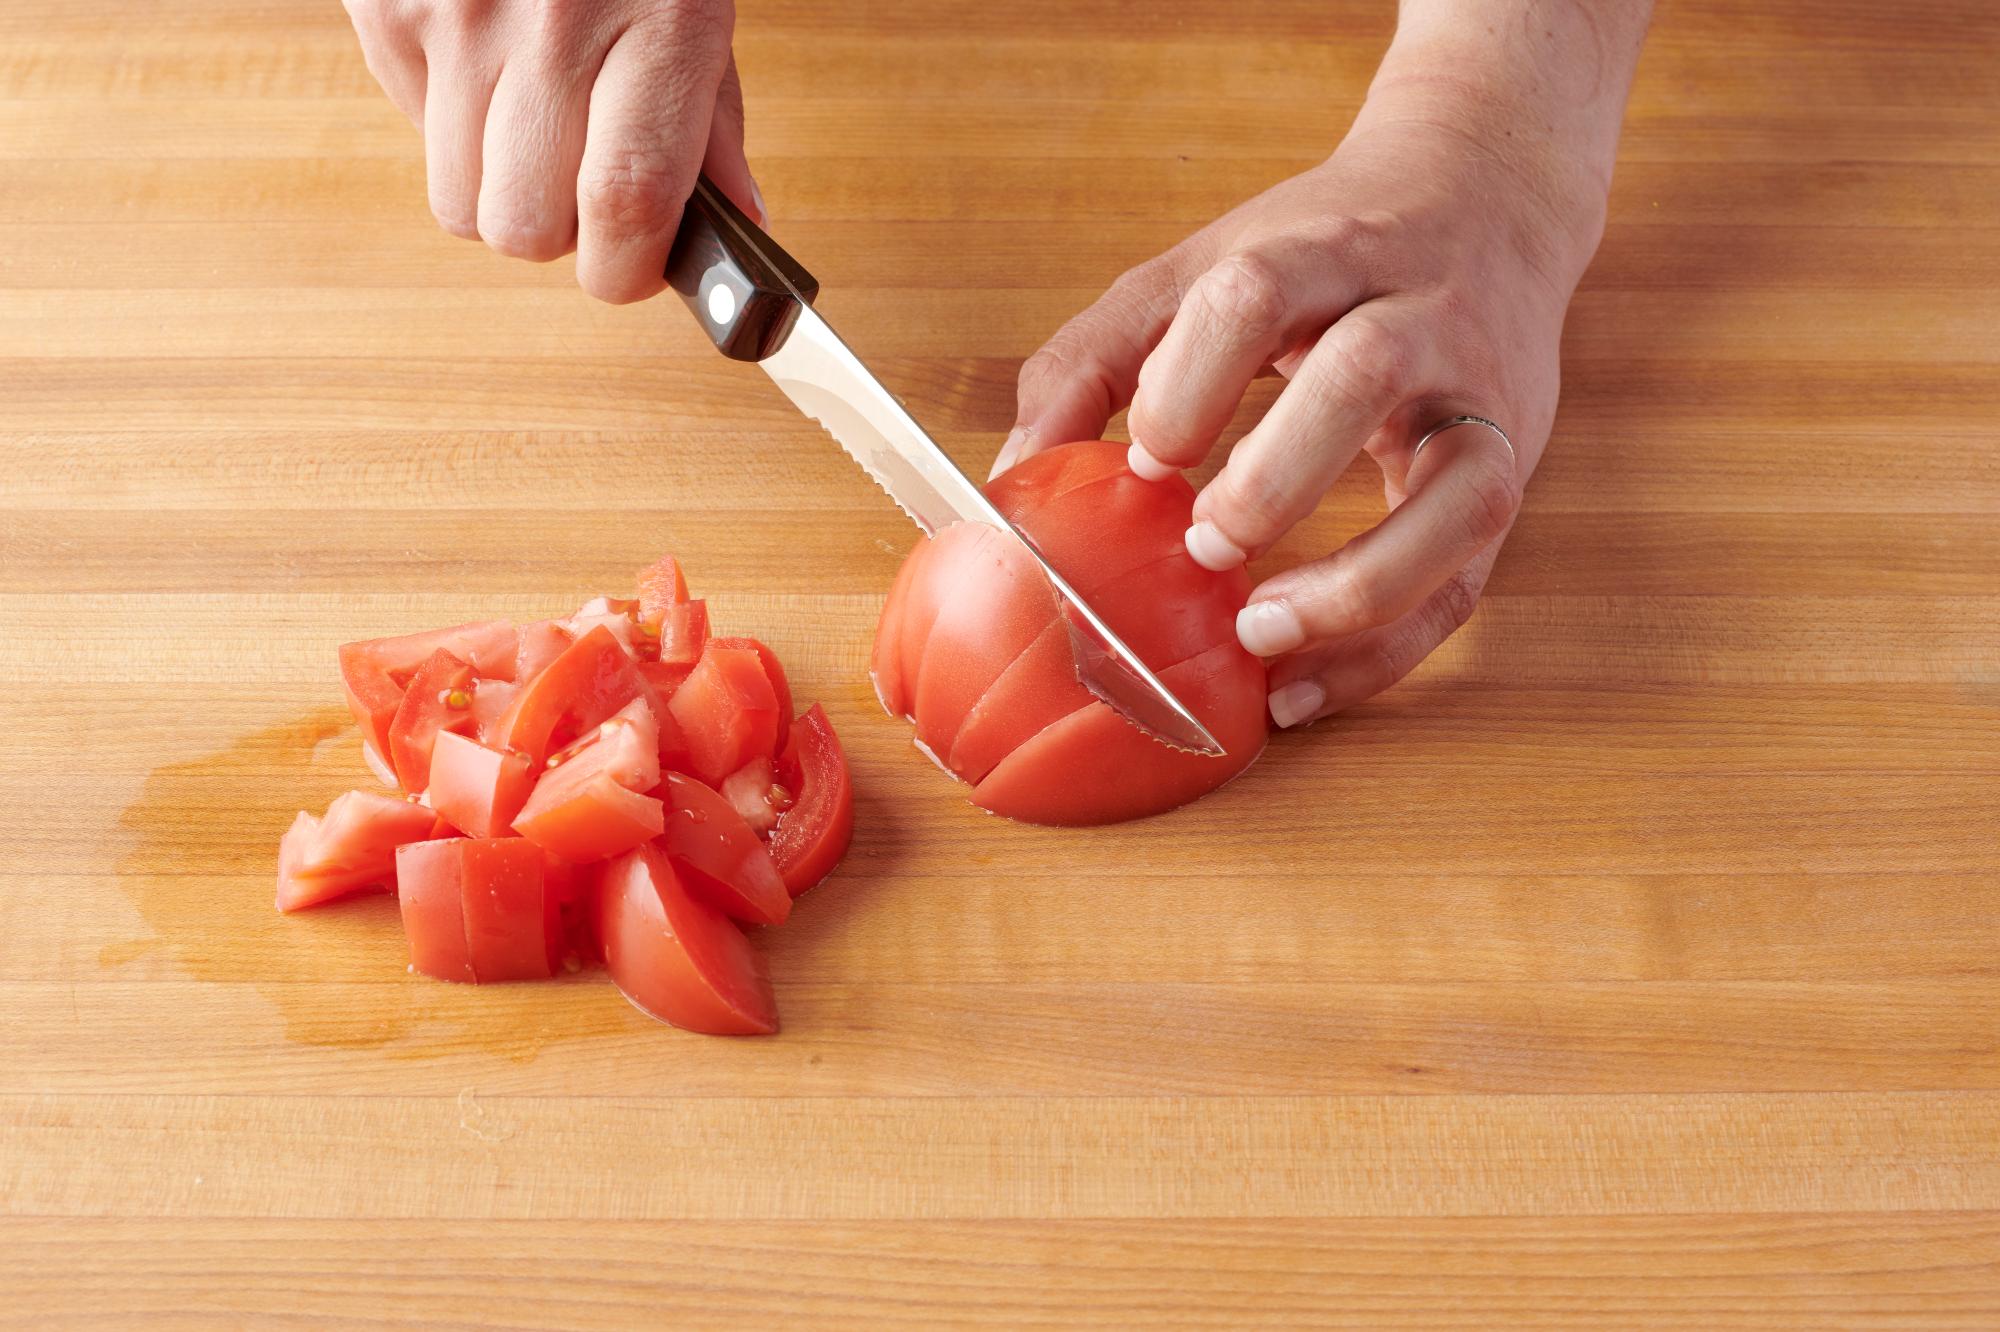
How To Cut A Tomato For A Salad
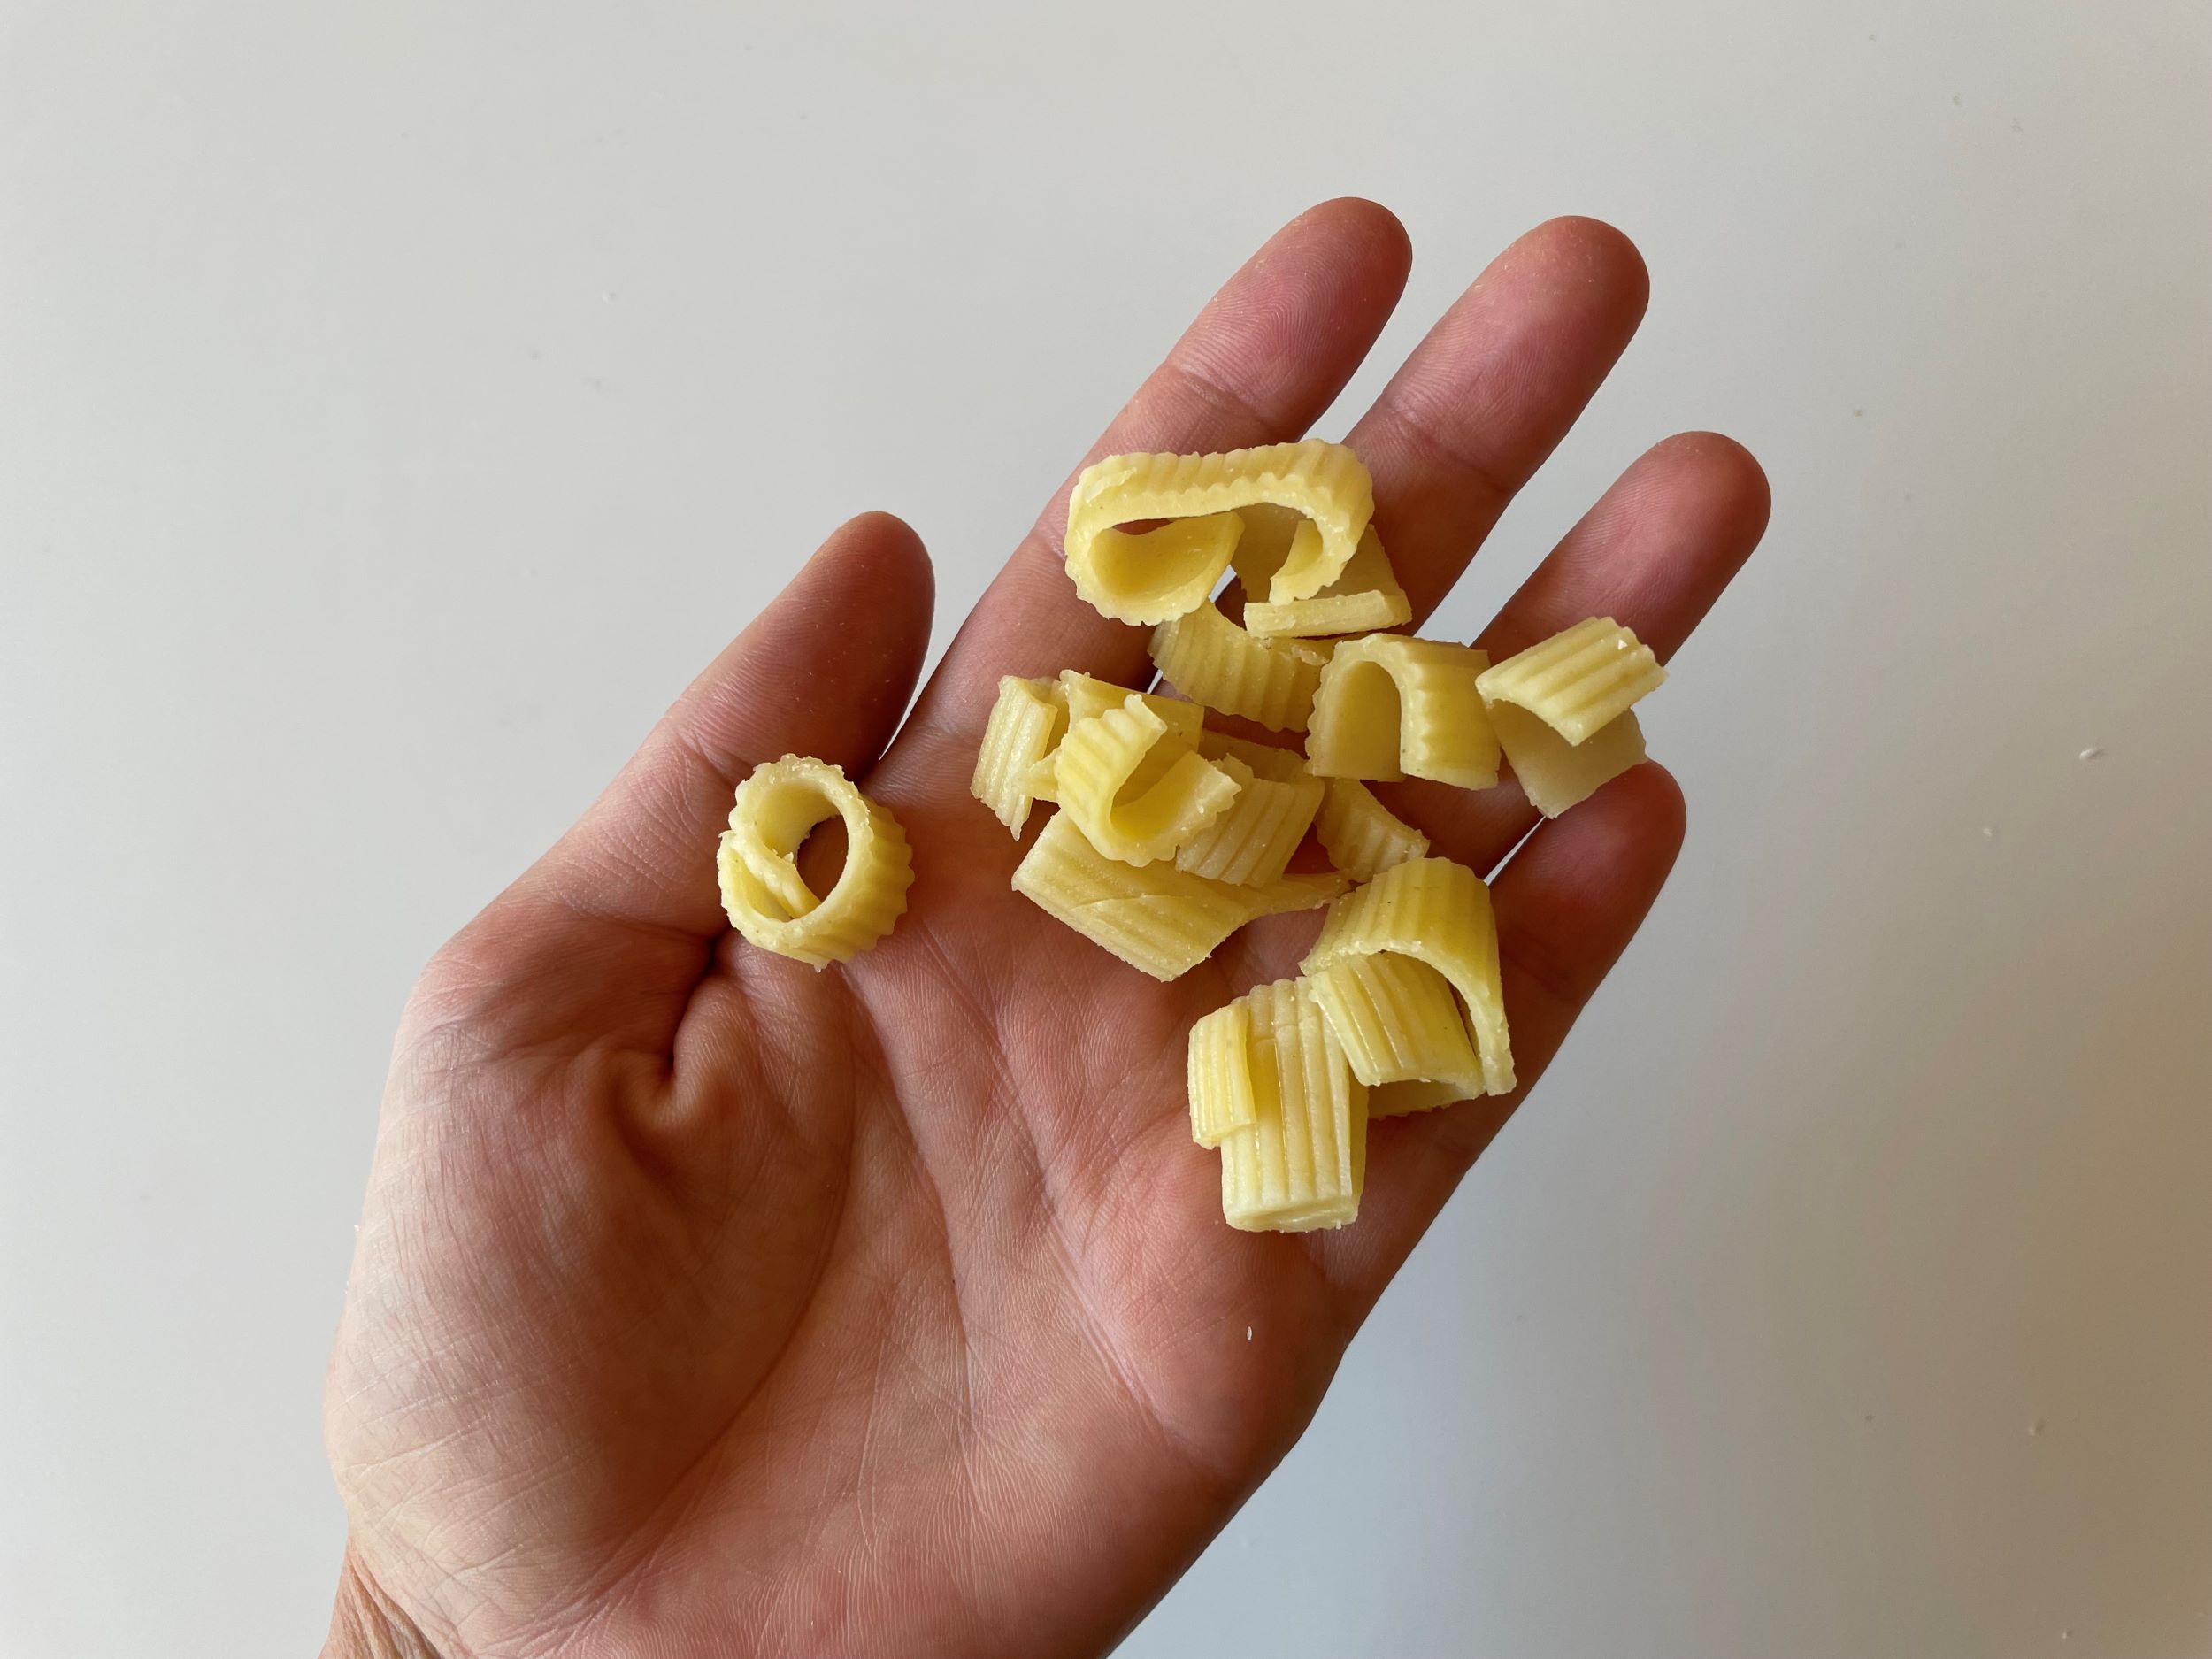
How To Cut Penne Pasta For Baby
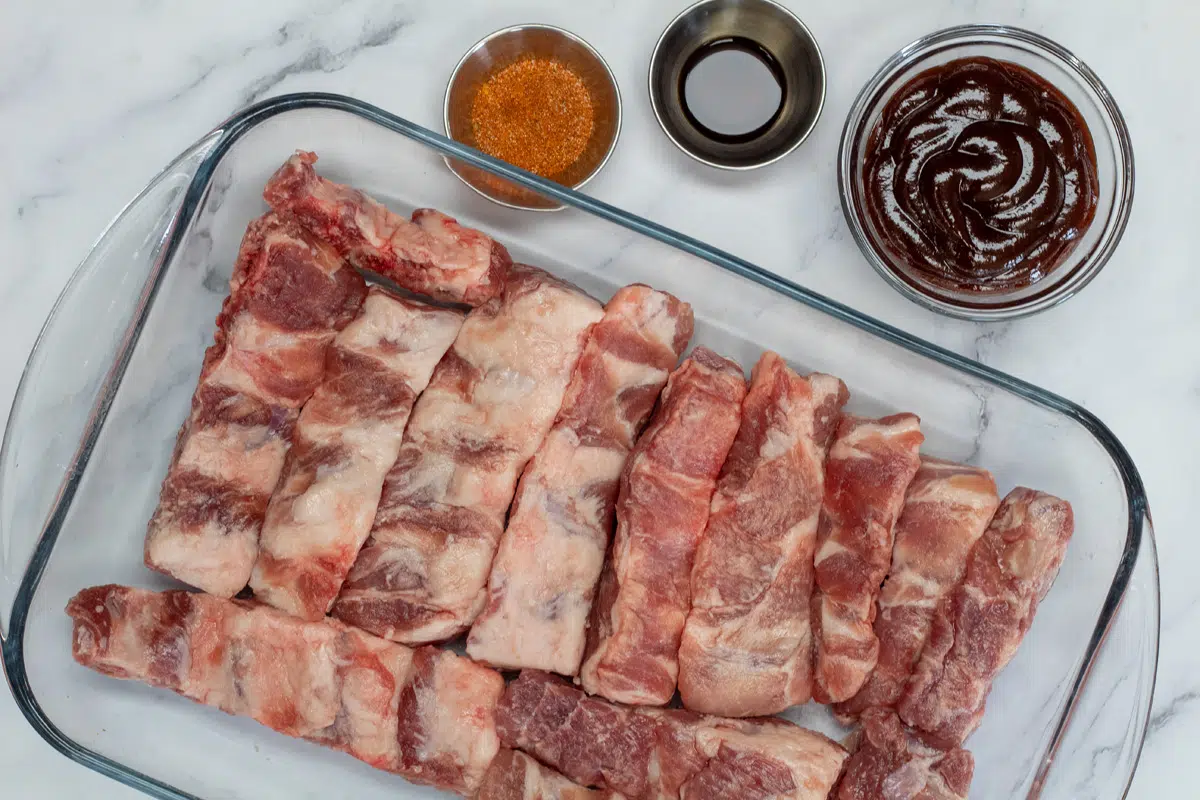
How To Cut Rib Tips From Spare Ribs

How To Cut Banana Tree For Winter

How To Cut Lemon Flavor In Soup
How To Cut My Aloe Vera Plant
How To Cut Green Garlic

How To Cut Sausage Without It Falling Apart

How To Cut Bone-In Chicken Breast In Half

How To Cut Up Chicken Leg Quarters

How To Cut A Pork Shoulder Into Steaks