How To Cook A Turkey Breast In An Electric Roaster
Thanksgiving is just around the corner, and that means it’s time to start planning your feast! While a traditional whole turkey may be the centerpiece of many holiday tables, cooking just a turkey breast can be a great option for those with smaller gatherings or for those who prefer white meat. And what better way to cook a turkey breast than in an electric roaster? In this article, we will guide you through the step-by-step process of cooking a delicious turkey breast in an electric roaster.
What You Will Need:
- A turkey breast (approximately 4-6 pounds)
- An electric roaster
- Olive oil
- Salt and pepper
- Your choice of herbs and spices for seasoning
- Vegetables of your choice (optional)
Instructions:
- Preheat the electric roaster: Start by preheating your electric roaster to 325°F (163°C). This will ensure even cooking throughout the turkey breast.
- Prepare the turkey breast: Rinse the turkey breast under cold water and pat it dry with paper towels. Place it on a clean cutting board.
- Season the turkey breast: Drizzle olive oil over the turkey breast, making sure to coat it evenly. Season with salt, pepper, and your choice of herbs and spices to add flavor. Rub the seasonings gently into the turkey breast for better absorption.
- Place the turkey breast in the electric roaster: Carefully place the seasoned turkey breast into the electric roaster. If you’d like to add extra flavor and moisture, you can place some vegetables, such as onions, carrots, and celery, around the turkey breast.
- Cook the turkey breast: Cover the electric roaster and let the turkey breast cook for approximately 20 minutes per pound. This means if you have a 4-pound turkey breast, it will take around 80 minutes to cook. However, it’s always best to rely on a meat thermometer to ensure the turkey breast reaches an internal temperature of 165°F (74°C) for safe consumption.
- Rest and serve: Once the turkey breast reaches the desired temperature, carefully remove it from the electric roaster and let it rest for about 15 minutes. This allows the juices to redistribute, making the meat tender and flavorful. Carve the turkey breast into slices and serve it alongside your favorite Thanksgiving sides.
With the help of an electric roaster, cooking a turkey breast for your Thanksgiving feast has never been easier. The result? Juicy and succulent meat that will surely impress your guests. Whether you have a small gathering or simply prefer white meat, this method is a winner. So, get your electric roaster ready, follow these steps, and enjoy a delicious turkey breast that will keep everyone coming back for seconds!
Was this page helpful?
Read Next: How To Cook Turkey For Dogs
Related Articles
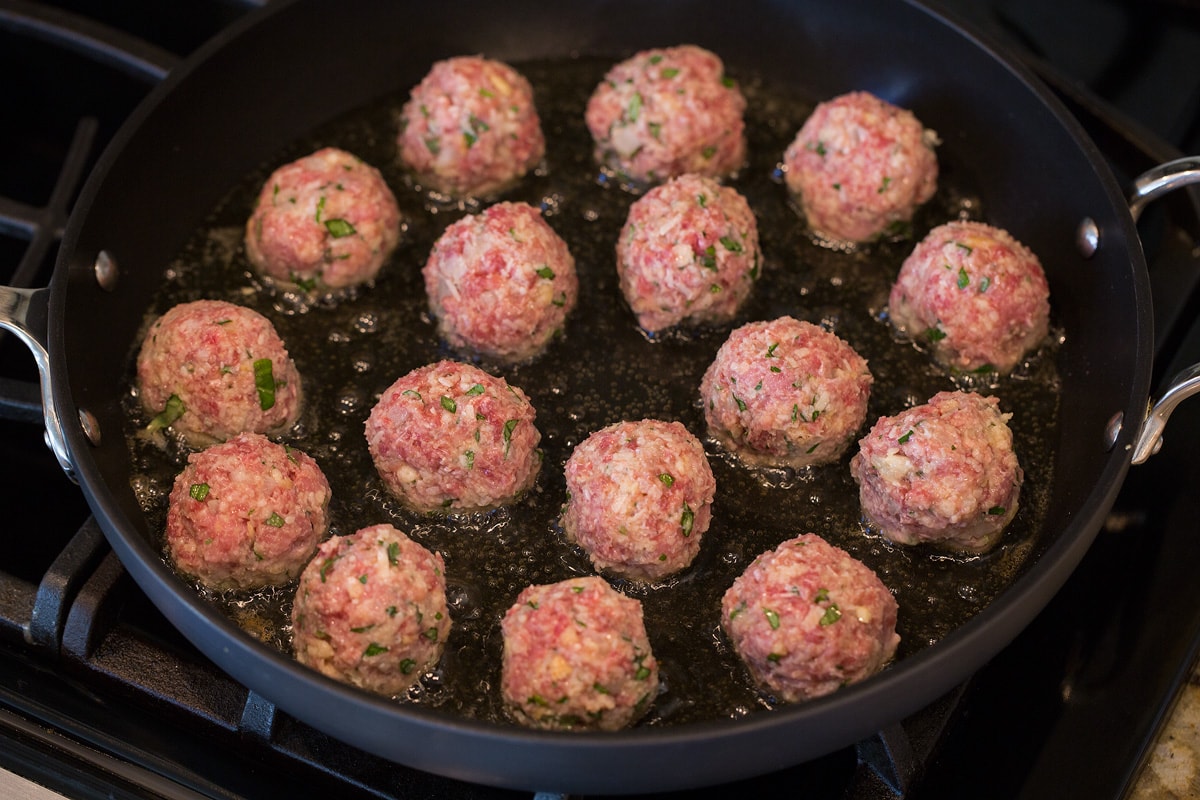
How To Cook Meatballs On Stovetop

How To Cook Gortons Fish Fillets In Air Fryer
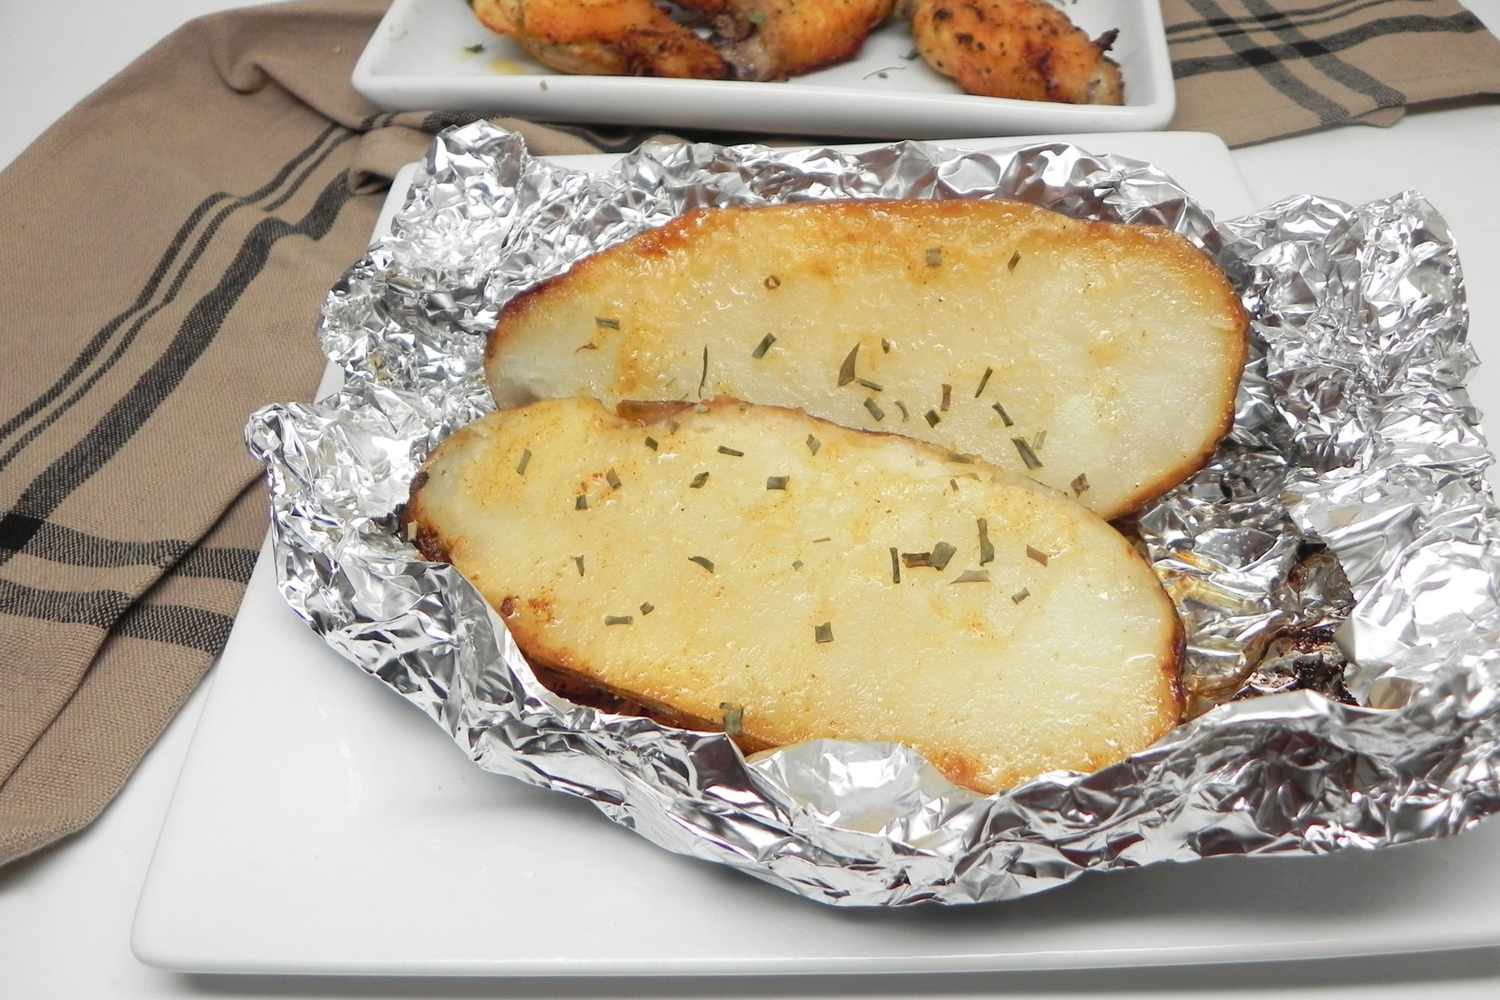
How To Cook A Baked Potato In Foil

How To Cook Fresh Polish Sausage In Water

How To Cook Fresh Polish Sausage On Stove
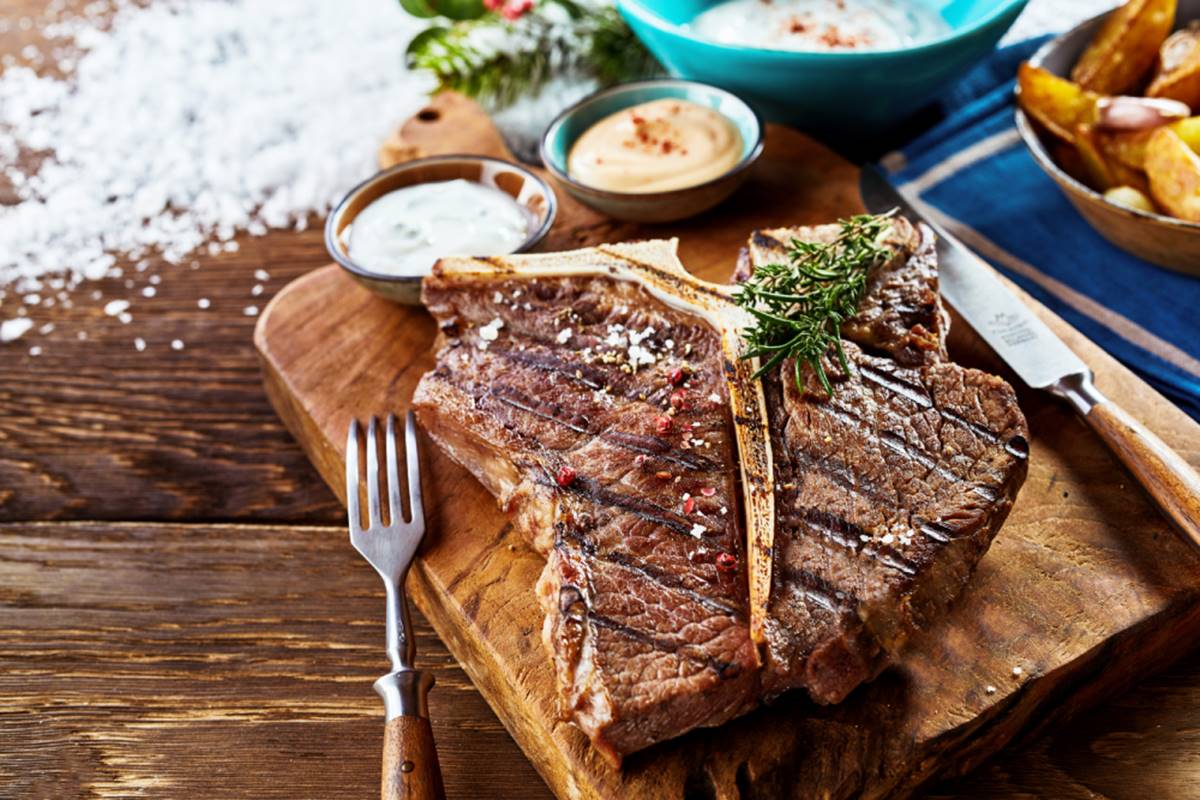
How To Cook T-Bone Steak On Stove
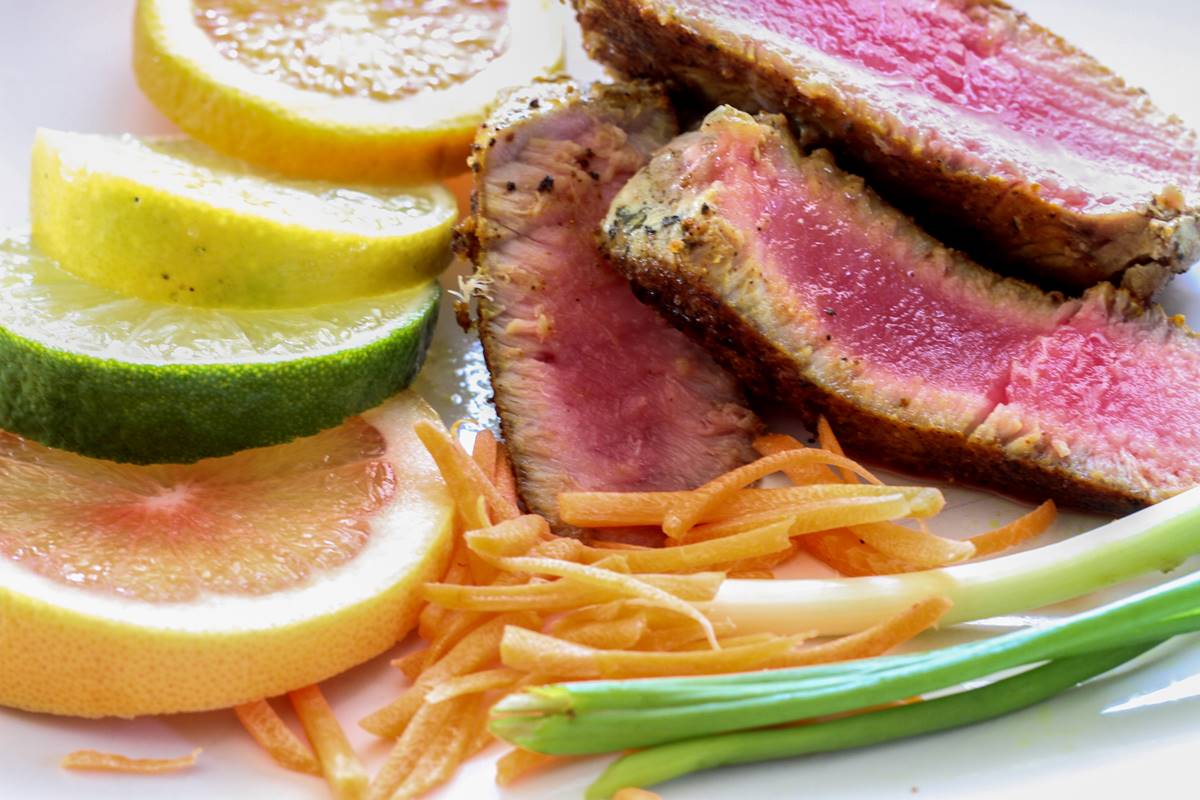
How To Cook Frozen Tuna Steak
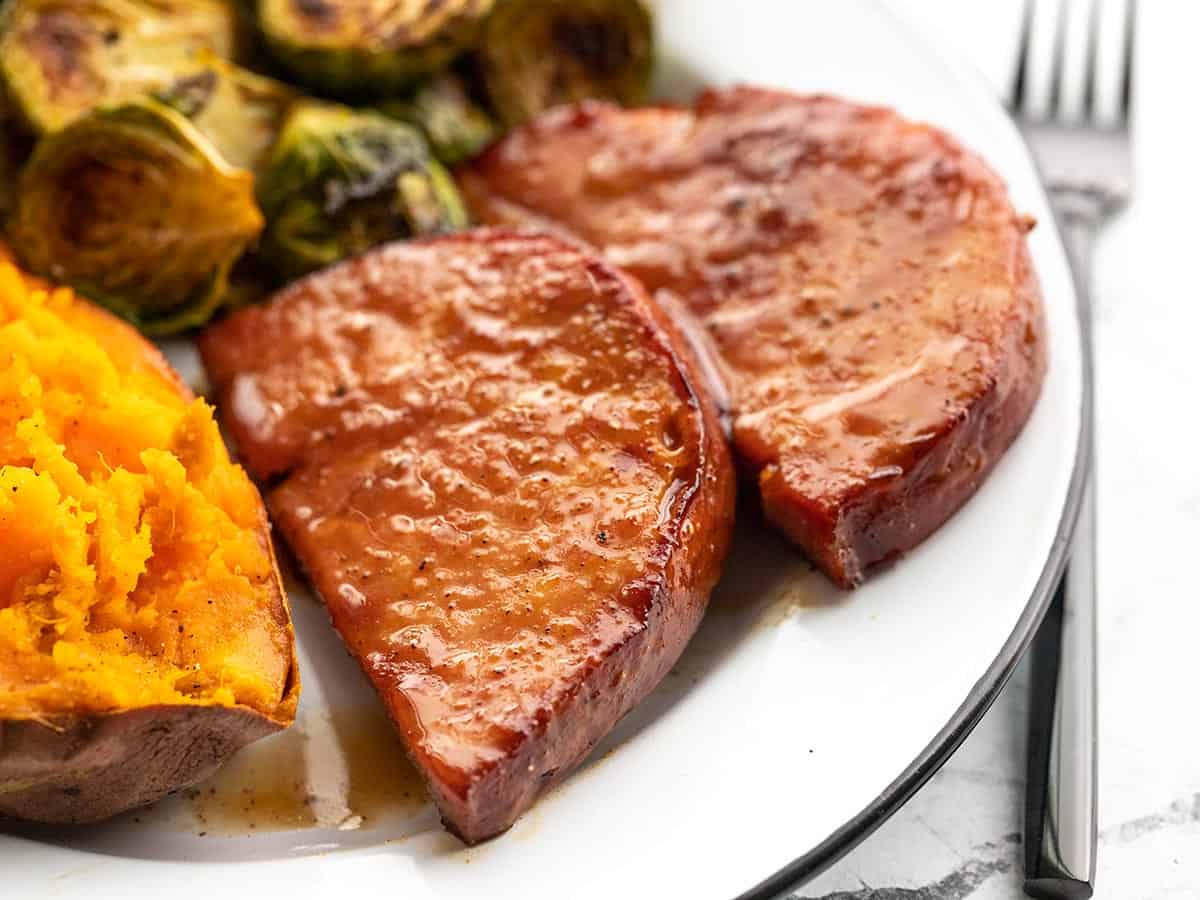
How To Cook Ham Steak In Oven
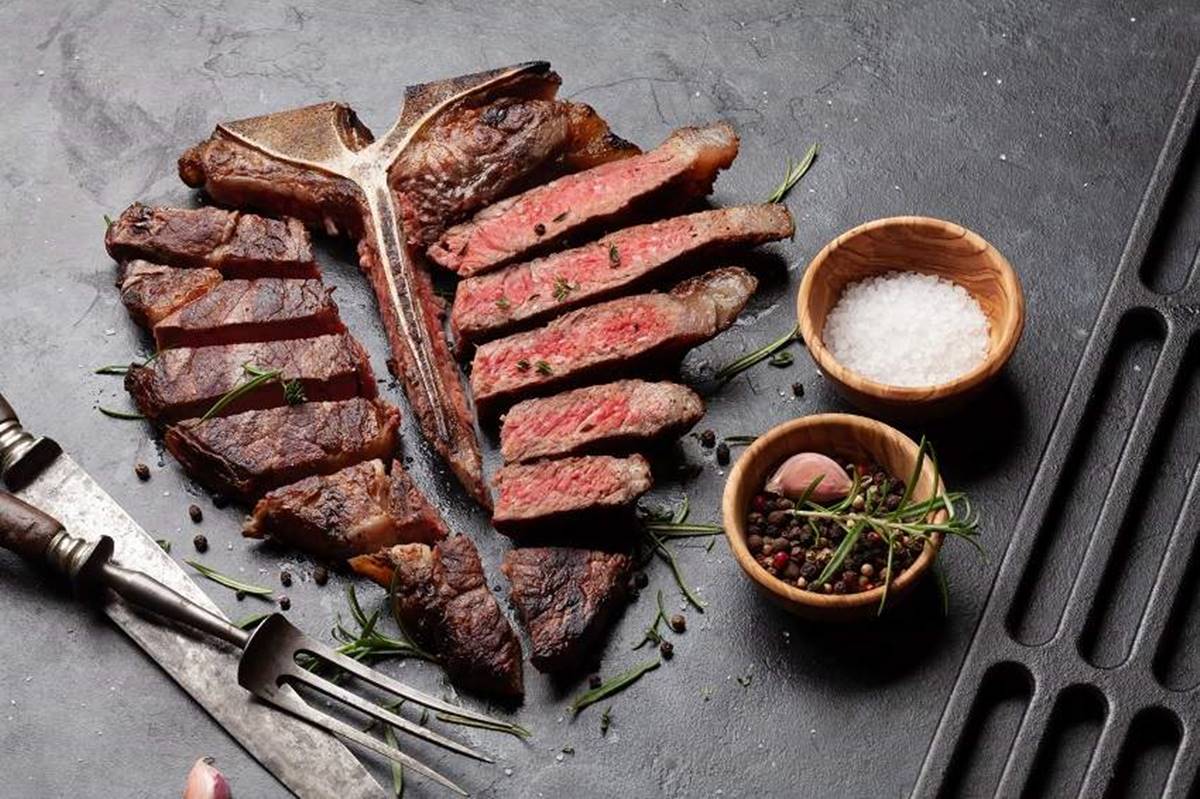
How To Cook T-Bone Steak In Oven
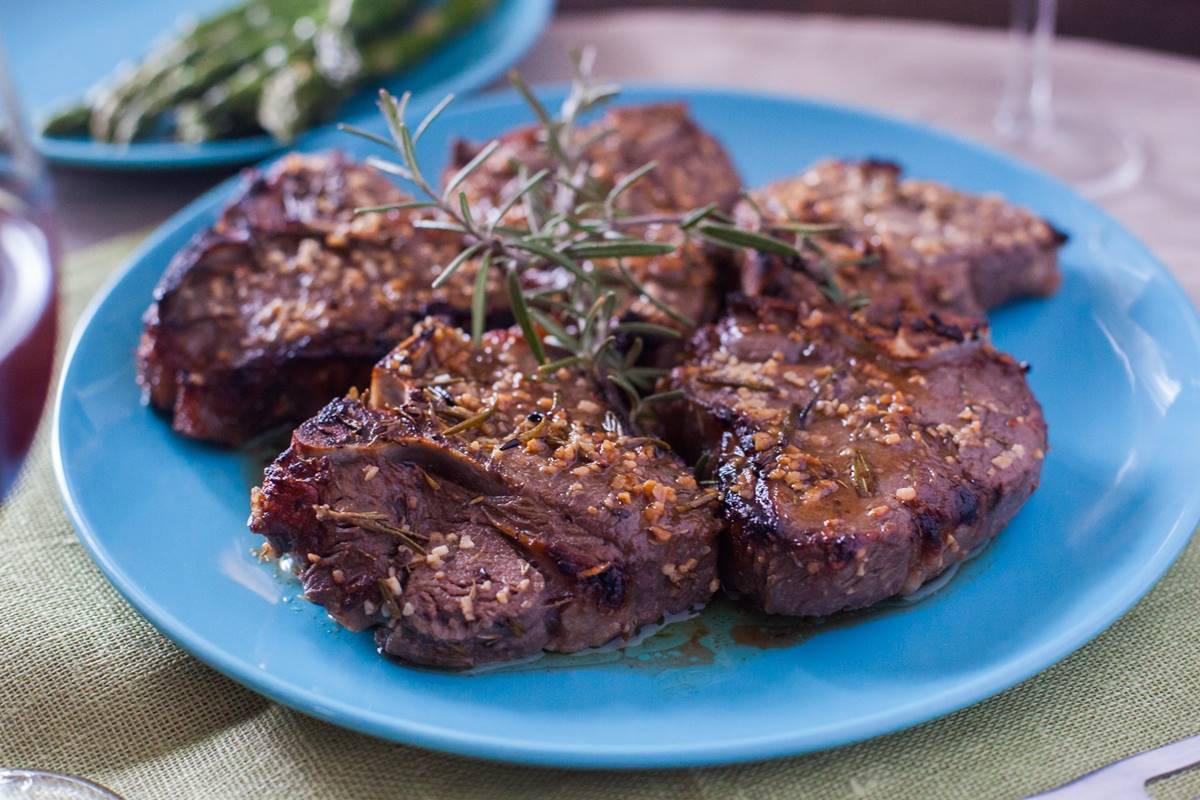
How To Cook Lamb Chops In Oven
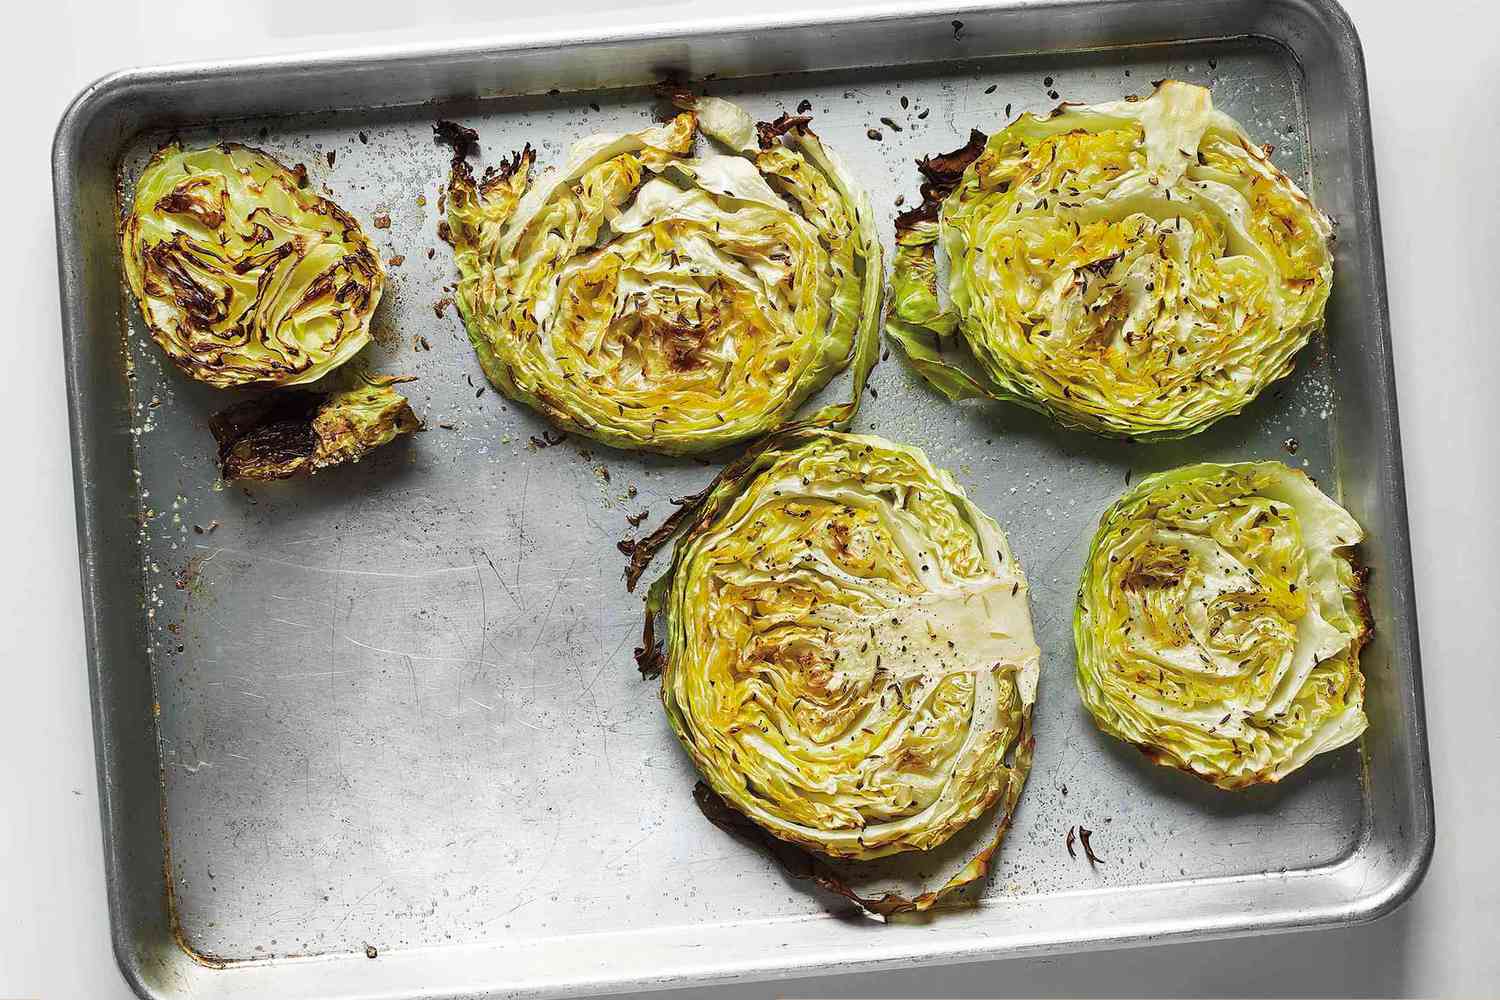
How To Cook Cabbage In The Oven